manuals.online logo
Brands
  1. Home
  2. •
  3. Brands
  4. •
  5. Tyco Electronics
  6. •
  7. Tools
  8. •
  9. Tyco Electronics AMPACT 602080 User manual

Tyco Electronics AMPACT 602080 User manual

This manual suits for next models

4

Other Tyco Electronics Tools manuals

Tyco Electronics 59239-4 User manual

Tyco Electronics

Tyco Electronics 59239-4 User manual

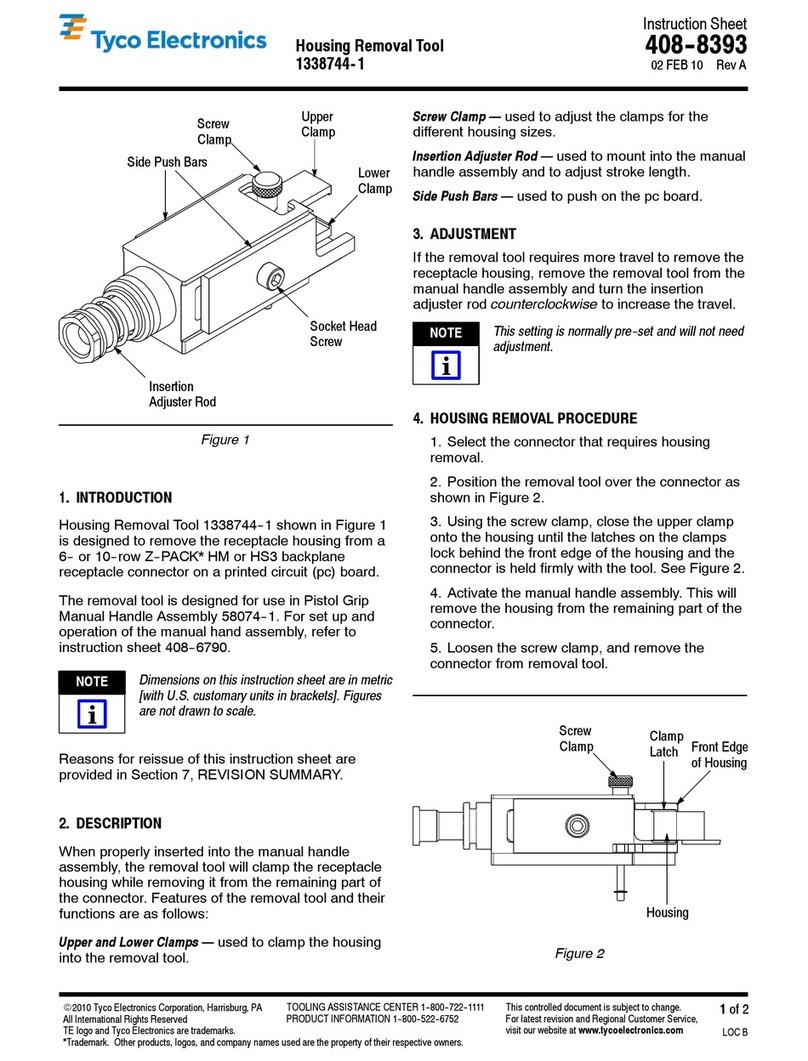
Tyco Electronics 1338744-1 User manual

Tyco Electronics

Tyco Electronics 1338744-1 User manual

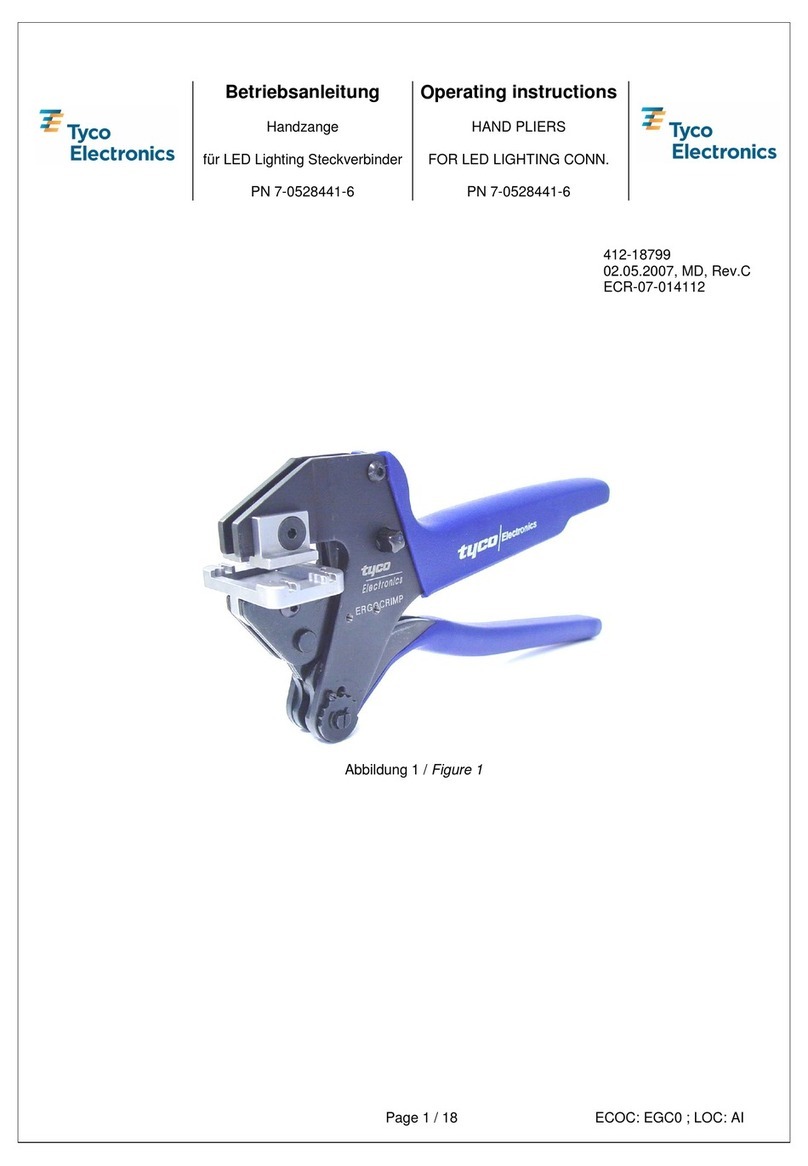
Tyco Electronics ERGOCRIMP User manual

Tyco Electronics

Tyco Electronics ERGOCRIMP User manual

Tyco Electronics 7-0528441-6 User manual

Tyco Electronics

Tyco Electronics 7-0528441-6 User manual

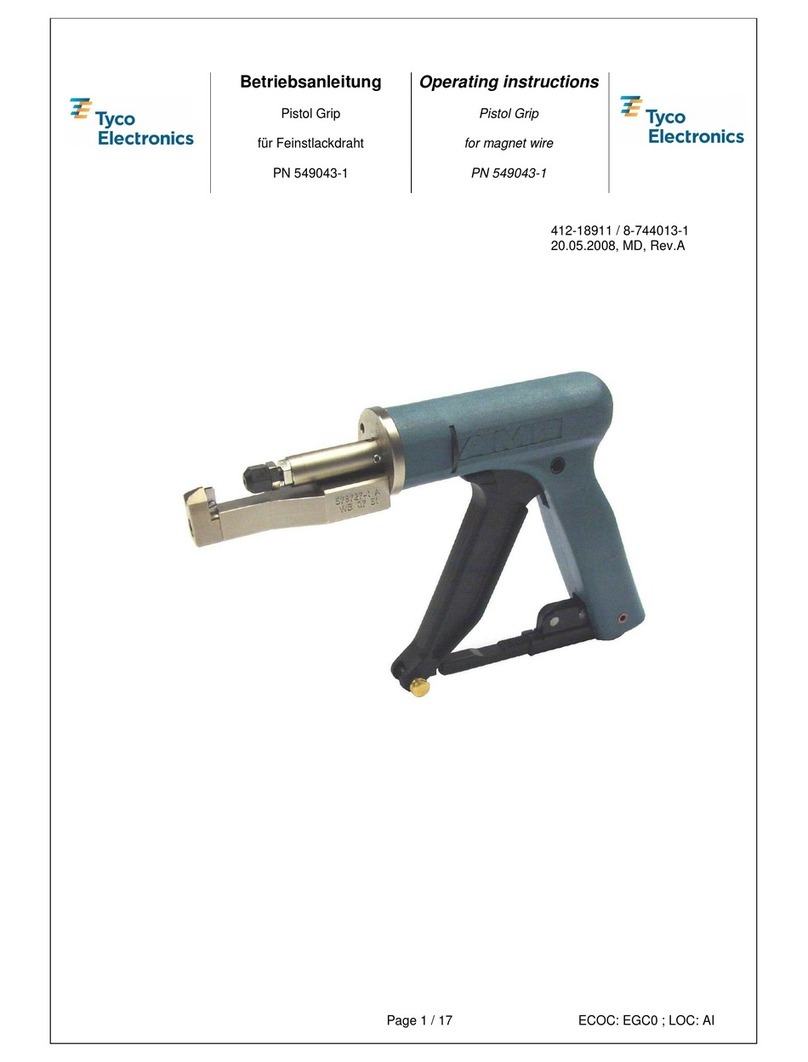
Tyco Electronics 549043-1 User manual

Tyco Electronics

Tyco Electronics 549043-1 User manual

Tyco Electronics 871087 Reference guide

Tyco Electronics

Tyco Electronics 871087 Reference guide

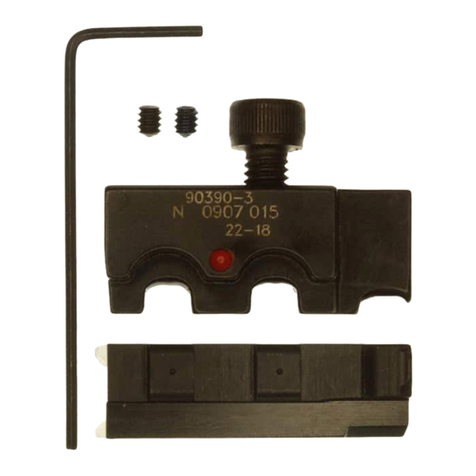
Tyco Electronics 90390-3 User manual

Tyco Electronics

Tyco Electronics 90390-3 User manual

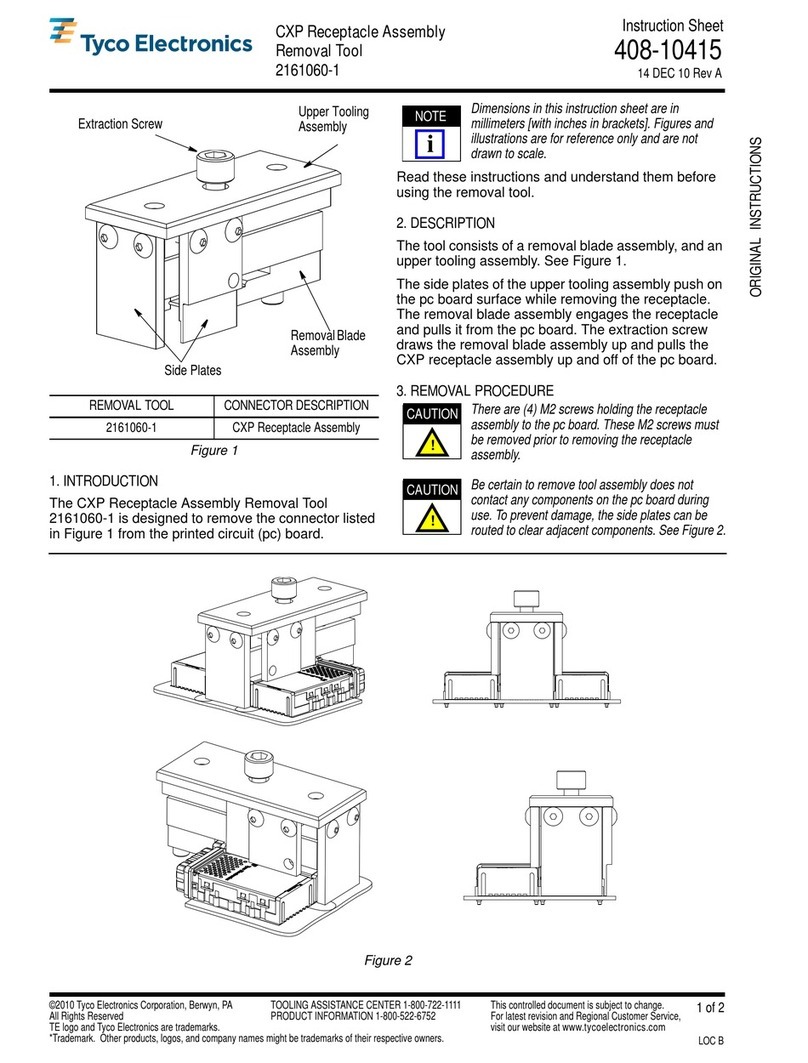
Tyco Electronics CXP 2161060-1 User manual

Tyco Electronics

Tyco Electronics CXP 2161060-1 User manual

Tyco Electronics AMP 231652 Series User manual

Tyco Electronics

Tyco Electronics AMP 231652 Series User manual

Tyco Electronics 1372039-1 User manual

Tyco Electronics

Tyco Electronics 1372039-1 User manual

Tyco Electronics 411-15684 User manual

Tyco Electronics

Tyco Electronics 411-15684 User manual

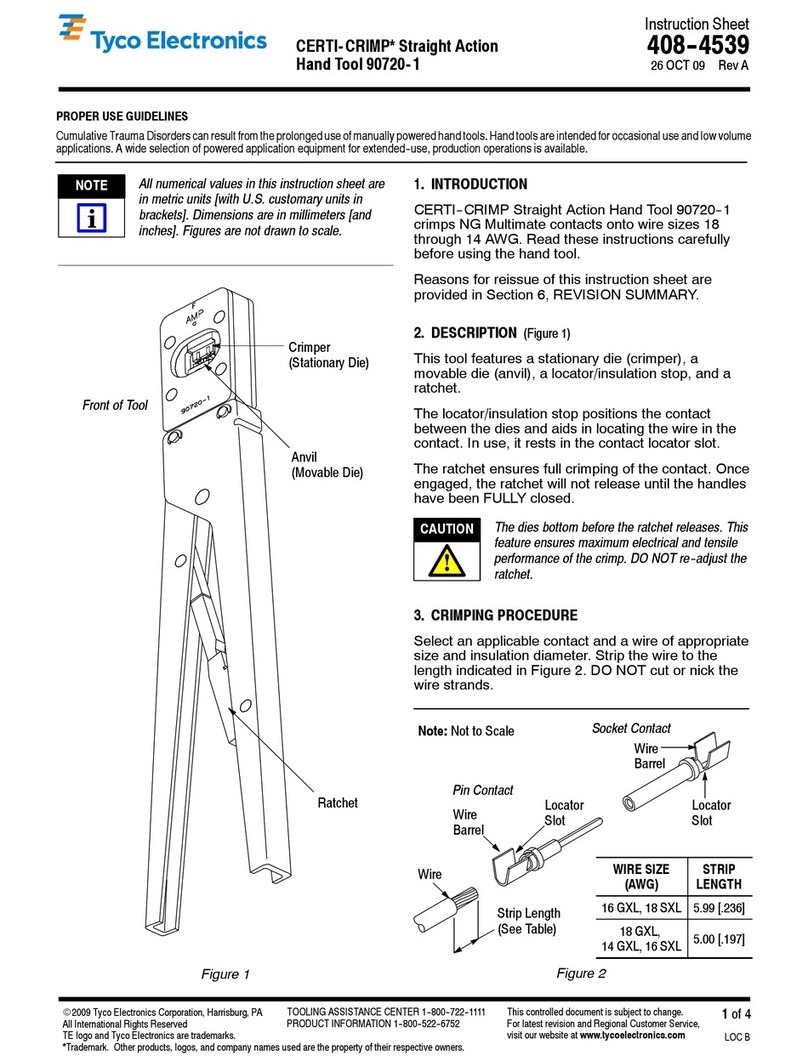
Tyco Electronics CERTI- CRIMP 90720- 1 User manual

Tyco Electronics

Tyco Electronics CERTI- CRIMP 90720- 1 User manual

Tyco Electronics ERGOCRIMP User manual

Tyco Electronics

Tyco Electronics ERGOCRIMP User manual

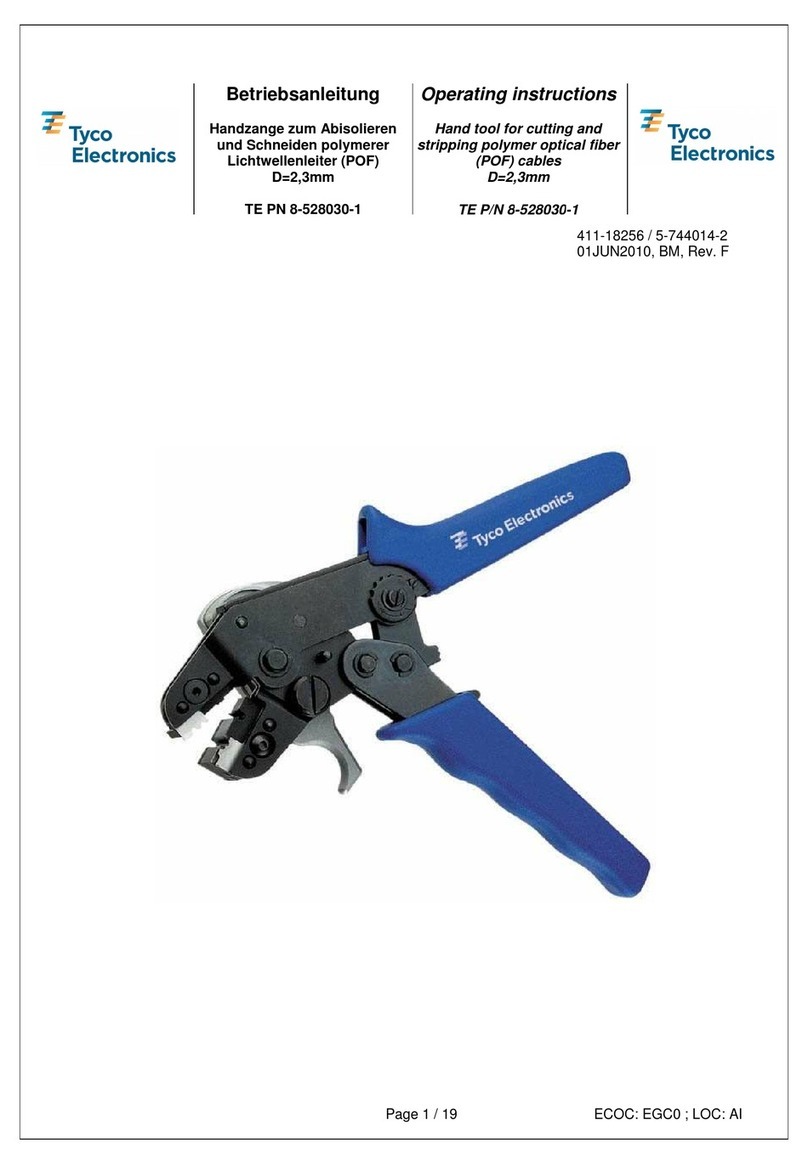
Tyco Electronics 8-528030-1 User manual

Tyco Electronics

Tyco Electronics 8-528030-1 User manual

Popular Tools manuals by other brands

AGI Westfield MKX16 Assembly manual

AGI

AGI Westfield MKX16 Assembly manual

GYS HAND-DUCTION 056923 Translation of the original instructions

GYS

GYS HAND-DUCTION 056923 Translation of the original instructions

Grizzly H7583 instruction manual

Grizzly

Grizzly H7583 instruction manual

Sealey VS0462.V2 instructions

Sealey

Sealey VS0462.V2 instructions

Makita HR2650 instruction manual

Makita

Makita HR2650 instruction manual

Forza 1100H Series manual

Forza

Forza 1100H Series manual

Aventics EBS-PI operating instructions

Aventics

Aventics EBS-PI operating instructions

Martor SECUNORM 175 quick start guide

Martor

Martor SECUNORM 175 quick start guide

jbc N4473 instruction manual

jbc

jbc N4473 instruction manual

FEINMETALL FZWZ-SET-001 quick start guide

FEINMETALL

FEINMETALL FZWZ-SET-001 quick start guide

Worx Professional Sonicrafter WU676 Original instructions

Worx Professional

Worx Professional Sonicrafter WU676 Original instructions

Gage Bilt GB713SH Original instructions

Gage Bilt

Gage Bilt GB713SH Original instructions

Hilti DX 9-ENP Original operating instructions

Hilti

Hilti DX 9-ENP Original operating instructions

norbar NORTRONIC 34399 Operator's manual

norbar

norbar NORTRONIC 34399 Operator's manual

BGS technic 8578 manual

BGS technic

BGS technic 8578 manual

axing BWZ 5-02 Operation instructions

axing

axing BWZ 5-02 Operation instructions

Makita DHR241 instruction manual

Makita

Makita DHR241 instruction manual

Motor Guard JMB-1250 instructions

Motor Guard

Motor Guard JMB-1250 instructions

manuals.online logo
manuals.online logoBrands
  • About & Mission
  • Contact us
  • Privacy Policy
  • Terms and Conditions

Copyright 2025 Manuals.Online. All Rights Reserved.

©2011 Tyco Electronics Corporation, Berwyn, PA
All Rights Reserved
TE logo and Tyco Electronics are trademarks.
*Trademark. Other products, logos, and company names might be trademarks of their respective owners.
Instruction Sheet
TOOLING ASSISTANCE CENTER 1-800-722-1111
PRODUCT INFORMATION 1-800-522-6752
This controlled document is subject to change.
For latest revision and Regional Customer Service,
visit our website at www.tycoelectronics.com
1of 2
LOC B


AMPACT* Tap Covers 408-2137
11 FEB 11 Rev B
Figure 1
1. INTRODUCTION
AMPACT Tap Covers are designed for use when
applying a tap to covered wire.
Reasons for reissue are in Section 5, REVISION
SUMMARY.
2. CABLE PREPARATION
1. Strip the cable to the dimensions shown in 
Figure 1.
Dimensions listed are maximums. Do NOT strip the
wire any longer than required to properly locate the
tap in the tool.

2. Use a wire brush to remove foreign matter
(oxidation, etc.) from the conductor.
3. COVER INSTALLATION
1. Apply tap as described in the instructional
material packaged with the AMPACT tool.
Make certain tap is centered in stripped area.



2. Select correct cover from Figure 1.
3. Install the one-piece cover as follows:
a. Hook the cover over the tap as shown in
Figure 1.
COVER SELECTION
TAP SIZE COLOR WIRE STRIP LENGTH PART NUMBER
(BLACK)
mm INCHES
Small Red 82.6 3 1/4 602061
Type II White 82.6 3 1/4 83364-1
Medium, 226.8, and 350 Blue 108 4 1/4 602080
336.4, 477, and 556.5 Yellow 152 6 602107
795 and 1033.5 Yellow 165 6 1/2 602284
Tap
Locking Tabs
Locking Loops
Center Cover
Over Tap
Thru Wire
Tap Wire
NOTE: Bare wire must not be visible.

NOTE
i
NOTE
i
408-2137
2of 2
Rev B
Figure 2
b. Make certain the cover is centered over the
tap.
c. Close the cover and engage the locks.
4. Install the two-piece cover as follows:
a. Place the cover halves together and engage
the locks on top of the cover as shown in
Figure 2.
b. Center the hinged cover over the tap.
c. Close the bottom of the cover and engage
the locks.
4. COVER REMOVAL
1. On one-piece covers, insert the screwdriver
between the locking tab and the locking loop. See
Figure 3.
Figure 3
2. Use a second screwdriver to carefully pry the tab
loose.
3. Repeat steps 4.1 and 4.2 for each tab.
4. Remove the cover from the tap.
5. On two-piece covers, lift the locking loops from
the locking tabs on bottom cover halves. See 
Figure 2.
6. Remove the cover from the tap.
Examine the tap cover before re-use to ensure that
the retaining edges of the locking tabs and locking
loops have not been damaged or worn by previous
removal. If damaged or excessively worn, a new
cover must be installed.
5. REVISION SUMMARY
Revisions to this document include:
•Updated document to corporate requirements
•Transposed Figure 2 and Figure 3 to agree with
order of procedures in document.
Center Cover
Over Tap
Locking Tabs
Tap Wire
Thru Wire
Locking Loops
Engage Locks
Tap
NOTE: Bare wire must not be visible.
Insert Screwdriver
Between Locking
Tab and Locking
Loop
Pry Tab
Loose
CAUTION
!