TFP151
Page 4 of 8
Installation
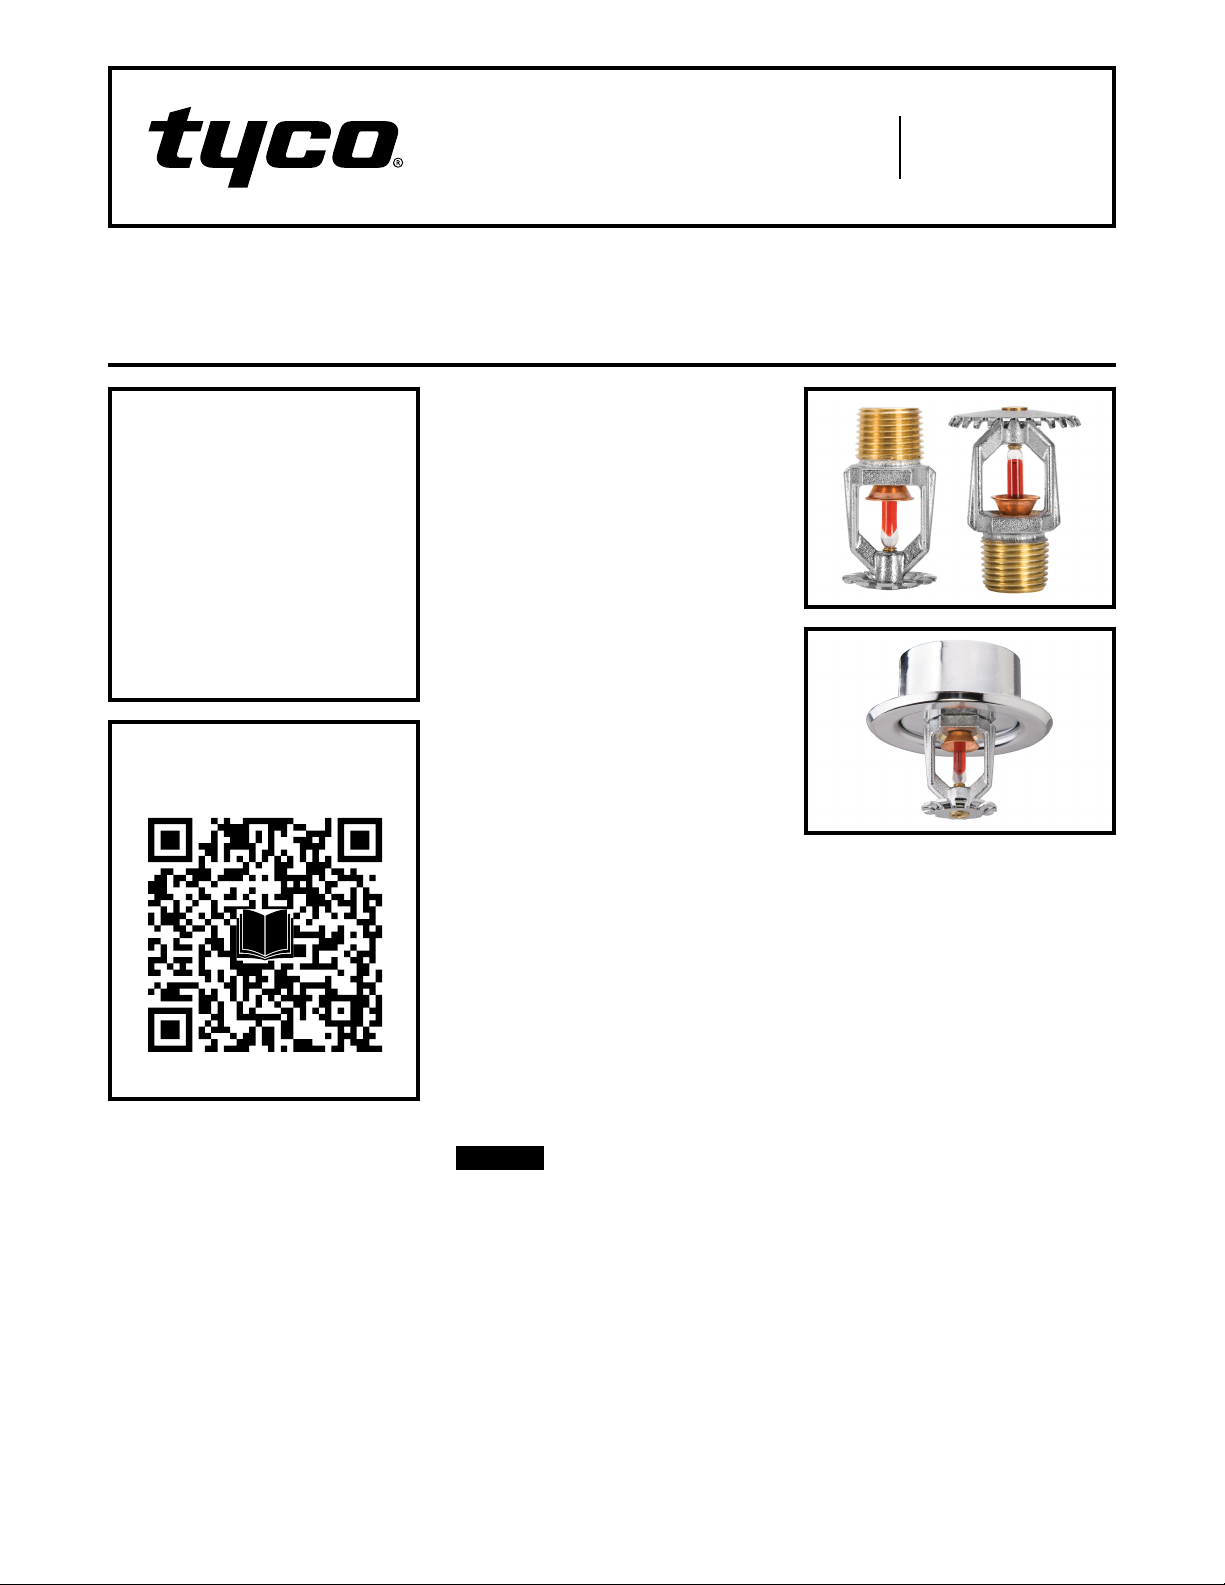
The TYCO Series TY-B 2.8, 5.6, and
8.0 K-factor, Upright, Pendent, and
Recessed Pendent Sprinklers must
be installed in accordance with this
section.
General Instructions
Do not install any bulb type sprinkler
if the bulb is cracked or there is a loss
of liquid from the bulb. With the sprin-
kler held horizontally, a small air bubble
should be present. The diameter of the
air bubble is approximately 1/16 in.
(1,6 mm) for the 135°F (57°C) to
3/32 in. (2,4 mm) for the 360°F (182°C)
temperature ratings.
A leak-tight 1/2 in. NPT sprinkler
joint should be obtained by apply-
ing a minimum-to-maximum torque of
7 to 14 lb-ft (9,5 to 19,0 N·m). Obtain
a leak-tight 3/4 in. NPT sprinkler joint
by applying a minimum to maximum
torque of 10 to 20 lb-ft (13,4 to
26,8 N·m). Higher levels of torque may
distort the sprinkler inlet and cause
leakage or impairment of the sprinkler.
Do not attempt to compensate for
insufcient adjustment in the escutch-
eon plate by under- or over-tightening
the sprinkler. Readjust the position of
the sprinkler tting to suit.
Series TY-B Upright and Pendent
Sprinklers Installation
The Series TY-B Upright and Pendent
Sprinklers must be installed in accor-
dance with the following instructions:
Step 1. Install pendent sprinklers in the
pendent position. Install upright sprin-
klers in the upright position.
Step 2. With pipe thread sealant
applied to the pipe threads, hand-
tighten the sprinkler into the sprinkler
tting.
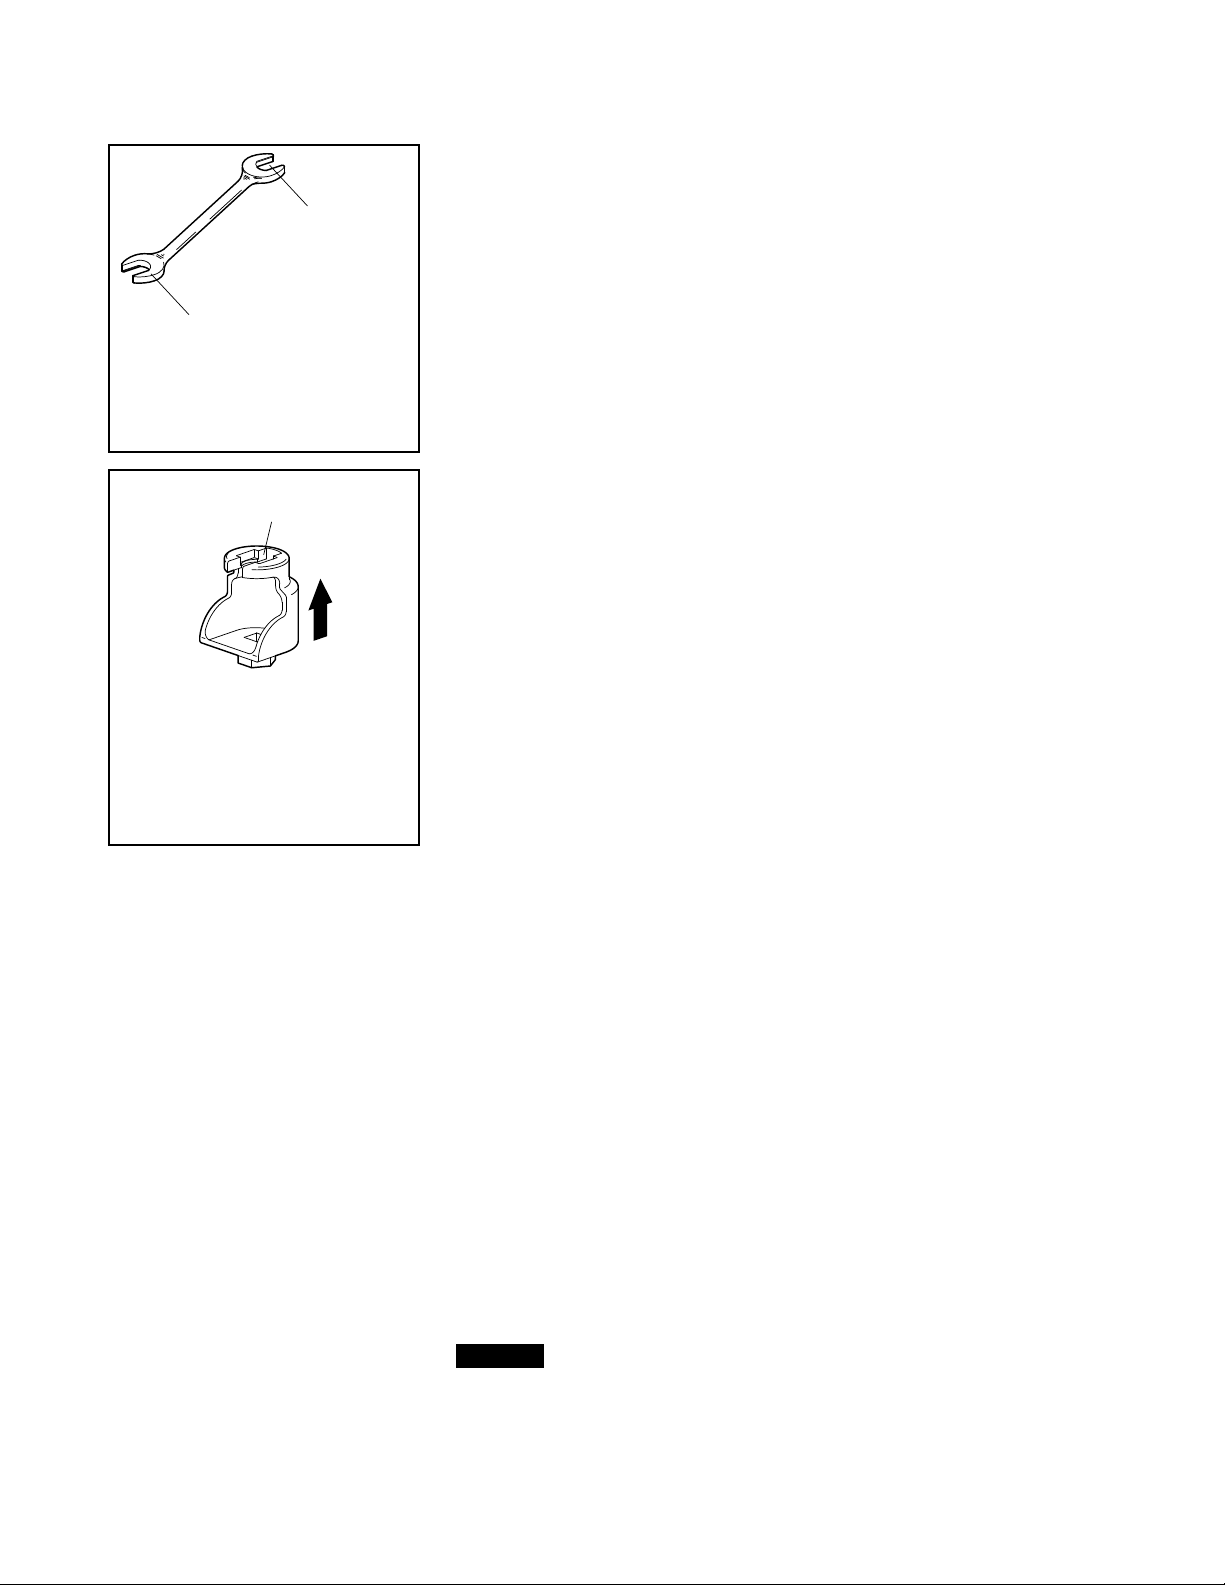
Step 3. Tighten the sprinkler into the
sprinkler tting using only the W-Type
6 Sprinkler Wrench, see Figure 7.
For wax-coated sprinklers, use an
8 or 10 in. adjustable wrench. With
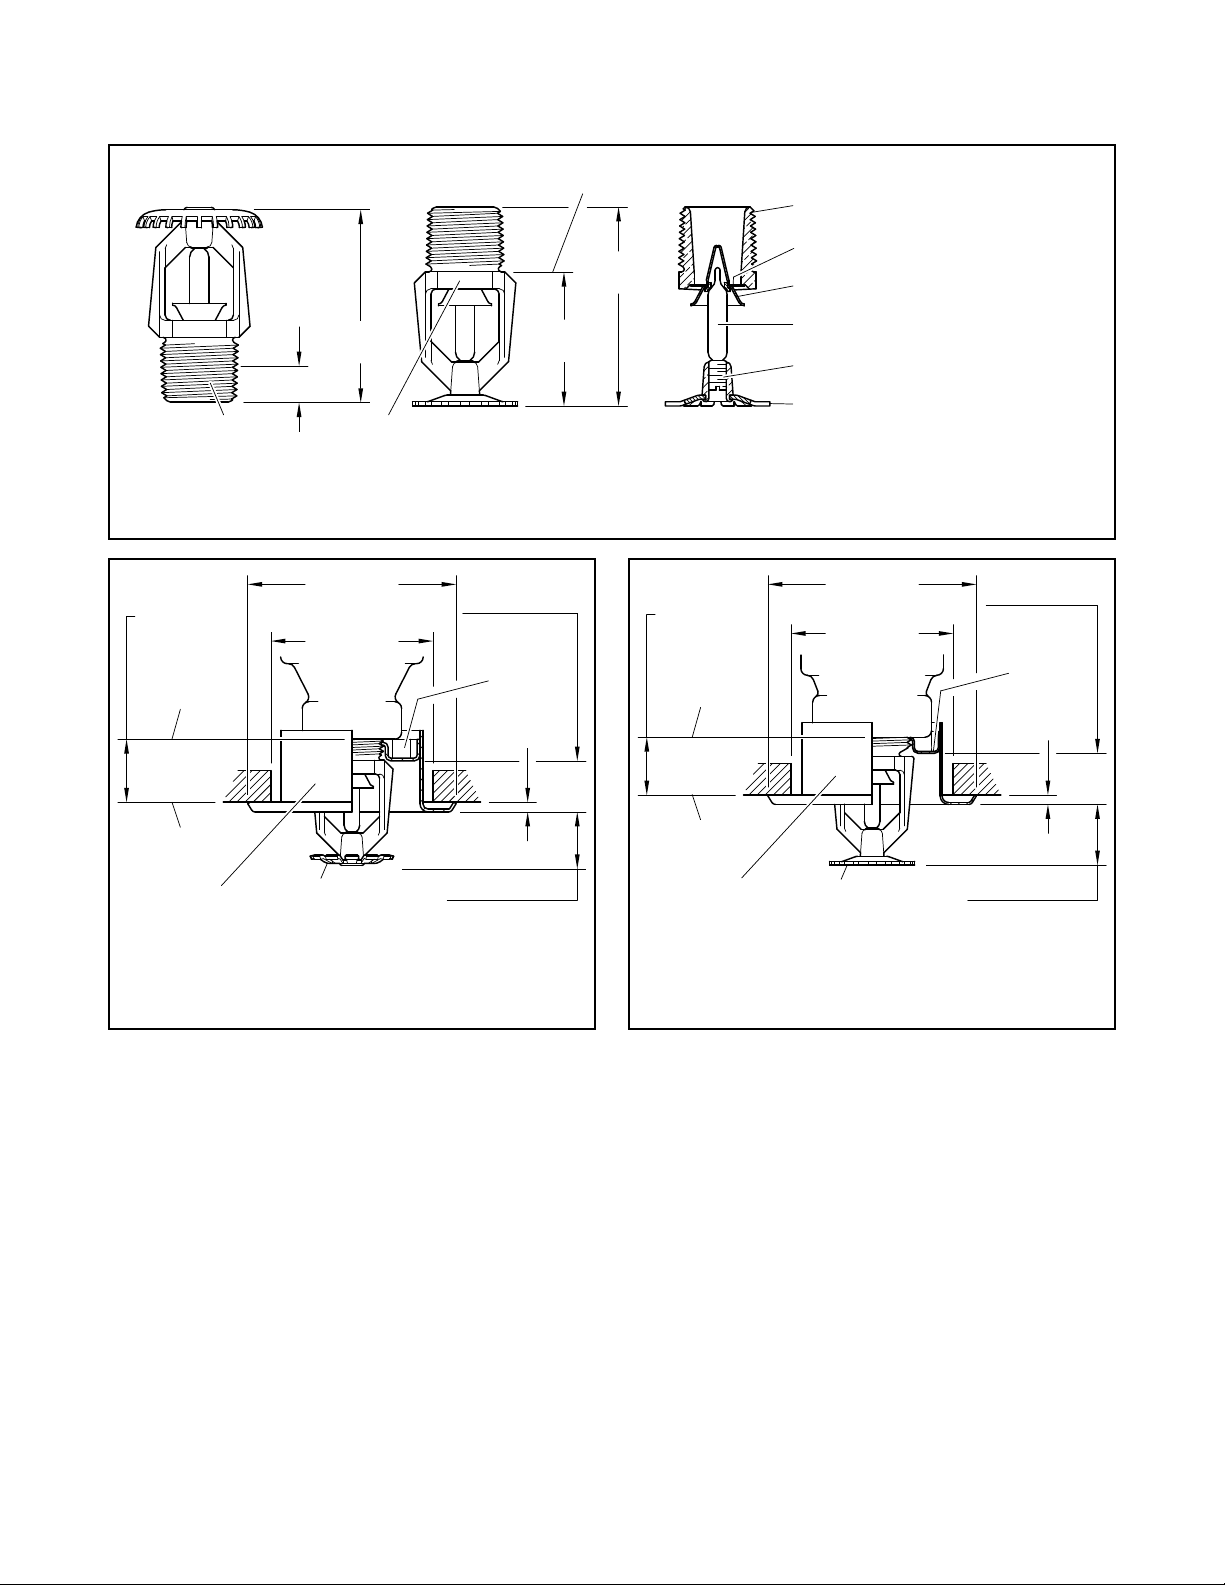
reference to Figure 1 to 4, apply the
W-Type 6 Recessed Sprinkler Wrench
or an adjustable wrench, as applicable,
to the sprinkler wrench ats.
Wax Coated Sprinklers
When installing wax-coated sprinklers
with an adjustable wrench, take care to
prevent damage to the wax coating on
the sprinkler wrench ats or frame arms
and, consequently, exposure of bare
metal to the corrosive environment:
• Open the jaws of the wrench suf-
ciently wide to pass over the wrench
flats without damaging the wax
coating.
• Before wrench tightening the sprin-
kler, adjust the jaws of the wrench
to contact only the sprinkler wrench
ats.
• After wrench tightening the sprin-
kler, loosen the wrench jaws before
removing the wrench.
After Installation
After installation, complete the
following:
• Inspect the sprinkler wrench ats
and frame arms and retouch (repair)
the wax coating whenever the coat-
ing has been damaged and bare
metal is exposed.
• Retouch the wax coating on the
wrench ats by gently applying a
heated 1/8 in. diameter steel rod
to the damaged areas of wax, to
smooth it back over areas where
bare metal is exposed.
NOTICE
Only retouching of the wax coating
applied to the wrench flats and frame
arms is permitted, and the retouching
is to be performed only at the time of
the initial sprinkler installation.
The steel rod should be heated only to
the point it can begin to melt the wax,
and appropriate precautions need to be
taken when handling the heated rod in
order to prevent the installer from being
burned.
Series TY-B Recessed Pendent
Sprinklers
The Series TY-B Recessed Pendent
Sprinklers must be installed in accor-
dance with the following instructions:
Step 1. After installing the Style 10
or 40 Mounting Plate, as applicable,
over the sprinkler threads and with
pipe thread sealant applied to the pipe
threads, hand-tighten the sprinkler into
the sprinkler tting.
Step 2. Tighten the sprinkler into the
sprinkler tting using only the W-Type 7
Recessed Sprinkler Wrench, see Figure
8. With reference to Figure 3 or 4, apply
the W-Type 7 Recessed Sprinkler
wrench to the sprinkler wrench ats.
Step 3. After the ceiling is installed or
the nish coat is applied, slide on the
Style 10 or 40 Closure over the Series
TY-B Recessed Pendent Sprinkler
and push the Closure over the Mount-
ing Plate until its ange contacts the
ceiling.
Care and
Maintenance
The TYCO Series TY-B 2.8, 5.6, and
8.0 K-factor, Upright, Pendent, and
Recessed Pendent Sprinklers must be
maintained and serviced in accordance
with this section.
Before closing a re protection system
main control valve for maintenance
work on the re protection system
that it controls, obtain permission to
shut down the affected re protection
system from the proper authorities
and notify all personnel who may be
affected by this action.
The owner must assure that the sprin-
klers are not used for hanging any
objects and that the sprinklers are only
cleaned by means of gently dusting
with a feather duster; otherwise, non-
operation in the event of a re or inad-
vertent operation may result.
Absence of an escutcheon, which is
used to cover a clearance, may delay
the time to sprinkler operation in a re
situation.
Sprinklers which are found to be
leaking or exhibiting visible signs of
corrosion must be replaced.
Automatic sprinklers must never be
painted, plated, coated, or other-
wise altered after leaving the factory.
Modied sprinklers must be replaced.
RECESS
PUSH WRENCH
IN TO ENSURE
ENGAGEMENT
WITH SPRINKLER
WRENCH RECESS
1/2" NPT MODELS)
WRENCH RECESS
(END "B" USED FOR
FIGURE 7
W-T YPE 6
SPRINKLER WRENCH
FIGURE 8
W-TYPE 7 RECESSED
SPRINKLER WRENCH