manuals.online logo
Brands
  1. Home
  2. •
  3. Brands
  4. •
  5. Unit
  6. •
  7. Test Equipment
  8. •
  9. Unit UT659A User manual

Unit UT659A User manual

This manual suits for next models

1

Other Unit Test Equipment manuals

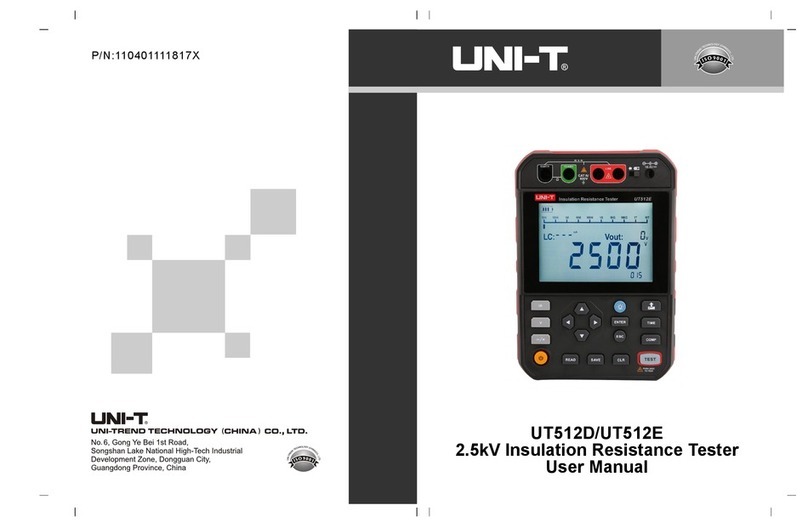
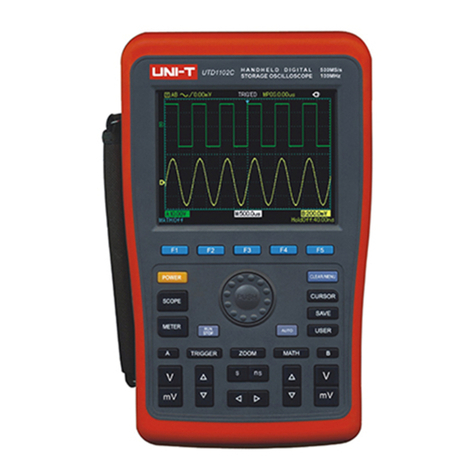
Unit UPO2000E Series User manual

Unit

Unit UPO2000E Series User manual

Unit UPO2102 User manual

Unit

Unit UPO2102 User manual

Unit UPO2000CS Series User manual

Unit

Unit UPO2000CS Series User manual

Unit UPO3000E Series User manual

Unit

Unit UPO3000E Series User manual

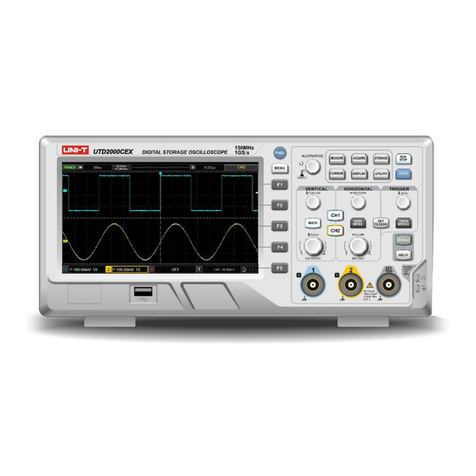
Unit UTD2000CEX+ Series User manual

Unit

Unit UTD2000CEX+ Series User manual

Unit UTD2052CL+ User manual

Unit

Unit UTD2052CL+ User manual

Unit utd2000 User manual

Unit

Unit utd2000 User manual

Unit UTL8200 Series User manual

Unit

Unit UTL8200 Series User manual

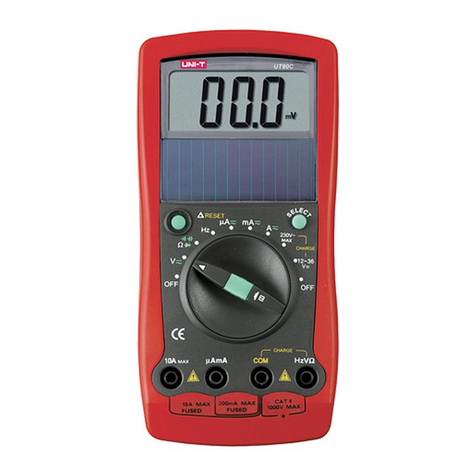
Unit UT90C User manual

Unit

Unit UT90C User manual

Unit UT276A User manual

Unit

Unit UT276A User manual

Unit UTD2025C User manual

Unit

Unit UTD2025C User manual

Unit UTD1000L Series User manual

Unit

Unit UTD1000L Series User manual

Unit UTD1000 Series User manual

Unit

Unit UTD1000 Series User manual

Unit UT2000 series User manual

Unit

Unit UT2000 series User manual

Unit UTD2000CEX-II Series User manual

Unit

Unit UTD2000CEX-II Series User manual

Unit UT 4000 Series User manual

Unit

Unit UT 4000 Series User manual

Unit UTD2000M User manual

Unit

Unit UTD2000M User manual

Unit UT3200+ Series User manual

Unit

Unit UT3200+ Series User manual

Unit UT516B User manual

Unit

Unit UT516B User manual

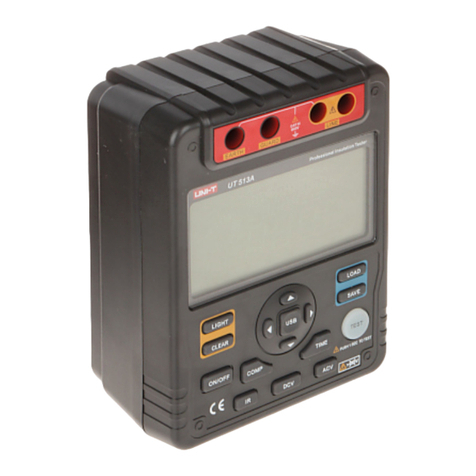
Unit UT-513A User manual

Unit

Unit UT-513A User manual

Unit UT311A User manual

Unit

Unit UT311A User manual

Unit UT713 User manual

Unit

Unit UT713 User manual

Unit UT581 User manual

Unit

Unit UT581 User manual

Unit UT313 User manual

Unit

Unit UT313 User manual

Popular Test Equipment manuals by other brands

Ambit P.F. Series instruction manual

Ambit

Ambit P.F. Series instruction manual

Megger BMM500 Series user guide

Megger

Megger BMM500 Series user guide

RJG Lynx Sensor Tester operating instructions

RJG

RJG Lynx Sensor Tester operating instructions

Mark-10 TT02 Series user guide

Mark-10

Mark-10 TT02 Series user guide

Martel 3001 Operator's manual

Martel

Martel 3001 Operator's manual

ElproSys DiagProg4 instruction manual

ElproSys

ElproSys DiagProg4 instruction manual

Redtech TRAILERteck T05 user manual

Redtech

Redtech TRAILERteck T05 user manual

Venmar AVS Constructo 1.0 HRV user guide

Venmar

Venmar AVS Constructo 1.0 HRV user guide

Test Instrument Solutions SafetyPAT operating manual

Test Instrument Solutions

Test Instrument Solutions SafetyPAT operating manual

Hanna Instruments HI 38078 instruction manual

Hanna Instruments

Hanna Instruments HI 38078 instruction manual

Kistler 5495C Series instruction manual

Kistler

Kistler 5495C Series instruction manual

Waygate Technologies DM5E Basic quick start guide

Waygate Technologies

Waygate Technologies DM5E Basic quick start guide

StoneL DeviceNet CK464002A manual

StoneL

StoneL DeviceNet CK464002A manual

Seica RAPID 220 Site preparation guide

Seica

Seica RAPID 220 Site preparation guide

Kingfisher KI7400 Series Training manual

Kingfisher

Kingfisher KI7400 Series Training manual

Kurth Electronic CCTS-03 operating manual

Kurth Electronic

Kurth Electronic CCTS-03 operating manual

SMART KANAAD SBT XTREME 3G Series user manual

SMART

SMART KANAAD SBT XTREME 3G Series user manual

Agilent Technologies BERT Serial Getting started

Agilent Technologies

Agilent Technologies BERT Serial Getting started

manuals.online logo
manuals.online logoBrands
  • About & Mission
  • Contact us
  • Privacy Policy
  • Terms and Conditions

Copyright 2025 Manuals.Online. All Rights Reserved.

P/N:110401108963X
Preface
Thank you for purchasing the new LED tester. In order to use this product
safely and correctly, please read this manual thoroughly, especially the
Safety Warning part.
After reading this manual, it is recommended to keep the manual at an
easily accessible place, preferably close to the device, for future reference.
Limited Warranty and Liability
Uni-Trend guarantees that the product is free from any defect in material
and workmanship within one year from the purchase date. This warranty
does not apply to caused by accident, negligence, misuse, damage
modification, contamination or improper handling. The dealer shall not be
entitled to give any other warranty on behalf of Uni-Trend. If you need
warranty service within the warranty period, please contact your seller
directly.
Uni-Trend will not be responsible for any special, indirect, incidental or
subsequent damage or loss caused by using this device.
UT659A/UT659D LED Tester User Manual
I. Safety Warning
This manual contains warning information and safety regulations. Please
observe them strictly to ensure the safety of the user and tester.
Caution:
1. Please read and understand the contents of the manual before using
the tester.
2. Please be sure to understand the safety aspects of the manual in detail.
3. Uni-Trend is not responsible for any damage caused by improper use
or violation of the safety regulations in the manual.
4. This manual is subject to change without prior notice.
Safety symbol “ ” has three meanings in the manual. Users should
pay special attention to the operation with the symbol when reading.
Danger----- identifies conditions and actions that are likely to pose
serious or fatal hazards.
Warning---- identifies conditions and actions that may pose serious
or fatal hazards.
Caution----- identifies conditions and actions that may pose minor
injury or damage the tester.
This tester is a power output device. Please do not use it to test
live circuits.
This tester can output up to 30mA current/300V voltage. Please
do not touch both ends of the output test leads.
Danger
This tester is a power output device. Do not use it to test circuits
connected to vulnerable components, such as CPU on the board.
When the tester is testing at 30mA/300V, if the voltage rises but
there is no LED lit, please discontinue the test.
Warning
Do not look directly at the high-brightness LED light source for a
long time.
Do not light high-power LED lamps for a long time to avoid
overheating of the tester.
If the tester is not used for a long time, please unplug the power.
Caution
The meaning of the symbols associated with this tester:
Equipment protected throughout by DOUBLE INSULATION
or REINFORCED INSULATION
Danger, Warning or Caution
Caution, possibility of electric shock
Please read the instructions before use.
II. Features
The UT659A/UT659D LED tester supports full voltage (85V~265V, 50Hz
/60Hz) input, which can be used after powering it up for 1 minute to ensure
stable voltage output. When performing a LED test at 30mA/300V, the
LED polarity can be automatically identified (short-circuit the positive and
negative ends of the test leads continuously for about 5s to switch between
automatic identification of polarity and non-automatic identification of
polarity), and the output voltage is adaptively adjusted according to the
forward voltage drop of the tested LED. The internal chip of the tester has
over temperature, overcurrent and overload protection functions.
1. UT659A
1) When the toggle switch is placed in the 30mA/300V position, the LCD
displays the output voltage and output current.
2) When the toggle switch is placed in the position for circuit continuity
test, the LCD displays the resistance value or OL.
2. UT659D
1) When the toggle switch is placed in the 2mA/24V position for single
LED lamp bead test, automatic identification of LED polarity is not
performed.
2) The LCD only displays the output voltage.
III. Tester Appearance and Main Accessory
UT659A UT659D
1
2
3
4
5
6
Input socket
LCD
Toggle switch
Output ports
Input power cord
Test lead slots
IV. Specifications
1. Technical indicators
30mA/300V DC 320V
DC 5V
33mA
50mA
±2%±5 digit
NA
±2%±5 digit
NA
NA
±2%±5 digit
30mA/300V
2mA/24V
DC 320V
DC 24V
33mA
2mA
±2%±5 digit
±2%±5 digit
UT659D
UT659A
Input voltage
Input voltage
AC 85V~265V, 50Hz/60Hz
Function
Output
voltage
(MAX)
Output
current
(MAX)
Voltage
display
accuracy
Current
display
accuracy
Resistance
display
accuracy
Function Output voltage
(MAX)
Output current
(MAX)
Voltage display
accuracy
2. Measurement Range (Function)
1) 30mA/300V:
Tests the TV backlight, LED lamp and other series circuit of multiple
lamp beads with automatic identification of LED polarity (Note: LED
Short-circuit the positive and negative ends of the test leads continuously
for about 5s to switch between automatic identification of polarity and
non-automatic identification of polarity; in the automatic identification
of polarity mode, when the backward impedance for the series circuit
of multiple LED lamp beads is too large, which is similar to open circuit
for the output of DC 300V, manually change the polarity of the test
leads for testing).
Do not discard the tester or its accessories as unsorted
municipal waste. Please dispose properly in accordance
with local regulations.
2) 2mA/24V:
Tests a single LED lamp bead without automatic identification of LED
polarity.
3) :
Tests circuit continuity.
3. General Specifications
1) Application Standard
CAT II 300V
2) Working Environment
Operating temperature: 32°F~104°F (0°C~40°C)
Relative humidity: ≤80%RH
Altitude: ≤2000 meters
3) Storage Conditions
Storage temperature: 14°F~122°F (-10°C~50°C)
Relative humidity: ≤75% RH
4) Product Size
56mm*150mm*42mm
5) Product Weight
About 170g
6) Accessories
Power cord ------------- 1 pc
Test leads --------------- 1 pair
User manual ------------1 pc
V. Testing the TV Backlight, LED Lamp and
Other Series Circuit of Multiple LED Lamp
Beads (UT659A & UT659D)
1. Automatic Identification of Polarity
1) Place the toggle switch in the 30mA/300V position and plug in the
power cord. The tester defaults to automatic identification of polarity
and the “AUTO” symbol on the LCD lights up. Wait for 1 minute to
ensure stable voltage output.
2) Connect the output test leads with both ends of the circuit under test
respectively.
3) The tester automatically identifies the polarity of the circuit and adjusts
the positive and negative poles of the output voltage. The multiple LED
lamp beads are lit gradually. If a LED lamp bead is not lit, it is damaged.
4) When the positive and negative ends of the test leads are connected
with both ends of the circuit under test in reverse and the backward
impedance of the circuit is as large as approximately open circuit, the
test output has no response. In this case, manually change the polarity
of the test leads for testing.
5) If the test output still has no response after step 4), the circuit under
test is broken.
2. Non-Automatic Identification of Polarity
1) In the automatic identification of polarity mode, short-circuit the positive
and negative ends of the test leads continuously for about 5s, and the
“AUTO” symbol on the LCD screen will go out, indicating switching to
the non-automatic identification of polarity.
2) Connect the positive end of the test leads with the positive pole of the
circuit under test, and negative end with the negative pole.
3) The multiple LED lamp beads are lit gradually. If a LED lamp bead is
not lit, it is damaged.
Caution:
VI. Single LED Lamp Bead Test (UT659D)
1. Place the toggle switch in the 2mA/24V position.
2. Connect the output test leads with both ends of the LED lamp bead
under test respectively.
3. If the polarity connection is correct and the LED lamp bead is lit, the
LED is normal.
4. If the LED lamp bead is not lit, change the polarity of the test leads for
testing. If the LED lamp bead is still not lit, the LED is damaged; if the
LED lamp bead is lit, the LED is normal (the previous polarity connection
is incorrect).
VII. Continuity Test (UT659A)
1. Place the toggle switch in the position.
2. Connect the output test leads with both ends of the circuit under test
respectively.
3. When the circuit resistance is ≤100Ω, the LCD displays the resistance
value, and when the resistance value is ≤30Ω, the buzzer beeps; when
the circuit resistance is >100Ω, the LCD displays OL.
VIII. Maintenance and Repair
1. Cleaning the Casing
Clean the casing of the tester gently with a dry cloth. Do not use alcohol
or solvent as it is corrosive to the casing, especially the LCD. Please
prevent the tester from being wet.
2. Repair
Please contact your seller directly if the following issues occur.
1) The casing of the tester is broken or the tester is damaged.
2) The LCD displays abnormally.
3) Unexpected test data occur under normal use.
4) The toggle switch does not function normally.
In the automatic identification of polarity mode, when the tested circuit is
connected in parallel with a component or circuit with a lower forward
voltage drop, the polarity judgment will be misled. At this time, switch to
the non-automatic identification of polarity mode for testing.