Uovision Compact LTE 4G 20MP Cloud User manual

USER MANUAL
Uovision Compact LTE 4G 20MP Cloud
Declaration of Conformity to Directive 2014/53/EU
CE Caution: Hereby the manufacturer declares that this Uovision
Compact LTE Wireless Trail Camera is in compliance with the
essential requirements and other relevant provisions of Directive
2014/53/EU. A copy of the DOC, Declaration of Conformity to
Directive 2014/53/EU, may be obtained thru the local distributor.

Content
1 CAMERA INTRODUCTION ................................................. 1
1.1 HOW THE CAMERA WORKS ............................................. 1
1.2 CAMERA OVERVIEW ......................................................... 2
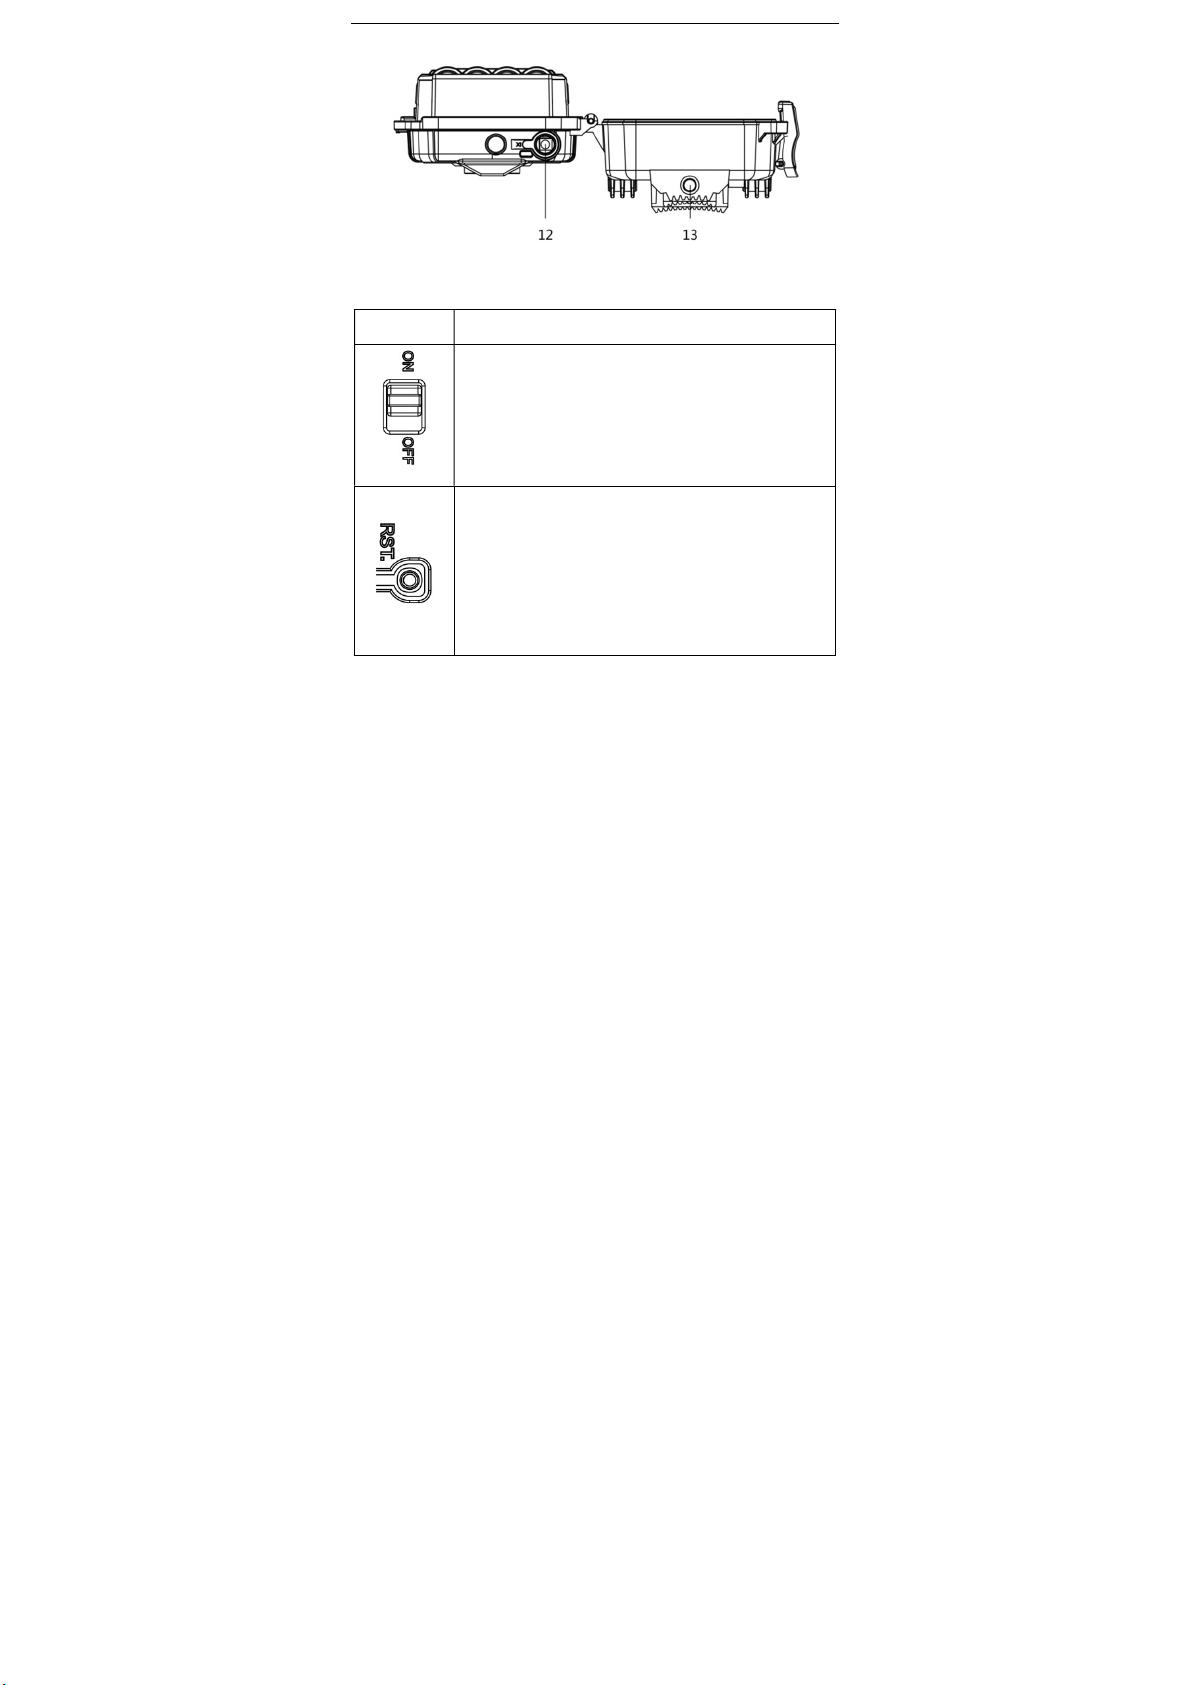
1.3 BUTTON INSTRUCTION .................................................... 3
2 PREPARATION .................................................................... 4
2.1 INSTALLING BATTERIES ................................................... 4
2.2 INSERTING MICRO SD CARD ........................................... 4
2.3 INSERT NANO SIM CARD .................................................. 5
3 SETTING CAM WITH WEB PORTAL OR APP .................... 6
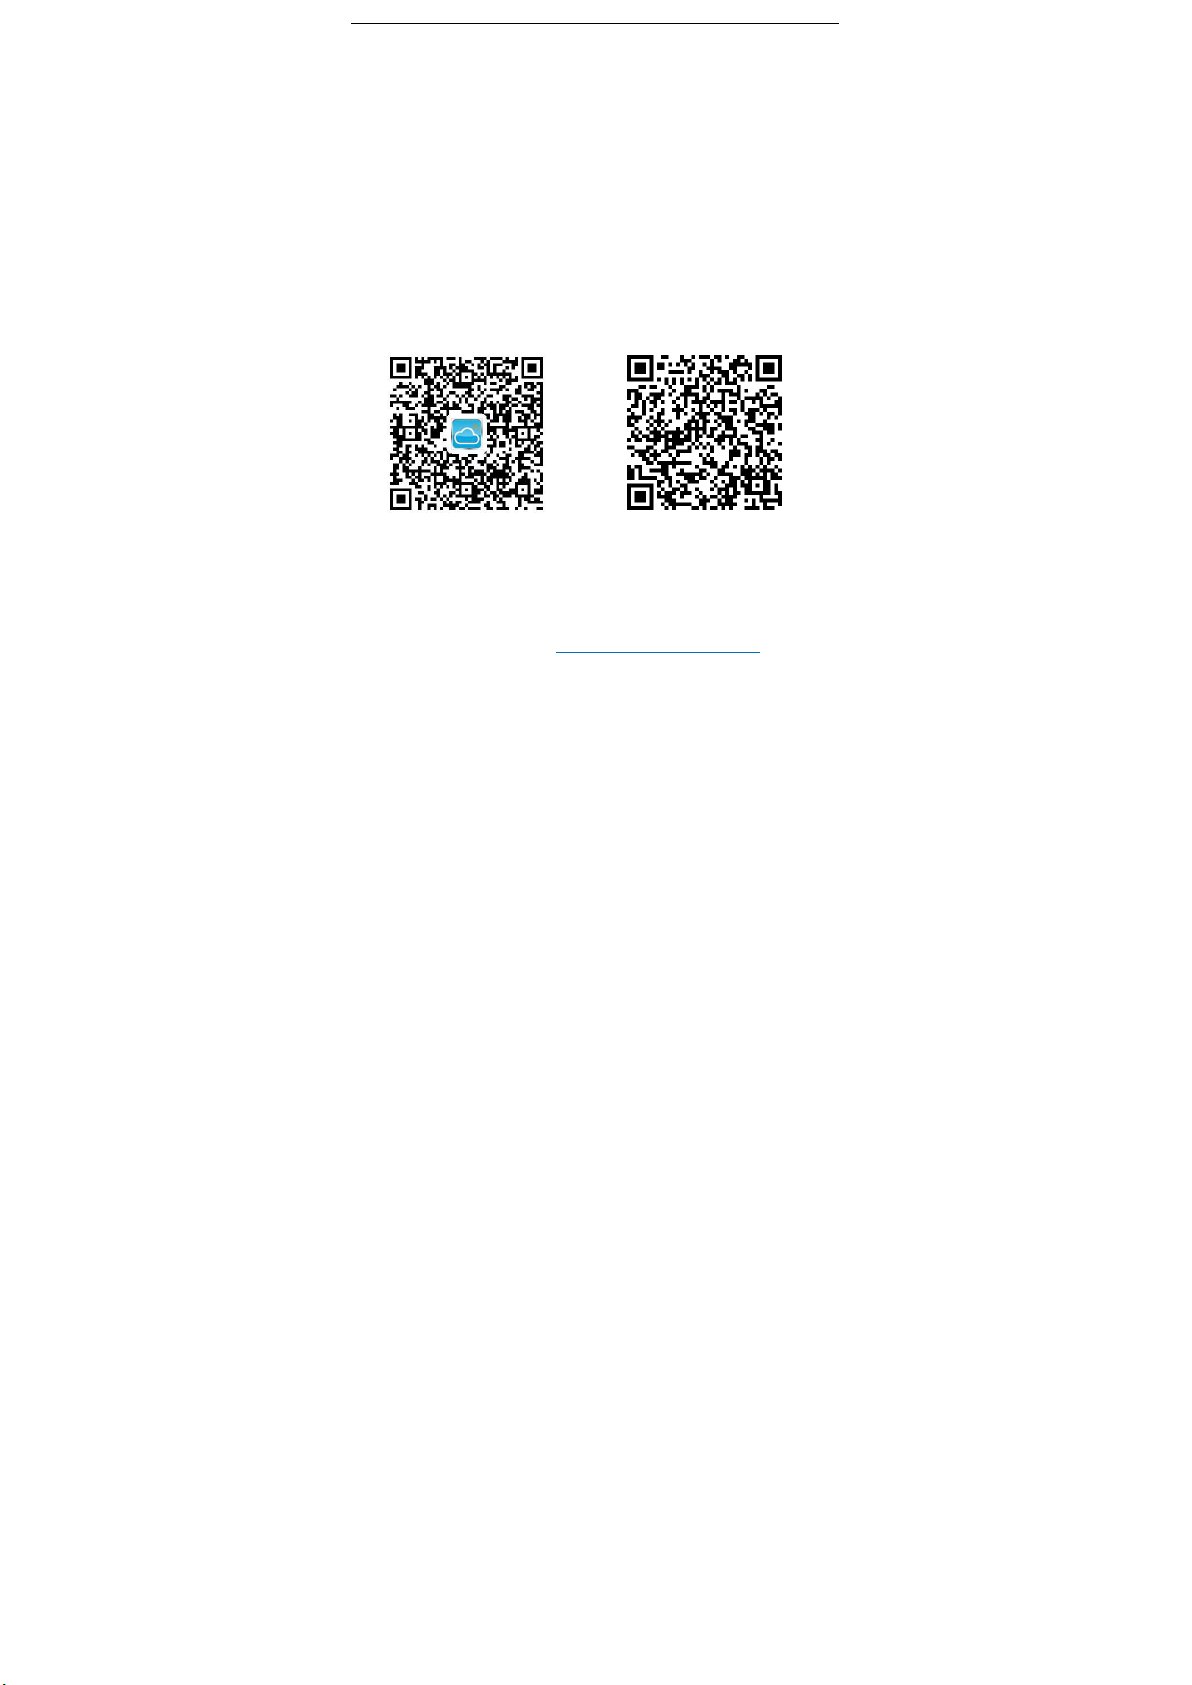
3.1 DOWNLOADING THE LINCKEAZI CLOUD APP ................ 6
3.2 LINCKEAZI CLOUD LOGIN ................................................ 7
3.3 CHOOSE A SIM CARD AND PLAN ..................................... 9
3.4 SETTING CAM .................................................................... 9
4 SETTINGS .......................................................................... 11
5 CAMERA LIGHTS .............................................................. 14
6 MANUAL PHOTO .............................................................. 15

7 STARTING THE CAMERA................................................. 15
8 OTHER OPERATIONS ...................................................... 17
8.1 LOG FILE........................................................................... 17
APPENDIX Ⅰ: TECHNICAL SPECIFICATIONS ...................... 18
APPENDIX Ⅱ: PARTS LIST ..................................................... 19

1
1 CAMERA INTRODUCTION
1.1 HOW THE CAMERA WORKS
Uovision Compact LTE Wireless Trail Camera is using high-speed
4G LTE connection thru the LinckEazi cloud platform. It has max
20MP resolution and max Full HD (1080P) video with audio.
Camera is having small compact size and it is easy to use. User
can review the photos and videos via LinckEazi Cloud platform.
Setting changes are done also using cloud platform.

2
1.2 CAMERA OVERVIEW
1. Switch 2. Reset 3. Micro SD slot
4. Nano SIM slot 5. 4G Antenna 6. ”PIR & Power” LED
7. "Network Status" 8. MIC 9. PIR detector
10. Lens 11. Flash 12. 6V Power Port
13. Tripod / Wall Mount Threads

3
1.3 BUTTON INSTRUCTION
Button Function description
ON: Working mode (camera active)
OFF: Power Off
①
:Press the RESET button and the camera
will take a manual photo and automatically send
to the app (LinckEazi account needs opened first,
and insert camera serial number & IMEI code to
your own account)

4
Sound information
Beeps 2 times: no SIM card
Beeps 3 times: no Micro SD card
Beeps 1 time: upgrade is completed
2 PREPARATION
2.1 INSTALLING BATTERIES
This camera can function on 8 AA alkaline batteries. Pay
attention to the (+) or (-) molded into each sleeve to
determine, if you insert the positive or negative end into the
sleeve first. Negative battery terminal always contacts the
spring. Note:
·Do not mix different types of batteries
·Do not mix the old and new batteries
·Recommend high-performance (1.5V) batteries, such
as Alkaline or Lithium batteries
·Remove batteries when not in use to prevent leakage!
2.2 INSERTING MICRO SD CARD
Always ensure that the camera is turned OFF before inserting

5
a Micro SD card. Insert a Micro SD card (up to 32G) into the
Micro SD card slot with the label side facing upwards.
2.3 INSERT NANO SIM CARD
This product supports following Networks
FDD-LTE:B1/B3/B5/B7/B8/B20;
TDD-LTE: B38/B40/B41;
WCDMA: B1/B5/B8;
GSM: 900/1800
Be sure that PIN code of the SIM card is OFF
Secure that SIM card has enough money

6
SIM card should support high-speed 4G LTE data
transmission and SMS text message receiving
3 SETTING CAM WITH WEB PORTAL OR APP
3.1 DOWNLOADING THE APP
Search “Linckeazi”in your Google Play Store or Apple Store. You
can also scan below QR code and install the APK file to your
smart phone:
Android APP IOS APP
Accessing to LinckEazi Cloud Web Portal by computer:
Open your web browser to: https://www.linckeazi.com

7
3.2 LOGIN
Open your browser and access the address:
https://www.linckeazi.com
If you already have an account just login in. If not, click ‘Sign up’
on the page to pop up the registration page. Please register your
account with an email address, and fill out the necessary
information.
Then, add the camera to your cloud account. Please click ‘Add
Device’, a form will pop out and request basic information for your
CAM.

8
Name your CAM, and add location description if necessary. The
Serial Number and IMEI code can be found inside your Camera:
SN (serial number) & IMEI Code

9
3.3 CHOOSE A PLAN
Click “Choose a plan” button to select the type of plan you’d like to
add. Free plan provides recent 10 days pictures and videos.
3.4 SETTING CAM
The Camera can be set up conveniently with either website or
APP.

10
Please click ‘Apply to Device’ when you finish the settings.

11
4 SETTINGS
CAMERA MODE
Photo
Photo Size 3M/5M/8M/12M/16MP/20MP
Flash Power Low/High
Photo Burst 1-10
Burst speed Fast/ Slow
Sending Option 1-10
Shutter Speed Normal/Fast
Flash Power Low/High
Video Video Size WVGA/720P/1080P
Video Length 5s-60s
Photo Burst: It’s the taken number of pictures when a triggering.
If photo burst is 3, it means the camera will take 3 pictures after
one triggering. You also can choose which one of the pictures will
be sent via Sending Option.
Shutter Speed: Normal is suitable for most application scenarios.
Fast can be used for reducing motion blur.

12
TRIGGER MODE
PIR Trigger PIR Sensitivity Auto/Low /High
PIR Interval 5s - 60min
Time Lapse 3Min-24Hour
Both
PIR Interval:It means how often the PIR sensor can be allowed
to work. This prevents the card from filling up with too many
redundant images.
Time Lapse:When choose time lapse, camera takes photos or
videos by time, not by triggering. It’s useful for continuously
monitoring of an area.
SYSTEM SETTINGS
Work-Time 4 Groups
Send Mode Instant (0~99), 0 means infinity
Remote Control Real Time/Delay 0.5H/1H/2H
/3H/4H/6H/12H/24H
Time Calibration Off/On
Rename Edit camera name

13
Over Write Off/On
Location (aGPS) On/Off
Send Mode: Enable the instant transmission. 0-99 means the
number of photos which is allowed to send out per day.
Remote Control: You can remote control your camera via mobile
phone or web-portal. Please note if you choose Real Time, the
power consumption will be huge as the wireless module will keep
awake. Delay 24H means the wireless module will automatically
wake up after 24 hours. This means your command will be carried
out after 24 hours.
Work Time:The camera can work at a preset time and preset
days. In the rest of the time the camera is not work. Work hour:
00:00-00:00 means 24 hours. If the settings is cross the day, for
example: Start: 20:00 Stop: 10:00 means 00:00-10:00 am and
20:00-24:00 of the chosen day.

14
5 CAMERA LIGHTS
Color Flash slowly Steady Flash fast
Light1 Red PIR is working Low power
Light2
Green
Searching for signal
Good signal
Sending
pictures
Yellow-
green
Weak
signal
Red No signal
The camera goes to Active Mode when the two lights are off.
“PIR&Power” Light (Light 1)
“Network Status” Light (Light 2)

15
6 MANUAL PHOTO
You can manually take a picture and
check if your APP has successfully
received the photo.
Press the “RST” button when the light
2 is green or yellow-green. Camera
will shoot a picture at once and send
to cloud platform. The cloud platform
will receive the photo within 30
seconds if the camera has a good signal.
If light 2 become red after manually shooting, it means the picture
did not send. We suggest checking this:
Micro SD card’s capacity (max up to 32G)
Check your SIM card (data speed, PIN code OFF)
7 STARTING THE CAMERA
STEP 1: Turn on the camera (ON button);
- Use the OFF/ON switch to turn on the camera;
STEP 2: The green “Network Status” light flashes – searching for
signal

16
- The signal search can take a few minutes
STEP 3: The “Network Status” light will be steady which means
the camera is registered online.
- Steady Green: Good signal
- Steady Yellow-Green: Weak signal
- Steady Red: No signal
STEP 4: After the camera is registered online, there will be 60
seconds for the camera to prepare to enter into Active Mode.
- You can press “RST” button to manually shoot a picture.
Then the “Network Status” light will flash quickly, it
means the camera is sending the picture to cloud
platform
STEP 5: The camera is ready for use when all lights are off
If the “Network Status” light turn to red during STEP 3 or
STEP4, you should:
- Check if the SIM card has balance
- Check if the antenna is tightened
- Micro SD card’s capacity (max up to 32G)
- SIM PIN code is OFF

17
8 OTHER OPERATIONS
8.1 LOG FILE
If the manual sending will fail, there will be a log file generated on
your Micro SD Card. You can send the Log file for trouble shooting
to your local distributor.
This manual suits for next models
1
Table of contents
Other Uovision Scouting Camera manuals

Uovision
Uovision UM595-HD-3GE User manual

Uovision
Uovision UV785 User manual

Uovision
Uovision GLORY LTE CELLULAR User manual

Uovision
Uovision UM565-SMS 12MP User manual

Uovision
Uovision UM785-HD User manual

Uovision
Uovision UM785-HD User manual

Uovision
Uovision UM785-HD User manual

Uovision
Uovision Illuminator UV567 User manual

Uovision
Uovision PANDA UV535 User manual

Uovision
Uovision UV785-HD User manual