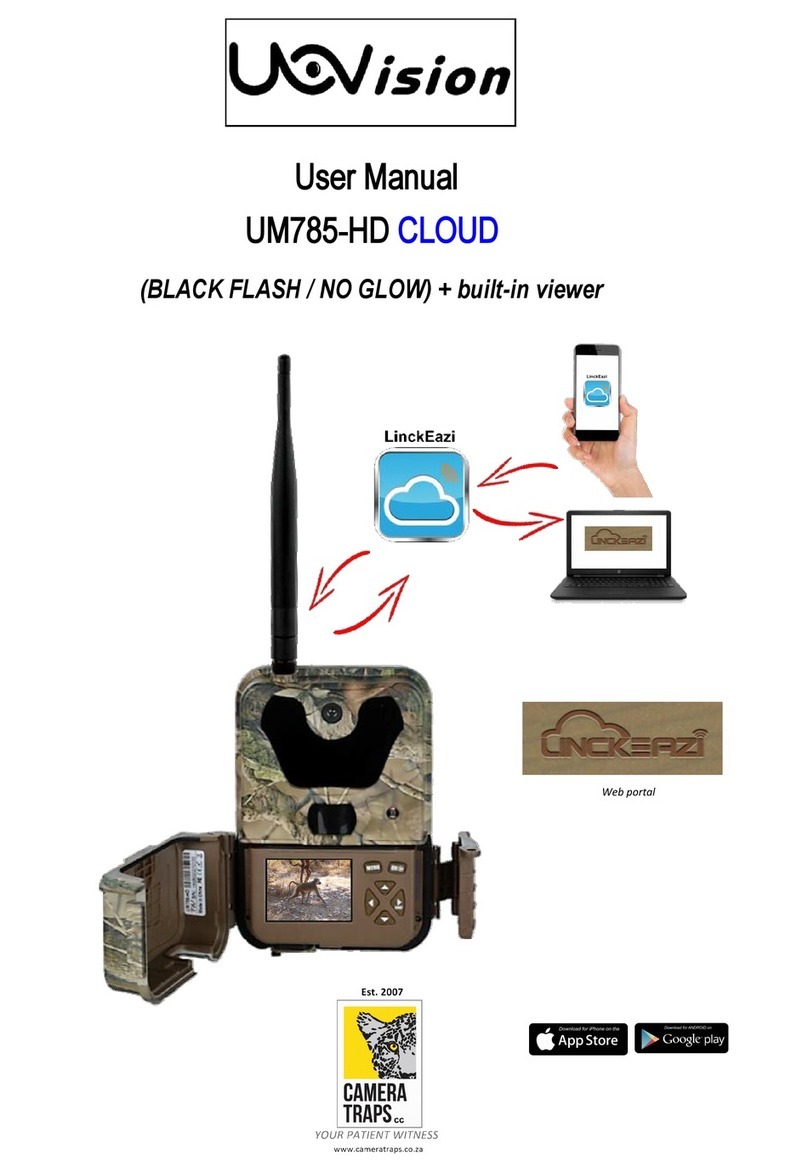
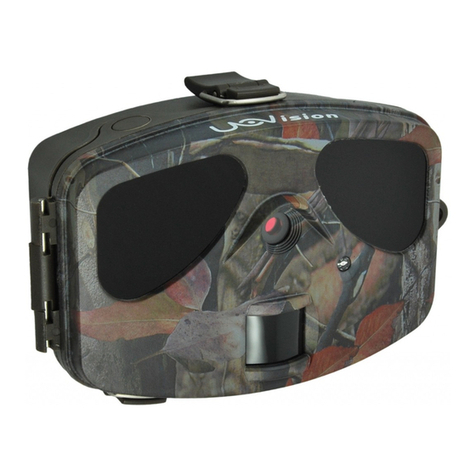
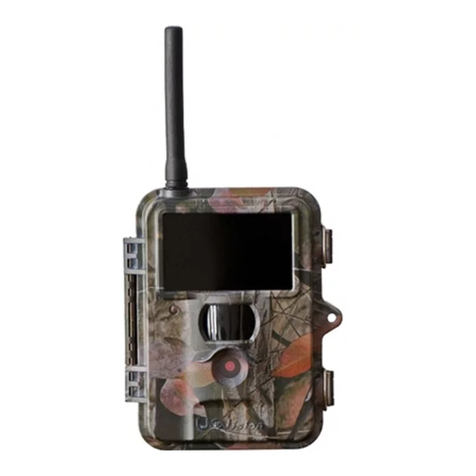
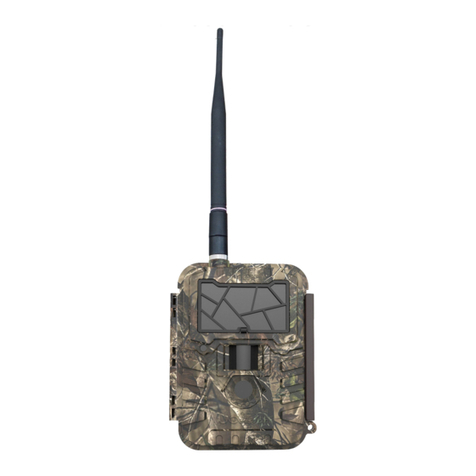
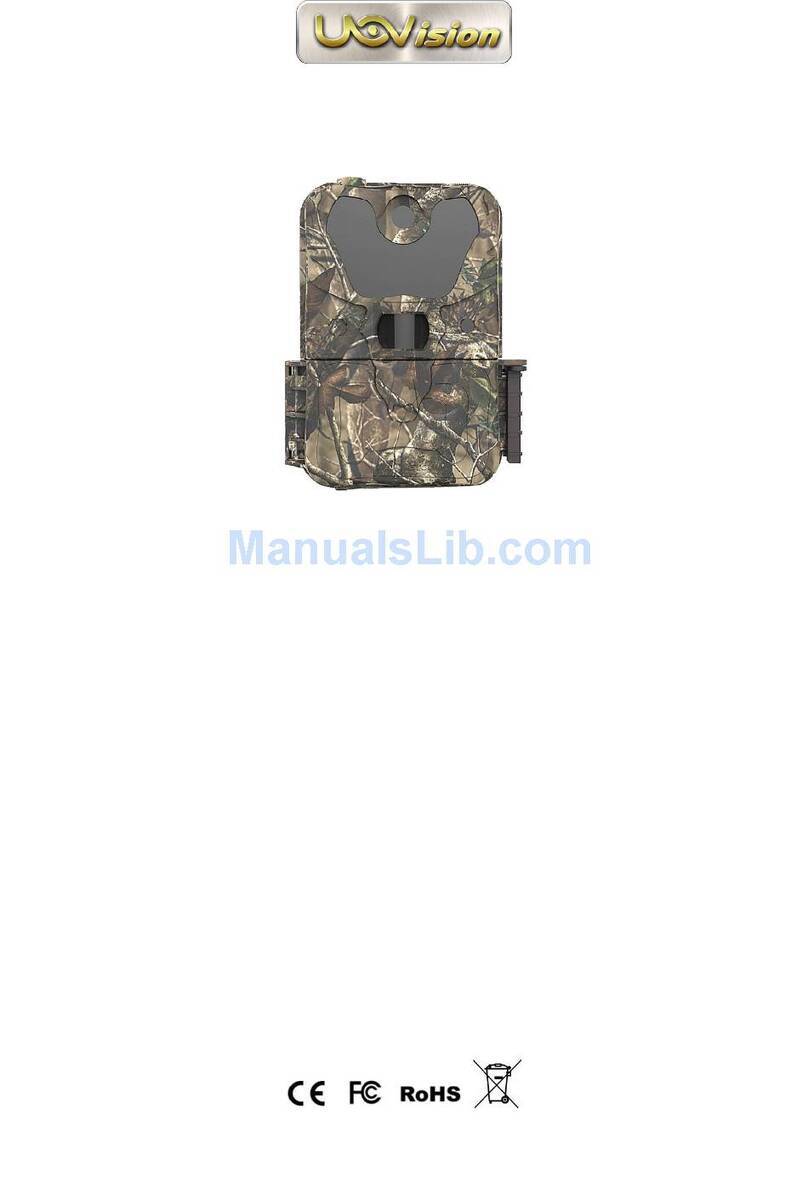
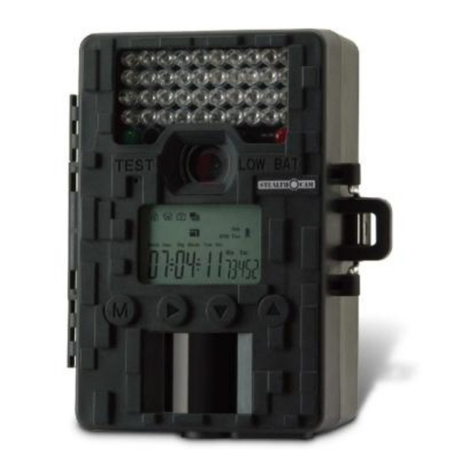
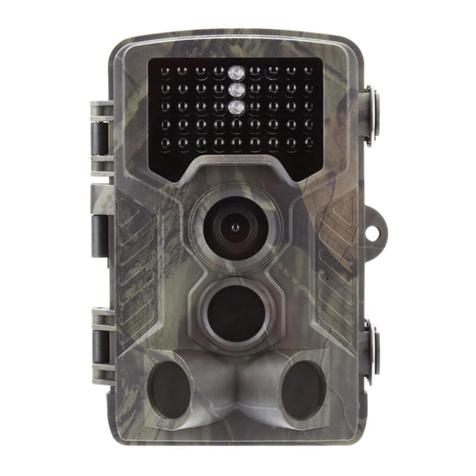
Uovision UV785-HD User manual

User Manual
U
V
785
-
HD
(BLACK FLASH / NO GLOW) + built-in viewer

Contents
1 General Description................................................................................................................................................... 1
2 Camera button info diagram ...................................................................................................................................... 1
3 Installing the batteries ............................................................................................................................................... 2
4 Inserting SD card ....................................................................................................................................................... 3
5 Customizing camera settings .................................................................................................................................... 3
5.1 CAM TAB ........................................................................................................................................................ 3
5.1.1 Camera Scene .................................................................................................................................... 4
5.1.2 Video Mode ........................................................................................................................................ 5
5.2 PIR TAB ...................................................................................................................................................... 6
5.3 Work Time .................................................................................................................................................. 6
5.4 SYS TAB ..................................................................................................................................................... 7
6 Sensing Angle and Distance Test ............................................................................................................................ 8
7 Mounting camera...................................................................................................................................................... 8
8 File format ................................................................................................................................................................ 9
9 Trouble Shooting ..................................................................................................................................................... 9
Appendix Ⅰ: Technical Specifications ...................................................................................................................... 10
Appendix Ⅱ: Parts List .............................................................................................................................................. 10

Page 1
1 General Description
Main features:
•12MPblack flash (no glow IR)camera with 20m+ flash range
•Up to 64GB capacity SD card supported
•1080PH.264 video with audio
•0.4s trigger speed
•Built-in 2.4” LCD colour (front-facing) viewing screen
•Support 1-10 burst photos
•Camera scene feature, including moving object settings
•Weatherproof IP54
2 Camera button info diagram
Fig 1 Front View Fig 2 :Operation Interface
Fig 3 :Bottom View

Page 2
Operation Panel
MENU: To enter the menu, the power switch should be on SETUP.
▲▼◄►: Navigation arrows. (“▲”is the shortcut to choose “Video”, while “▼”for the “Photo”.)
OK : Save parameter settings. Exchange between playback and preview.
►Shot: To capture a photo or record a video manually. (Click ►again to stop the video.).
Power Switch: OFF: turn off the power; SETUP:change camera settings;ON: enter working mode.
3 Installing batteries
To supply power for the camera, 4, 8 or 12 AAsize ('penlight') batteries are needed.
Confirm that the power switch is on the OFF position; load the fully charged batteries into the pack according to their
correct +/- polarities (shown below).The following batteries can be used:
1. High-density and high-performance AA size alkaline or 1.5v Lithium batteries (Recommended)
2. Rechargeable 6V external SLA battery (Sealed Lead Acid) or solar panel
3. Rechargeable NiMH AA size batteries (at least 2500mAh)
There are 6 battery slots. Slot 1 and 2 form one group and is marked “1”, slot 3 and 4 form the other group and is
marked “2”, while slot 5 and 6 form the other group and is marked “3”. One single “group” of batteries is needed
to supply power to the camera, but using at least 2 "groups" is recommended.
Figure 4 Battery Configuration

Page 3
4Inserting the SD card
The UV785-HD camera has no internal memory storage space to store pictures / video clips. You need to insert a SD
memory card to let the camerawork correctly. Standard size SD and SDHC (High Capacity) cards up to a maximum
64GB capacity are supported (Micro-SD memory cards with adapters are NOT recommended).
Using high speed SD cards (SanDisk3 Ultra3 or Extreme3 series or similar) is recommended if you will use the
1280x720 or 1920x1080 video settings.
Make sure the power switch is OFF before you insert the SIM card or SD card into camera.
The camera will not turn on
without a SD card
inside.
Make sure the write-protect switch on the side of the card is “off” (NOT in the “Lock” position).
NOTE: Every photo taken by this camera will be saved to the SD card even those that have been transmitted to the
recipients. You will always have access to high resolution photos on the SD card. The SD card can be over written
in the MENU settings to ensure continued cycle use.
Formatting the SD card - Switch camera to SETUP. Press MENU button, then choose SYS tab. Navigate down by pressing the ▼ button until
the FORMAT option is highlighted and press OK then choose Yes to format.
5 Customising camera settings
5.1 CAM TAB
Figure 5CAM menu Figure 6Camera modes
Press menu button, then you will see the screens shown in Fig.5 & Fig.6, press ▲▼ button to highlight the option, then
press OK to select. There is always a ‘*’ shows up beside the current selected option.

Page 4
5.1.1 Camera Scene
The UV785 camera has numerous camera scene settings, including moving object and close object, with the help of
camera scenes, you can easily choose different combinations of shutter speedsand exposure timesaccording to
particular setup scenarios.
Figure 7Camera scene(A) Figure 8Camera Scene(B)
Camera Scene Description
Auto This optionis appropriatefor mostofthe use.We recommend this optionfor quick
setup camera. It takes 8MP photos in daytime and 3MP photos atnight.
Close objects This option is suitable for object which is within the distance between 3m and 5m.
The IR flash is dimmed to preventexcessive exposure.
Note:Keep in mind that the focal distance ofthe camera is 3m(10ft) to infinity.
Moving objects This option is to reduce motion blur when capturing fast moving objects.
Still objects This option give a relatively slow shutter speed to geta brighter picture.
Chasing Photo This option allows PIR triggered up to three times within 15s, without constraint
ofthe PIR interval.
2Bursts(A+M) Your camera can take a 2 shot burst every time the PIR is triggered to take a
photo. One is using Auto scene, the other one using Moving objects scene to
take a no blur photo. It’s useful for home surveillance usage. “A” means Auto, ”M”
means moving.
3Bursts(A) To take 3 continuous photos after one trigger.
Also,you have access to custom settings just by clicking customize. See Fig.9.
Photo Sizes: 1.3MP, 3MP, 8MP, 10MP, 12MP
Flash Power: Low/Medium/High.
Photo Burst: 1-10
Figure 9. Customize

Page 5
5.1.2 Video Mode
When youset Camera Mode as Video, then you will seethese submenu shows up.
Video Size
Select video resolution (in pixels per frame). Higher resolution produces better quality videos, but creates larger files
that will take up more SD card space and fills it up faster. It provides Full HD 1080P (1920x1080, 30fps), HD 720P
(1280x720, 60fps) and WVGA(848x480, 60fps) videos. Default set is 720PHD.
Figure 10 Video Size Figure 11 Video size
Video Length
Video length is the length per captured video clip. The video length is from 5s to 60s. The default setting is 10s. For
saving power, it is better toset video length within 10 - 20s
Figure 13 Video Length
Figure 12 Video Length

Page 6
5.2 PIR TAB
Trigger Mode
There are 3 trigger modes: PIR trigger, Time lapse and PIR trigger &Time lapse.
Figure 14 Trigger Mode Figure 15 Trigger options
PIR trigger
When you choose PIR trigger, the PIR is active. Any motion (animals or humans) that is detected by the PIR
will trigger the camera to capture a photo or video according to the preset PIR sensitivity and PIR Interval.
PIR Sensitivity
The camera monitors temperature of ambient conditions. 'Auto'is when the camera automatically adjusts the
sensitivity of the sensor/trigger signal, on cold days it's ok to choose Low, on hot days it is better to choose
High to be more sensitive to slight variations in temperature.
PIR Interval
Allows you to customise the time you want the PIR sensor to be active again after a transmission event. Options are
0-60 seconds (5 second increments) and 1-60 minutes.
Time lapse
When you choose time lapse, the camera will automatically take photos or videos at user-set intervals - even
when it is not triggered by the PIR sensor This is useful for constant monitoring of an area that might be far away
from the camera or monitoring a building site. The interval time between each photo/video is set in the submenu
Time Lapse. It sets the time lapse interval between each photo/video, when the trigger mode is Time Lapse or
both. The time options include 5-55 seconds (in 5 second increments), 1-5 minutes (in 1 minute increments), 5-55
minutes (in 5 minute increments), 1-8 hours (in 1 hour increments) and 24 hours. Both
It means PIR and Time Lapse are both active.
For example: Someone placed this surveillance camera in a country park entrance, selected both, set the PIR
interval as 5 second, set the Time Lapse as 4 hours, means that in addition to every 4 hours automatic field scan
shooting.
5.3 Work Time
The camera can just work at a preset time and preset days. In the rest of the time the camera is under standby
mode.
There are four work time can be set, see Figure 16.
Page 7
Figure 16 Work time menu
On: It means enable the work time function. Off: It means the camera will work all the time.
If you want set two different time periods, please set more than one Work Time.
5.4 SYS TAB
Set Clock
Enter to set the date and time.
Figure 17 SYS menu Figure 18 Set Clock
Password
Use “▲”“▼”“►” to set the password, and press OK to save it. The default password is 0000. In case you forget
your password, make sure you write down your password or save it to your mobile phone so you can access your
cameraif you ever forget your password.This is a very importantsecurity feature.
Rename
In order to distinguish one camera from others, you can rename your camera. The character is from”0”to”9” and ”A”
to ”Z”. The max number of character is 8. Use “▲”“▼”to select the character, and press OK to save it. The new
camera name will be printed on time stamp.
Figure 19 Figure 20

Page 8
6 Sensing Angle and Distance Test
To perform the sensing angle and monitoring distance of the camera test:
•Toggle the power switch to SETUP and you will notice that the front-facing lens will show you what the camera lens is
'seeing'. This will assist you in aiming the camera.
•Make movements in front of the camera at several positions within the area where you expect the object will be. Try
different distances and angles from the camera.
•If the red indicator LED light blinks, it indicates that your position can be sensed.
•If it does not blink, your position is outside of the sensing area. The results of your testing will help you find the best
placement when mounting the camera.
7 Mounting tips
Mount the camera approximately 1.4m off the ground
facing straight forward as level as possible. For instance,
place the camera 7m-10m from a field edge facing the
woods. If positioning the camera in a bushy area,
position it facing a thicket approximately 7m-10m away.
Don’t face directly towards light sources as
this may result in
'white-out' / over-exposed footage.
In some instances, using the forest for reflection can
add more light to your target area.
Recording short video clips is a good way of
minimising the effect of night-time 'motion-blur'
images if the subject is moving briskly past
the camera. It provides a constant light
source.

Page 9
8 File format
The folders on the SD card that contain the triggered footage are named like 100_1502. The numbers behind”_”
shows the year and month. The image files are are named as ”TIME0001.JPG” or ”PIRT0001.JPG” or
”MANU0001.JPG”.
“TIME” means the photo or video is triggered by time-lapse.
“PIRT” means triggered by movement.
“MANU” means the photo or video is taken manually in the setup mode.
9 Trouble Shooting
Q1: Cannot access the SETUP menu. A: Possible
problem:
No SD card in the card slot
Corrupt SD card
Batteries are too low to power up camera
Q2: The photo is too dark at night.
A: Possible problem:
The illumination parameter is not set correctly. Please refer to Fig 9 camera flash range settings.
Lack of reflective background at night: We recommend positioning the camera in an area with a
backdrop to reflect the maximum amount of light. For instance, place the camera 8-12m (20-30’) from
a field edge facing the woods.
Q3: The camera shut down automatically in SETUP mode.
A: Possible problem:
The camera is set to shut down the power automatically when there is no operation over 3 minutes in
SETUP mode. The purpose is to prevent battery drain.

Page 10
Appendix Ⅰ: Technical Specifications
Picture Resolution 12MP, 10MP, 8MP, 3MP, 1.3MP
Lens F/NO=2.4 FOV(Field of View)=52°
IR-Flash (No glow) (Low) 6m-12m, (High) 12m-25m
Display Screen 2.4” LCD
Memory Card Up to 32GB
Video Resolution WVGA,720P,1080P
PIR Sensor Multi Zone
PIR Sensitivity Adjustable (High/Normal/Low)
Trigger Time High:0.4s / Low:0.6s
Operation/Storage Tem. -30 - +60°C / -40 - +80°C
Trigger Interval 0s – 60 min.
Time lapse
3,4,5-55 min (in 5 min increments)
1-8 hours (in 1 hour increments)
2 hours/16 hours/20 hours/24 hours
Photo Burst 1–10
Video Length 5–60s
Power Supply 4×AA, 8×AA or 12AA or 6v external DC
Stand-by Current < 0.25 mA (<6mAh/Day)
Low Battery Alert LED Indicator; APP alert
Mounting Rope/Belt/Python lock
Dimensions 140 x87 x55 mm
Operation Humidity 5% - 90%
Security authentication FCC, CE, RoHS
Appendix Ⅱ: Parts List
Part Name Quantity
Digital Camera One
Mounting Strap One
User Manual One

Page 11
Declaration of Conformity to Directive 1999/5/EC
CE Caution:
Hereby, the manufacturer declares that this camera is in compliance with
the essential requirements and other relevant provisions of Directive
1999/5/EC. Pls ask for your distributor for a copy of the Declaration of
Conformity to Directive 1999/5/EC.
CAMERA TRAPS cc
www.cameratraps.co.za
+27 (0)83 560 0555 | +27 (0)82 422 0356
Table of contents
Other Uovision Scouting Camera manuals

Uovision
Uovision UM595-HD-3GE User manual

Uovision
Uovision UV572 User manual

Uovision
Uovision UM785-4G User manual

Uovision
Uovision UV785 User manual

Uovision
Uovision Illuminator UV567 User manual

Uovision
Uovision UM785-HD User manual

Uovision
Uovision UM785-HD User manual

Uovision
Uovision GLORY LTE CELLULAR User manual

Uovision
Uovision UM785-HD User manual

Uovision
Uovision Compact LTE 4G 20MP Cloud User manual