2SDcardcapacityoverview
Number of pictures on Photo Mode
8MP 3MP 1.3MP
2GB SDHC 2330 3495 6990
4GB SDHC 4660 6990 13980
8GB SDHC 9320 13980 27960
16GB SDHC 18640 55920 55920
32GB SDHC 37280 111840 111840
Number of pictures on Video Mode
3Informationonloadingandexchangeofbatteries
Insert 4, 8 or 12AA batteries into the battery compartment. 4 batteries are sufficient for camera
programming. For the actual use of the camera we recommend to use 12 batteries.
Make sure to respect the correct polarity and use batteries of the same brand and quality.
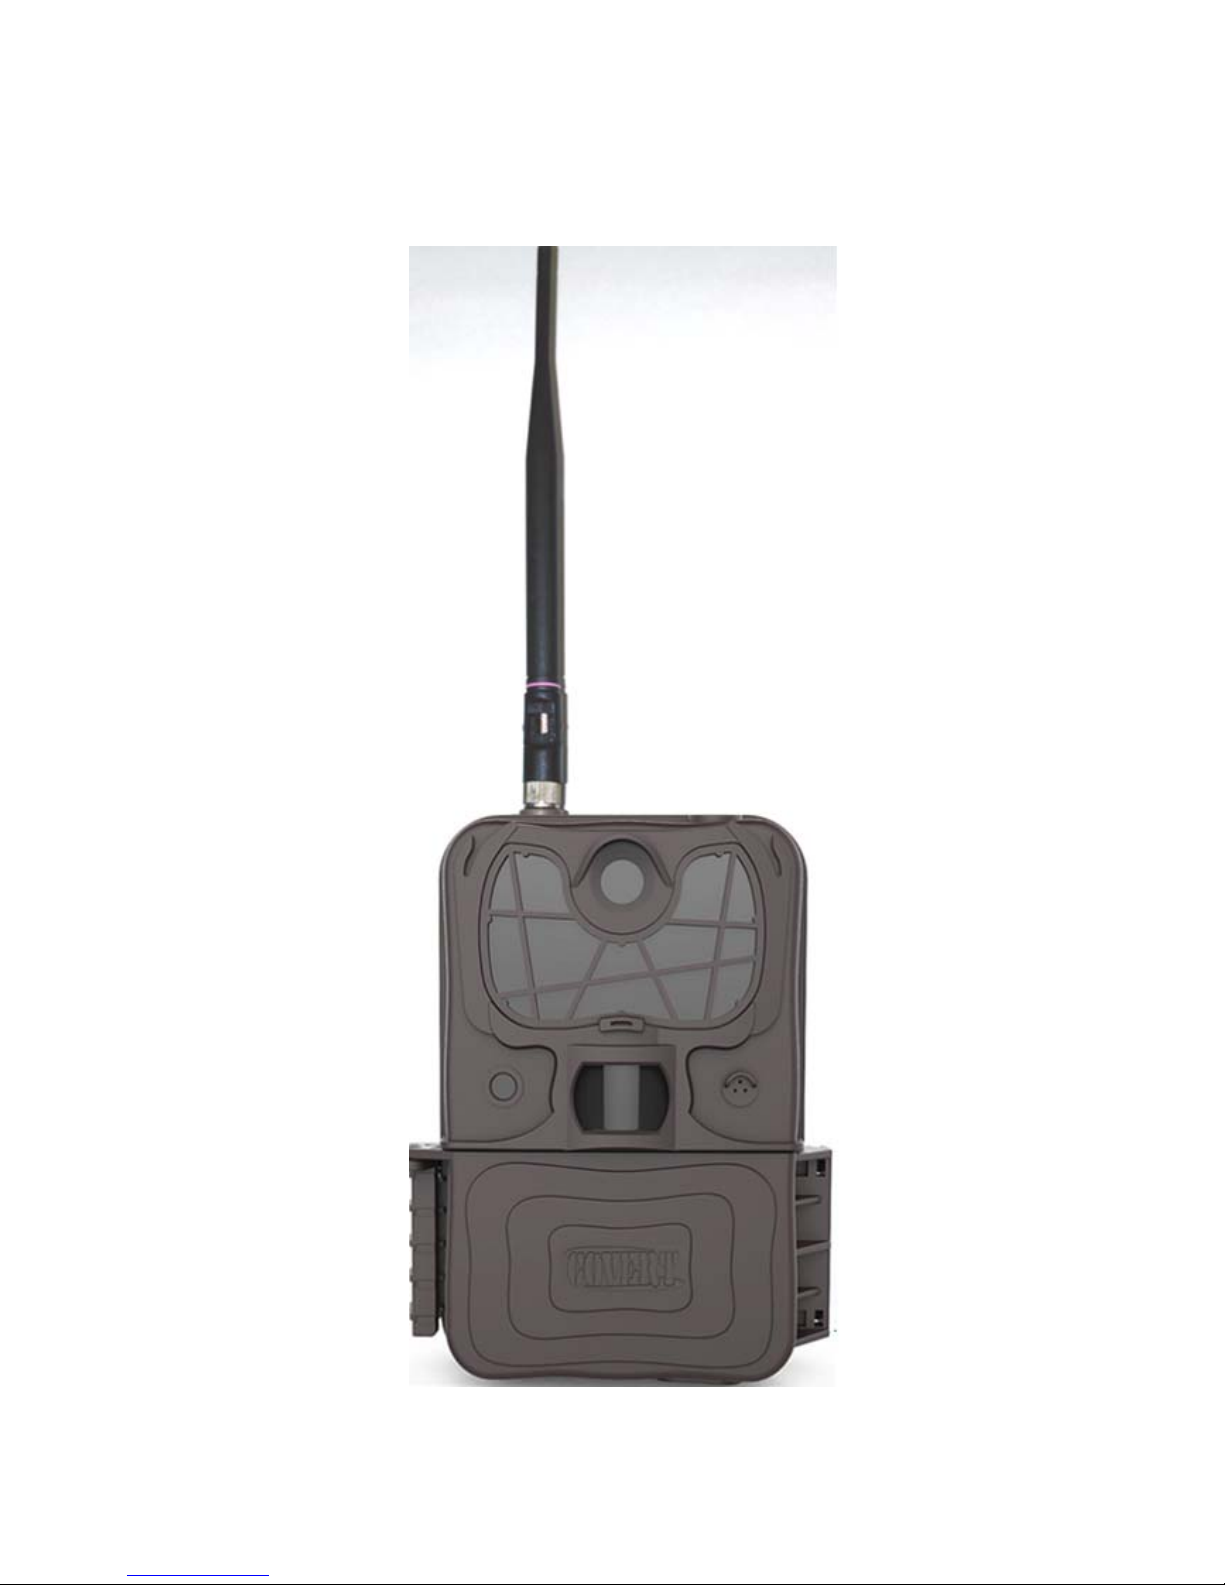
4InstallingyourSIMcard
The camera supports 3G transmission. You need to open data service of your SIM card. Be sure
that the PIN Code of the SIM card is disabled before using.
If there is no SIM card, the camera will function as a regular trail camera and all photos will store
to the SD card.
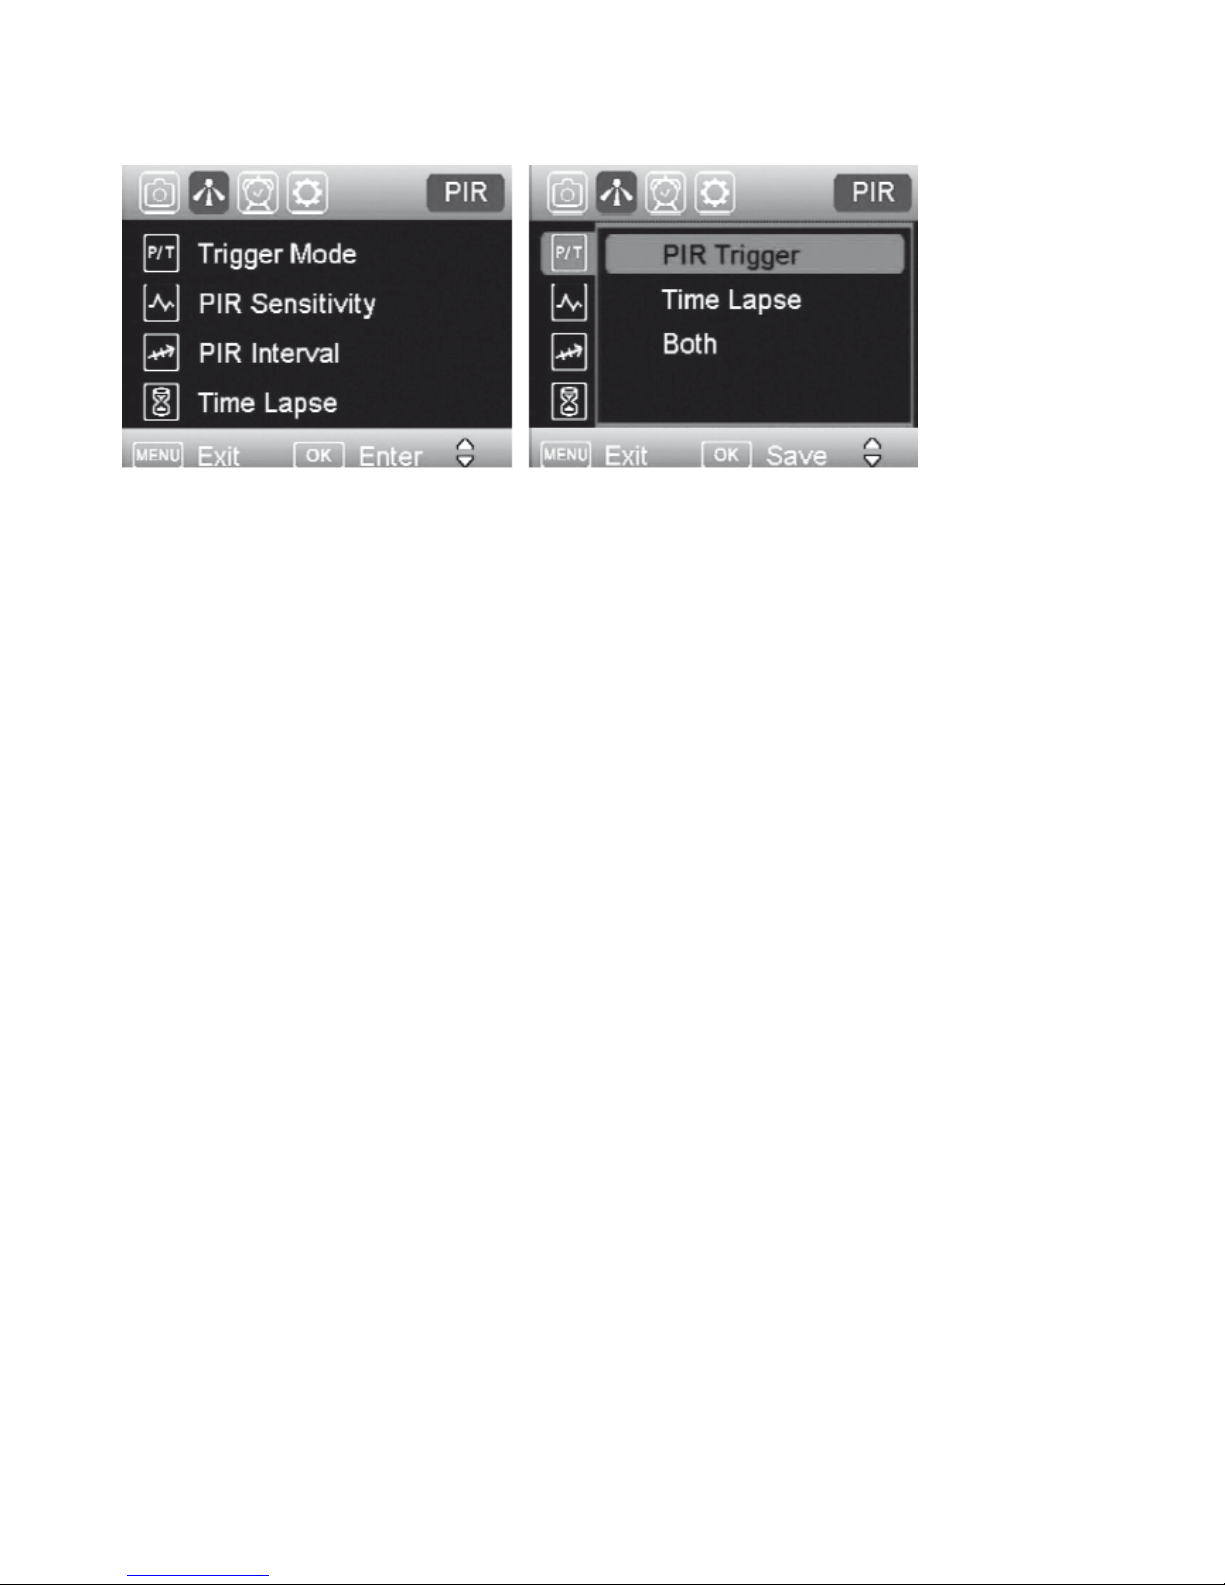
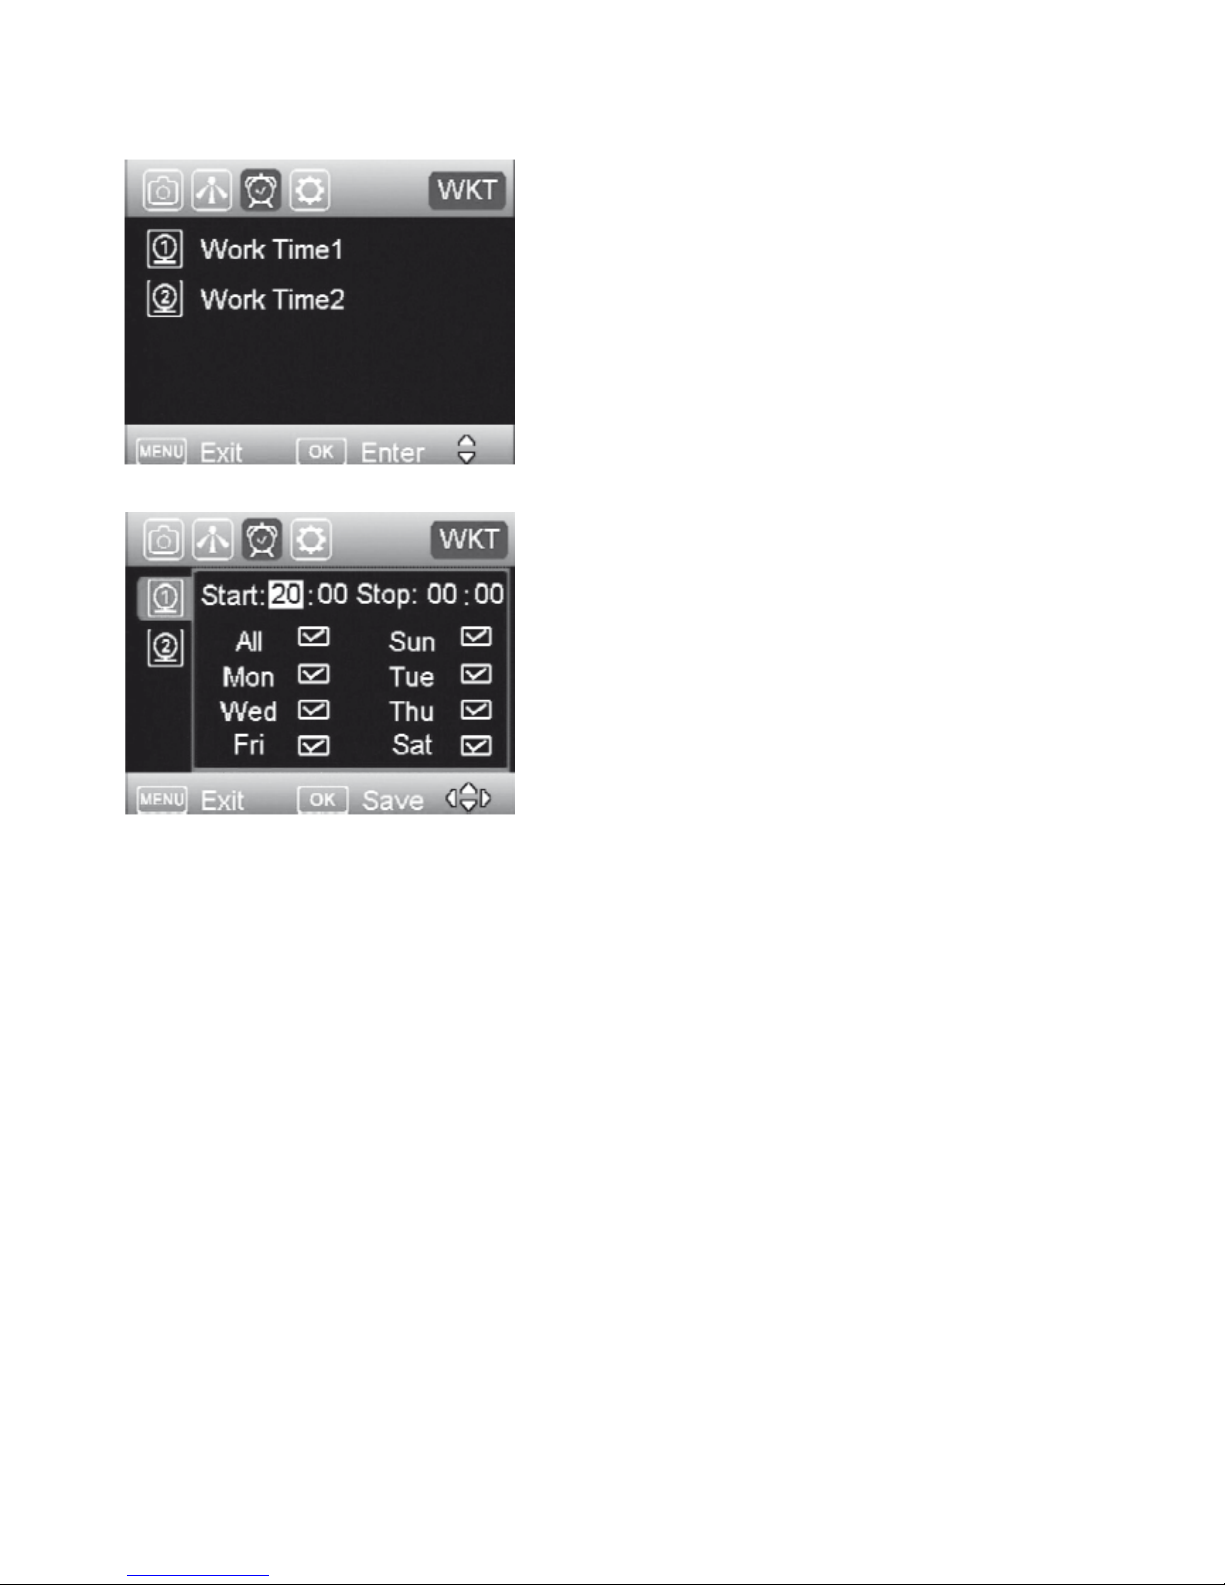
5CameraProgramming
Important Hints for Menu Control- Menu Navigation
If you do not navigate or make settings, the screen will switch off after 3 minutes. To continue
programming, slide the scroll bar to position ”OFF” and again to position ”SETUP”.
All changes must be confirmed by pressing the menu control button ”OK”, otherwise, they will not
become active.
Using these control buttons ▲▼▲▼ you can navigate through the menu.
If you wish to quit a certain menu, press the MENU button to reach higher level.
Display Overview/Starting Menu
HD video
10s/30fps
HD Video
20s/30fps
720p Video
10s/60fps
720p Video
20s/60fps
2GB SDHC 102 53 211 113
4GB SDHC 204 106 422 226
8GB SDHC 408 212 844 452
16GB SDHC 816 424 1688 904
32GB SDHC 1632 848 3376 1808