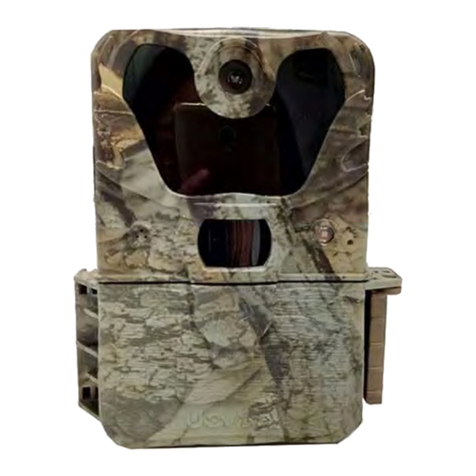
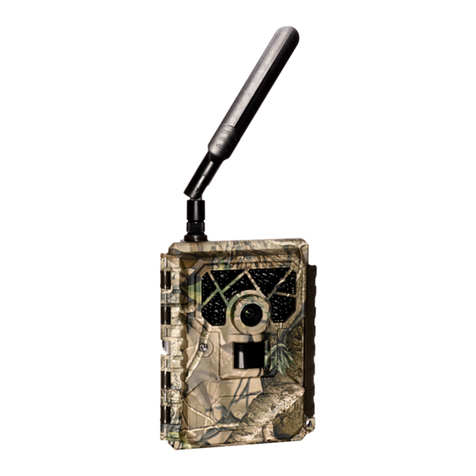
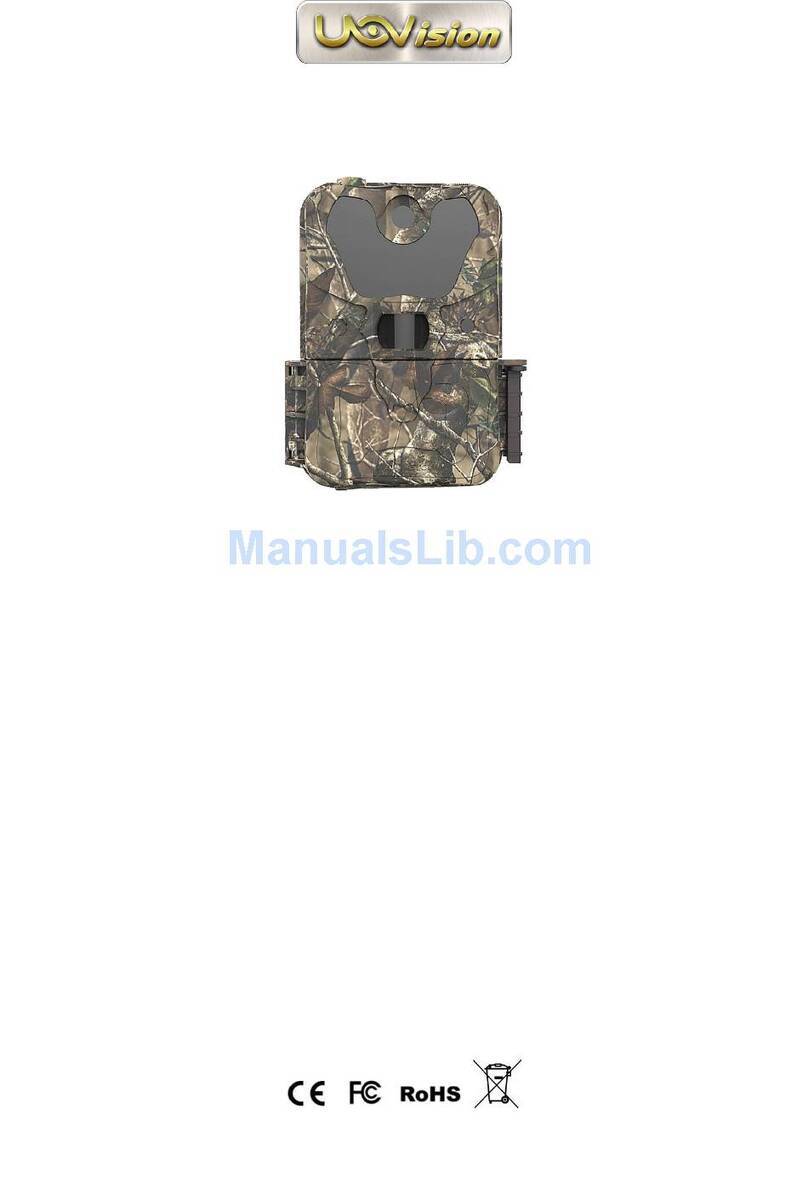
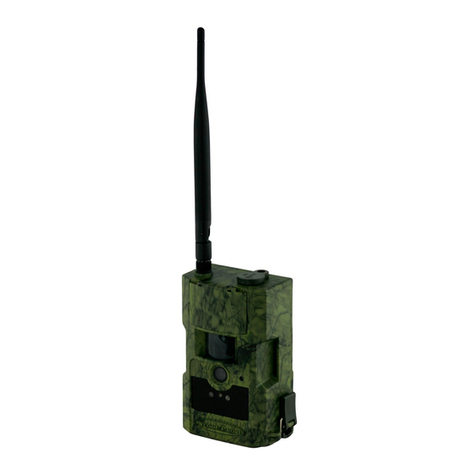
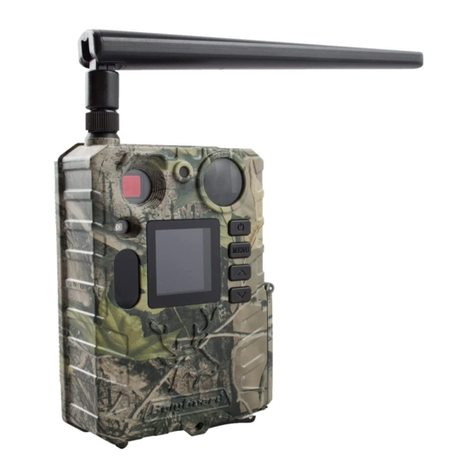
Uovision Illuminator UV567 User manual

www.uovisioneurope.com
UOVISION ILLUMINATOR UV567 12MP
White LED Full Color Scouting Camera
User’s Manual

www.uovisioneurope.com
Quick Start
1. Load the fully charged AA batteries, 12
or connect 6 V external power supply. Batteries can be inside the
camera when connected to external power source
2. Insert the SD card (32GB or smaller)
Please note if you don’t insert the SD card, the camera will
not work.
3. Slide the power switch to the “SETUP” position to set up the camera
4. Press the “MENU” button to enter into the program menu, then
press the “up” or “down” arrow buttons for parameter settings as
described in the user’s manual. Press the “OK” button to save
parameter settings and exit;
Please note if there is no operation for about 3 minutes, the
camera will automatically shut down to save power. If you
want to continue, please toggle the power switch to SETUP
and enter MENU again.
5. Place the camera at the target area and turn on the camera(slide
the power switch to “ON”), the camera will take pictures or videos as
preset in step 4;
6. Press the “ ” button to capture photos or record a video
manually;
7. Press the “ ” button to playback the pictures/videos. Use the
“up” or “down” arrow buttons to scroll through pictures on the color
monitor;
8. To delete an image in SETUP mode, press the “ ” button to
review the image and then press the “DEL” button to delete the
image.

www.uovisioneurope.com
Key Notes
a. “MENU”: enter the program menu in preview mode.
b. “▲”“▼”“◄”“►”: for parameter settings as described in the user’s
manual.
“▲” is the shortcut to choose “Video”, while “▼” for the “Photo”.
c. “OK”: save parameter settings and play videos.
d. “ ”: exchange between playback and preview.
e. “DEL”: delete an image.
f. “ ”: capture a photo or record a video manually.
g. Switch: OFF: turn off the power; SETUP: change camera settings;
ON: enter working mode.

1 Instruction
Page 1
1Instruction
1.1 General Description
Congratulations on your purchase of UV567 white LED flash
scouting camera. UV567 is a powerful and reliable performance full
color game camera.
Features:
12MP white LED flash camera
Color day & night pictures/videos
1.2 second trigger speed
Time lapse
SD card over write to ensure cycle use
2” TFT true color display screen, easy to use
Weather proof case (IP54)
1.2 Camera Body Interfaces
Take a few moments to familiarize yourself with the camera
controls and displays. It is helpful to bookmark this section and refer
to it when reading through the rest of the manual.
Fig 1: Front View
Indication LED PIR
Lens
Lock
White LED Flash

1 Instruction
Page 2
Fig 2: Operation Interface
Fig 3: Bottom view
Key Notes:
a. “MENU”: enter the program menu in preview mode.
b. “▲”“▼”“◄”“►”: for parameter settings as described in the user’s
manual.
“▲”is the shortcut to choose “Video”, while “▼”for the “Photo”.
c. “OK”: save parameter settings.

1 Instruction
Page 3
d. “ ”: exchange between playback and preview.
e. “DEL”: delete an image.
f. “ ”: capture a photo or record a video manually.
g. Switch: OFF: turn off the power; SETUP: change camera
settings; ON: enter working mode.
h. DC plug in diameter:4.0mm*1.7mm.

2 Quick Introductions
Page 4
2. Quick Start Guide
2.1 Power Supply
To supply power for the camera, 12 size AA batteries are needed.
The following batteries with 1.5V output can be used:
1. High-density and high-performance alkaline batteries
(Recommended)
2. Rechargeable alkaline batteries
3. Rechargeable NiMH batteries
Pay attention to the (+) or (‐) molded into each sleeve to
determine if you insert the positive or negative end into the sleeve
first.
2.2 Insert the SD-card
Open the bottom cover and insert an SD-card into the card slot.
Please note that the SD-card is on the “write” (not locked) position
otherwise the camera will not function correctly
NOTE: Please DO NOT USE the Micro SD card with adapter. Many
micro SD cards are not compatible with trail cameras
2.3 Power on and Enter into the ON Mode
Before switching on, please pay attention to the following:
1. Avoid temperature and motion disturbances in front of the
camera such as a big leaf, curtain, air-conditioner, air outlet of

2 Quick Introductions
Page 5
the chimney and other heat sources to prevent from false
triggering.
2. The height from the ground for placing the camera should vary
with the object size appropriately. In general, four to six feet
is preferred.
Slide the power switch to the ON position to power on the camera
and enter into the ON mode.
2.4 Enter into the SETUP Mode
Slide the power switch to the SETUP position and enter into the
SETUP mode. There are some functions in SETUP mode: custom
settings, manual capture and playback.
2.4.1 Custom Settings
Press MENU on the user interface to enter into the menu setting.
The camera can be adjusted to manually customize the camera
settings which display on the LCD screen on the camera. The detailed
operations will be described in the “Advanced Operations” chapter.
2.4.2 Manual Capturing
You can press to manually capture photos or record a video.
2.4.3 View Images or Videos
Use LCD screen to view the captured images or videos:
Press to view images, the latest image or video will be shown
in the LCD screen on the camera. Press UP to view the previous
image and press DOWN for the next.
The detailed operations like deleting images or videos will be
described in the “Advanced Operations” chapter.
2.5 Power Off
Slide the power switch to the OFF position to power off the camera.
Please note that even in the OFF mode, the camera still consumes a
small amount of battery power. Therefore, please remove the
batteries if the camera is not in use for some time.
3 Advanced Operations
Page 6
3Advanced Operations
To view the camera settings, switch the camera to SETUP mode
and press MENU, the main menu and the default settings are under
below charts:
Setting Items Description
CAM
Camera Mode
Choose Photo
or
Video.
The default setting is Photo.
Photo Size
Choose the image size, e.g. 5MP,
8MP,
12MP or 3MP. The default setting is 5MP.
(Please keep in mind the higher the MP,
the larger the file and the faster your SD
card can fill up.)
Photo Burst
Choose the continuous shooting numbers
after each triggering. The default setting
is 1 Photo.
Video Size
Choose the video size
VGA or
Q
VGA.
The
default setting is VGA.
Video Length
Set the video length as of required
.
The
default setting is 10 Sec. (Please note
long videos fill the SD card up quickly.)
Sensitivity
There may be sit
uations where you might
feel the camera is not catching animals
that are nearby or maybe the camera is
triggering too easily. You can adjust the
sensitivity of your camera to help with
this. Under most conditions, NORMAL
option will work the best. In high
temperatures, the HIGH setting might
help differentiate between the outside
temps and the body temps of the animal.
In cold conditions, you may find that the
LOW option is best as the camera can
easily differentiate the outside temps
from the body temps of the subject. If you
are using the time lapse function, you
would choose OFF to turn off the PIR.
Trigger
Interval
The
duration the camera will stop
detecting motion after each triggering.
The default setting is 1 Min. This option

3 Advanced Operations
Page 7
PIR
prevents from taking to
o many photos or
videos. For example: If trigger interval is
set to 1 Min, the camera will wait 1 minute
between photo/video recordings with
motion.
Time Lapse
Time lapse function defines the camera
records/captures automatically every
preset time period (5seconds~8hours),
which doesn’t work if it is set to Off. The
default setting is Off.
Start-Stop
Start
-
stop “
On”
means that the camera
works only during that preset time;
Start-stop “Off” means that the camera
works round the clock. The default setting
is Off.
SYS
Set Clock
Enter to set the
d
ate and
t
ime
Time Stamp
Choose "On" or "Off" to show the time
stamp on the picture or not. The default
setting is On.
Flash Range
Infrared Flash range: 6m
/20ft
and
12m/
40ft. The default setting is 12m/40ft.
Password
The default password is
0000
.
Choose
OFF to stop this function. The default
setting is Off. Please make sure you
write down your password or store it
in your phone so you don’t lose it.
Language
English
(
Preset
),
we provide the choice for
customer to choose the language, pls
contact your distributor for assistance.
Beep
Customer can choose ON/OFF when
operating the cameras. The default
setting is On.
Overwrite
ON/OFF, if choose “ON”
t
he camera w
rites
off the previous taken pictures when the
SD card is full and continues to record new
pictures/videos , thus, the SD-card is
recyclable, customer needs not to change
SD card frequently. The default setting is
Off.
Format
Format the SD
-
card.

3 Advanced Operations
Page 8
Default Set
Restore all customer settings to default
values.
Press LEFT or RIGHT and UP or DOWN to select the desired
options,And then press OK to save.
4Playback
4.1. Viewing Photo or Video
a) Switch to SETUP mode;
b) Press to view the latest picture (or video) in LCD screen on
camera;
c) Press to start playing the video clips;
d) Press again to stop playing and return to playback mode.
e) Press“◄”“►” to view the next or previous picture (or video).
4.2. Delete Photo or Video
a) Press to view the image (or video) which to be deleted;
b) Press DEL button to delete current image/video;
c) If you want delete all images and videos, press MENU in
playback mode then you can choose Delete One or Delete
All.
Please note that after deleting a picture or a video file, the deleted
files can’t be restored!

AppendixⅠ: Technical Specifications
Page 9
AppendixⅠ: Technical Specifications
Picture Resolution 12MP, 8MP, 5MP, 3MP
Lens F/NO=3.0 FOV(Field of View)=52°
White LED Flash 50% = 6m, 100% = 12m
Display Screen 2.0” LCD
Memory Card Up to 32GB
Video Resolution VGA ,QVGA;
PIR Sensor Multi Zone
PIR Sensitivity Adjustable (High/Normal/Low)
Trigger Time 1.2s;
Weight 0.32 kg(without battery)
Operating Temperature -20 - +60°C
Interval 1s – 60 min.
Photo Burst 1–3
Video Length 1–60s
Power Supply 12pcs of 1.5V AA alkaline
Stand-by Current < 0.25 mA (<6mAh/Day)
Low Battery Alert LED Indicator
Sound Recording Not Available
Mounting Rope/Belt/Python lock
Dimensions 140 x87 x55 mm
Operation Humidity 5% - 90%
Security authentication FCC, CE, RoHS

AppendixⅠ: Technical Specifications
AppendixⅡ: Parts List
Part Name Quantity
Digital Camera One
Belt One
User Manual One
WARRANTY
The camera manufacturer provides 12 months of warranty service
for this product against manufacturing defects or malfunctions. If
your camera fails to function under normal use within 1 year, the
camera manufacturer will repair or replace the camera at no charge.
The purchase receipt must be included from an authorized
retailer to validate the warranty. Improper use of the camera
resulting in damage is not covered by this warranty.
The camera manufacturer can provide repair service, after the
warranty expiration. The customer will be responsible for any charges
on parts, labor and shipping costs. Please contact the manufacturer
for more details.
Please remove the batteries when not in use. Warranty is not covering
battery acid leaks or battery related malfunctions.
Table of contents
Other Uovision Scouting Camera manuals

Uovision
Uovision UM785-HD User manual

Uovision
Uovision UV785-HD User manual

Uovision
Uovision PANDA UV535 User manual

Uovision
Uovision Compact LTE 4G 20MP Cloud User manual

Uovision
Uovision UM785-4G User manual

Uovision
Uovision UV785 User manual

Uovision
Uovision UM795-HD User manual

Uovision
Uovision GLORY LTE CELLULAR User manual

Uovision
Uovision UM785-HD User manual

Uovision
Uovision UM565-SMS 12MP User manual