manuals.online logo
Brands
  1. Home
  2. •
  3. Brands
  4. •
  5. urmet domus
  6. •
  7. Control Panel
  8. •
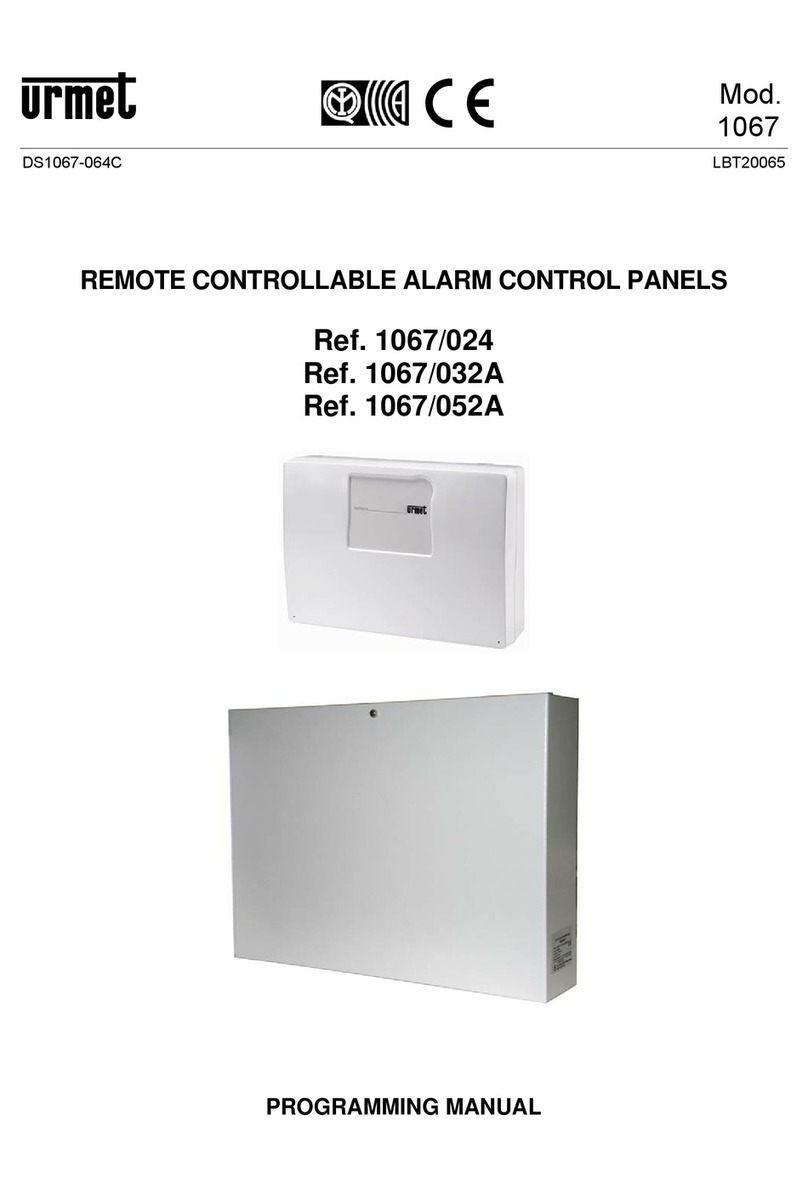
  9. urmet domus 925 User manual

urmet domus 925 User manual

DS 925-001A LBT 8692
Mod.
925
PULSANTIERA DI ALLUMINIO ANODIZZATO
ALUMINIUM PUSH BUTTON PANELS
PLAQUES DE RUE EN ALUMINIUM ANODISE
PLACAS PULSADORAS DE ALUMINIO ANODIZADO
ALUMINIUM-TÜRSTATIONEN
1,5 m
Applicare i bollini
adesivi per proteggere
i fori nell’operazione
di incasso.
Use the stickers to
protect the holes
during the embedding.
Employer les adhésifs
pour proteger les trous
pendant l’encastrement.
Emplear los adhesivos
para proteger los huecos
durante el empotramiento.
Die Kleber benutzen um
die Löcher während der
Montage zu schützen.
2DS925-001A
1,5 m
Applicare i bollini
adesivi per proteggere
i fori nell’operazione
di incasso.
Use the stickers to
protect the holes
during the embedding.
Employer les adhésifs
pour proteger les trous
pendant l’encastrement.
Emplear los adhesivos
para proteger los huecos
durante el empotramiento.
Die Kleber benutzen um
die Löcher während der
Montage zu schützen.
3
DS925-001A
ITALIANO
MONTAGGIO
Prima di murare la scatola incasso si consiglia di
togliere il telaio portatasti e portalampade. Per
disinnestare il telaio dalle 4 molle di sostegno
situate nella scatola, infilare la punta di un
cacciavite nella feritoia indicata con A, della testata
inferiore, e ruotare di 90°. Le 4 molle hanno lo
scopo di spingere il telaio contro il frontale, al fine
di mantenere costante la distanza tra i pulsanti
di comando del frontale ed i corrispondenti tasti
del telaio. Il telaio dovrà successivamente essere
nuovamente innestato sulle 4 molle in fase di
collegamento; sul telaio viene poi fissato il posto
esterno. Il telaio portatasti é inoltre predisposto
per il montaggio addizionale di portalampade Sch.
725/757nelle sedi dedicate libere.
ENGLISH
MOUNTING
Before walling the embedding box, it is
recommended to take the key holder frame and the
lamp holder. To take the frame out of the 4 springs
in the box, please use the point of a screwdriver in
the indication A, on the lower head and turn 90°.
The 4 screws push the frame to the front panel,
so that the distance between the control keys and
the correspondant keys of the frame is constant.
Then the frame shall mounted on the 4 screws
again during connection; after this, please mount
the loudspeaking unit on the frame. The key holder
frame is also arranged for the lamp holder Ref.
725/757, to be fixed in the proper seats.
FRANÇAIS
MONTAGE
Avant d’installer le boîtier d’encastrement, on
recommande d’enlever le cadre avec les touches
et les lampes. Pour enlever le cadre des 4 ressorts
qui se trouvent dans la boîte, employer un tournevis
dans le point indiqué avec A, en tournant de 90°.
Les 4 ressorts aident à pousser le cadre vers le
frontal afin de maintenir constante la distance
entre les touches de commande du frontal et les
spéciales touches du cadre. Le cadre sera après
monté sur les 4 ressorts en phase d’installation; sur
le cadre on va monter le micro-HP. Le cadre porte-
touches est prédisposé aussi pour le montage du
porte-lampe Réf. 725/757, à fixer dans les sièges
prévus à cet effet.
A
ESPAÑOL
MONTAJE
Antes de murar la caja de empotramiento se
aconseja quitar el cerco de los botones y de las
lamparas.Para quitar los 4 muelles del cerco,
obrar con un atornillador en el espacio indicado
con A y rotar de 90°.Los 4 muelles ponen el cerco
hacia el frontal o con el fin de tener constante la
distancia entre los botones de ajuste del frontal y
los correspondientes botones del cerco. El cerco
se pondrà a lo sucesivo sobre los 4 muelles en
fase de conexión; sobre el cerco se pone después
el puesto externo. El cerco de los botones
también está dispuesto parael montaje adicional
de portalamparas Ref. 725/757 en los espacios
predispuetos libres.
DEUTSCH
MONTAGE
Vor dem Einbau der Unterputzdose ist der Tasten-
Träger sowie die Fassung für Lämpchen aus der
Dose durch 4 Federn zu entfernen. Dies erreicht
man durch Einsetzen einer Schraubendreherspitze
in die Führung A des Unterteils und Drehen
um 90°. Die 4 Federn dienen zum Halten einer
beständigen Entfernung zwischen den Frontplatte-
Tasten und den dazugehörigen Träger-Tasten. Das
Wiedereinsetzen auf die 4 Federn geschieht beim
Anschliessen; danach kann der Sprecheinsatz
installiert werden. Der Tasten-Träger ist auch
zur Montage der Fassung für Lämpchen BN
725/757 vorgesehen (die dafürvorgesehenen Sitze
verwenden).
DS 925-001A LBT 8692
Area tecnica
servizio clienti +39 011.23.39.810
http://www.urmet.com
e-mail: [email protected]
MADE IN ITALY
URMET S.p.A.
10154 TORINO (ITALY)
VIA BOLOGNA 188/C
Telef. +39 011.24.00.000 (RIC. AUT.)
Fax +39 011.24.00.300 - 323
La superficie del muro deve essere piana.
Tolleranza max 1,5 mm.
The wall surface should be level.
Max. embedding depth: 1,5 mm.
La surface murale doit être plane.
Profondeur d’encastrement maximale: 1,5 mm.
La superficie de la pared tiene que quedarse plana.
Máxima profundidad de empotramiento: 1,5 mm.
Der Putz soll ebenflächig sein.Max.
Einbautiefe: 1,5 mm
max
8 mm
AB
A = filo muro
wall level
niveau mural
nivel de la pared
Putzniveau
B = max tolleranza di incasso
max. embedding depth
profondeur d’encastrement maximale
máxima profundidad de empotramiento
max. Einbautiefe

Other urmet domus Control Panel manuals

urmet domus 2 VOICE mikra User manual

urmet domus

urmet domus 2 VOICE mikra User manual

urmet domus 1061/006A Assembly instructions

urmet domus

urmet domus 1061/006A Assembly instructions

urmet domus 1067/032A User manual

urmet domus

urmet domus 1067/032A User manual

urmet domus 1083/12 User manual

urmet domus

urmet domus 1083/12 User manual

urmet domus Elkron C420 User manual

urmet domus

urmet domus Elkron C420 User manual

urmet domus 1067 Series Owner's manual

urmet domus

urmet domus 1067 Series Owner's manual

urmet domus 1061/004 Assembly instructions

urmet domus

urmet domus 1061/004 Assembly instructions

urmet domus 2VOICE MIKRA2 1784 Quick start guide

urmet domus

urmet domus 2VOICE MIKRA2 1784 Quick start guide

urmet domus 1067/032 Owner's manual

urmet domus

urmet domus 1067/032 Owner's manual

urmet domus 1067 Series User manual

urmet domus

urmet domus 1067 Series User manual

urmet domus ELKRON DK500M-P User manual

urmet domus

urmet domus ELKRON DK500M-P User manual

Popular Control Panel manuals by other brands

Protector Alarms Mx4100 user manual

Protector Alarms

Protector Alarms Mx4100 user manual

Kenwood RC-D710 brochure

Kenwood

Kenwood RC-D710 brochure

Vitea Care DLX-REM215-A Instructions for use

Vitea Care

Vitea Care DLX-REM215-A Instructions for use

Ptotec 3300 Installation, commissioning and maintenance manual

Ptotec

Ptotec 3300 Installation, commissioning and maintenance manual

Danfoss VLT DriveMotor FCP 106 installation instructions

Danfoss

Danfoss VLT DriveMotor FCP 106 installation instructions

Norcold 3163 Series Assembly

Norcold

Norcold 3163 Series Assembly

wallas 3007 quick start guide

wallas

wallas 3007 quick start guide

NAPCO Magnum Alert 1010LKDL Operating & installation instructions

NAPCO

NAPCO Magnum Alert 1010LKDL Operating & installation instructions

Honeywell Tuxedo Touch Wi-Fi Installation and setup guide

Honeywell

Honeywell Tuxedo Touch Wi-Fi Installation and setup guide

DITEC VIVAH installation manual

DITEC

DITEC VIVAH installation manual

Pego PLUS200 EXPERT Use and maintenance manual

Pego

Pego PLUS200 EXPERT Use and maintenance manual

Gecko K-19 Quick reference card

Gecko

Gecko K-19 Quick reference card

Beijer Electronics M70 installation manual

Beijer Electronics

Beijer Electronics M70 installation manual

Notifier NFS2-3030/E installation manual

Notifier

Notifier NFS2-3030/E installation manual

Maple Armor FW106S,FW106SC Installation and operation manual

Maple Armor

Maple Armor FW106S,FW106SC Installation and operation manual

Bosch D9412GV4 Installation and system reference guide

Bosch

Bosch D9412GV4 Installation and system reference guide

FireClass FC501 Series Quick start setup guide

FireClass

FireClass FC501 Series Quick start setup guide

Woodward RP-3000 manual

Woodward

Woodward RP-3000 manual

manuals.online logo
manuals.online logoBrands
  • About & Mission
  • Contact us
  • Privacy Policy
  • Terms and Conditions

Copyright 2025 Manuals.Online. All Rights Reserved.