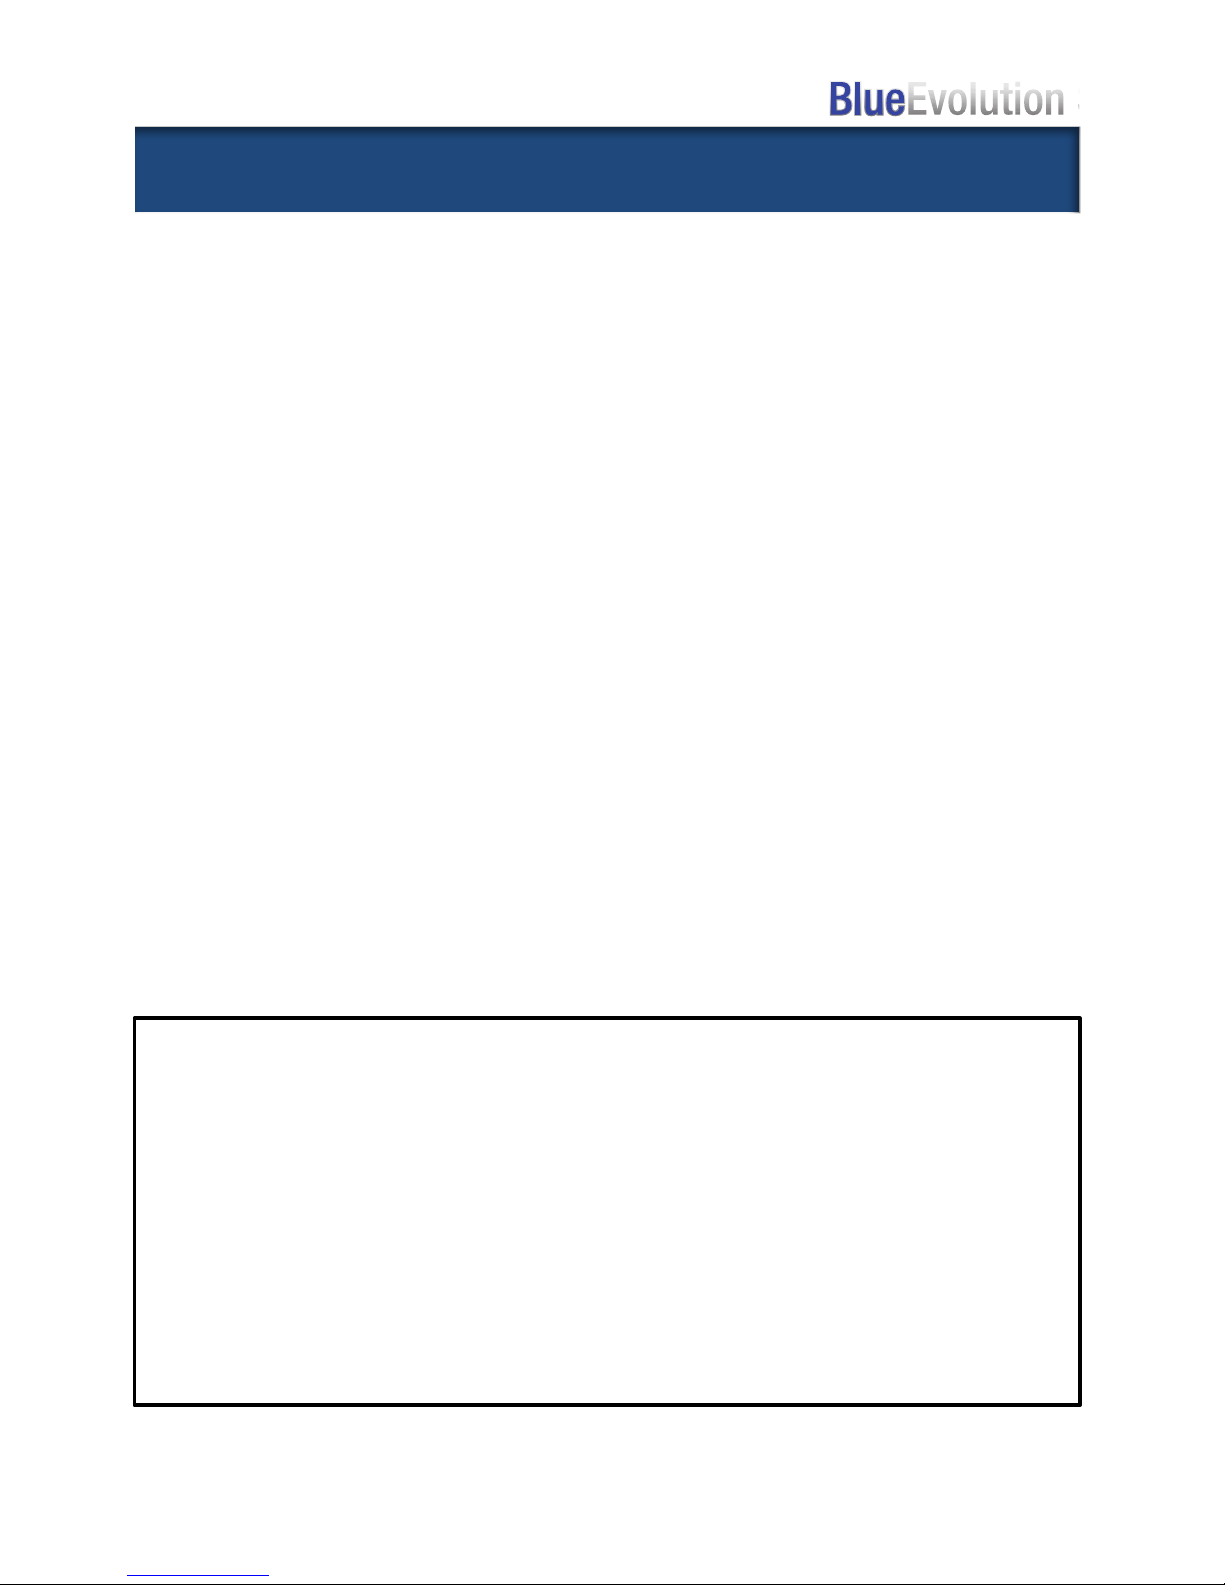
The Blue Evolution’s Extraction feature
allows the user to clean with hot water.
Extraction increases cleaning
performance, and when used with the
Vacuum,leaves arelatively dry surface.
ØActivate the Extraction by pushing
the button on the hose handle.
ØTurn ON the Vac u um by pushing
vacuum symbol on the hose
handle.
ØThe symbol will illuminate on
the display while the Blue Evolution
is in Extraction mode.
ØYou will he ar th e pump when
activated.
ØExtraction spray can be increased or
decreased in 10% increments by
pushing button on the console.
ØDefault Setting: 60%
Ø010 -Lowest Setting minimum
amount of water
Ø100 -Highest Setting Maximum
amount of water
ØTo turn OFF the Extraction and
return to Steam only, push the
button on the hose handle.
Vacuu m
Extraction
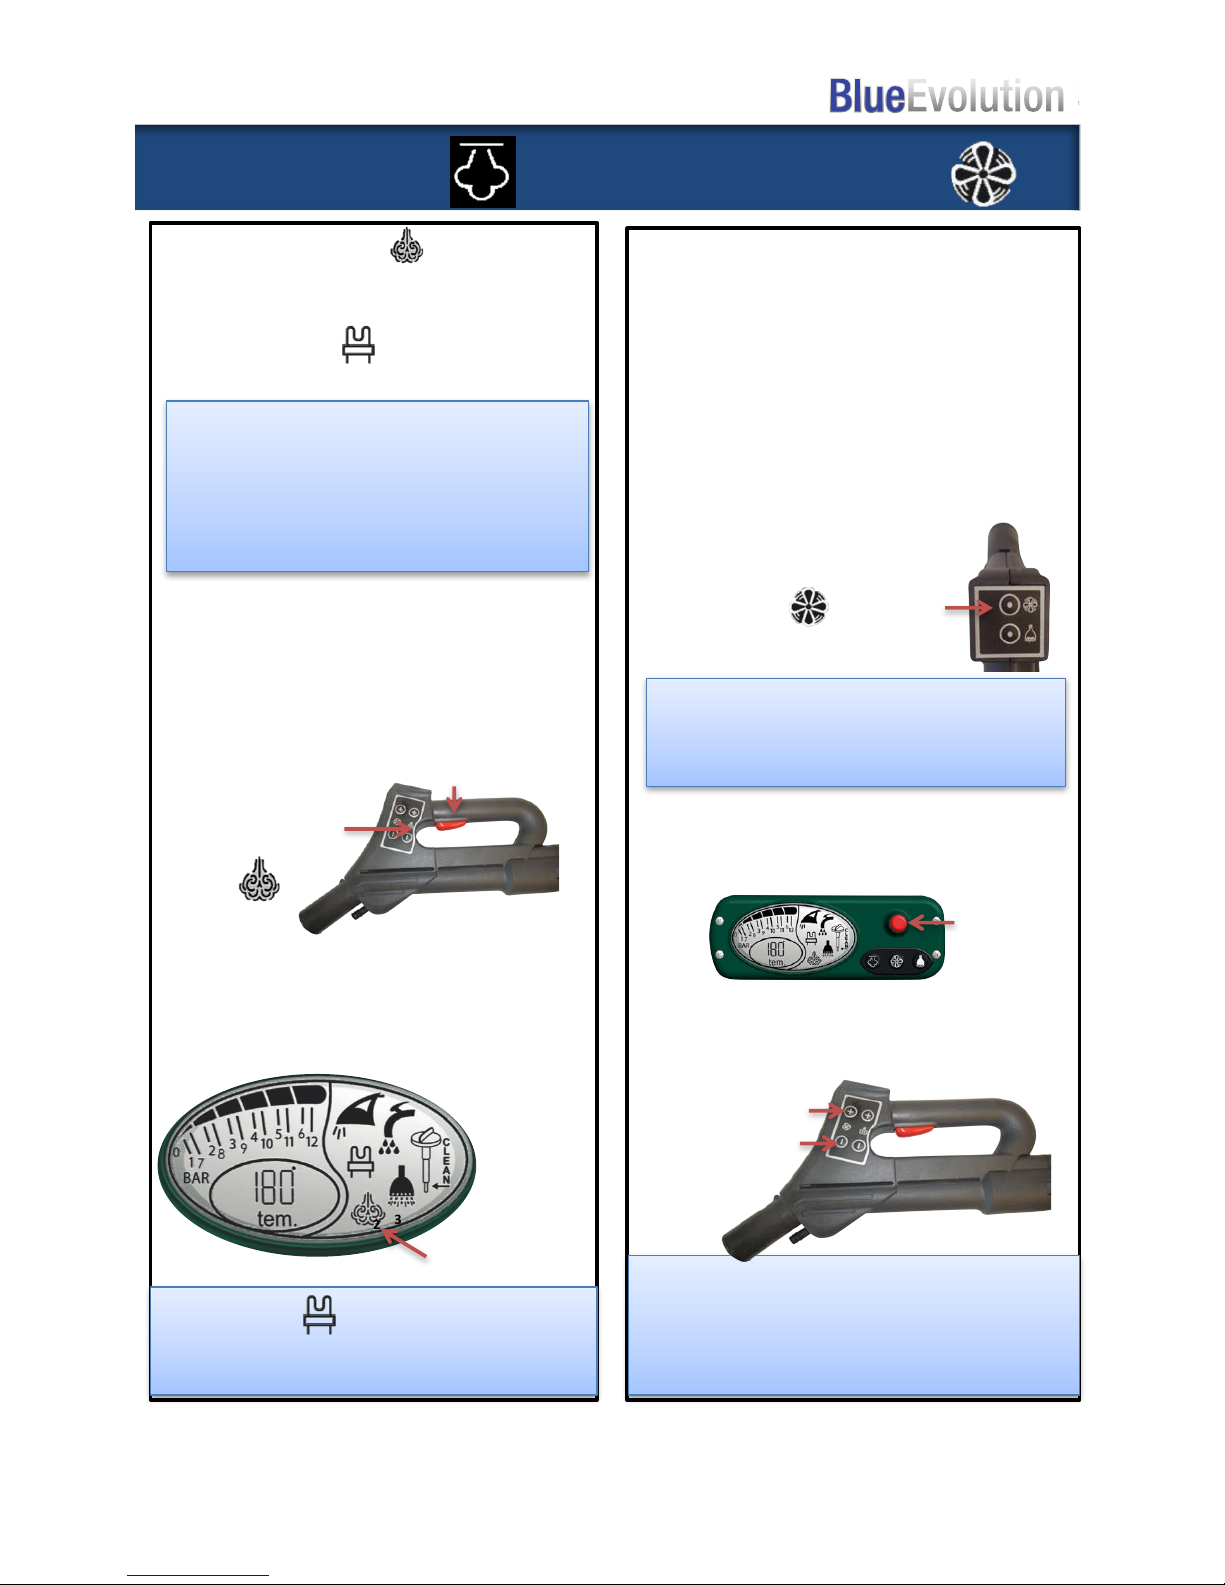
Extraction Shut Down
After Each Use:
It is important to clean accessories and
brushes.
ØRun the vacuum for 30 seconds to
remove any water from the hose.
ØUse hot soapy and water to clean
brushes and nozzles.
ØEmpty and use hot soapy water to
clean the collection tank and
remove all debris.
ØIf using the Blue Evolution on an
extremely dirty or greasy surface,
clean hose after use by activating
the vacuum mode and suck water
through the hose on low suction.
ØIf working in a healthcare
environment, the hose can be
cleaned with a disinfection
solutions.
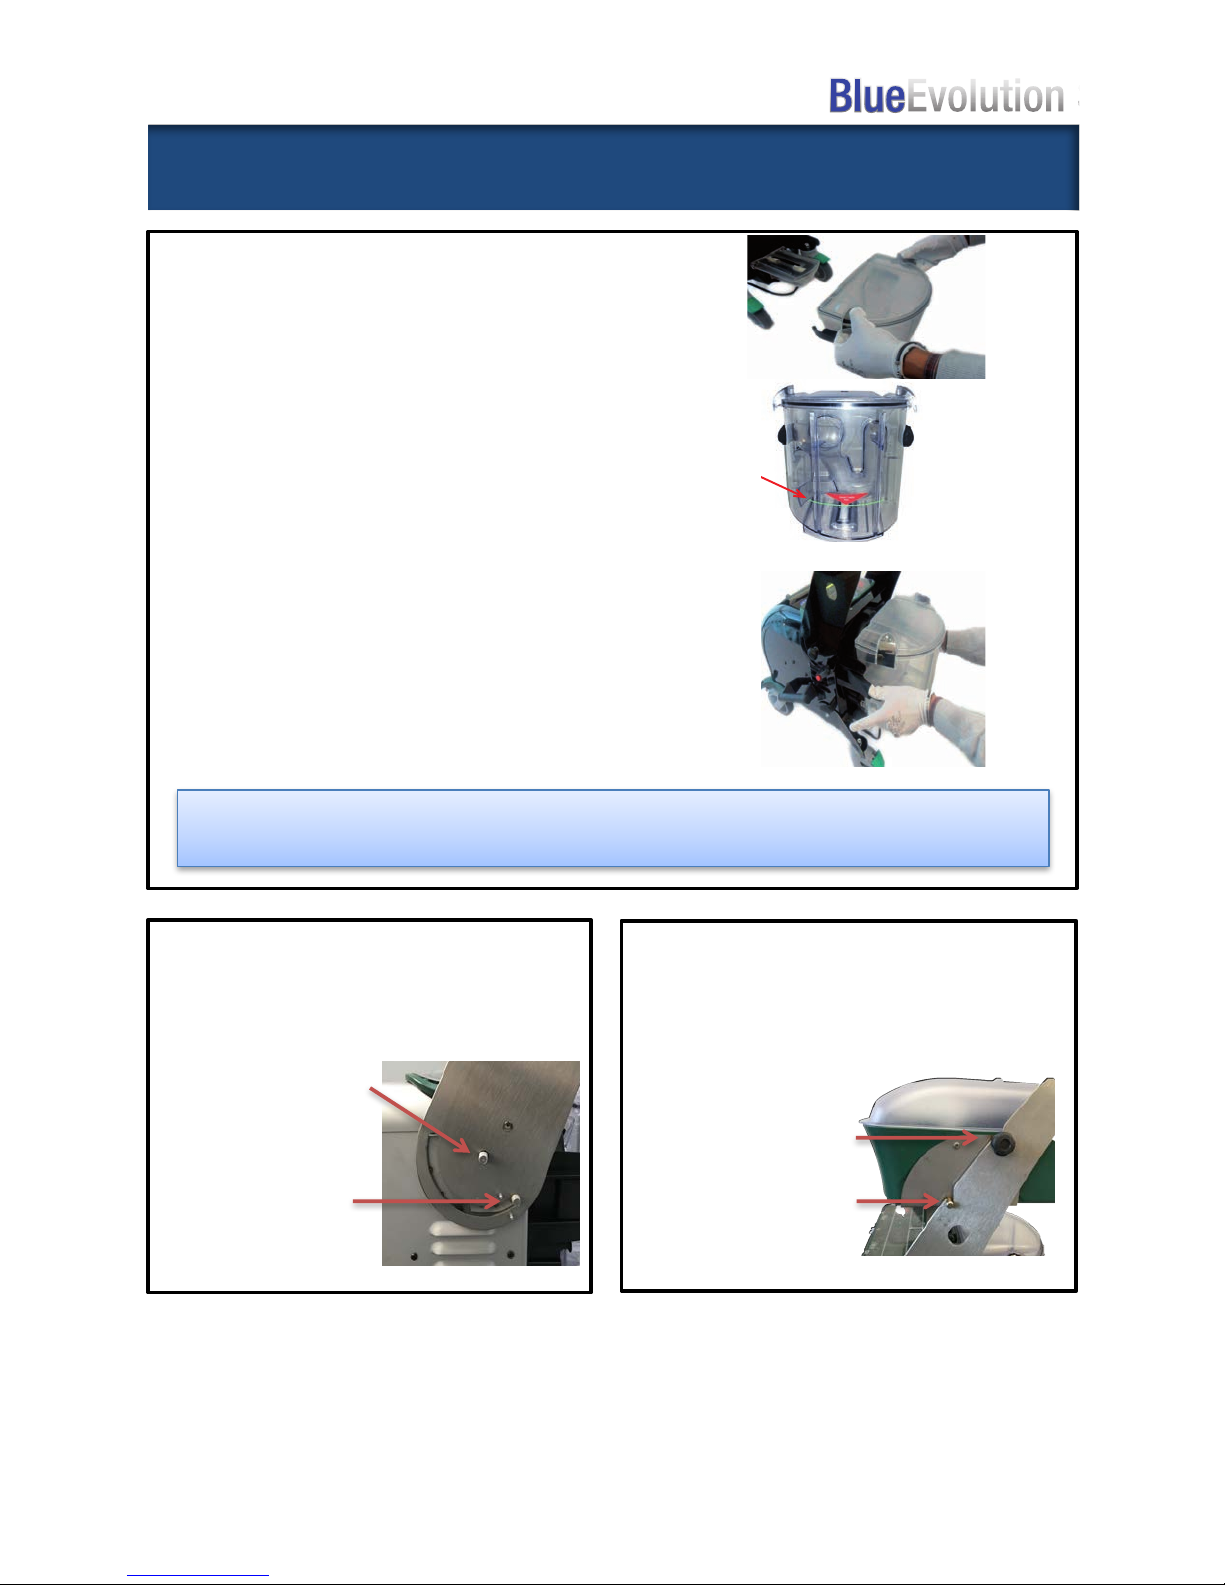
Every 3 Months
ØCheck Boiler cap and descale (see
Page 13).
ØDescale the reservoir tanks and
boiler. (see page 12).
ØCheck HEPA filter clean or replace.
(see page 10).
ØCheck O-Rings on hose and
extension wands. If damaged,
replace.
Every Year
ØReplace HEPA filter
ØChange the O-Rings on the hose
and extension wands (page 10)
6