PREPARATION/PRÉPARATION/PREPARACIÓN
INSTALLATION INSTRUCTIONS/INSTRUCTIONS POUR L’INSTALLATION/INSTRUCCIONES DE INSTALACIÓN
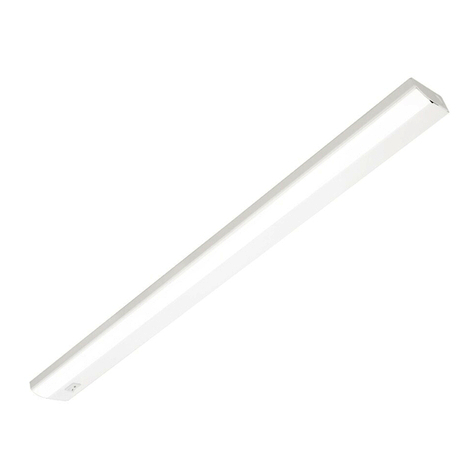
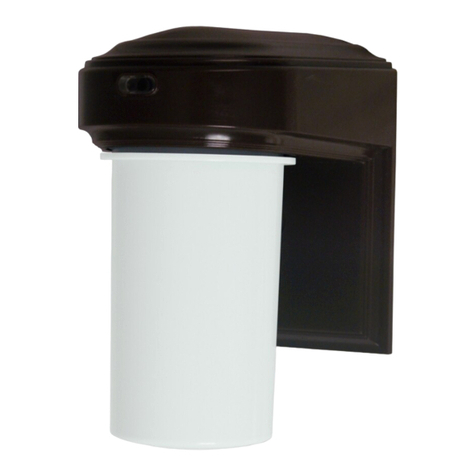
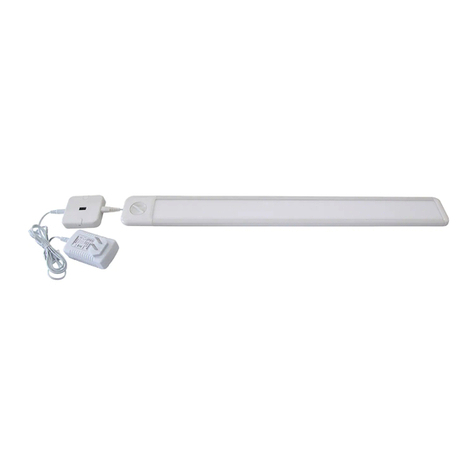
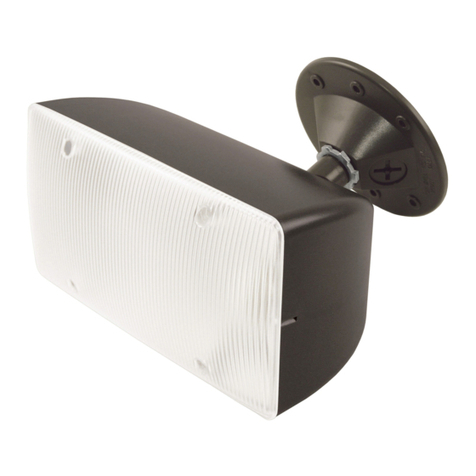
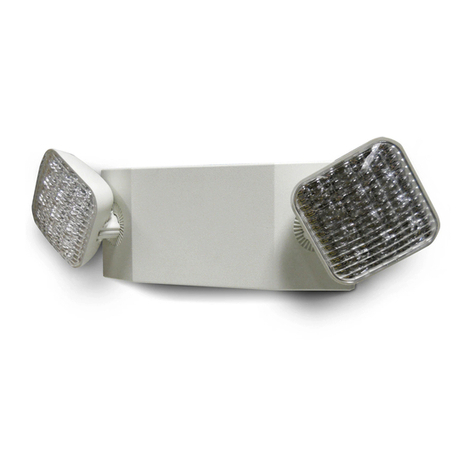
Before beginning installation of product, make sure all parts are present. Compare parts with package contents list and photo.
If any part is missing or damaged, do not attempt to assemble, install or operate the product.
Estimated Assembly Time: 20 minutes
Tools Required for Assembly (not included): Phillips screwdriver, Drill with 1/4 in. drill bit
Avant de commencer l’installation du produit, assurez-vous d’avoir toutes les pièces. Comparez le contenu de l’emballage avec la liste
des pièces et la photo. S’il y a des pièces manquantes ou endommagées, ne tentez pas d’assembler, d’installer ni d’utiliser le produit.
Temps d’assemblage approximatif : 20 minutes
Outils nécessaires pour l’assemblage (non inclus) : tournevis cruciforme et foret de 1/4 po
Antes de comenzar a instalar el producto, asegúrese de tener todas las piezas. Compare las piezas con la lista del contenido
del paquete y la foto. No intente ensamblar, instalar ni usar el producto si falta alguna pieza o si éstas están dañadas.
Tiempo estimado de ensamblaje: 20 minutos
Herramientas necesarias para el ensamblaje (no se incluyen): Destornillador Phillips, taladro con broca de
1/4
”
1. Shut off power to conduit before instal-
lation. Choose mounting conguration
(end, top or back mount).
Avant de commencer l’installation,
coupez l’alimentation au conduit. Sé-
lectionnez une conguration (montage
à une extrémité, montage supérieur ou
montage arrière).
Corte la alimentación al conducto antes
de la instalación. Escoja la congura-
ción de montaje (montaje de extremo,
superior o posterior).
3. Snap the front panel off of housing (A).
Retirez le panneau avant du boîtier (A).
Extraiga el panel frontal de la carcasa
(A).
5.
Connect
wires from inside housing to
electrical wiring in accordance with
local building code.
For 120 V, use
black and white wires. For 277 V, use
red and white wires. Use wire nut
(DD)
to cap any unused wires.
Raccordez les ls provenant de
l’intérieur du boîtier aux ls élec-
triques conformément au code du
bâtiment local. Pour un circuit de
120 V, utilisez les ls noirs et blancs.
Pour un circuit de 277 V, utilisez les
ls rouges et blancs. Couvrez les ls
inutilisés à l’aide de capuchons de
connexion (DD).
Conecte los conductores desde el in-
terior de la carcasa hasta el cableado
eléctrico según los códigos de con-
strucción locales. Para 120 V, use los
conductores negro y blanco. Para 277
V, use los conductores rojo y blanco.
Use el empalme plástico (DD) como
tapa para cualquier conductor sin uso.
1
3
6
5
7
SAFETY INFORMATION/CONSIGNES DE SÉCURITÉ/INFORMACIÓN DE SEGURIDAD
Please read and understand this entire manual before attempting to assemble, operate or install the product.
• Do not use outdoors.
• Do not mount near gas or electric heaters.
• Use caution when handling battery back-up.
• Mount equipment in locations and at heights that will avoid tampering by unauthorized personnel.
• The use of accessory equipment not recommended by the manufacturer may cause an unsafe condition.
• Turn OFF electricity at fuse or circuit breaker before wiring power supply.
• Do not use equipment for anything other than intended use.
• Consult local building code for approved wiring and installation.
• Installation and servicing should be performed by qualied personnel only.
SAVE THESE INSTRUCTIONS
Assurez-vous de lire et de comprendre l’intégralité de ce manuel avant de tenter d’assembler, d’installer ou d’utiliser le produit.
• N’utilisez pas cet article à l’extérieur.
• N’installez pas cet article à proximité d’un radiateur au gaz ou électrique.
• Faites preuve de prudence lorsque vous manipulez les batteries de secours.
• Installez l’article de façon à ce que le personnel non autorisé ne puisse pas y accéder.
• L’utilisation d’accessoires qui ne sont pas recommandés par le fabricant pourrait compromettre la sécurité.
• Coupez l’alimentation électrique depuis le panneau de fusibles ou de disjoncteurs avant de procéder au câblage.
• N’utilisez pas cet article pour tout usage autre que celui auquel il est destiné.
• Consultez le code du bâtiment local pour obtenir les directives approuvées pour le câblage et l’installation.
• L’installation et l’entretien doivent uniquement être effectués par un technicien qualié.
CONSERVEZ CES INSTRUCTIONS
Lea y comprenda completamente este manual antes de intentar ensamblar, usar o instalar el producto.
• No lo use al aire libre.
• No lo instale cerca de calentadores eléctricos o a gas.
• Tenga cuidado al manipular la reserva de batería.
• Instale el equipo en un lugar y a una altura en los que evite la manipulación por parte de personal no autorizado.
• El uso de equipos accesorios no recomendados por el fabricante puede crear condiciones inseguras.
• Corte el suministro de electricidad en la caja de fusibles o en el interruptor de circuito antes de conectarlo.
• No utilice este equipo para ningún otro n que no sea el especicado.
• Consulte el código de construcción local para conocer el cableado y la instalación aprobados.
• La instalación y las reparaciones deben realizarse sólo por personal calicado.
GUARDE ESTAS INSTRUCCIONES
6. Restore power to the conduit then
plug in back-up battery. Note: After
hardwire electricity is restored, bat-
tery may take up to 24 hours to fully
charge.
Rétablissez l’alimentation au conduit,
puis branchez la batterie de sec-
ours. Remarque : Une fois l’appareil
branché de nouveau à une source
électrique, la batterie doit se charger
pendant au moins 24 heures.
Restablezca la alimentación al con-
ducto y luego enchufe la batería de
reserva. Nota: Cuando restablezca
la electricidad al circuito principal,
la batería puede necesitar hasta
24 horas para cargarse por completo.
7. Snap face onto housing and apply
chevron directional indicators (B) as
required. Remove application tem-
plates when nished.
Fixez la plaque avant au boîtier et po-
sez les indicateurs (B) au besoin. Re-
tirez les gabarits une fois l’installation
terminée.
Encaje la placa frontal en la carcasa y
aplique los indicadores direccionales
en V (B) según sea necesario. Retire
las plantillas de aplicación cuando
termine.
2. Secure mounting bracket (BB) to junc-
tion box (with mounting plate (AA) if
required) using the recessed mounting
holes and mounting screws (CC) for
choice of ush, ceiling or wall installation.
Pull through electrical wires.
Fixez le support de xation (BB) à la
boîte de jonction (en utilisant le support
de montage [AA] au besoin) à l’aide des
vis de montage (CC) et des trous appro-
priés (installation encastrée, au plafond
ou au mur). Passez les ls électriques
au travers.
Fije el soporte de montaje (BB) a la caja
de unión (con la placa de montaje (AA),
si es necesario) usando los oricios de
montaje empotrados y los tornillos de
montaje (CC) y elija entre una insta-
lación al ras, en el techo o en la pared.
Pase los conductores.
flush mount
montage
encastré
montaje al ras
2AA
A
4. Remove plastic plug from desired loca-
tion on housing and attach mounting
bracket (BB) through that hole. Run the
wires from housing through bracket.
Retirez l’obturateur en plastique du
trou que vous souhaitez utiliser et
insérez le support de xation (BB) à
travers ce trou. Faites passer les ls du
boîtier à travers le support.
Retire el enchufe plástico de la ubi-
cación deseada en la carcasa y je
el soporte de montaje (BB) a través
de ese oricio. Pase los conductores
desde la carcasa a través del soporte.
side mount
montage latéral
montaje lateral
ceiling mount
montage au plafond
montaje en el techo
BB
DD
END MOUNT
BACK MOUNT
TOP MOUNT
4
END MOUNT
BACK MOUNT
TOP MOUNT
END MOUNT
BACK MOUNT
TOP MOUNT
END MOUNT
BACK MOUNT
TOP MOUNT
END MOUNT
MONTAGE À UNE EXTRÉMITÉ
MONTAJE DE EXTREMO
BACK MOUNT
MONTAGE ARRIÈRE
MONTAJE POSTERIOR
TOP MOUNT
MONTAGE SUPÉRIEUR
MONTAJE SUPERIOR


