manuals.online logo
Brands
  1. Home
  2. •
  3. Brands
  4. •
  5. Valor
  6. •
  7. Fireplace Accessories
  8. •
  9. Valor 1775 User manual

Valor 1775 User manual

This manual suits for next models

2

Other Valor Fireplace Accessories manuals
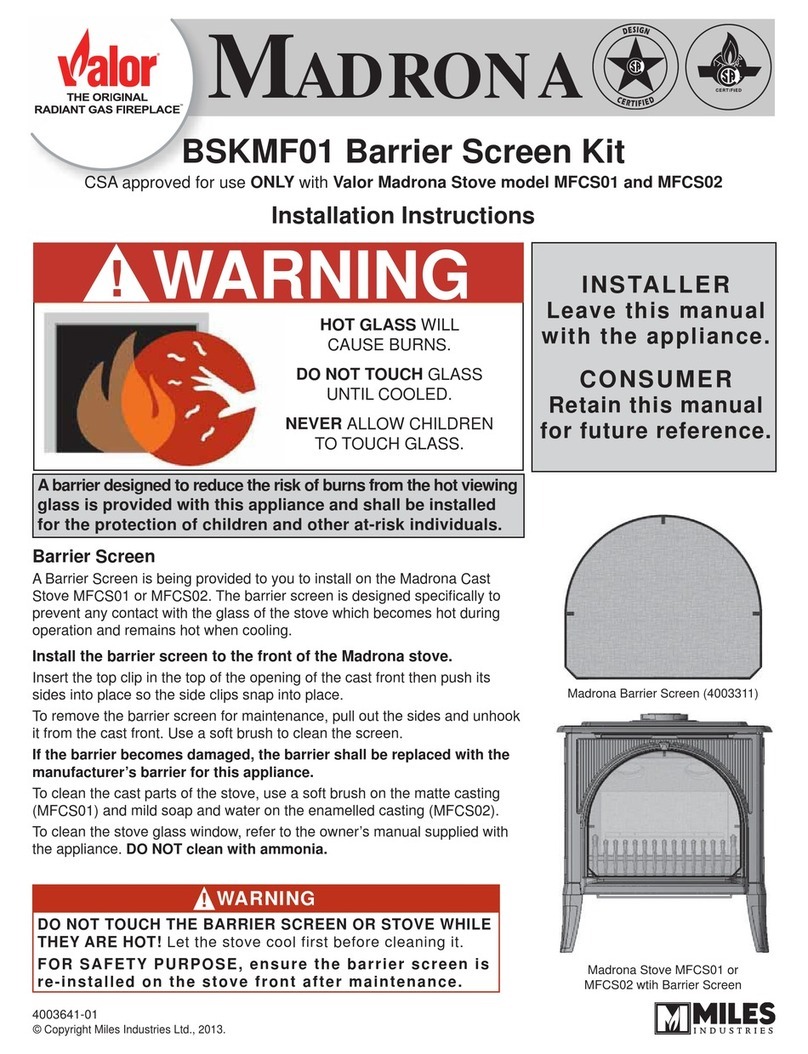
Valor GV60CKO User manual

Valor

Valor GV60CKO User manual

Valor PORTRAIT BSK563 User manual

Valor

Valor PORTRAIT BSK563 User manual
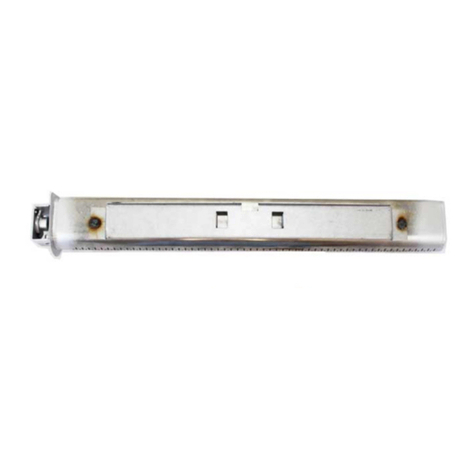
Valor Retrofire RA24JDNK Operating instructions

Valor

Valor Retrofire RA24JDNK Operating instructions

Valor GV60NTK Installation instructions

Valor

Valor GV60NTK Installation instructions

Valor 715CVI User manual

Valor

Valor 715CVI User manual

Valor 546LFB User manual

Valor

Valor 546LFB User manual

Valor Portrait 569 Ledge Front User manual

Valor

Valor Portrait 569 Ledge Front User manual

Valor Horizon Matte Black Front 672MBF User manual

Valor

Valor Horizon Matte Black Front 672MBF User manual

Valor L2 SERIES User manual

Valor

Valor L2 SERIES User manual

Valor LX2 Series User manual

Valor

Valor LX2 Series User manual

Valor 590FVK2 User manual

Valor

Valor 590FVK2 User manual

Valor MADRONA Series User manual

Valor

Valor MADRONA Series User manual

Valor Horizon/H4 User manual

Valor

Valor Horizon/H4 User manual

Valor 1240BPK Instruction Manual

Valor

Valor 1240BPK Instruction Manual

Valor H3 Series User manual

Valor

Valor H3 Series User manual
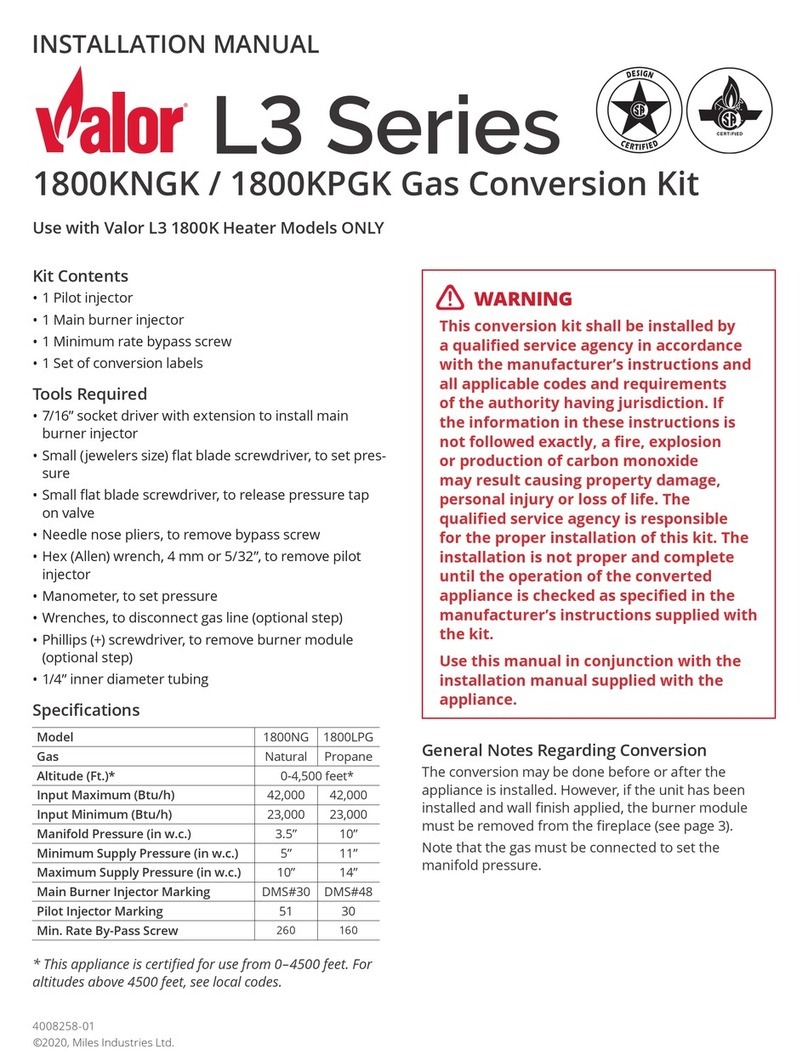
Valor GV60WIFI User manual

Valor

Valor GV60WIFI User manual

Valor Horizon 615CVI Cast Surround User manual

Valor

Valor Horizon 615CVI Cast Surround User manual

Valor 1170RGL Refl ective Glass Liner Set User manual

Valor

Valor 1170RGL Refl ective Glass Liner Set User manual

Valor LEGEND G3 763BPB User manual

Valor

Valor LEGEND G3 763BPB User manual

Valor LEGEND G3.5 User manual

Valor

Valor LEGEND G3.5 User manual

Valor 725RTB Black User manual

Valor

Valor 725RTB Black User manual

Valor 1800KNGK User manual

Valor

Valor 1800KNGK User manual
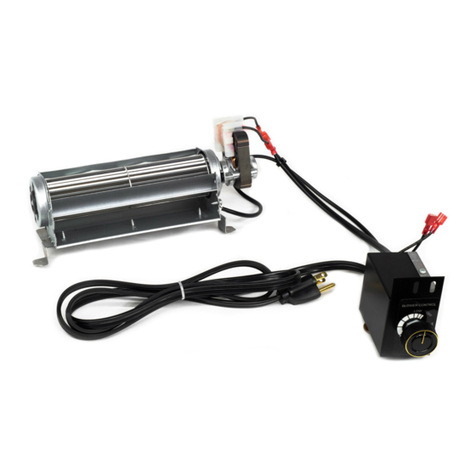
Valor 738JL User manual

Valor

Valor 738JL User manual
Valor 785KNGK User manual

Valor

Valor 785KNGK User manual

Popular Fireplace Accessories manuals by other brands

Exodraft Xzense manual

Exodraft

Exodraft Xzense manual

Whalen Ruso MNFP62BF23-6 manual

Whalen

Whalen Ruso MNFP62BF23-6 manual

Woodstock Soapstone Fireview 201 manual

Woodstock Soapstone

Woodstock Soapstone Fireview 201 manual

EdilKamin SERBATOIO 250 Installation, use and maintenance

EdilKamin

EdilKamin SERBATOIO 250 Installation, use and maintenance

Bronpi KIT-1 instructions

Bronpi

Bronpi KIT-1 instructions

Town & Country Fireplaces 22150051 instructions

Town & Country Fireplaces

Town & Country Fireplaces 22150051 instructions

Travis Industries 33 DVI installation instructions
Travis Industries

Travis Industries 33 DVI installation instructions

Lopi Hearthview 864 user manual

Lopi

Lopi Hearthview 864 user manual

Lennox Hearth Products LENNOX MPE-33R installation instructions

Lennox Hearth Products

Lennox Hearth Products LENNOX MPE-33R installation instructions

Dimplex DFP6776C install guide

Dimplex

Dimplex DFP6776C install guide

Napoleon W175-0689 instruction manual

Napoleon

Napoleon W175-0689 instruction manual

Travis Industries 95400424 installation instructions

Travis Industries

Travis Industries 95400424 installation instructions

Osburn ZERO CLEARANCE KIT installation instructions

Osburn

Osburn ZERO CLEARANCE KIT installation instructions

Majestic QUARTZPLA36IN installation instructions

Majestic

Majestic QUARTZPLA36IN installation instructions

Napoleon DBPO36 installation instructions

Napoleon

Napoleon DBPO36 installation instructions

Dimplex SMP-130-E install guide

Dimplex

Dimplex SMP-130-E install guide

Empire Comfort Systems LS50TINF installation instructions

Empire Comfort Systems

Empire Comfort Systems LS50TINF installation instructions

IHP WS-CI150 quick start guide

IHP

IHP WS-CI150 quick start guide

manuals.online logo
manuals.online logoBrands
  • About & Mission
  • Contact us
  • Privacy Policy
  • Terms and Conditions

Copyright 2025 Manuals.Online. All Rights Reserved.

Valor Fireplaces • 190—2255 Dollarton Highway • North Vancouver, BC • V7H 3B1
Tel: 604.984.3496 or 1.800.468.2567 • Fax: 604.984.0246 or 1.800.268.0333
www.valorfireplaces.com
December 2019
1/3
Cement Board
L2 1700K
Min. 60” [1524 mm]
Min. 44-1/2” [1130 mm]
A
DD
E
B
CFlush with bottom of unit;
add extra cement board
to overlap framing.
Joints preferred at corners
to prevent cracking
Minimal coverage area of non-combustible cement board.
Any wall ȴQLVKDSSOLHGWRVKDGHGDUHDPXVWEHQRQFRPEXVWLEOH
Linear 1700 outline
LQFOXGLQJVWDQGR΍V
Non-combustible
cement board
required thickness:
1/2” [13 mm]
NON-COMBUSTIBLE MATERIALS ONLY
READ INSTRUCTIONS
MATÉRIAUX INCOMBUSTIBLES SEULEMENT
CONSULTEZ LE GUIDE D’INSTALLATION
NON-COMBUSTIBLE MATERIALS ONLY
READ INSTRUCTIONS
MATÉRIAUX INCOMBUSTIBLES SEULEMENT
CONSULTEZ LE GUIDE D’INSTALLATION
Material Specifications
Non-Combustible
Material which will not ignite and burn. Such materials
are those consisting entirely of steel, iron, brick, tile,
concrete, slate, glass or plasters, or any combination
thereof.
Materials that are reported as passing ASTM E 136,
Standard Test Method for Behavior of Materials in a
Vertical Tube Furnace at 750°C shall be considered
non-combustible materials.
Combustible
Materials made of or surfaced with wood, compressed
paper, plant fibers, plastics, or other material that
can ignite and burn, whether flame proofed or not,
or plastered or unplastered shall be considered
combustible materials.
Non-Combustible Cement Board
The L2 Linear fireplace requires a 1/2” (13mm) thick
non-combustible cement board to be used as a wall
surface immediately surrounding the unit’s opening—
see diagram for minimum coverage.
Extending the cement board well beyond the minimum
shown will help avoid cracking due to differential
expansion of materials.
Pre-drill cement board with oversized holes and do
not over-tighten screws to avoid cracking due to heat
expansion.
Standard gypsum wall board may be used beyond the
perimeter of the cement board.
NON-COMBUSTIBLE MATERIALS ONLY
READ INSTRUCTIONS
MATÉRIAUX INCOMBUSTIBLES SEULEMENT
CONSULTEZ LE GUIDE D’INSTALLATION
inches [mm]
With 1750 or
1775 trims
with 1730CIK kit
AMin. 20-1/2 [521] Min. 20-1/8 [511]
B14-3/4 [375] 15-13/16 [401]
CMin. 9-1/4 [235] Min. 8-9/16 [218]
DMin. 5 [127] Min. 4-1/2 [114]
EMin. 50 [1270] Min. 51-1/16 [1296]
Valor Fireplaces • 190—2255 Dollarton Highway • North Vancouver, BC • V7H 3B1
Tel: 604.984.3496 or 1.800.468.2567 • Fax: 604.984.0246 or 1.800.268.0333
www.valorfireplaces.com
Wall Finish — Trims
1/4”
(235 mm)
Possible screw loc
(in the designated
ard flush with bo
of heater; add extra
overlapping framing
Wider trim (1750)
can adjust up to 1”
forward of surface of
cement board.
Cement board tucks
behind trim.
Narrow trim (1775)
can adjust up to 5/8”
forward of surface of
cement board.
Cement board tucks
behind trim.
Clean Installation
Kit 1730CIK requires
HeatShift. Cement
board finishes up to
perimeter of frame.
Must install
BEFORE cement
board.
Non-Combustible Finishing Over Cement
Board
Additional non-combustible material such as tile, etc.,
may be applied over top of the cement board or you
may choose to leave it finished clean with no tile, etc.
Be aware that a trim is always required. Finish should
not cover the trims.
1775 and 1750 Trims
Only the 1775 and 1750 style trims will accept tile, etc.
tucked behind them (up to 5/8” thick for the 1775 and
up to 1 inch thick for the 1750).
1730 Trim
1730 trim must be installed BEFORE cement board.
Cement board and finishes are applied to the perimeter
of the trim frame. Cement board and finished CANNOT
be tucked under this trim.
December 2019
2/3
L2 1700K
Valor Fireplaces • 190—2255 Dollarton Highway • North Vancouver, BC • V7H 3B1
Tel: 604.984.3496 or 1.800.468.2567 • Fax: 604.984.0246 or 1.800.268.0333
www.valorfireplaces.com
Wall Finish — Avoid Cracking
Avoiding Cracking Wall Finishes
We recommend installing the optional HeatShift
System to reduce the wall temperatures and minimize
the possibility of cracking wall finishes.
If a clean finish with no tile, etc. is desired, joints in the
cement board and the transition to gypsum board
will require special attention if future cracking is to be
controlled. Be aware that temperatures on the non-
combustible wall surface above the appliance can
exceed 200°F (93°C).
Below are some tips on how to best avoid any cracking:
• Allow materials to dry thoroughly before finishing the
wall. Cement board has the ability to absorb up to 30
percent of its weight in water and may shrink as much
as 1/8” over a 48” length when drying from a satu-
rated condition. Running the fireplace for an extended
period before final finishing will help drive out mois-
ture.
WARNING
HeatShift System MUST be installed on
this appliance when using 1730CIK—Clean
Installation Kit.
• Always pre-drill screw holes through cement board
and use screws specific for material used.
• Always use mesh tape over joints.
• Always stagger joints in wall board.
• Behind joints, double up studs or use studs “on the
flat” to add extra support to the joint. Adhesive on
the backside of wall board behind any joints can help
control differential movement.
• Use multiple, thinner coats of joint compound and al-
low to dry thoroughly between coats.
• Ensure framing materials are dry.
• After finishing the wall, introduce heat gradually to
slowly dry any excess moisture rather than drying too
fast.
• Avoid notching cement board or tiles around corners
of window opening and instead provide a joint that
intersects the corner.
• Avoid using lage one-piece slab of material with a
cut-out in the middle as a surround for the fireplace.
Expansion above the opening will cause cracking at in-
side corners. Provide a joint that intersects the inside
corner to avoid cracking.
Cracks
Provide joints
either here or
here
December 2019
3/3
L2 1700K