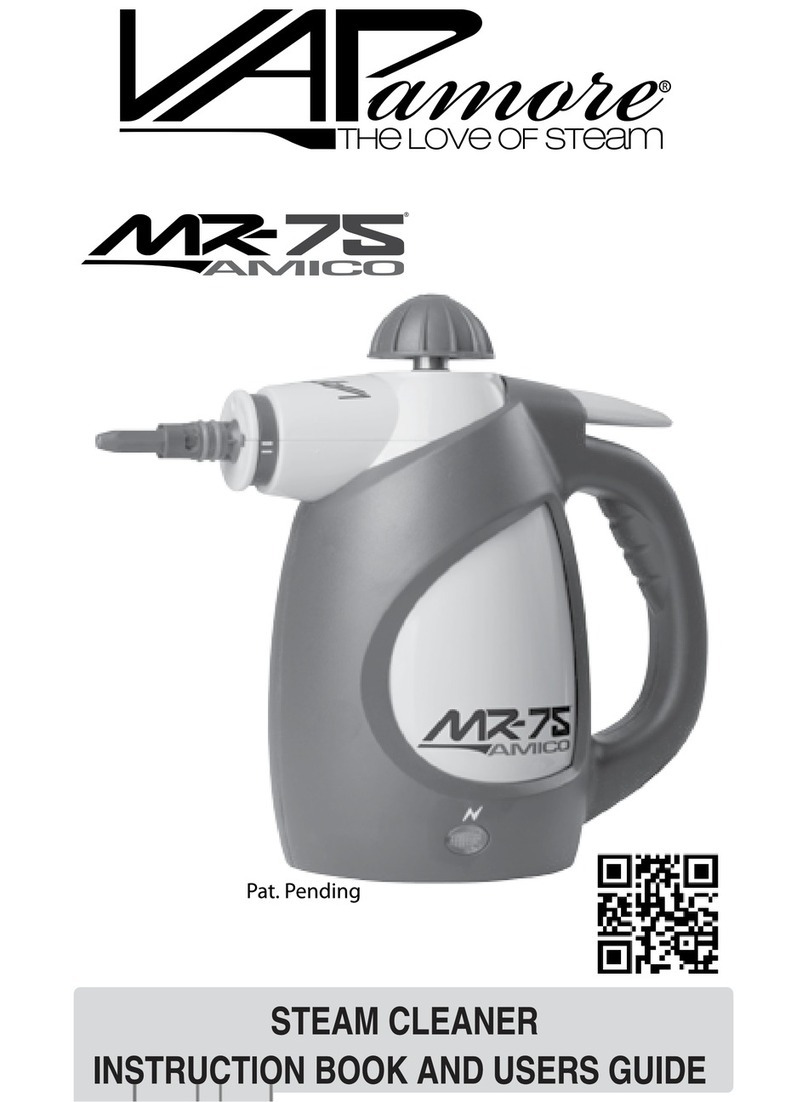
VAPamore MR-75 Amico User manual


FAILURE TO FOLLOW SAFETY INFORMATION AND WARNINGS MAY
CAUSE PERMANENT DAMAGE AND VOID PRODUCT WARRANTY.
SAFETY INFORMATION
Steam cleaner must be level and on the floor during use.
listed on the label.
supply cord.
!
around water.
Do not leave the steam cleaner on and unattended. Always
switch the steam cleaner off and remove plug from wall
outlet when unattended.
use only with a grounded outlet.
Vapamore in order to prevent a fire hazard.
Only use distiled water. Using hard water can cause
calcium or mineral build up and void the warranty.
Never use additives such as perfumes, stain removers, or
other chemicals in the water tank as they will void the
warranty, cause permanent damage, and be dangerous.
Make sure the water tank cap is fully secured before use.
(See cleaning and storage).
Do not pull or drag steam cleaner using the
steam gun and hose.
Drain water tank prior to shipping, transporting.
storage.

TECHNICAL SPECIFICATIONS
PARTS LIST
PARTS OVERVIEW
Accessory tool adapter
Metal brush small brass
Nylon brush large
Nylon brush medium
Nylon brush grout
Metal brush large brass
Metal brush large stainless steel
Cotton cover x 3
oel -5 mio
oer suly 115 - 0
eating element 1000 - 10
team ressure ar- 45 si
an aaity 00 ml - 1 t
eating time 4 min
team tem at ti 99 - 10
oer or length 10 t
ross eight 158 g - 5 l
lothes ari - mooth surae sueegee
-5 mio
easuring u unnel
5
8910 11 12 13 14 15
1
Carrying case
Nylon brush straight
Detail scraper
Steam hose and connector
et nole attahment

FILLING & OPERATION
Fig.1
!
or
GENERAL FUNCTION: he -5 mio steamer uses a heate oiler tan lle ith ater
to reate steam hen rst lugge in you ill see the re oer light shoing that the
unit is oere on an heating ne at ull temerature the light ill turn green shoing
the steamer is reay or use his light ill hange a an orth rom re to green uring
use as the heater yles on an o he steamer an e use anytime ater the initial
heating an hen the light is yling eteen olors he steam ressure ill utuate
as the steamer is eing use an the oiler yles on an o uring use
sing aities o any in ill oi the arranty
!
nly ll ith istille ater sing har mineral heay ater ill log
internal omonents an an ause ailure to internal arts an oi the arranty
Fig.2
!
300ml / .32qt
Push down
and turn.
lug in the steamer to a groune 110 outlet he steamer
is reay or use nitial start u rom ol mahine is aro
4 min he status light ill yle re to green uring use
as the oiler maintains the temerature ig
Vaamore
!
!
!
77
1
5
Fig.3
Red light when
plugged in.
Green light when
ready for use.
NOTE:
steamer is hot allo
nsre the tan a y ressing the a on an
simultaneously turning ounter loise ig 1
se the sulie measuring u lle ith istille ater
to the 00ml line ig
Relae the ater tan a y ressing on on the a
an simultaneously turning it loise ae sure the
a is ully tight to reent any steam rom leaing out
an one oole on tighten a urther
lays mae sure the steamer is not lugge in an
is ool eore lling ith ater
steamer toool on omletely eore remoing ater
tan a

The accessory tool adaptor is required when using
all accessories. Attach by aligning the arrow on the
accessory with the arrow on the accessory tool
adapter and twisting to lock in place. Fig. 5
The MR-75 Amico has a full line of accessories
that include the accessory tool adapter, jet nozzle
attachment, clothes / fabric - smooth surface
squeegee, detail scraper, steam hose and
connector, carrying case and a full line of brushes.
The carrying case can be used to store and transport
the MR-75 Amico and all the accessories and tools.
Fig. 4
Accessories twist lock
onto the adapter.
STEAM CLEANER ASSEMBLY
Fig. 4
Fig. 5
Fig. 6
Fig. 7
Fig. 8
Fig. 9
!
2
2
1
1
3
The MR-75 Amico can be used with or without the
steam hose.
For use without the steam hose, connect the
accessory tool adapter directly to the MR-75
Amico by twisting to lock in place. All accessories
can then be used with the accessory adapter. Fig. 6
For use with the steam hose, connect the steam
hose directly to the MR-75 Amico by twisting to lock in
place. There is a locking tab that will click to lock. To
remove the steam hose, slide the locking tab and twist
to remove. Fig. 7
Connect the accessory tool adapter to the steam hose
by twisting to lock in place. All accessories can then be
used with the accessory adapter. Fig. 8
Carrying case
for MR-75 and
all accessories.
!
Once the MR-75 Amico is ready for use, depress the
steam trigger located on the top of the machine to
release steam. Fig. 9
Push to
release
steam.
Accessory adapter
twist to lock.
7
2
1
Accessory adapter
twist to lock.

ACCESSORIES / BRUSHES
Suggested uses (Metal brush), oven grills, BBQ grates,
cement stains, machinery, and metal surfaces. (Nylon
medium duty and large nylon brush), used for more
sensitive materials such as blinds, carpet, furniture, air
brush is used for harder less sensitive areas such as
IMPORTANT : With all brushes it is important to not
apply excessive pressure or force. This can cause failure
of the detail adaptor or related parts. When using the
brushes let the steam do the work and the brush to
help agitate the stain or area being cleaned.
OPERATION
ACCESSORIES / SMOOTH SURFACE TOOL
Fig. 10
A
C
CESSORIES / BRUSHES
ACCESSORIES / SCRAPER
The scraper tool can be used to defrost freezers, on
oven walls and cook top surfaces to remove stuck on
food. This tool is also good for removing wall paper,
paint and shelve paper alongwith removing gumfrom
hard ooring. Fig. 13
Using the clothes - fabric / smooth surface tool without
the cotton cover acts as a squeegee and is great for
sanitizing kitchen and bathroom counter tops chemical
free along with smooth surfaces such as stone, granite,
wood, glass, tile and stainless steel. Fig. 14
The accessory tool adaptor can also be used on its own
as a straight jet nozzle tool or along with the 90 degree
jet nozzle attachment. These tools are great for removing
soap scum in the bath, shower and around faucets. Also
for cleaning tight areas such as toilet hinges where high
pressure steam can reach and blow out dirt and debris.
surface being treated. The steam temperature will
condense and cool within 1’’ of the jet tip. Fig. 10
ACCESSORIES / DETAIL ADAPTOR
Tool adaptor
90 Deg. jet nozzle
A
C
CESSORIES / DE
T
AIL AD
TAIL ADAIL ADT
APT
OR
A
C
CESSORIES / SCR
APER
A
C
CESSORIES / SMOO
TH SURF
A
TH SURFAATH SURF
CE
T
OOL
Fig. 11
Fig. 12
Fig. 13
Fig. 14
Fig. 11 - 12
walls, etc.
counter tops,
granite, glass,
stainless steel,
tile, stone,
Sanitize -

EDU - DUST MITES - ALLERENS
The tool adaptor can also be used on its own as a
straight jet nozzle tool or along with the 90 degree jet
nozzle attachment. These tools are great for cracks and
crevices. Make sure to concentrate the steam directly on
the area to be treated with as minimal distance as
possible, no more than 1’’ away. The steam will condense
eggs if the jet tip is not directly on the surface being
treated. The detail adaptor can be attached directly to
the steam gun or to any of the extension tubes. Fig. 16
The Vapamore -5 mio roduces steam with an output temperature between 200˚
to 210˚deg rees. Pests such as bedbugs, dust mites and other allergens along with their
eggs are killed on contact at a temperature of 180˚deg rees. Using steam is an extremely
other bacteria or viruses without leaving any harmful chemical residue behind. The tools
supplied with the Vapamore -5 mio allow you to treat all areas where these pests
can hide such as bedding, sofas, furniture, pillows, carpet, cracks and crevices that are
ideal hiding places for pests.
Fig 15
The clothes / fabric tool with the cotton cover is ideal for treating bedding, furniture,
pillows, and carpet areas around bed posts and base boards. Start by installing the
supplied cotton cover on the lothes - aric / smooth surface tool pply light consistent
pressure and slowly pass it along the surface (1” per second) to insure the area being
treated has a chance to come to full temperature killing pests and their eggs. Fig 15
CCESSORIES / CLOE - TOOL
Start by installing the supplied cotton cover on the
lothes - aric / smooth surface tool. This tool can
be used for steaming and sanitizing along with
eliminating odors in garments, fabrics, furniture,
curtains, drapes, etc.
9
13 11
OERATION
C
CESSORIES / CL
O
E -
E - E -
T
OOL
Fig 15
Fig. 16
Tool adaptor
90 Deg. jet nozzle
CLOE - TOOLCL
O
E -
E - E -
T
OOL
E E
E E

REFILL / CLEANING / STORAGE
GO TO VAPAMORE.COM TO SEE THE MR-75 AMICO INSTRUCTIONAL VIDEO
WARNING: Hot steam may escape when opening the cap if the machine is not
!
CLEANING / MAINTENANCE
IMPORTANT :
Always ensure before cleaning or maintaining the Vapamore MR-75 Amico that it is
unplugged from the wall outlet. Only clean the outer surface with a slightly, water
moistened cloth. Do not use any cleaning agents, abrasives or alcohol
Fig. 17
Lubricate the threads on the water tank cap with light oil or lubricating spray such as
WD-40 once every 3 months or when needed.
R
The tank should be emptied before storing for any
extended period of time (30 days or more). To empty
the tank, make sure the MR-75 is completely cooled
upside down to drain any remaining water from the
is completely dry. Fig. 17
STORAGE
The included small cotton covers can be machine washed using normal detergents
and wash cycle.
The tank must be lled up when the steam ow emitted starts to decrease. Turn o
the MR-75 Amico by unpluging from the wall outlet. The red operation pilot light will
be o. Allow the unit to cool down for at least 15 minutes. Press the steam trigger to
release any remaining steam pressure. Open the tank cap by pressing down and turning
counter - clockwise.
Add water using the measuring cup / funnel then carefully close the tank cap again by
pressing down and turning clockwise untill fully tight. The MR-75 Amico can now be
plugged in. The unit is ready for use as soon as the red pilot light turns to green.
When storing the MR-75 Amico, unplug from the wall outlet and let
the unit cool down. After the unit has cooled, hold the steam trigger down to release
any steam pressure remaining.
REFILL / CLEANING / STORAGE
AP
AMORE.COM TO SEE THE MR-75 AMICO INSTRUCTIONAL VIDEO

AUTO DETAILING
VAPAMORE CAR CARE
PROBLEM?
IMPORTANT :
TROUBLESHOOTING
What do I do if the machine or an accessory becomes damaged or broken?
Visit www.vapamore.com for a complete list of parts and accessories available for
purchase or simply call us at 480-951-8900 or E-mail us at info@vapamore.com to
purchase replacement parts or schedule a repair. WE ARE HERE TO HELP...
TROUBLESHOOTING
One of the ETL protection devices has been triggered or the power cord has been
Do not return to the place of purchase for warranty or repairs. Only
damaged.
The tank could have a build up of lime scale due to the use of hard water.
The tank must be de scaled by using a chemical de scaler . All chemicals must be
removed from the water tank before the machine is operated. Anything other than 100%
pure water inside the tank during operation could cause permanent failure of damage
and can be very unsafe to operate.
Vapamore is authorized to facilitate all repairs to keep the highest quality and ETL
standards. Repairs or tampering by any other party will void the Warranty.
The water tank is low or empty.
Rell the water tank.
Other manuals for MR-75 Amico
2
Table of contents
Other VAPamore Steam Cleaner manuals

VAPamore
VAPamore MP-100 Primo User manual

VAPamore
VAPamore MR-750 OTTIMO User manual

VAPamore
VAPamore MR-75 Amico User manual

VAPamore
VAPamore MR-750 OTTIMO User manual

VAPamore
VAPamore Primo MR-100 manual

VAPamore
VAPamore MR-500 Vento User manual

VAPamore
VAPamore Primo MR-100 User manual

VAPamore
VAPamore MR-1000 Forza User manual

VAPamore
VAPamore MR-1000 Forza User manual

VAPamore
VAPamore Primo MR-100 manual