manuals.online logo
Brands
  1. Home
  2. •
  3. Brands
  4. •
  5. Viabizzuno
  6. •
  7. Outdoor Light
  8. •
  9. Viabizzuno Cilindro S70 User manual

Viabizzuno Cilindro S70 User manual

istruzioni di montaggio
installing instructions
instructions de montage
instrucciones de montaje
Viabizzuno
progettiamo la luce
cilindro S70
biemissione
2
IT
EN
FR
ES
Viabizzuno si riserva il diritto di apportare ai propri
modelli, senza nessun preavviso, qualsiasi
modifica ritenga opportuna. le nostre idee e i
nostri apparecchi sono depositati e coperti da
brevetti internazionali. uomo avvisato, mezzo
salvato.
Viabizzuno reserves the right to introduce any
changes to its own models, without prior notice.
our ideas and our lighting fittings are registered
and covered by international patents. forewar-
ned is forearmed.
Viabizzuno se réserve le droit d’apporter une
quelconque modification aux produits sans
préavis. nos ideés et nos corps d’illumination
sont déposés et couverts de brevets internationa-
les. un homme averti en vaut deux.
Viabizzuno se reserva el derecho de aportar a sus
modelos, sin ningùn preavviso, cualquier
modificación que considere oportuna. nuestros
diseños y nuestros aparatos están todos
provistos y cubiertos por patentes internaciona-
les. el que avisa no es traidor.
3
IT garanzia
EN warranty
garantieFR
ES garantía
IT
EN
FR
ES
la presente garanzia è valida 24 mesi se timbrata e datata
dal rivenditore autorizzato Viabizzuno. il periodo di garanzia
è di 2 anni a partire dalla data della timbratura e decade
in caso di uso improprio, manomissione o cancellatura
della data, perdita o illeggibilità del presente libretto di
istruzioni.
the warranty covers 24 months if stamped and dated by the
authorised Viabizzuno dealer.
the 24 months warranty shall no apply in case of wrong
use, altered or deleted date, or if this instructions booklet
gets lost or becomes unreadable.
la durée de la garantie est de 24 mois si elle estmarquée
par le distributer autorisé Viabizzuno. la garantie est valable
2 ans depuis le jour où elle a été marquée et échoit en cas
d’usage impropre, alteration ou effacement de la date, e si
le carnet d’instructions est perdu ou est indéchiffrable.
esta garantìa es valida por 24 meses sòlo si està datada y
sellada por el revendedor autorizado Viabizzuno. el período
de garantía es de 2 años a partir de la fecha del sello, y
decae en caso de empleo impropio, alteración o borrado
de la fecha, pérdida o ilegibilidad del presente manual de
instrucciones.
SDM-300615-41063
4
AVVERTENZE: all’atto dell’installazione, ed ogni volta
che si interviene sulla lampada, assicurarsi che sia stata
tolta la tensione di alimentazione. le operazioni di
installazione e collegamento alla rete elettrica devono
essere effettuate esclusivamente da personale qualificato.
WARNING: when installing fixture and during upkeep
take care that the mains voltage is switched off. the
operations of installation and connection to power mains
should be done by skilled personnel only.
AVVERTISSEMENTS: lors de l’installation et à chaque
fois que l’on fait un entretien sur la lampe, s’assurer que la
tension d’alimentation ait été coupée. les opérations
d’installation et de branchement au réseau électrique
doivent être effectuées par un personnel qualifié.
ADVERTENCIA: durante la instalación, y cada ve que se
interviene sobre la lámpara, asegurarse que la
alimentación haya sido desconectada. las operaciones de
instalación y conexión a la red eléctrica tienen que ser
efectuadas exclusivamente por personal cualificado.
ATTENZIONE: la sicurezza dell’apparecchio è garantita
solo rispettando queste istruzioni sia in fase di installazione
che di impiego.
WARNING: fitting safety is only guaranteed if the
following instructionsare strictly observed both during
installation and use.
ATTENTION: la sécurité de l’appareil n’est assurée que
lorsque les consignes portées sont respectées, tant lors de
l’installation que durant l’utilisation de l’appareil.
ATENCIÓN: la seguridad del aparato está garantizada
sólo si se respetan estas instrucciones durante la fase de
instalación y de empleo.
IT
EN
FR
ES
IT
EN
FR
ES
5
predisposto per avere una doppia accensione.
prepared to have a double ignition.
préparée pour avoir un double allumage.
preparados para tener un doble encendido.
damp location
F8.121.01.U bianco
white
blanc
blanco
F8.121.02.U nero
black
noir
negro
F8.121.03.U grigio
grey
gris
gris
F8.121.04.U bronzo
bronze
bronce
F8.121.05.U inox lucido
polished stainless steel
polierter Edelstahl
inox brillant
inoxidable brillante
cilindro s 70 double emission
700/27.6” min500/max3000
min19.7”/max181.1”
Ø168/6.6”
6
IT ATTENZIONE: il kit utilizzato nelle
seguenti istruzioni di montaggio è un
esempio. Su questo articolo è possibile
utlizzare i seguenti kits:
F6.110.90.U kit alogenuri
F6.110.91.U kit fluo
F6.110.93.U kit alogeno
EN ATTENTION: the kit used in the following
fitting instructions is an example. The
following kits can be used with this item:
F6.110.90.U metal alide kit
F6.110.91.U fluo kit
F6.110.93.U kit for halogen lamps
FR ATTENTION: le kit utilisé dans les
instructions pour le montage est un
exemple. Sur cet article il est possible
d’utiliser les kits suivants :
F6.110.90.U kit halogénures
F6.110.91.U kit fluo
F6.110.93.U kit halogène
ES ATENCIÓN: el juego utilizado en las
instrucciones de montaje siguientes es un
ejemplo. En este artículo es
posible utilizar los juegos siguientes:
F6.110.90.U juego halogenuros
F6.110.91.U juego fluo
F6.110.93.U juego halógeno
7
1.
magneti
magnets
Magneten
aimants
imanes
8
2.
1
2
2
1
9
12/0.5”
1”
121/4.7”
Ø22,5/1”
Ø6,5/0.3”
67/2.6”
35/1.4”70/2.7”
3.
10
3L1
N
1
2
N1
L2
N2
4.
11
IT eseguire il collegamento elettrico del
cavo di alimentazione alla morsettiera (A)
rispettando le marcature riportate.
EN connect the power cables to the terminal
block (A), in accordance with the labelling
shown.
FR effectuer le branchement électrique du câble
d’alimentation au bornier (A) en respectant
les indications présentes.
ES conectar el cable de alimentación a la
caja de bornes (A) respetando las marcas
indicadas.
12
D
C
B
D
C
5.
IT fissare il kit desiderato al piattello (B)
serrando le viti (C). la rondella (D) deve
esere posizionata sotta la testa della vite.
per l’installazione del kit seguire le
istruzioni relative ad esso.
EN fix the required kit to the small plate (B) by
tightening the screws (C). the washer (D)
must be located under the screw head.
to install the kit, follow the relevant
instructions.
FR fixer le kit voulu à la plaque (B) et serrer les
vis (C). la rondelle (D) doit être placée sous
la tête de la vis.
pour l’installation du kit, suivre les
instructions correspondantes.
ES fijar el kit deseado en la pletina (B)
apretando los tornillos (C). la arandela
(D) debe estar situada bajo la cabeza del
tornillo.
para instalar el kit, seguir las instrucciones
específicas del mismo.
13
120V
120V
kit 1
L1
N1
L2
N2
kit 1
kit 2
kit 2
IT eseguire il collegamento elettrico del cavo
di alimentazione rispettando le marcature
riportate. collegare il cavo giallo/verde
di terra al morsetto contrassegnato dal
simbolo .
EN connect the power cables, in accordance
with the labelling shown. connect the
yellow/green earth lead to the screw
marked with the symbol .
FR effectuer le branchement électrique du câble
d’alimentation en respectant les indications
présentes. brancher le câble jaune/vert de
terre à la borne marquée du symbole .
ES conectar el cable de alimentación
respetando las marcas indicadas. conectar
el cable amarillo/verde de tierra al borne
marcado con el símbolo .
6.
14
G
J
H
F
F
E
7.
15
IT svitare i grani (E) e rimuovere l’anello di
chiusura (F) dal cilindro applicando un
movimento rotatorio per evitare di rovinare
la guarnizione (G) .
montare l’elemento riflettente (H) sull’anello
di chiusura (F) del corpo, fissandolo con
l’apposita molla (J).
EN unscrew the grub-screws (E) and remove the
locking ring (F) from the cylinder, using a
rotating movement to avoid damaging the
gasket (G).
locate the reflector element (H) on the
locking ring (F) of the body of the fitting and
secure it with the appropriate spring (J).
FR dévisser les pions (E) et retirer l’anneau
de fermeture (F) du cylindre en imprimant
un mouvement de rotation pour éviter
d’endommager la garniture (G).
monter l’élément réfléchissant (H) sur
l’anneau de fermeture (F) du corps et le
fixer à l’aide du ressort prévu à cet effet (J).
ES destornillar los pernos (E) y quitar el anillo
de cierre (F) del cilindro, aplicando un
movimiento rotatorio para evitar estropear
la junta (G).
montar el elemento reflectante (H) en el
anillo de cierre (F) del cuerpo, y fijarlo con
el resorte correspondiente (J).
16
8.
IT in caso di applicazioni in ambiente
umido è necessario mettere del
grasso sul filetto dei grani.
EN in the event of applications in a
humid environment it is necessary
to put grease on the thread of the
grub-screws.
FR en cas d’installation en milieu
humide, il est nécessaire
d’appliquer de la graisse sur le
filetage des pions.
ES en caso de aplicaciones en
ambientes húmedos, será necesario
engrasar la rosca de los pernos.
H
N
F
E
2
17
IT Inserire nel cilindro (N) l’anello di chiusura
(F) con l’elemento riflettente (H) montato
eseguendo un movimento rotatorio. Serrare
i grani inferiori (E).
ATTENZIONE:non stringerli in maniera
eccessiva perché si rischia di deformare la
ghiera di chiusura.
EN Insert the closing ring (F) into the body of
the lamp (N), with the reflecting element
(H) fitted, by screwing it up with rotating
movement. Tighten the lower dowels (E).
ATTENTION: not clench them in excessive
way, because we risk to deform the closing
metal ring.
FR Introduire dans le corps de la lampe (N)
la bague de fermeture (F) avec l’élément
réfléchissant (H) monté, en exerçant un
mouvement de rotation. Serrer les goujons
inférieurs (E).
ATTENTION: ne les serrer pas en manière
excessive, parce que on risque de déformer
la frette de fermeture.
ES Introducir en el cuerpo de la lámpara (N)
el anillo de cierre (F), con el elemento
reflector (H) montado, también en este caso
efectuando un movimiento giratorio.
Apretar los pasadores inferiores (E).
ATENCION: no estrecharlos de manera
excesiva, porque se arriesga de deformar
la feria de cierre.
18
9.
B
L
L
K
K
19
IT in caso di applicazioni in ambiente umido
è necessario mettere del grasso sul filetto
dei grani (L)
EN in the event of applications in a humid
environment it is necessary to put grease on
the thread of the grub-screws (L)
FR en cas d’installation en milieu humide, il est
nécessaire d’appliquer de la graisse sur le
filetage des pions (L)
ES en caso de aplicaciones en ambientes
húmedos, será necesario engrasar la rosca
de los pernos (L)
20
M
10.
IT terminata tale operazione occorre
tagliare il cavo di sospensione in
eccesso.
EN When this operation is complete,
any surplus suspension cable should
be cut off.
FR une fois cette opération effectuée, il
est nécessaire de couper la longueur
inutile du câble de suspension.
ES terminada esta operación hay
que cortar el cable de suspensión
sobrante.

This manual suits for next models

5

Other Viabizzuno Outdoor Light manuals
Viabizzuno XXI secolo Instruction Manual

Viabizzuno

Viabizzuno XXI secolo Instruction Manual

Viabizzuno big feet Instruction Manual

Viabizzuno

Viabizzuno big feet Instruction Manual

Viabizzuno cubo medium Instruction Manual

Viabizzuno

Viabizzuno cubo medium Instruction Manual

Viabizzuno minima terra Instruction Manual

Viabizzuno

Viabizzuno minima terra Instruction Manual

Viabizzuno PALO MARTINO Instruction Manual

Viabizzuno

Viabizzuno PALO MARTINO Instruction Manual

Viabizzuno palo B Instruction Manual

Viabizzuno

Viabizzuno palo B Instruction Manual

Viabizzuno F9.211.75 Instruction Manual

Viabizzuno

Viabizzuno F9.211.75 Instruction Manual

Viabizzuno lanterna massima palo Instruction Manual

Viabizzuno

Viabizzuno lanterna massima palo Instruction Manual

Viabizzuno nettuno F4.177.03 Instruction Manual

Viabizzuno

Viabizzuno nettuno F4.177.03 Instruction Manual

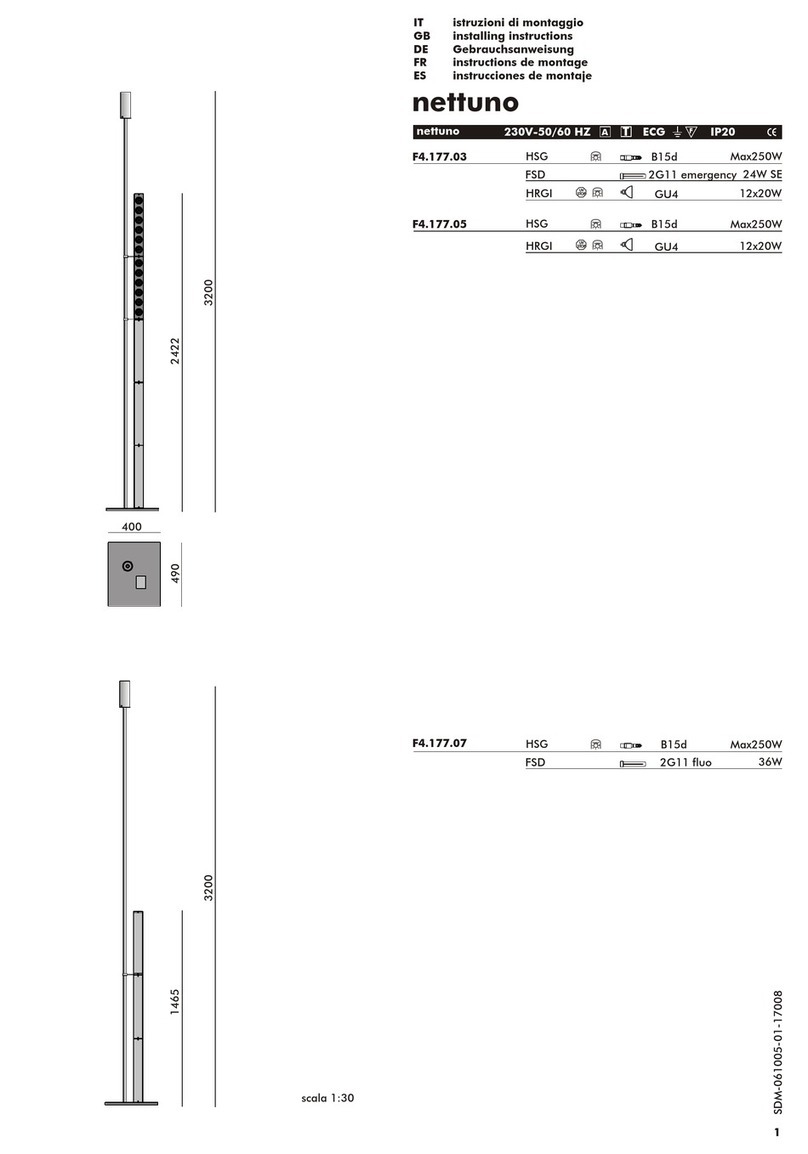
Viabizzuno Lanterna massima Vb4.553.01 Instruction Manual
Viabizzuno

Viabizzuno Lanterna massima Vb4.553.01 Instruction Manual

Viabizzuno m44 Instruction Manual

Viabizzuno

Viabizzuno m44 Instruction Manual

Viabizzuno concrete 1 User manual

Viabizzuno

Viabizzuno concrete 1 User manual

Viabizzuno Mon amour Instruction Manual

Viabizzuno

Viabizzuno Mon amour Instruction Manual

Viabizzuno ombrella Instruction Manual

Viabizzuno

Viabizzuno ombrella Instruction Manual

Viabizzuno minima ta mn02 Instruction Manual

Viabizzuno

Viabizzuno minima ta mn02 Instruction Manual

Viabizzuno giraeFFe palo 1 Instruction Manual

Viabizzuno

Viabizzuno giraeFFe palo 1 Instruction Manual

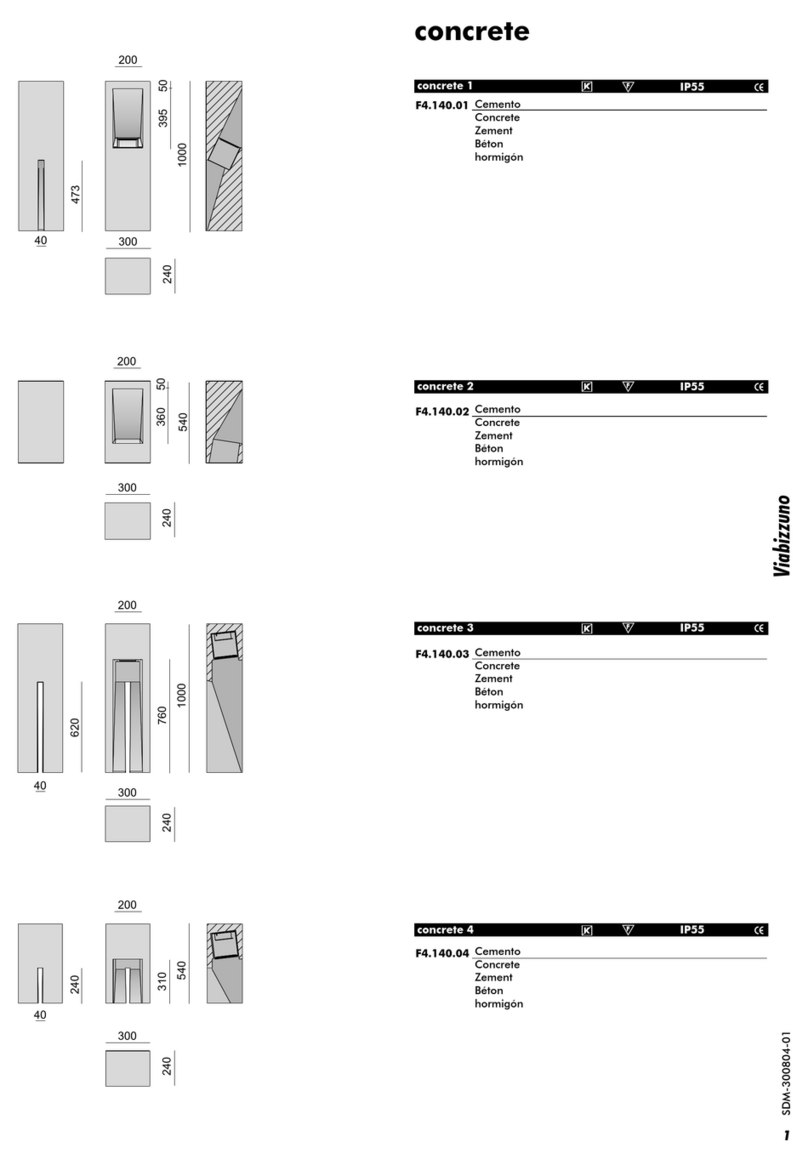
Viabizzuno maxxi poppy terra Instruction Manual
Viabizzuno

Viabizzuno maxxi poppy terra Instruction Manual

Popular Outdoor Light manuals by other brands

Xmart HL-STEP-06 user manual

Xmart

Xmart HL-STEP-06 user manual

LIGMAN FORREY 21 FOR-30031 installation manual

LIGMAN

LIGMAN FORREY 21 FOR-30031 installation manual

Quoizel MBH8411K Assembly instruction sheet

Quoizel

Quoizel MBH8411K Assembly instruction sheet

Kichler Lighting 15382BK instructions

Kichler Lighting

Kichler Lighting 15382BK instructions

Maxim 40914CLACPBO quick start guide

Maxim

Maxim 40914CLACPBO quick start guide

INNOcom Gardenworld Operation and safety notes

INNOcom

INNOcom Gardenworld Operation and safety notes

OttLite SCEQB00Z-CA quick start guide

OttLite

OttLite SCEQB00Z-CA quick start guide

Envirolite EV7065-306 manual

Envirolite

Envirolite EV7065-306 manual

EuroLite TB-250 user manual

EuroLite

EuroLite TB-250 user manual

Intermatic Malibu LT8K instructions

Intermatic

Intermatic Malibu LT8K instructions

Sealey LED3009 instruction manual

Sealey

Sealey LED3009 instruction manual

Underwater Kinetics 2AAA eLED MPL user manual

Underwater Kinetics

Underwater Kinetics 2AAA eLED MPL user manual

Quoizel UMA8407MBK installation guide

Quoizel

Quoizel UMA8407MBK installation guide

kobi SOLAR LED MHCS 30W manual

kobi

kobi SOLAR LED MHCS 30W manual

Style selections 13217 quick start guide

Style selections

Style selections 13217 quick start guide

RAB Design WL-LED26 installation instructions

RAB Design

RAB Design WL-LED26 installation instructions

Good Earth Lighting SE1216-BRS-02LF4-G quick start guide

Good Earth Lighting

Good Earth Lighting SE1216-BRS-02LF4-G quick start guide

Insta instalight 1065 R B RGB/TW operating instructions

Insta

Insta instalight 1065 R B RGB/TW operating instructions

manuals.online logo
manuals.online logoBrands
  • About & Mission
  • Contact us
  • Privacy Policy
  • Terms and Conditions

Copyright 2025 Manuals.Online. All Rights Reserved.