manuals.online logo
Brands
  1. Home
  2. •
  3. Brands
  4. •
  5. Viabizzuno
  6. •
  7. Outdoor Light
  8. •
  9. Viabizzuno giraeFFe palo 1 Instruction Manual

Viabizzuno giraeFFe palo 1 Instruction Manual

istruzioni di montaggio
installing instructions
Gebrauchsanweisung
instructions de montage
instrucciones de montaje
Viabizzuno
Alvaline
For m
progettiamo la luce
giraeFFe palo
IT AVVERTENZE: All’atto dell’installazione, ed ogni volta che
si interviene sulla lampada, assicurarsi che sia stata tolta
la tensione di alimentazione. Le operazioni di installazione
e collegamento alla rete elettrica devono essere effettuate
esclusivamente da personale qualificato.
GB WARNING: When installing fixture and during unkeep take
care that the mains voltage is switched off. The operations
of installation and connection to power mains should be
done by skilled personnel only.
DE HINWEISE: Während der Installation und bei allen
nachfolgenden Arbeiten auf der Lampe sollte sichergestellt
werden, daß die Versorgungsspannung vorher
abgenommen wurde. Die Arbeiten zur Installation und
zum Anschluss an das Stromnetz sind von Fachpersonal
durchzuführen.
FR AVVERTISSEMENTS: Lors de l’installation et à chaque
fois que l’on fait un entretien sur la lampe, s’assurer que
la tension d’alimentation ait été coupée. Les opérations
d’installation et de branchement au réseau électrique
doivent être effectuées par un personnel qualifié.
ES ADVERTENCIA: Durante la instalación, y cada ve que se
interviene sobre la lámpara, asegurarse que la alimentación
haya sido desconectada. Las operaciones de instalación
y conexión a la red eléctrica tienen que ser efectuadas
exclusivamente por personal cualificado.
IT ATTENZIONE:
La sicurezza dell’apparecchio è garantita solo rispettando
queste istruzioni sia in fase di installazione che di impiego.
GB WARNING:
Fitting safety is only guaranteed if the following
instructionsare strictly observed both during installation and
use.
DE ACHTUNG:
Für die Sicherheit des Geräts kann nur dann die Garantie
übernommen werden, wenn die in den vorliegenden
Anweisungen enthaltenen Hinweise sowohl bei der
Installation als auch beim Betrieb beachtet werden.
FR ATTENTION:
La sécurité de l’appareil n’est assurée que lorsque les
consignes portées sont respectées, tant lors de l’installation
que durant l’utilisation de l’appareil.
ES ATENCIÓN:
La seguridad del aparato está garantizada sólo si se
respetan estas instrucciones durante la fase de instalación
y de empleo. 2
3
SDM-050412-22942-3
IT garanzia
GB warranty
DE garantie
FR garantie
ES garantía
IT La presente garanzia è valida 24 mesi se timbrata
e datata dal rivenditore autorizzato Viabizzuno. Il
periodo di garanzia è di 2 anni a partire dalla data
della timbratura e decade in caso di uso improprio,
manomissione o cancellatura della data, perdita o
illeggibilità del presente libretto di istruzioni.
GB The warranty covers 24 months if stamped and dated
by the authorised Viabizzuno dealer. The 24 months
warranty shall no apply in case of wrong use, altered or
deleted date, or if this instructions booklet gets lost or
becomes unreadable.
DE Die Garantie gilt 24 Monate nur, wenn sie von dem
zugelassenen Verkäufer Viabizzuno gestempelt wird.
Die Garantie gilt 2 Jahr seit dem Stempeldatum und
verfällt bei unberechtigten Gebrauch, Manipulation
des Datums, Verlust oder Unlesbarkeit von den
Gebrauchsanweisungen.
FR La durée de la garantie est de 24 mois si elle est
marquée par le distributer autorisé Viabizzuno. La
garantie est valable 2 ans depuis le jour où elle a été
marquée et échoit en cas d’usage impropre, alteration
ou effacement de la date, e si le carnet d’instructions est
perdu ou est indéchiffrable.
ES Esta garantìa es valida por 24 meses sòlo si està
datada y sellada por el revendedor autorizado
Viabizzuno. El período de garantía es de 2 años a
partir de la fecha del sello, y decae en caso de empleo
impropio, alteración o borrado de la fecha, pérdida o
ilegibilidad del presente manual de instrucciones
4
F4.178.01 bruno antico
antique brown
Antikbraun
brun antique
pardo antiguo
4500mm 58,5kg
F4.178.04 nero notte
night black
Nachtschwarz
noir nuit
negro noche
4500mm 58,5kg
F4.178.07 scurodivals
scurodivals
scurodivals
scurodivals
scurodivals
4500mm 58,5kg
F4.178.10 grigio argento
silver gray
silber Grau
gris argent
gris plata
4500mm 58,5kg
montaggio testapalo
pole head installation
Montage von dem Kopf der Lampe
installation tête de la lampe palo
montaje de la cabeza del palo
giraeFFe palo1 IP55
K
700
300
800
1100
4375
4500
3735
155
5
155 4375
4500
giraeFFe palo2 IP55
K
F4.178.02 bruno antico
antique brown
Antikbraun
brun antique
pardo antiguo
4500mm 58,5kg
F4.178.05 nero notte
night black
Nachtschwarz
noir nuit
negro noche
4500mm 58,5kg
F4.178.08 scurodivals
scurodivals
scurodivals
scurodivals
scurodivals
4500mm 58,5kg
F4.178.11 grigio argento
silver gray
silber Grau
gris argent
gris plata
4500mm 58,5kg
montaggio testapalo
pole head installation
Montage von dem Kopf der Lampe
installation tête de la lampe palo
montaje de la cabeza del palo
6
4375
4500
155
giraeFFe palo3 IP55
K
F4.178.03 bruno antico
antique brown
Antikbraun
brun antique
pardo antiguo
4500mm 58,5kg
F4.178.06 nero notte
night black
Nachtschwarz
noir nuit
negro noche
4500mm 58,5kg
F4.178.09 scurodivals
scurodivals
scurodivals
scurodivals
scurodivals
4500mm 58,5kg
F4.178.12 grigio argento
silver gray
silber Grau
gris argent
gris plata
4500mm 58,5kg
montaggio testapalo
pole head installation
Montage von dem Kopf der Lampe
installation tête de la lampe palo
montaje de la cabeza del palo
7
125
15
5
700
giraeFFe proiettore testapalo/parete 700 IP55
K
F4.178.21 bruno antico
antique brown
Antikbraun
brun antique
pardo antiguo
700mm 4,5kg
F4.178.22 nero notte
night black
Nachtschwarz
noir nuit
negro noche
700mm 4,5kg
F4.178.23 scurodivals
scurodivals
scurodivals
scurodivals
scurodivals
700mm 4,5kg
F4.178.24 grigio argento
silver gray
silber Grau
gris argent
gris plata
700mm 4,5kg
125
155
300
giraeFFe proiettore testapalo/parete 300 IP55
K
F4.178.25 bruno antico
antique brown
Antikbraun
brun antique
pardo antiguo
300mm 1,8kg
F4.178.26 nero notte
night black
Nachtschwarz
noir nuit
negro noche
300mm 1,8kg
F4.178.27 scurodivals
scurodivals
scurodivals
scurodivals
scurodivals
300mm 1,8kg
F4.178.28 grigio argento
silver gray
silber Grau
gris argent
gris plata
300mm 1,8kg
8
350
150
350
338
380
138
500
F9.178.85 seduta quadra legno
square wooden seat
Holzsitz quadratisch
assise carrée bois
asiento de madera cuadrado
7,2kg
F4.178.81 cestino rettangolare bronzo con lucchetto
small rectangular bronze can with lock
Rechteckkorb bronze mit Vorhängeschloss
panier rectangulaire bronze avec verrouillage
cesta rectangular en bronce con cierre
9,0kg
accessori
9
IT NOTA: è consigliato eseguire il montag-
gio dei proiettori prima di ancorare il
palo al terreno.
GB NB: Assemble the floodlights before you
anchor the pole to the ground.
DE HINWEIS: Es wird empfohlen, die Mon-
tage der Leuchtenkörper
vor der Verankerung des Masts im Boden
vorzunehmen.
FR NOTE: il est recommandé de procéder
au montage des projecteurs avant de
procéder à l’ancrage du mât dans le sol.
ES NOTA: se aconseja efectuar el montaje
de los proyectores antes de anclar el
poste en el suelo.
1065
asola per alloggiare la morsettiera (fornita)
slot for housing the terminal block (supplied)
Langloch zur Aufnahme der (mitgelieferten) Klemmenleiste
ouverture de logement du bornier (fourni)
alojamiento de la regleta (de serie)
asola di entrata cavi alimentazione 230V
slot for 230V power supply cable entry
Eingang für Netzkabel 230V
ouverture d'entrée câbles d'alimentation 230V
ojal de entrada de cables de alimentación 230V
435
900
100
800
10
IT svitare le viti (A), e rimuovere il coperchio
(B) facendo leva con un cacciavite a
taglio sfruttando l’asola realizzata sul
coperchio.
GB loosen the screws (A) and remove the lid
(B) by prizing it with a flathead screwdri-
ver using the slot found on the lid.
DE Die Schrauben (A) aufdrehen und den
Deckel (B) durch Einsetzen eines Schrau-
bendrehers in die vorgesehene Öse am
Deckel abhebeln.
FR dévisser les vis (A) et retirer le couvercle
(B) en faisant levier à l’aide d’un tourne-
vis plat dans l’ouverture réalisée sur le
couvercle.
ES desenroscar los tornillos (A), y quitar
la tapa (B) haciendo palanca con un
destornillador plano aprovechando el ojal
abierto en la tapa.
1.
11
guarnizione
gasket
Dichtung
joint
guarnición
guarnizione
gasket
Dichtung
joint
guarnición
cavo 3Gx1,5mm²
3Gx1,5mm² cable
Kabel 3Gx1,5mm²
âble 3Gx1,5mm²
cable 3Gx1,5mm²
2.
12
guarnizione
gasket
Dichtung
joint
guarnición
cavo 3Gx1,5mm²
3Gx1,5mm² cable
Kabel 3Gx1,5mm²
âble 3Gx1,5mm²
cable 3Gx1,5mm²
2.1
13
800
800
800
IT eseguire uno scavo nel terreno per
l’alloggio del palo di dimensioni
800mmx800mm profondo 800mm
GB dig a hole in the ground to house the
pole with dimensions 800mmx800mm,
depth 800 mm
DE Im Boden eine Grube von 800mm x
800mm, Tiefe 800mm, für das Einsetzen
des Masts ausheben.
FR réaliser un trou dans le sol pour loger le
mât; dimensions 800 mm x 800 mm /
profondeur 800 mm.
ES cavar en el terreno un alojamiento para
el poste. medidas: 800mmx800mm,
profundidad 800mm
3.
14
Ø200
800
435
800
435
IT posizionare al centro dello scavo eseguito
un tubo in PVC di diametro 200mm e
lungo 800mm.
GB position a PVC pipe with 200mm diame-
ter and 800mm length in the centre of
the hole dug.
DE In der Mitte der ausgehobenen Grube ein
PVC-Rohr mit einem Durchmesser von
200mm und einer Länge von 800mm
anbringen.
FR placer au centre du trou un tuyau en
PVC de 200 mm de diamètre et d’une
longueur de 800 mm.
ES colocar en el centro del alojamiento cava-
do un tubo de PVC con un diámetro de
200mm y una longitud de 800mm.
IT NOTA: nel tubo bisogna prevedere un
foro a una distanza di 435mm dalla
superficie del terreno nel quale verrà
innestato il corrugato che porterà i cavi di
alimentazione.
GB NB: it is necessary to make a hole 435
mm away from the surface of the ground
where the corrugated conduit carrying the
power supply cables will be inserted.
DE HINWEIS: An dem Rohr muss im Abstand
von 435 mm von der Bodenebene eine
Öffnung angebracht werden, in die der
Rippenschlauch eingesetzt wird, in dem
sich die Netzkabel befinden.
FR NOTE: dans le tuyau, il est nécessaire
de prévoir un trou à une distance de 435
mm de la surface du sol auquel devra
être raccordée la gaine plissée des câbles
d’alimentation.
ES NOTA: en el tubo es necesario preparar
un orificio a una distancia de 435mm de
la superficie del terreno para acoplar en
él el corrugado que llevará los cables de
alimentación.
4.
15
IT riempire di cemento lo scavo eseguito
lasciando vuoto l’interno del tubo in PVC.
GB fill the hole dug with cement, leaving the
interior of the PVC pipe empty.
DE Die ausgehobene Grube mit Zement auf-
füllen, dabei das Innere des PVC-Rohrs
frei lassen.
FR remplir le trou de ciment (sans remplir le
tuyau en PVC).
ES llenar de cemento el alojamiento cavado
dejando vacío el interior del tubo de PVC.
5.
16
IT estrarre dal tubo il cavo di terra di sezio-
ne adeguata e inserire il palo all’interno.
GB extract the earth cable having an appro-
priate section from the pipe and put the
pole inside.
DE Das Erdungskabel mit geeignetem Quer-
schnitt aus dem Rohr ziehen und den
Mast darin einsetzen.
FR extraire du tuyau le câble de terre (d’une
section appropriée) et introduire le mât à
l’intérieur du tuyau.
ES sacar del tubo el cable de toma de tierra
(de sección adecuada) e introducir dentro
el poste.
6.
17
230V
N
M
L
G
H
IT portare il cavo di alimentazione all’asola
(G). fissare il cavo di terra al foro (H)
attraverso un’occhiello (L) Ø10mm e la
vite (M) fornita. interporre la rondella (N)
fornita.
GB take the power supply cable to the slot
(G). fix the earth cable to the hole (H)
using a eyelet (L) Ø10mm and the screw
(M) provided. Place the washer (N) sup-
plied in-between.
DE Das Netzkabel an die Öffnung (G) führen.
Das Erdungskabel mit einer Öse (L) Ø 10
mm und der mitgelieferten Schraube (M)
an der Öffnung (H) befestigen. Die mit-
gelieferte Beilegscheibe (N) dazwischen-
setzen.
FR amener le câble d’alimentation à l’ou-
verture (G). fixer le câble de terre au trou
(H) à l’aide d’un connecteur en anneau
(L) Ø 10 mm et de la vis (M) fournie à cet
effet. intercaler la rondelle (N) fournie à
cet effet.
ES llevar el cable de alimentación al ojal
(G). fijar el cable de toma de tierra en el
orificio (H) a través de un ojal (L) Ø10mm
y el tornillo (M) de serie. interponer la
arandela (N) para ello servida.
7.
18
IT riempire il tubo in PVC di sabbia in modo
da bloccare il palo al terreno
GB fill the PVC pipe with sand to secure the
pole to the ground
DE Das PVC-Rohr mit Sand füllen, um den
Mast im Boden zu fixieren.
FR remplir de sable le tuyau en PVC de façon
à bloquer le mât dans le sol.
ES llenar de arena el tubo de PVC a fin de
inmovilizar el poste en el terreno
8.
19
IT rifinire a piacimento la superficie del
terreno.
GB finish off the ground as you like.
DE Die Oberfläche des Bodens nach Belieben
glätten.
FR réaliser la finition du sol.
ES dar el acabado deseado a la superficie
del terreno.
IT eseguire il collegamento elettrico alla
morsettiera fornita come spiegato nella
pagina seguente
GB make the electrical connection to the
terminal block provided, as explained on
the following page
DE Den Elektroanschluss an die mitgelieferte
Klemmenleiste herstellen, wie auf der
nächsten Seite erläutert.
FR procéder au branchement électrique
sur le bornier fourni à cet effet, comme
indiqué à la page suivante.
ES efectuar la conexión eléctrica a la regleta
para ello servida, como se explica en la
página siguiente
IT per l’installazione dei kits seguire le
relative istruzioni.
GB to install the kits, follow the relevant
instructions.
DE Für die Installation der Kits den entspre-
chenden Anleitungen folgen.
FR pour l’installation des kits, se reporter aux
instructions correspondantes.
ES para la instalación de los juegos, ver las
instrucciones correspondientes.
9.
IT istruzione d’installazione
morsettiera da palo
1estrarre il coperchio (A) e la morset-
tiera (B) dalla scatola (C)
2eseguire il cablaggio della linea
dorsale (come riferimento per la
sguainatura dei cavi, vedere la dima
riportata all’esterno della scatola)
3ricollocare la morsettiera ed il
coperchio nella scatola
4completare il cablaggio della linea
di derivazione alle lampade
5inserire il carter di protezione (D)
nelle guide della scatola
6stringere i cavi e i perni (E) del
carter (D) con la fascetta (F)
7per inserimento e sostituzione
fusibile rimuovere l’intero blocchetto
portafusibile (I) tramite la lama di
un cacciavite opportunamente inse-
rito nelle scanalature laterali
8rifilare i setti del carter (D) che
sporgono dalla guida
9assicurarsi che il coperchio sia
chiuso correttamente
10 inserire la scatola nella feritoia
del palo
11 chiudere la feritoia con il portello
da palo (H)

Other Viabizzuno Outdoor Light manuals
Viabizzuno ombrella Instruction Manual

Viabizzuno

Viabizzuno ombrella Instruction Manual

Viabizzuno Mon amour Instruction Manual

Viabizzuno

Viabizzuno Mon amour Instruction Manual

Viabizzuno lanterna massima palo Instruction Manual

Viabizzuno

Viabizzuno lanterna massima palo Instruction Manual

Viabizzuno Cilindro S70 User manual

Viabizzuno

Viabizzuno Cilindro S70 User manual

Viabizzuno Lanterna massima Vb4.553.01 Instruction Manual

Viabizzuno

Viabizzuno Lanterna massima Vb4.553.01 Instruction Manual

Viabizzuno m44 Instruction Manual

Viabizzuno

Viabizzuno m44 Instruction Manual

Viabizzuno palo B Instruction Manual

Viabizzuno

Viabizzuno palo B Instruction Manual

Viabizzuno big feet Instruction Manual

Viabizzuno

Viabizzuno big feet Instruction Manual

Viabizzuno PALO MARTINO Instruction Manual

Viabizzuno

Viabizzuno PALO MARTINO Instruction Manual

Viabizzuno maxxi poppy terra Instruction Manual

Viabizzuno

Viabizzuno maxxi poppy terra Instruction Manual

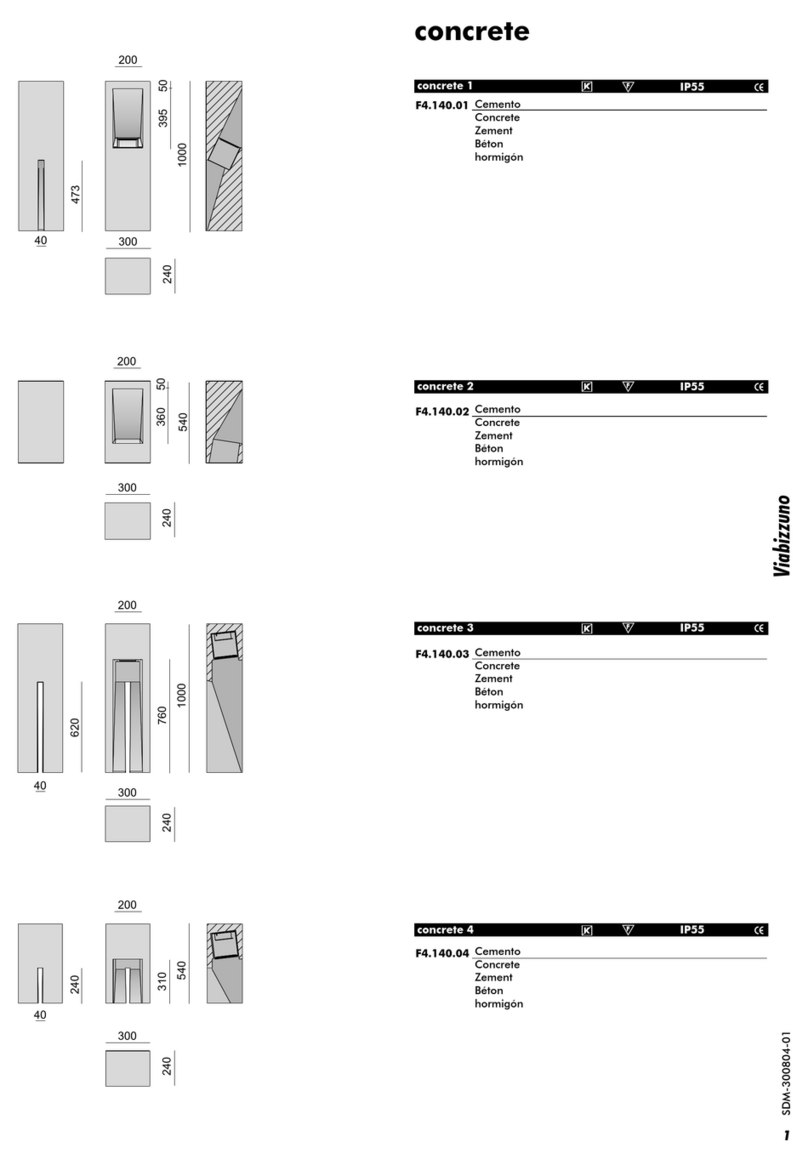
Viabizzuno concrete 1 User manual

Viabizzuno

Viabizzuno concrete 1 User manual

Viabizzuno minima ta mn02 Instruction Manual

Viabizzuno

Viabizzuno minima ta mn02 Instruction Manual

Viabizzuno minima terra Instruction Manual

Viabizzuno

Viabizzuno minima terra Instruction Manual

Viabizzuno XXI secolo Instruction Manual

Viabizzuno

Viabizzuno XXI secolo Instruction Manual

Viabizzuno F9.211.75 Instruction Manual

Viabizzuno

Viabizzuno F9.211.75 Instruction Manual

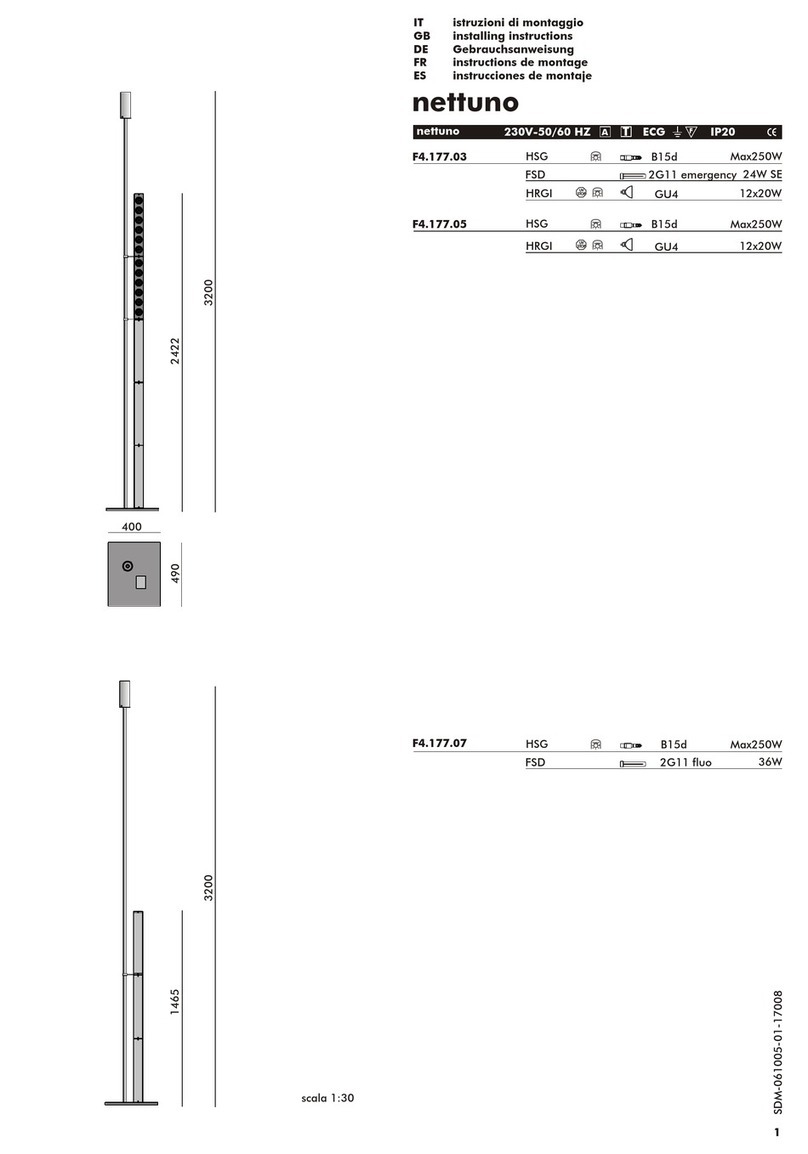
Viabizzuno nettuno F4.177.03 Instruction Manual

Viabizzuno

Viabizzuno nettuno F4.177.03 Instruction Manual

Viabizzuno cubo medium Instruction Manual

Viabizzuno

Viabizzuno cubo medium Instruction Manual

Popular Outdoor Light manuals by other brands

Xmart HL-STEP-06 user manual

Xmart

Xmart HL-STEP-06 user manual

LIGMAN FORREY 21 FOR-30031 installation manual

LIGMAN

LIGMAN FORREY 21 FOR-30031 installation manual

Quoizel MBH8411K Assembly instruction sheet

Quoizel

Quoizel MBH8411K Assembly instruction sheet

Kichler Lighting 15382BK instructions

Kichler Lighting

Kichler Lighting 15382BK instructions

Maxim 40914CLACPBO quick start guide

Maxim

Maxim 40914CLACPBO quick start guide

INNOcom Gardenworld Operation and safety notes

INNOcom

INNOcom Gardenworld Operation and safety notes

OttLite SCEQB00Z-CA quick start guide

OttLite

OttLite SCEQB00Z-CA quick start guide

Envirolite EV7065-306 manual

Envirolite

Envirolite EV7065-306 manual

EuroLite TB-250 user manual

EuroLite

EuroLite TB-250 user manual

Intermatic Malibu LT8K instructions

Intermatic

Intermatic Malibu LT8K instructions

Sealey LED3009 instruction manual

Sealey

Sealey LED3009 instruction manual

Underwater Kinetics 2AAA eLED MPL user manual

Underwater Kinetics

Underwater Kinetics 2AAA eLED MPL user manual

Quoizel UMA8407MBK installation guide

Quoizel

Quoizel UMA8407MBK installation guide

kobi SOLAR LED MHCS 30W manual

kobi

kobi SOLAR LED MHCS 30W manual

Style selections 13217 quick start guide

Style selections

Style selections 13217 quick start guide

RAB Design WL-LED26 installation instructions

RAB Design

RAB Design WL-LED26 installation instructions

Good Earth Lighting SE1216-BRS-02LF4-G quick start guide

Good Earth Lighting

Good Earth Lighting SE1216-BRS-02LF4-G quick start guide

Insta instalight 1065 R B RGB/TW operating instructions

Insta

Insta instalight 1065 R B RGB/TW operating instructions

manuals.online logo
manuals.online logoBrands
  • About & Mission
  • Contact us
  • Privacy Policy
  • Terms and Conditions

Copyright 2025 Manuals.Online. All Rights Reserved.