Viale Vicenza, 14
36063 Marostica VI - Italy
www.vimar.com
03991-03992EN 03 2209
03991
03992
00932
00945.G
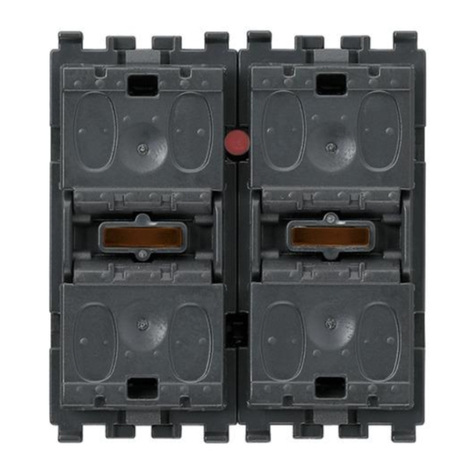
03991 - Magnetic Quid relay module with sequential ON/OFF pulses,
1 input for NO push button, 1x10 A 220-240 V~ 50/60 Hz relay output,
installation in junction boxes or connector block boxes.
The device, which can be installed in connector block boxes and placed under-
neath the blank module or inside the junction boxes declared as suitable for electri-
cal devices that dissipate energy, turns a load on or off following a signal received
from a push button.
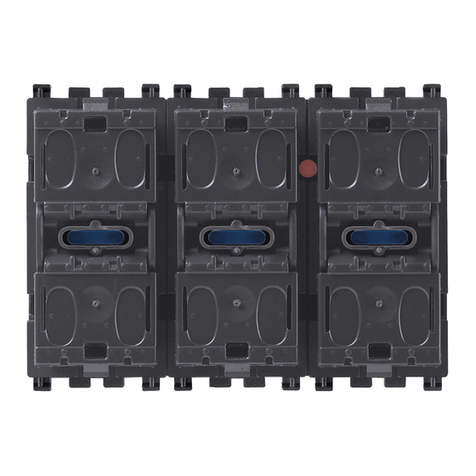
03992 - Magnetic Quid relay module with sequential ON/OFF pulses,
1 input for NO push button, 1 input for reset push button, 1x10 A
relay output, 220-240 V~ 50/60 Hz power supply, light signal for the
load status on each individual push button, installation in junction
boxes or connector block boxes.
The device, which can be installed in connector block boxes and placed under-
neath the blank module or inside the junction boxes declared as suitable for electri-
cal devices that dissipate energy, turns a load on or off following a signal received
from a push button. It is also fitted with an input for the control unit switch-off
control (reset). If the signalling unit 00932 is installed in the ON/OFF or reset control
push button, the device sends a signal about the status of the load.
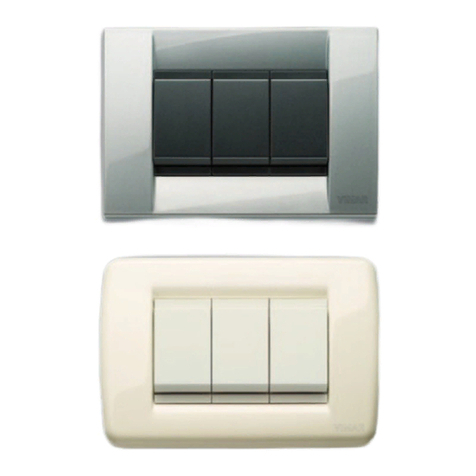
00945.G, 00932 - Load status LED signalling unit, green.
The signalling unit is installed in the back of the push buttons associated with relay
03992 and signals the status of the load both for the control push button and for
the reset push button. Art. 00945.G is dedicated to the Linea series.
CHARACTERISTICS.
• Art. 03991:
- Rated supply voltage: 220 – 240 V~ 50/60 Hz.
- ON/OFF control via NO push buttons.
- Max. 1 switching per second.
- It should be used in dry, dust-free places at a temperature of between 0 °C and
+35 °C.
- Dissipated power: 1.5 W with load ON and max. current 10 A
0 W and no absorption with load OFF
• Art. 03992:
- Rated supply voltage: 220 – 240 V~ 50/60 Hz.
- ON/OFF control via NO push buttons.
- Max. 1 switching per second.
- Reset control via NO push button. An unlimited number of art. 03992 (with or
without signalling unit) can be connected to the same Reset push button.
- Art. 00932 for signalling the load status can be installed on the control and reset
push button.
- An unlimited number of ON/OFF control push buttons can be connected to
each module 03992. Up to a maximum of 4 ON/OFF control push buttons with
junction box pilot lamp can be connected. This lamp will only light up when the
load is ON.
- Up to a maximum of 2 Reset push buttons with junction box pilot lamp can be
connected to each module 03992 (for instance, with 2 modules 03992 con-
nected to the same Reset push buttons, 4 Reset push buttons with junction
box pilot lamp can be connected). The junction box pilot lamp will light up if one
of the relays has the load ON.
- On the ON/OFF control push button and on the reset push button we recommend
you use buttons art. 31000A.L-31000.L-31000A.D-31000.D if you are using
signalling unit 00945.G or buttons 20026-19026-14026-20021.L-19021.L-
14021.L if you are using unit 00932.
- In the event that several modules 03992 are connected together using the
reset push button, the system must be set up with a single Hysteresis and/
or RCBO circuit breaker.
- It should be used in dry, dust-free places at a temperature of between 0 °C and
+35 °C.
- Dissipated power: 1.5 W with load ON and max. current 10 A
0 W and no absorption with load OFF
• Art. 00945.G-00932:
- Rated supply voltage: 220 – 240 V~ 50/60 Hz.
- The signalling unit can be installed on the ON/OFF and reset control push but-
ton.
- The signalling unit can also be installed on controls that are not associated with
module 03992.
- It should be used in dry, dust-free places at a temperature of between 0 °C and
+35 °C.
WEEE - User information
The crossed bin symbol on the appliance or on its packaging indicates that the product at the end of its life
must be collected separately from other waste. The user must therefore hand the equipment at the end of its
life cycle over to the appropriate municipal centres for the differentiated collection of electrical and electronic
waste. As an alternative to independent management, you can deliver the equipment you want to dispose of
free of charge to the distributor when purchasing a new appliance of an equivalent type. You can also deliver
electronic products to be disposed of that are smaller than 25 cm for free, with no obligation to purchase, to
electronics distributors with a sales area of at least 400 m2. Proper sorted waste collection for subsequent
recycling, processing and environmentally conscious disposal of the old equipment helps to prevent any pos-
sible negative impact on the environment and human health while promoting the practice of reusing and/or
recycling materials used in manufacture.
CONTROLLABLE LOADS.
• Relay output (220- 240 V~ controllable loads):
- rated load in AC1: 10 A (6,000 cycles);
- rated load in AC15: 2.2 A (5,000 cycles);
- resistive loads
: 10 A (20,000 cycles);
- incandescent lamps : 3 A (20,000 cycles);
- fluorescent lamps : 100 W (20,000 cycles);
- energy saving lamps : 100 W (20,000 cycles);
- LED lamps : 100 W (20,000 cycles);
- electronic transformers : 2 A (20,000 cycles);
- power supply units for LED strips: 200 W (20,000 cycles).
INSTALLATION RULES.
• Installation must be carried out by qualified persons in compliance with the cur-
rent regulations regarding the installation of electrical equipment in the country
where the products are installed.
•The power supply circuit (L-N) must be protected against overloads by installing
a device, fuse or automatic 1-way switch, with a rated current not exceeding 10
A.
•Since these are retrofit devices, art. 03991 and 03992 must always be installed
in protected boxes.
REMOTE CONTROL RECEPTION.
Quid can be remote controlled using the following devices:
• DueFili+ video door entry system: Video Door App + art. 40507 + art. 69RH or
69PH (programmed for 2 s timed actuation)
The DueFili+ system is designed to configure a timed actuation (relay art. 69RH
or 69PH) and control it from video door entry indoor stations. If the indoor station
is connected (art. 40507) actuation can be remote controlled via the Video Door
App.
• IP video door entry system: Video Door App + art. 40607 + art. 40636 (pro-
grammed for 2 s timed actuation)
The IP video door entry system is designed to configure a timed actuation (relay
art.40636) and control it from video door entry indoor stations. If the indoor sta-
tion is connected (art. 40507) actuation can be remote controlled via the Video
Door App.
• GSM thermostat 01913: the device is fitted with a programmable output to which
an auxiliary supporting relay needs to be connected (a common one-position
stable relay with a 230V coil is sufficient). Actuation is then controlled via the
By-Phone App or the By-Clima App (or directly via SMS text message).
REGULATORY COMPLIANCE.
LV Directive. EMC directive. EN 60669-2-1 standard.
REACH (EU) Regulation no. 1907/2006 – Art.33. The product may contain traces
of lead.
