Viale Vicenza 14
36063 Marostica VI - Italy
www.vimar.com
09591.0 01 2310
Connected electronic control
NEVE UP
09591.0
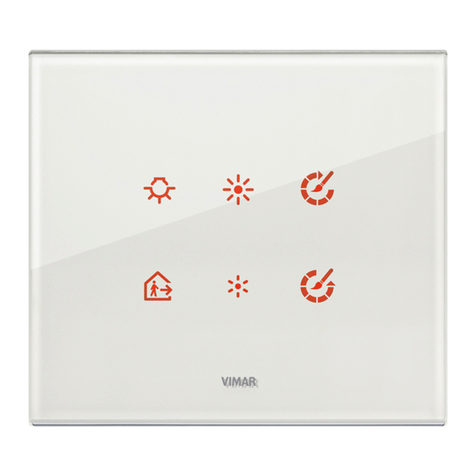
To be completed with two interchangeable half-button caps: 1 module.
The device is fitted with two front buttons to control the group the device is associated with or
to call up a scenario. It is configured in the Bluetooth technology system via the View Wireless
App and thanks to gateway 09597; it interacts with all the other devices in the system. It is also
designed recall scenarios created with the View App.
The front buttons can be configured for the following functions:
Lights and miscellaneous group control
Pressing: ON control (UP button) or OFF control (DOWN button).
Lights group control with dimmer actuators
Short press: ON control (UP button) or OFF control (DOWN button).
Long press: load adjustment (UP button = increase; DOWN button = decrease).
Roller shutter group control
Long press: roller shutter rise control (UP button) or roller shutter fall control (DOWN button).
Short press: motion STOP control (UP button or DOWN button regardless) or slat rotation if the
roller shutter is stationary.
Double pressing of either of the two buttons: recalling of favourite position (this is saved via the
VIEW Wireless App).
Scenario recall control
Pressing: recalling of scenario associated with the upper button (UP button) or recalling of sce-
nario associated with the lower button (DOWN button).
Download the View Wireless App from the stores onto the tablet/smartphone you
will be using for configuration.
When the device is powered for the rst conguration, we recommend you search for any
new rmware and perform the update.
You will also need:
Gateway art. 09597
CONFIGURATION IN
1.Create your account on MyVimar (on-line).
2.Wire all the devices in the system (2-way switches, relays, thermostats, controls, gateway, etc.).
3.Start the View Wireless App and log in with the credentials you just created.
4.Create the system and the environments.
5.Associate all the devices with the environments, except for the gateway (which should be
associated last).
To associate the connected control:
• Select “Add” ( ), choose the environment to place it and give it a name
• Select ; activate the Bluetooth connection on your tablet/smartphone and approach the
device
• Simultaneously press the UP and DOWN buttons and set the desired function
6.For every device, set the function, the parameters and any accessory devices (wired or radio
control and related function).
7.Transfer the configuration of the devices to the gateway and connect it to the Wi-Fi network.
8.Transfer the system to the Administrator user (who must have created his/her profile on
MyVimar).
For details please refer to the View Wireless App manual you can download from www.
vimar.com DOWNLOAD View Wireless MOBILE App
RESETTING THE DEVICE
The reset restores the factory settings. Within the first 5 minutes from powering, simultaneously
press the
UP and DOWN buttons
for 30 s until the white LED flashes.
INSTALLATION RULES.
• Installation and configuration must be carried out by qualified persons in compliance with the
current regulations regarding the installation of electrical equipment in the country where the
products are installed.
• The device must be protected against overloads by installing a device, fuse or automatic 1-way
switch, with a rated current not exceeding 10 A.
• The device must be completed with interchangeable buttons and installed in flush mounting
boxes or surface mounting boxes with Neve Up mounting frames and cover plates.
• Installation must be carried out with the system switched off. Install the buttons onto the
connected control before powering up the system.
CHARACTERISTICS
• Rated supply voltage: 100-240 V~, 50/60 Hz.
• Power consumption: 5 mA
• RF transmission power: < 100 mW (20 dBm)
• Frequency range: 2400-2483.5 MHz
•Terminals: 2 (L and N) for line and neutral
• 2 front buttons that are used both for control and as configuration push buttons.
• RGB LED indicating the group status (which can be set from the View Wireless App) and the
configuration status (flashing blue)
• Operating temperature: -10 ÷ +40 °C (indoor)
• Protection degree: IP20
• Configuration via View Wireless App for Bluetooth technology system
OPERATION.
N.B.: The device works as a repeater node for battery-operated devices (for instance art.
03980).
Settings.
The View Wireless App can be used to set the following parameters:
- RGB LED for backlighting: colour can be selected from a default list.
- LED brightness: OFF, low, medium, high for button pressing indication (default: high) and for
device on standby (default: OFF).
- If configured as a roller shutter or curtain group control: recalling the favourite position (default:
50% roller shutter, 0% slats i.e. open). This function is only available for roller shutter or curtain
group control.
REGULATORY COMPLIANCE.
RED Directive. RoHS directive.
Standards EN 60669-2-1, EN 301 489-17, EN 300 328, EN 62479, EN IEC 63000.
Vimar SpA declares that the radio equipment complies with Directive 2014/53/EU. The full text
of the EU declaration of conformity is on the product sheet available on the following website:
www.vimar.com
REACH (EU) Regulation no. 1907/2006 – Art.33. The product may contain traces of lead.
WEEE - User information
The crossed bin symbol on the appliance or on its packaging indicates that the product at the end of its life must be collected separately
from other waste. The user must therefore hand the equipment at the end of its life cycle over to the appropriate municipal centres for the
differentiated collection of electrical and electronic waste. As an alternative to independent management, you can deliver the equipment you
want to dispose of free of charge to the distributor when purchasing a new appliance of an equivalent type. You can also deliver electronic
products to be disposed of that are smaller than 25 cm for free, with no obligation to purchase, to electronics distributors with a sales area
of at least 400 m2. Proper sorted waste collection for subsequent recycling, processing and environmentally conscious disposal of the old
equipment helps to prevent any possible negative impact on the environment and human health while promoting the practice of reusing and/
or recycling materials used in manufacture.
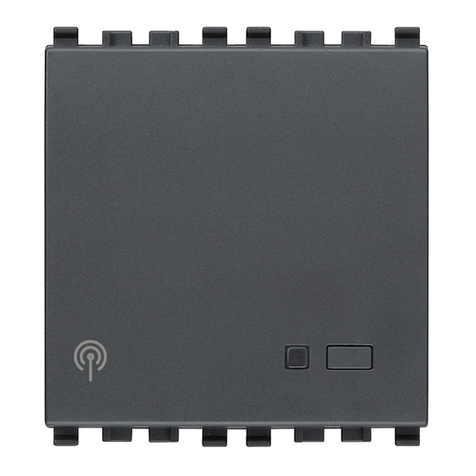
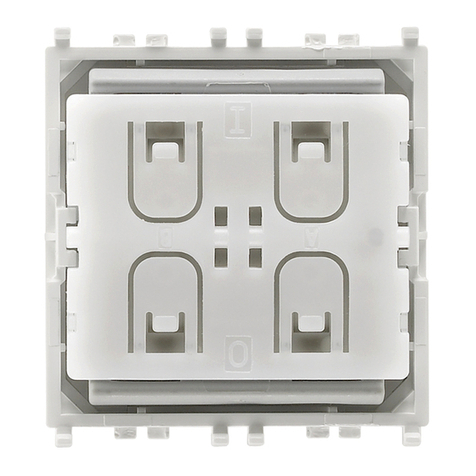
FRONT AND BACK VIEW
UP Button
DOWN Button
LED
N
L
Terminals not in use
6 mm
NL
μ

