manuals.online logo
Brands
  1. Home
  2. •
  3. Brands
  4. •
  5. Vivo
  6. •
  7. Indoor Furnishing
  8. •
  9. Vivo DESK-V133E User manual

Vivo DESK-V133E User manual

Other Vivo Indoor Furnishing manuals

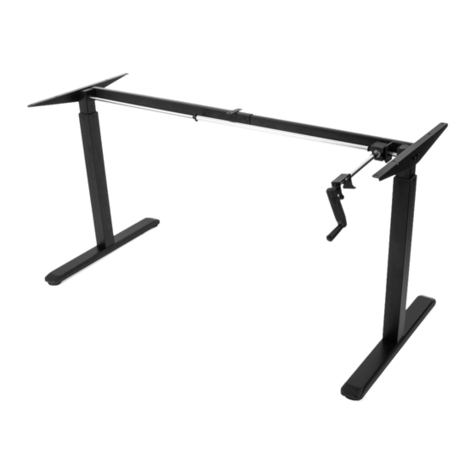
Vivo MOUNT-KB03W User manual

Vivo

Vivo MOUNT-KB03W User manual

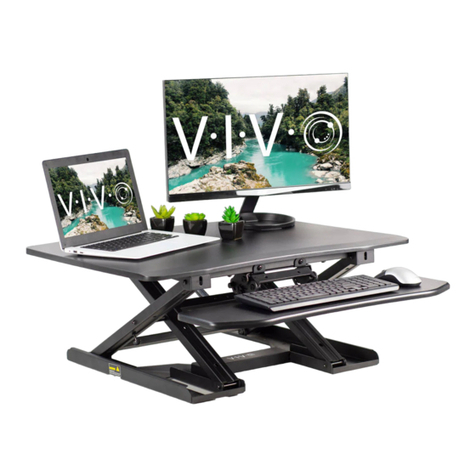
Vivo DESK-V042KN User manual

Vivo

Vivo DESK-V042KN User manual

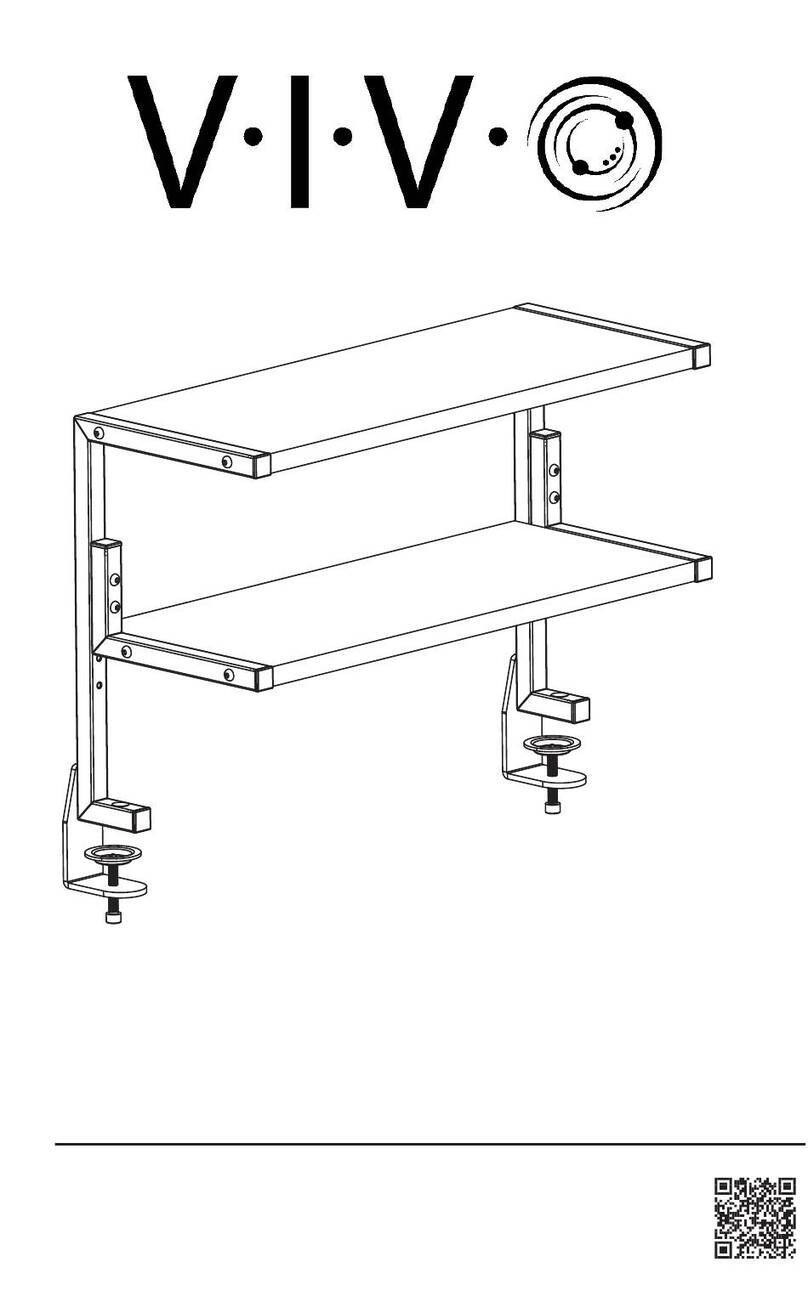
Vivo DESK-M43TB User manual

Vivo

Vivo DESK-M43TB User manual

Vivo DESK-V201B-CH User manual

Vivo

Vivo DESK-V201B-CH User manual

Vivo DESK-TOP1B User manual

Vivo

Vivo DESK-TOP1B User manual

Vivo DESK-V110EW User manual

Vivo

Vivo DESK-V110EW User manual

Vivo DESK-STB01B User manual

Vivo

Vivo DESK-STB01B User manual

Vivo DESK-V111GT User manual

Vivo

Vivo DESK-V111GT User manual

Vivo DESK V000V User manual

Vivo

Vivo DESK V000V User manual

Vivo DESK-E-200W User manual

Vivo

Vivo DESK-E-200W User manual

Vivo DESK-V042KW User manual

Vivo

Vivo DESK-V042KW User manual

Vivo DESK-E-200B User manual

Vivo

Vivo DESK-E-200B User manual

Vivo DESK-LEGS1K User manual

Vivo

Vivo DESK-LEGS1K User manual

Vivo Riser DESK-V000KF User manual

Vivo

Vivo Riser DESK-V000KF User manual

Vivo DESK-V000EE User manual

Vivo

Vivo DESK-V000EE User manual

Vivo DESK-V037KA User manual

Vivo

Vivo DESK-V037KA User manual

Vivo DESK-V102E User manual

Vivo

Vivo DESK-V102E User manual

Vivo DESK-FD1QB User manual

Vivo

Vivo DESK-FD1QB User manual

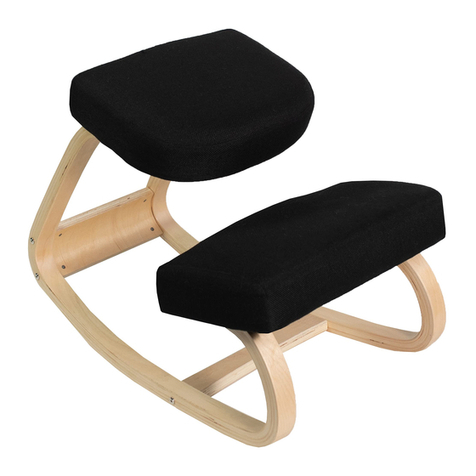
Vivo CHAIR-K04R User manual

Vivo

Vivo CHAIR-K04R User manual

Vivo DESK-TOP60D User manual

Vivo

Vivo DESK-TOP60D User manual

Vivo DESK-V123EB User manual

Vivo

Vivo DESK-V123EB User manual

Vivo DESK-V102E User manual

Vivo

Vivo DESK-V102E User manual

Vivo DESK-V103E User manual

Vivo

Vivo DESK-V103E User manual

Vivo DESK-EV00B User manual

Vivo

Vivo DESK-EV00B User manual
Popular Indoor Furnishing manuals by other brands

Regency LWMS3015 Assembly instructions

Regency

Regency LWMS3015 Assembly instructions

Furniture of America CM7751C Assembly instructions

Furniture of America

Furniture of America CM7751C Assembly instructions

Safavieh Furniture Estella CNS5731 manual

Safavieh Furniture

Safavieh Furniture Estella CNS5731 manual

PLACES OF STYLE Ovalfuss Assembly instruction

PLACES OF STYLE

PLACES OF STYLE Ovalfuss Assembly instruction

Trasman 1138 Bo1 Assembly manual

Trasman

Trasman 1138 Bo1 Assembly manual

Costway JV10856 manual

Costway

Costway JV10856 manual

moss DESIGN Caisson Credenza Assembly instructions

moss DESIGN

moss DESIGN Caisson Credenza Assembly instructions

Aquaglide FULL DECK 15.0 owner's manual

Aquaglide

Aquaglide FULL DECK 15.0 owner's manual

AREBOS AR-HE-SW30 user manual

AREBOS

AREBOS AR-HE-SW30 user manual

Till-Hilft Fulda 87005.330 Assembly instructions

Till-Hilft

Till-Hilft Fulda 87005.330 Assembly instructions

Twoey Outside 2010 quick start guide

Twoey Outside

Twoey Outside 2010 quick start guide

Hettich Easys 200 operating instructions

Hettich

Hettich Easys 200 operating instructions

The bedboss RELAX 404 Series owner's manual

The bedboss

The bedboss RELAX 404 Series owner's manual

Oeseder Möbelindustrie Bern 991 720 Assembly instructions

Oeseder Möbelindustrie

Oeseder Möbelindustrie Bern 991 720 Assembly instructions

Costway HW68469 user manual

Costway

Costway HW68469 user manual

Next ALIX A27743 Assembly instructions

Next

Next ALIX A27743 Assembly instructions

BROSA Hans Assembly guide

BROSA

BROSA Hans Assembly guide

Prodigg MINIKA PBA015T-FUR installation manual

Prodigg

Prodigg MINIKA PBA015T-FUR installation manual

manuals.online logo
manuals.online logoBrands
  • About & Mission
  • Contact us
  • Privacy Policy
  • Terms and Conditions

Copyright 2025 Manuals.Online. All Rights Reserved.

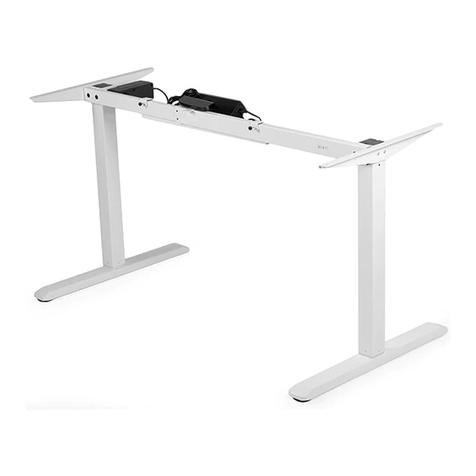
Electric Height Adjustable Three Leg Desk Frame
Scan the QR code with your mobile device or follow the link
for helpful videos and specifications related to this product.
Instruction Manual
https://vivo-us.com/products/desk-v133e
[email protected]om www.vivo-us.com 1-800-371-5654
SKU: DESK-V133E
2 3
J (x2)
Adapter
Phillips
Screwdriver
If you do not understand these directions, or if you have any doubts about the safety of the
installation, please call a qualified technician. Check carefully to make sure there are no missing or
defective parts. Improper installation may cause damage or serious injury. Do not use this product
for any purpose that is not explicitly specified in this manual and do not exceed weight capacity.
We cannot be liable for damage or injury caused by improper mounting, incorrect assembly, or
inappropriate use.
PACKAGE CONTENTS
TOOLS NEEDED
330lbs
(149.69kg)
DO NOT EXCEED WEIGHT CAPACITY.
Failure to do so may result in serious injury.
ASSEMBLY STEPS
STEP 1
Attach the two side brackets (D) to the two
ends of the telescopic crossbar (A) using
four screws (S-A) as shown. Tighten all
screws with Allen wrench (S-D).
WARNING!
ELECTRICAL SAFETY INSTRUCTIONS
THIS PRODUCT IS POWERED BY ELECTRICITY. IN ORDER TO AVOID BURNS, FIRE AND ELECTRIC
SHOCK, PLEASE READ THE FOLLOWING INSTRUCTIONS CAREFULLY.
• DO NOT CLEAN PRODUCT WHILE POWER IS CONNECTED.
• DO NOT DISASSEMBLE OR REPLACE COMPONENTS WHILE POWER IS CONNECTED.
• NEVER OPERATE THE SYSTEM WITH A DAMAGED CORD OR PLUG. PLEASE CONTACT YOUR
SELLER TO REPLACE DAMAGED PARTS.
• NEVER OPERATE SYSTEM IN DAMP ENVIRONMENTS OR IF ANY ELECTRICAL COMPONENTS HAVE
MADE CONTACT WITH LIQUIDS.
• ALTERATIONS OF THE GIVEN POWER UNIT ARE NOT ALLOWED.
• OUTDOOR USE IS PROHIBITED.
A (x1)
Telescopic
Crossbar
D(x3)
Side Bracket
F(x1)
Shelf
S-A (x32)
Screw
S-B x15)
Screw
S-C (x2)
Screw
H (x1)
Fixing Plate
B (x1)
Extension
Crossbar
G(x3)
Liing
Column
I(x2)
Hook
K (x1)
Extension Cord
E(x3)
Foot
C(x1)
Control Unit
S-D (x1)
Allen
Wrench
S-E x3)
Cable Clip
S-F (x13)
Rubber Pad
Attach the last side bracket (D) to the end
of the extension crossbar (B) opposite
from the L-shaped bracket using two
screws (S-A) as shown. Tighten all screws
with allen wrench (S-D).
Remove the protective films from
the adhesive rubber pads (S-F).
Stick the rubber pads to the frame.
Remove the protective films from the adhesive rubber
pads (S-F). Stick the rubber pads to the frame.
Drill Level
4 5
STEP 2 STEP 5
STEP 4
Place liing columns on telescopic
crossbar (1), and align the holes on
the end of the extension crossbar
(B) with the holes on the center
liing column (G) and telescopic
crossbar (2). Secure liing columns
(G) and extension crossbar with
ten (S-A) screws. NOTE: Two of
the screws insert through the side
of the L-shaped bracket on the
extension crossbar. Attach third
liing column (G) to the assembled
frame by using four (S-A) screws.
Tighten all fourteen screws with the
Allen wrench.
Remove the screws in the center part of the crossbar as shown. Attach the fixing plate (H) to the
frame using the previously removed screws. Tighten all screws with screwdriver.
Place the frame on the underside of the tabletop. Loosen the twelve set screws that lock the frame
length (eight on telescopic crossbar, four on extension crossbar). Adjust frame length to suit the
desktop, then tighten all screws to secure. Drill mounting holes under the desktop with 1/8" drill bit,
then remove the desktop. Attention: Do not drill holes deeper than 1/8" (3mm).
STEP 3 STEP 6
Connect all the wires to the control
unit as shown, then slide the control
unit to the fixing plate. NOTE: Keep all
cables organized. Do not place cables
in possible pinch points.
STEP 7
Loosen and remove the screws with a screwdriver. Fix the hooks to the shelf with removed screws.
Tighten all the screws. Hang the cable management shelf onto the frame as shown. Tighten all the
screws on the hooks.
Place the feet (E) on the columns as shown. Insert screws (S-A) into the four mounting holes on each
foot and tighten with Allen wrench (S-D).
6 7
Step 8
Place the tabletop on the desk, connect the desk to power and adjust the desk to the highest position.
Attach the table top to the frame using the fieen (S-B) screws, then attach the control panel to the
frame using the two (S-C) screws. Add the cable clips to organize cables if needed.
Height Adjustment
Each foot pad can be adjusted independently for fine tuning. Slightly turn the
foot pad to lower or raise the base. Use a level to ensure the desktop is even.
CAUTION!
Failure to follow these instructions may result in property damage and/or personal injury.
Last Updated: 9/26/2018
If any parts are received damaged or defective, please contact us. We are happy to
replace parts to ensure you have a fully functioning product.
For more VIVO products, check out our website at:
www.vivo-us.com.
Love your new VIVO setup and want to share?
Tag us in your photo! @vivo_us
[email protected]om www.vivo-us.com 1-800-371-5654