CONTENTS
Important Notes .......................................................................................3
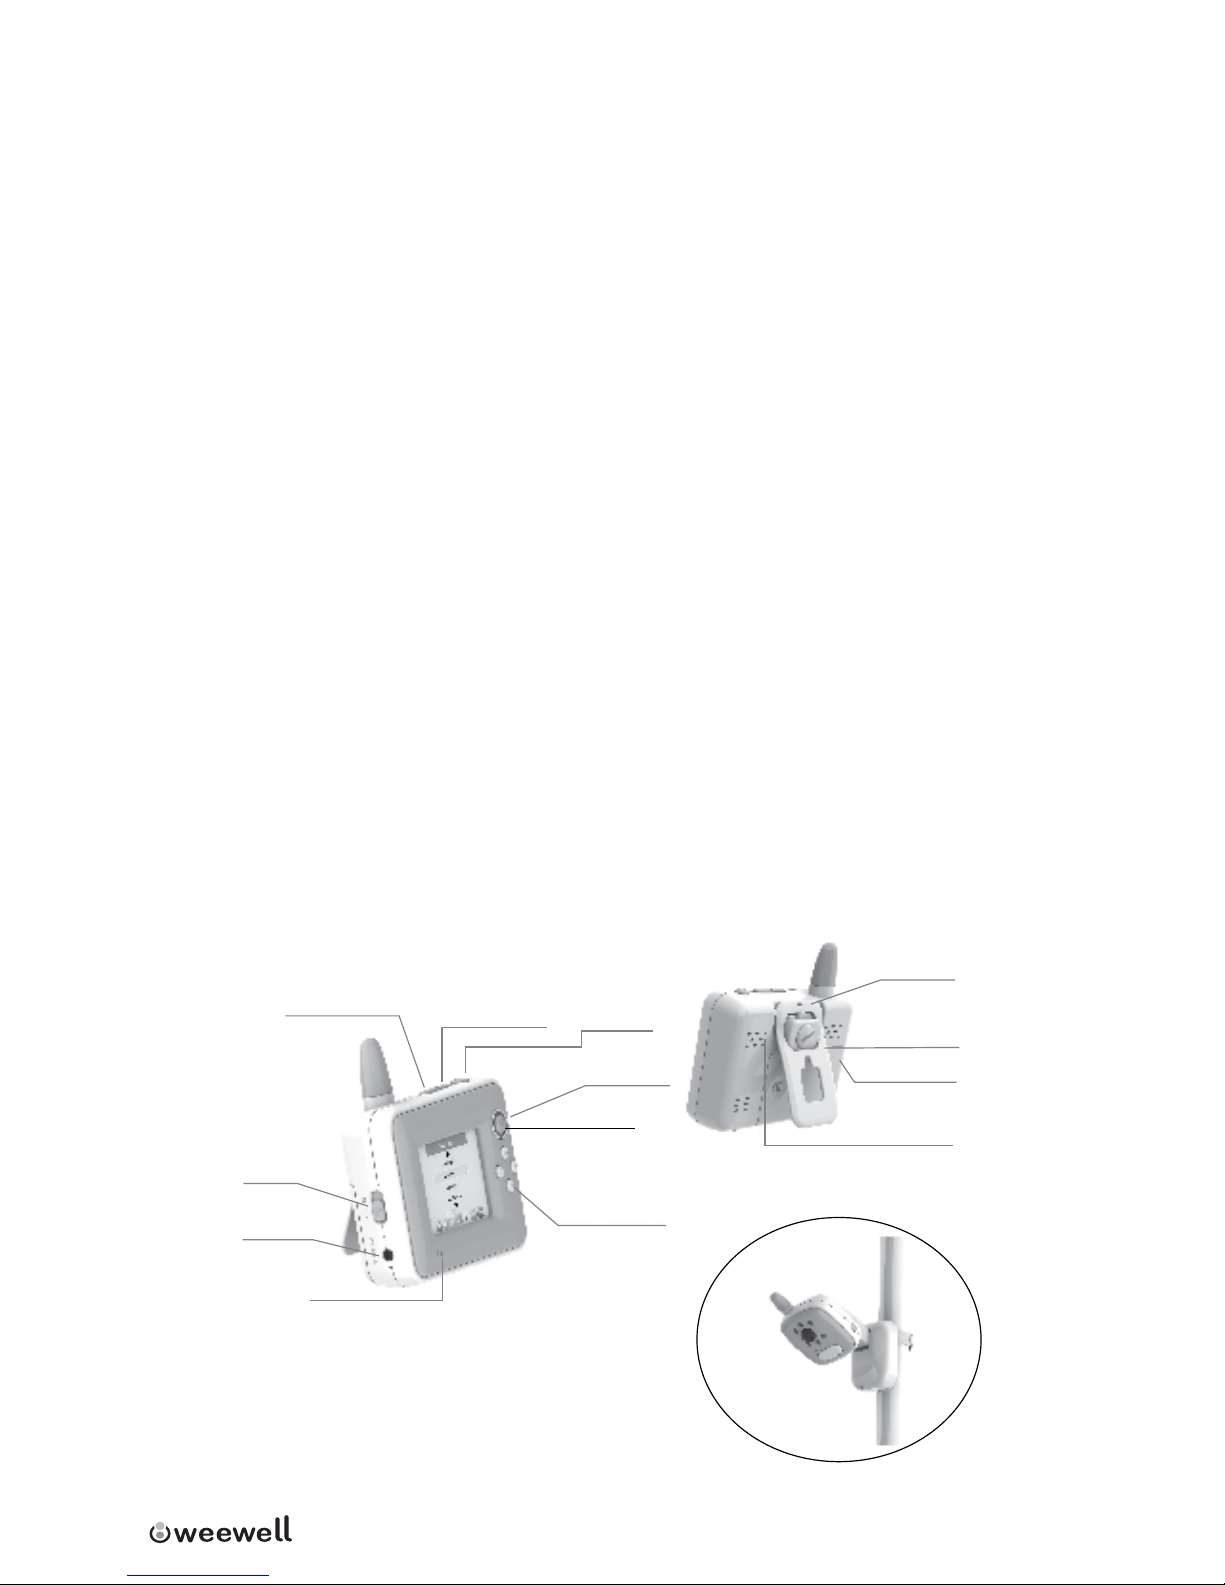
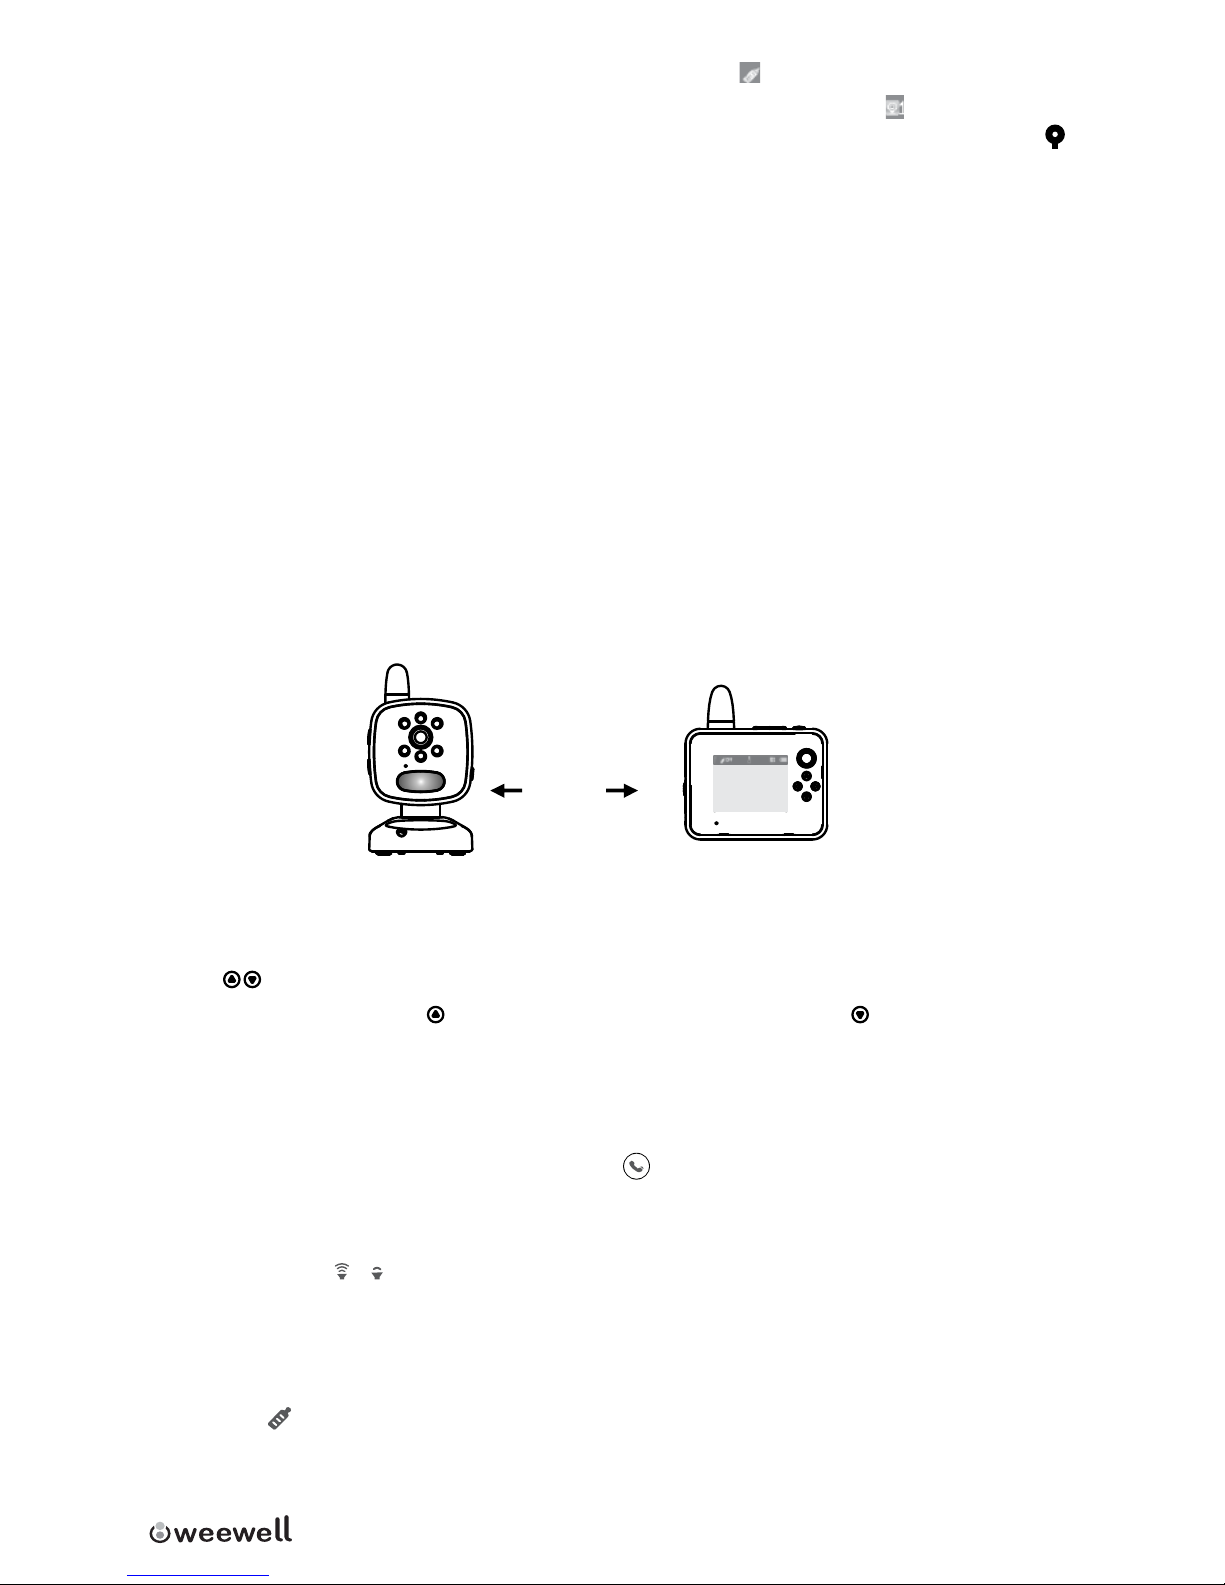
Overview of monitor unit ........................................................................3
Overview of camera
unit.............................................................. 4
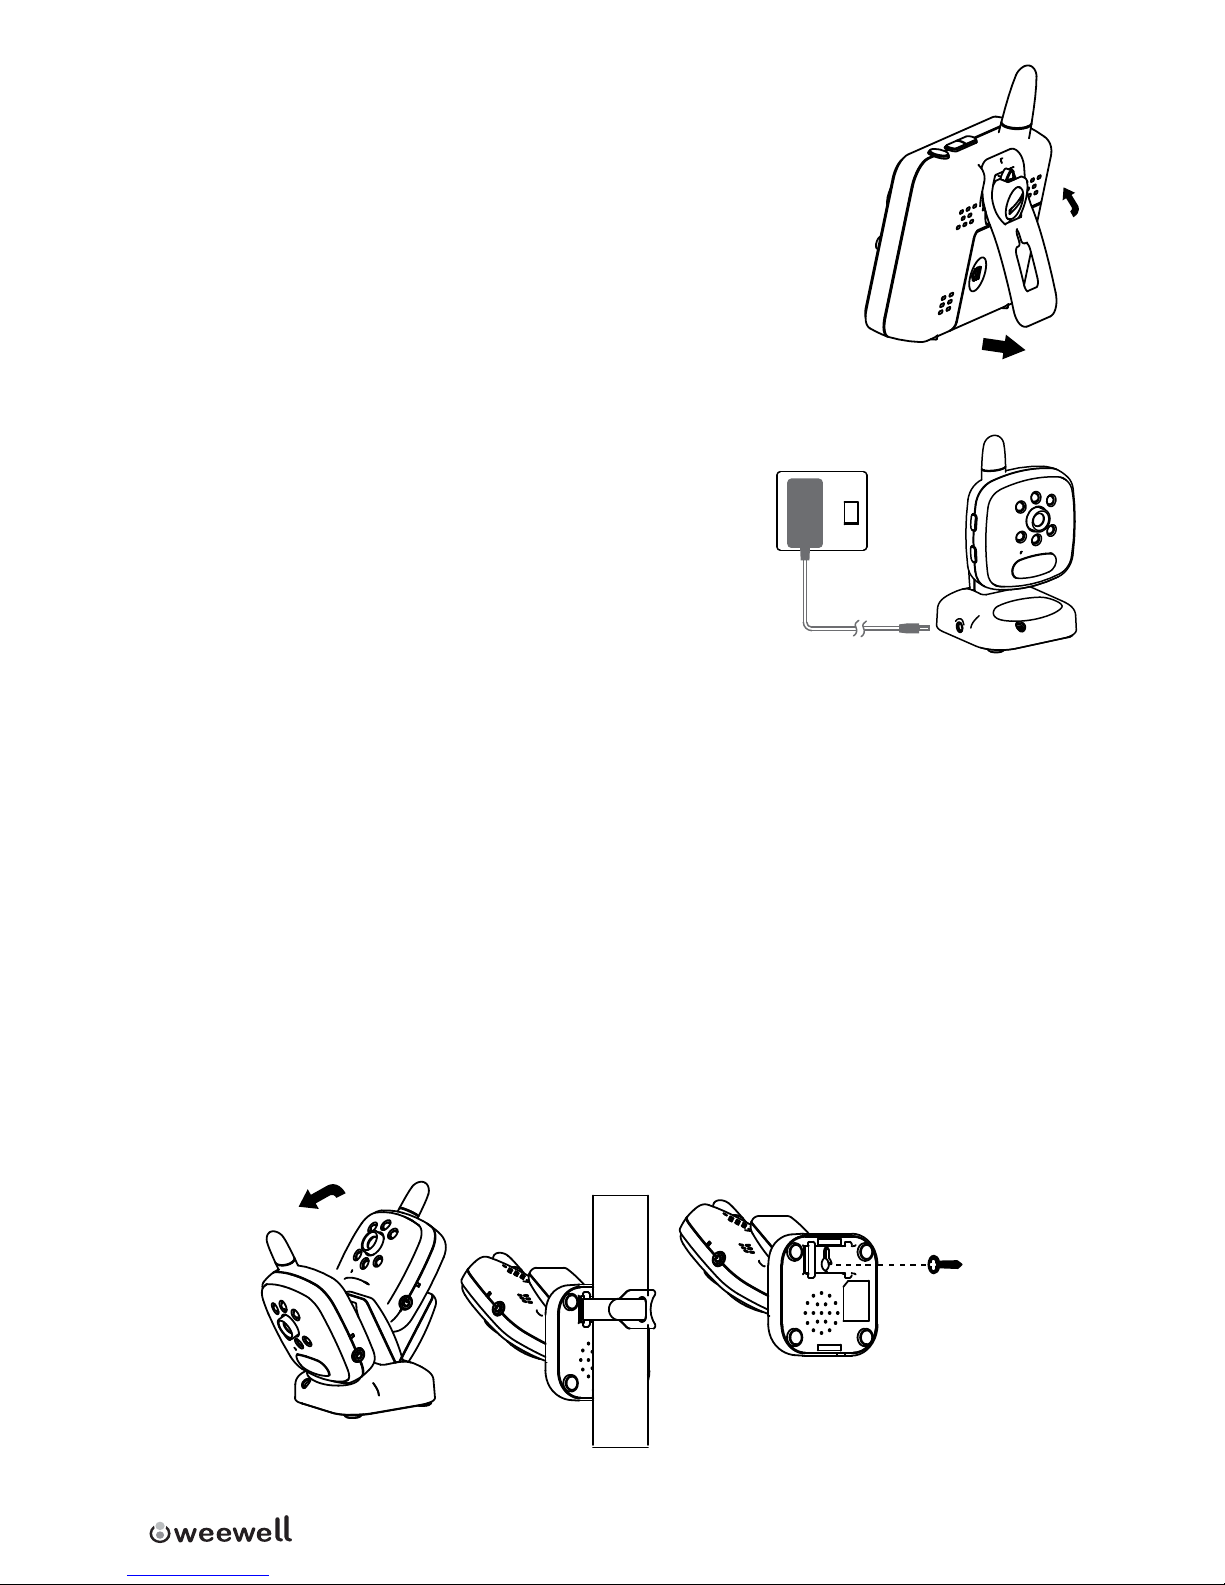
Installation Instructions...........................................................................4
Monitor Unit System.....................................................................................................4
Installation Instructions...........................................................................5
Camera Unit System .....................................................................................................5
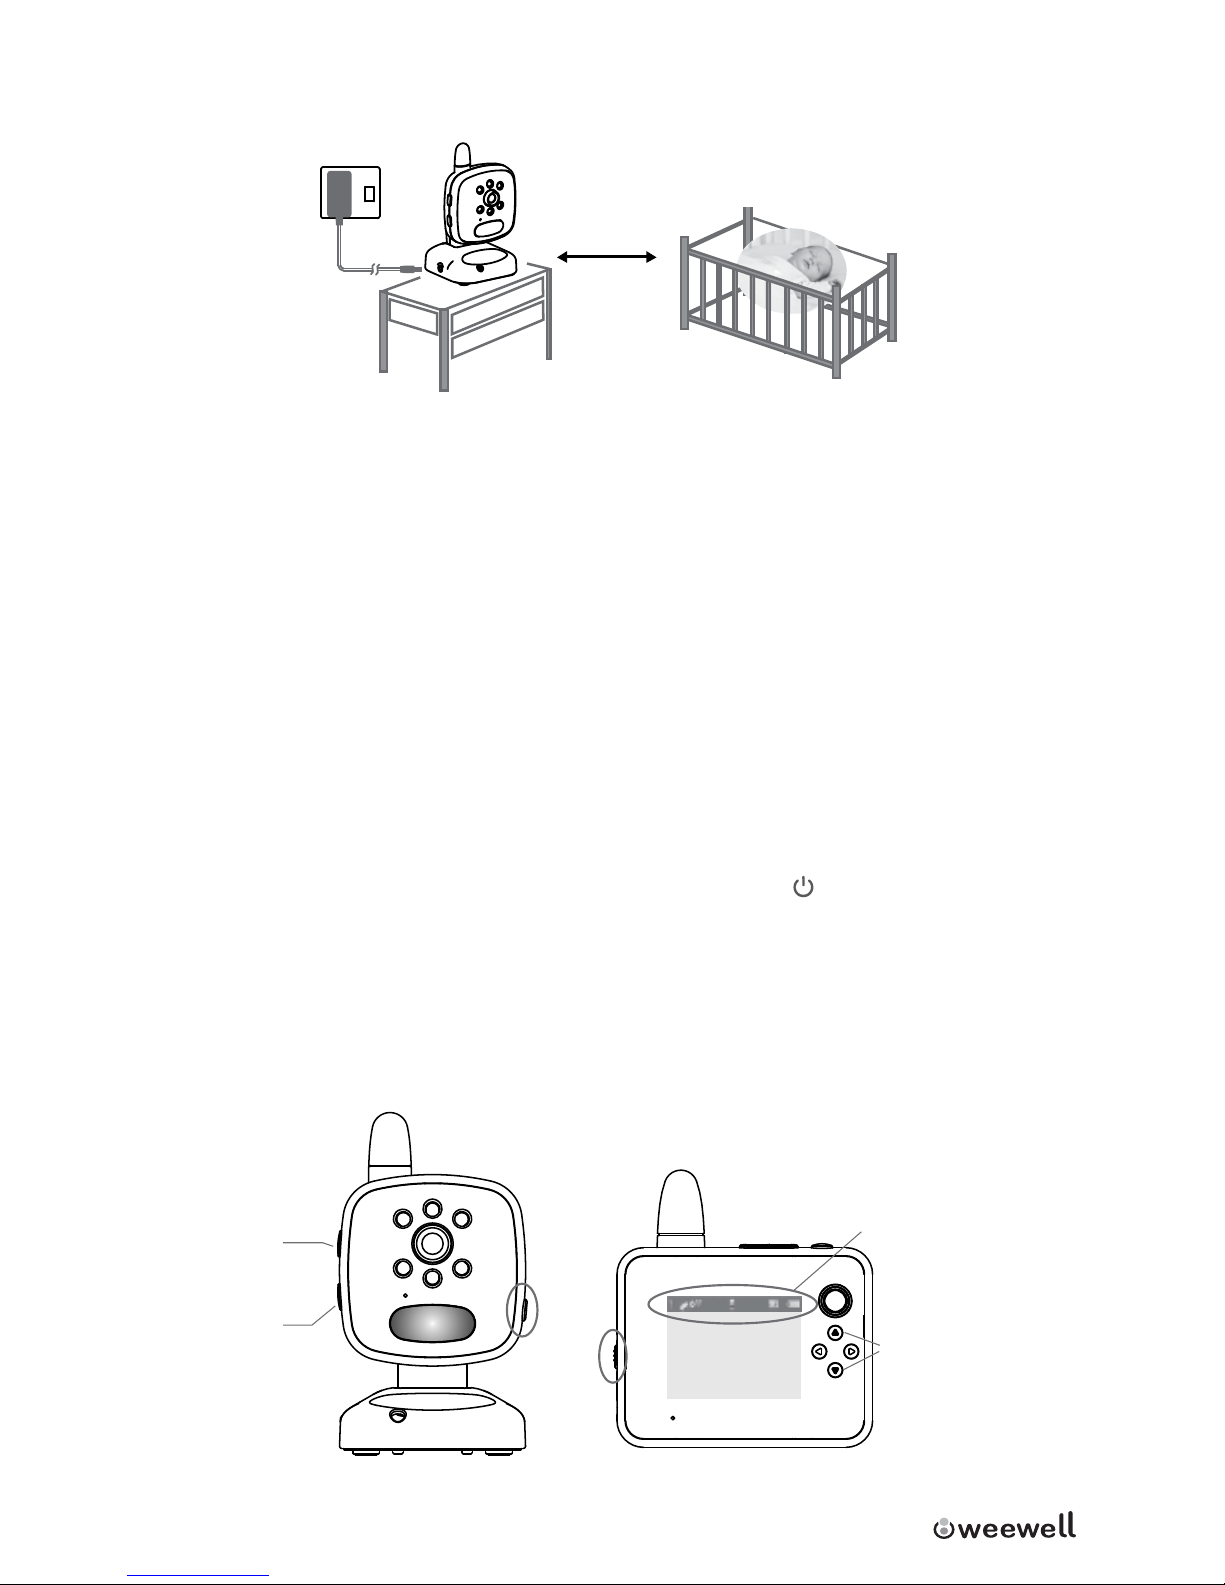
Installation Instructions...........................................................................6
Operation Instructions.............................................................................6
Power Switch...................................................................................................................6
Operation Instructions.............................................................................7
Volume Control ..............................................................................................................7
Talk back Function.........................................................................................................7
Feeding Alert...................................................................................................................7
Zoom In /Out...................................................................................................................8
Night Light / Night Vision ...........................................................................................8
Operating Menu.............................................................................................................8
Alert Ringtone [ ].........................................................................................................8
Screen Display [ ].........................................................................................................9
Operation Instructions.............................................................................9
Lullabies [ ].....................................................................................................................9
Voice Sensor Detection [ ]........................................................................................9
Temperature [ ].............................................................................................................9
Language [ ]..................................................................................................................9
Exit [ ]............................................................................................................................ 10
Pairing/Newly-added Camera unit System........................................................ 10
Troubleshooting......................................................................................11
FCC Statement .........................................................................................11
Technical Specications..........................................................................12