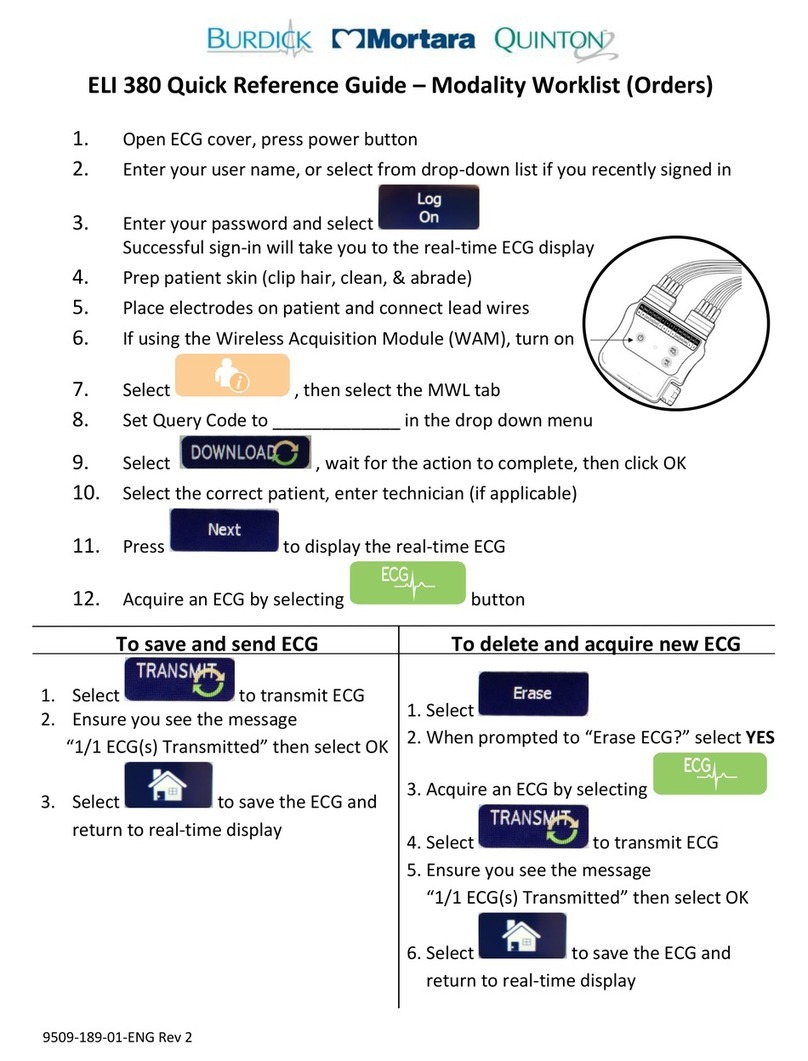
CO FIGURI G YOUR ELI FOR ECG SAFE
15. If using WLAN:
1. Press F2 down arrow to move to the SSID field.
2. Enter your WLAN’s SSID.
3. Press F2 down arrow to move to the Security field.
4. Press the F3 button until you have selected your network’s security protocol.
5. Press F2 down arrow to move to the Security field.
6. Enter the security information for your network, e.g. PSK Passphrase.
7. Press F2 down arrow to move to the WLA Mode field.
8. se F3 to select Fast if you want the ELI 10 to connect to your WLAN faster. Note, this mode
uses a little more battery power to keep the WLAN radio powered.
16. Press F2 down arrow to move to the Time Sync field.
17. Press F3 to select ELI Link Xmt. This will cause the ELI to set its internal clock from ECG Safe’s
every time it sends new ECGs to ECG Safe. Be sure the ELI’s time zone and DST settings are
correct for your location.
18. Press F2 down arrow to move to the Comm. Protocol field.
19. Press F3 to select U IPRO32.
20. If your ELI has Rx Multi-study support:
1. Press the F2 down arrow to move the cursor to one of the Site umber fields.
2. Enter your ECG Safe’s Site Number.
3. Press the F2 down arrow to move the cursor to the Site ame.
4. Enter your organization’s name as you want it to appear in the footer of the ECGs.
21. Press F6 Exit to save the settings.
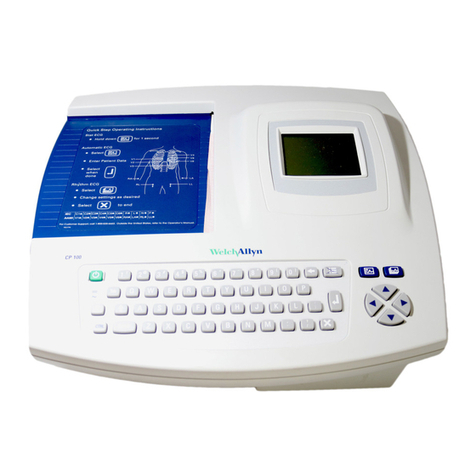
ELI 150c and 250c
Based on v2.00.
1. Delete all existing ECGs from memory.
1. From the main menu, press F6 More.
2. Press F5 Set Time/Date.
3. Press and hold the Shift and Alt keys, and then press C.
4. Enter the ELI’s administrator password.
5. Press and hold the Shift and Alt keys, and then press F.
6. Press F6 Exit.
2. From the main menu, press F6 More.
3. Press F5 Set Time/Date.
4. Press and hold the Shift and Alt keys, and then press C.
5. Enter the ELI’s administrator password.
6. If your ELI does not have Rx Multi-study support:
1. Press the F2 down arrow to move the cursor to Site umber.
2. Enter your ECG Safe’s Site Number.
3. Press the F2 down arrow to move the cursor to the Site ame.
4. Enter your organization’s name as you want it to appear in the footer of the ECGs.
7. Press the F4 Page button until you are on Page 6 (for LAN), or Page 7 (for WLAN).
8. Press F2 down arrow to move to the DHCP setting.
9. Select Yes if your network will assign the ELI an IP address. If you select o, you will need to configure
a static IP Address, Default Gateway, and Subnet Mask for the ELI in the next 3 settings under DHCP.
