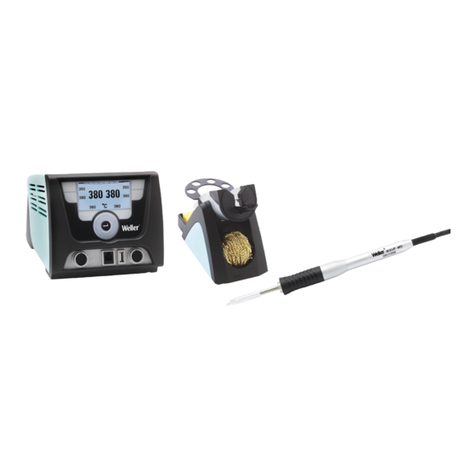
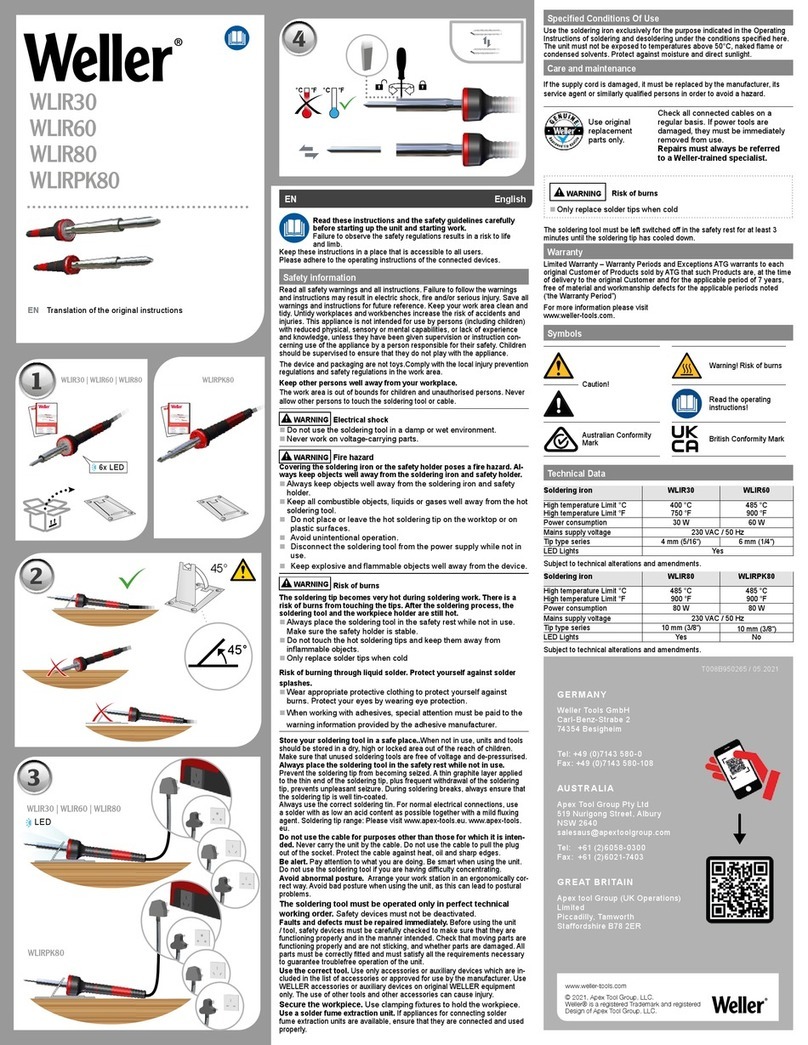
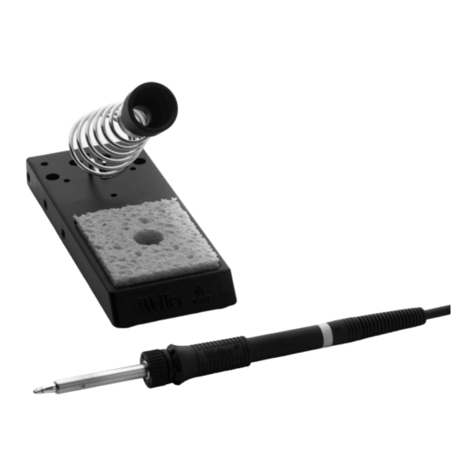
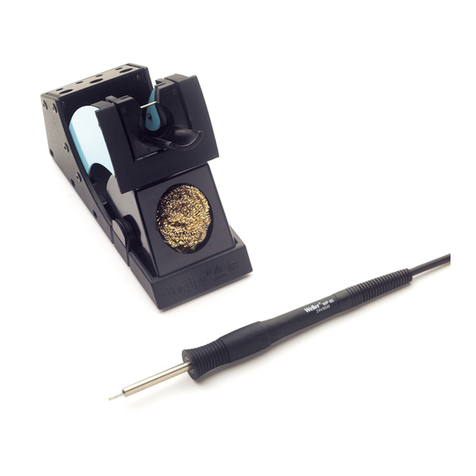
Always place the soldering tool in the safety
rest while not in use.
1. Caution!
Please read these Operating Instructions and the safety informations
carefully prior to initial operation. Failure to observe the safety regulations
results in a risk to life and limb.
The manufacturer shall not be liable for damage resulting from misuse of
the machine or unauthorised alterations.
Safety Informations
Remove all inflammable objects from the proximity of the hot
soldering tool.
Use suitable protective clothing. Risk of burns from liquid solder.
Never leave the hot soldering iron unsupervised.
Never work on voltage-carrying parts.
2. Description
Magnastat System: Control principle
The metal cap that is firmly secured to the back of the soldering tip is the
temperature sensor of this system; the Magnastat. It is ferromagnetic, i.e.
it attracts iron as does a magnet. The number on the cap is the code for
the control temperature, when the iron is heated. When this control tem-
perature is reached, the Magnastat loses its magnetic property. Physicists
call this the Curie effect. Once the temperature falls below the control
temperature, the Magnastat regains its magnetism which reheats the iron
again to its control temperature.
This sudden changeover facility of the Magnastat is extremely stable, it
does not deteriorate through aging or metal fatigue.
The temperature reaction of the Magnastat either attracts or repels a per-
manent magnet, this movement is transmitted to the contact bridge
switch via a push rod to switch the heating current on or off.
The switch is hermetically sealed and since the Magnastat is a part of the
soldering tip, the energy loss caused through radiation or during solde-
ring, is made up. A further advantage of this design is that the soldering
iron is completely switched off while the tip is being changed so that the
heating element can not burn out in the absence of a tip.
Switching temperatures are:
5 = 260°C
6 = 310°C
7 = 370°C
8 = 425°C
Defects caused by external influences can affect the switch and so the
following rules should be followed:
The soldering iron rest should not be made of iron or similar material
(it is preferable to use the original Weller rest).
The heating element should not be subjected to any alternating field
nor should it be moved in immediate contact with iron as this could
block the control system.
Only use Weller “Longlife“ tips. The use of types of other tips could
lead to premature deterioration of the system.
3. Commissioning
Put the soldering iron in the safety stand. Remove all flammable materi-
als from the immediate vicinity of the soldering iron. Plug the connector
into the supply unit and lock. Switch on the supply unit. Once the warm
up period is over, wet the tip with some solder.
4. Maintenance instructions
When first heating, the soldering tip should be wetted with solder to
remove any coating of oxide developed during storage or any dirt from
the soldering tip. Before using the iron the tip should be cleaned with
the wet sponge. So not use aggressive fluxes, etc. Any mechanical
treatment of the soldering tip damages the galvanic protective layer
and will reduce the life of the tip.
The heating element has a maximum heating effect on the tip. This
is effected through precision in the heating element material, the
heater winding and insulation. It follows that the heating element
should never be gripped with pliers or be hammered in any way. It is
quite sufficient to secure the soldering tip by tightening it into the tip
sleeve by hand (when the iron is cold).
The soldering temperature can be set relatively low because of the
powerful heat control. It should be set between 300°C and 380°C
depending on the quality of solder used and the soldering location.
Higher temperatures only bring appreciably higher cycle times which
affect soldering quality, the life of the soldering iron tip and all
components suffer.
The soldering operation should be effected in the following order:
Soldering position - solder - soldering tip.
The solder should never be applied to the tip and then to the
soldering position. This causes “dry“ joints.
Do not clean hot soldering iron tip on a dry sponge.
Regularly tin the soldering iron tip with sufficient solder. Never place
the soldering iron in the holder with the tip insufficiently tinned.
Soldering bits figure LT and PT-Tips see pages 24 - 28 .
If the soldering equipment is used in combination with other Weller
devices, the warning notes mentioned in those operating instructions are
appliance as well.
5. Scope of supply
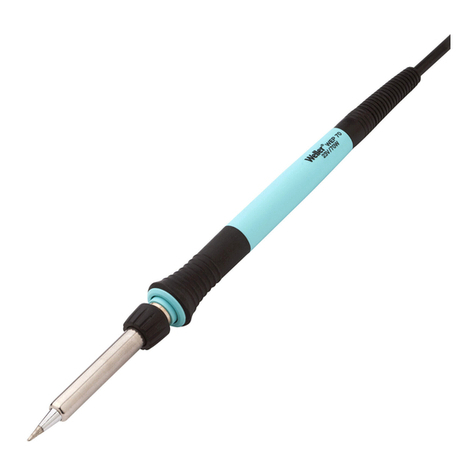
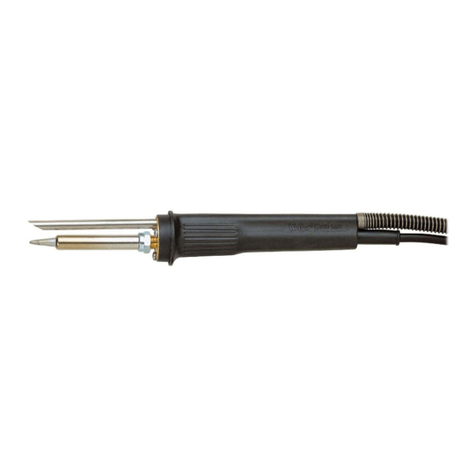
Magnatstat Soldering
Operating Instructions
Subject to technical alterations and amendments!
See the updated operating instructions at
www.weller-tools.com.
English
5
Technical data
TCP 12 TCP 24 / S TCP 42
Voltage: 12 V 24 V 42 V DC (only DC)
Power Rating: 35 W 50 W 45 W
Control: 2-point control with temperature sensor using Curie
effect.
