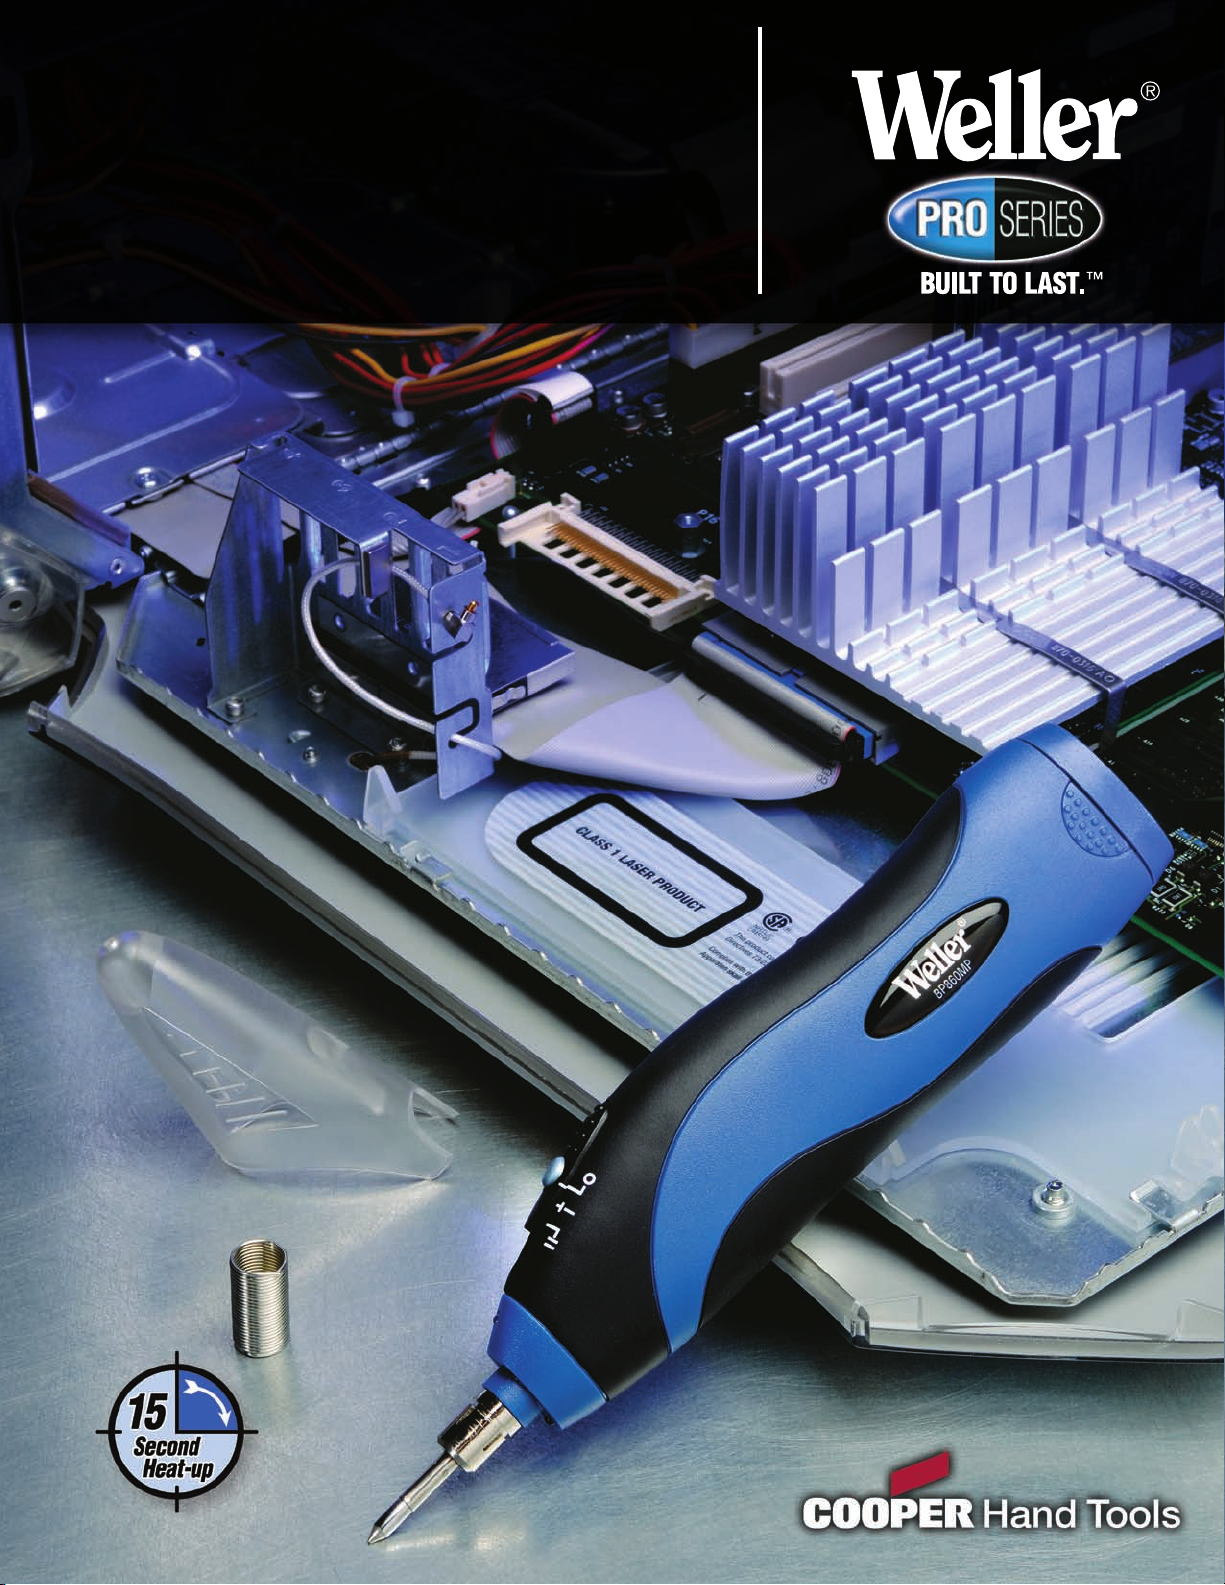
Fer à souder sans fil sur
batterie BP860MP
Merci d’avoir acheté un fer à souder sans fil sur bat-
terie de Weller®.C’est le dernier née d’une lignée
d'outils de soudure et à air chaud, avec ou sans cor-
don d'alimentation, de Weller, le leader mondial des
équipements de soudure. Bien entretenu, votre outil
BP860MP vous apportera des années de bons et
loyaux services.
Le BP860MP est un fer à souder léger à chauffage
rapide qui est idéal pour les travaux sur le terrain où
l’électricité n’est pas toujours disponible. L’élément
chauffant est contenu dans la pointe de soudage
pour assurer un chauffage ultra rapide. Cet outil
convient à des travaux de soudure légers pour
lesquels la portabilité est essentielle.
Remarques de sécurité
1. La pointe est CHAUDE ! Ne pas toucher la pointe
de soudure au risque de brûlures graves.
2. Ne pas plonger dans l’eau !
3. Laisser la pointe refroidir après usage, avant de
la ranger.
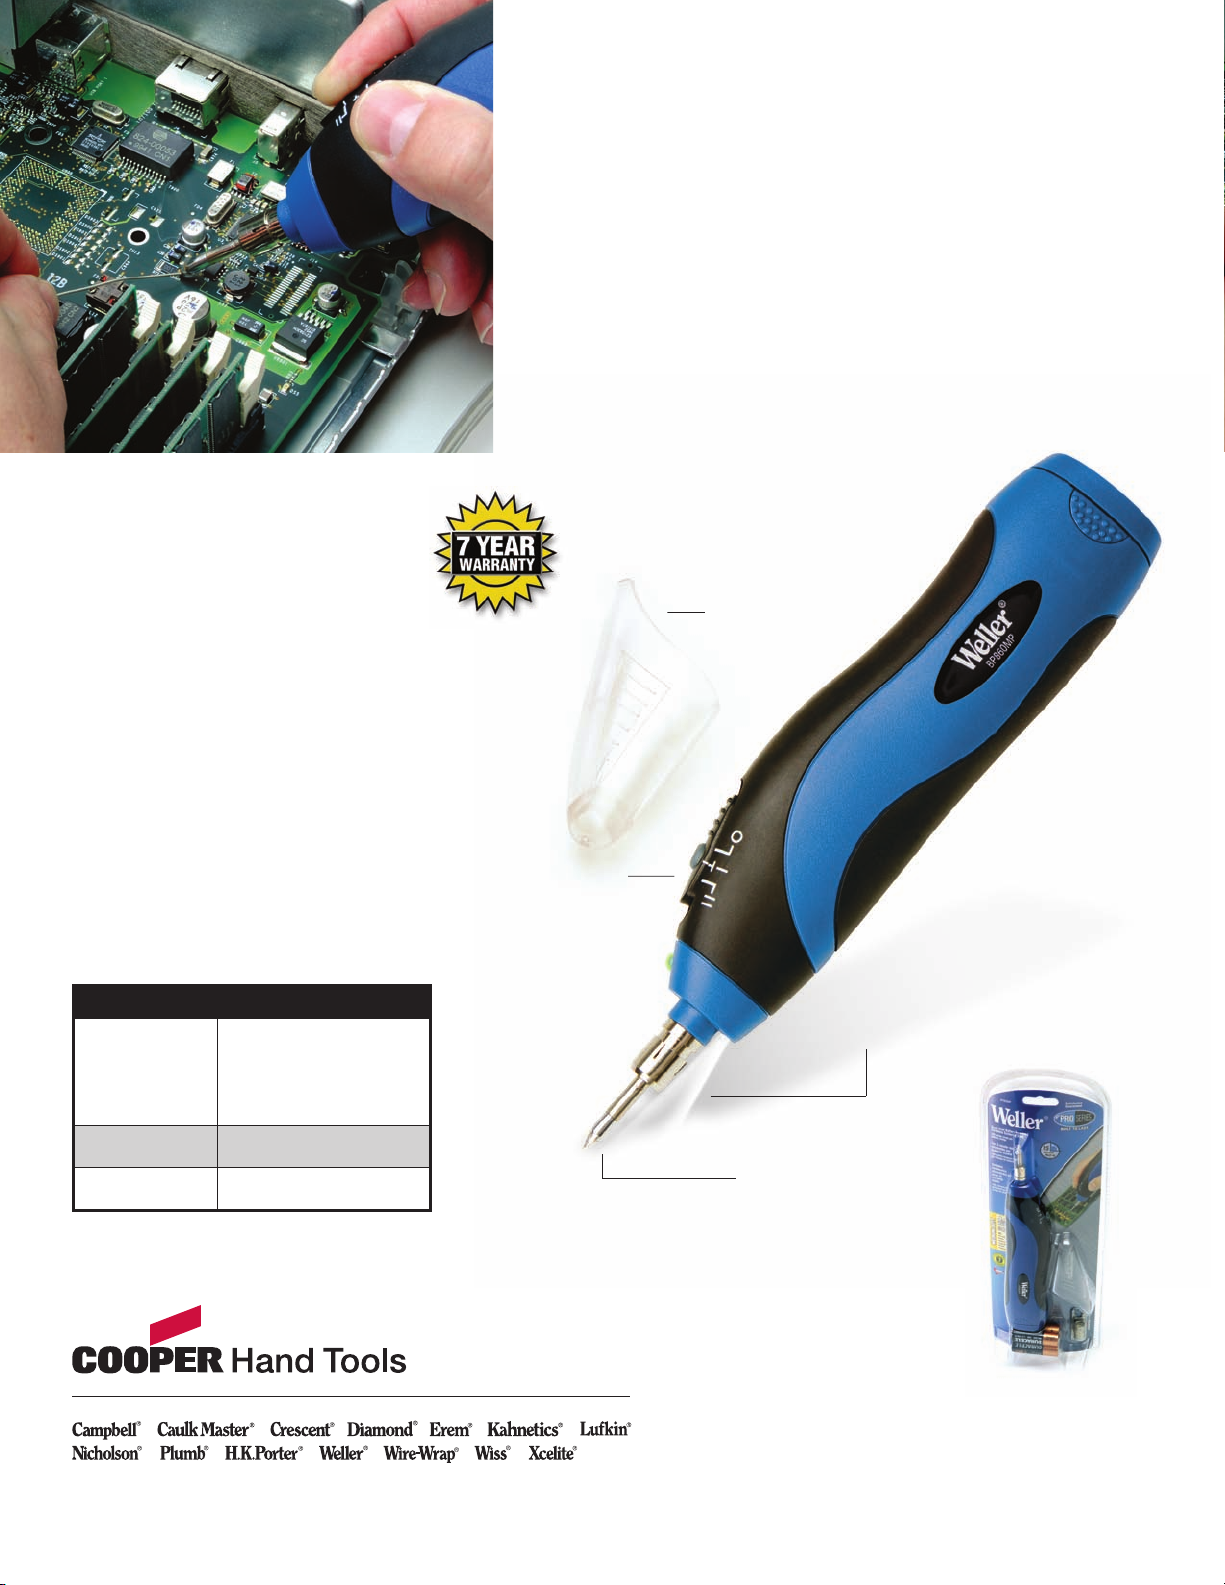
4. Mettre le capuchon protecteur sur la pointe avant
de la ranger, afin que le capuchon maintienne
l’interrupteur coulissant sur la position OFF
(Arrêt) en toute sécurité.
5. Avertissement : Ce produit contient ou produit,
lorsqu'il est utilisé pour des travaux de soudage
et des travaux similaires, des substances que l'é
tat de Californie considère être cancérigènes et la
cause de malformations congénitales (et d'autres
troubles de l'appareil reproducteur).
Mode d’emploi
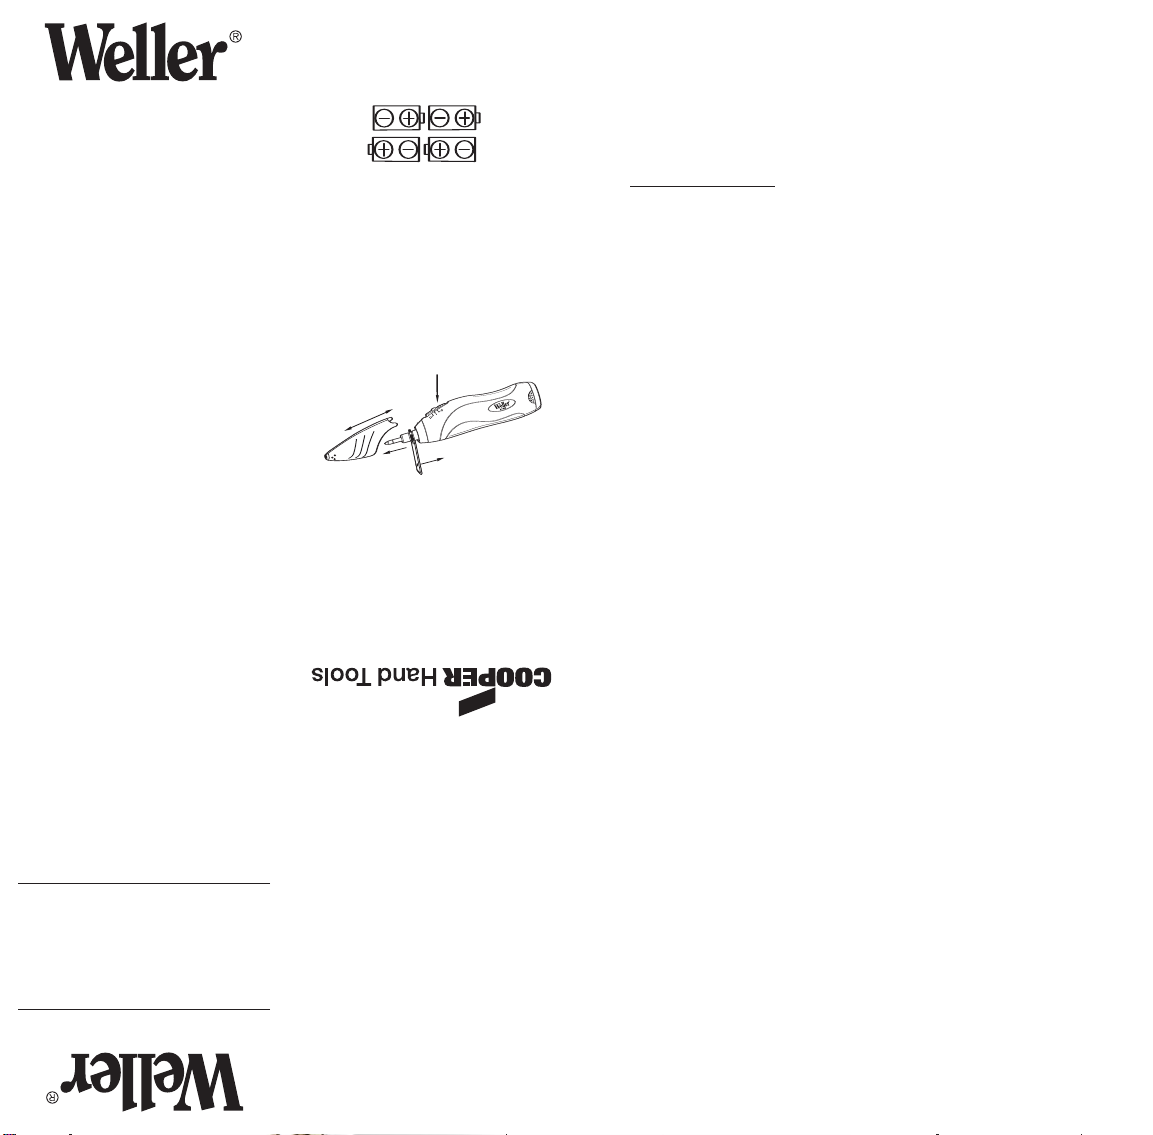
1. Pour installer les piles, enlever le couvercle du
compartiment piles en pinçant les agrafes sur les
côtés du couvercle et en soulevant celui-ci.
2. Placer (4) piles alcalines de 1,5 V de type AA
(incluses) dans le fer à souder comme illustré et
remettre le couvercle en place.
3. Enlever le capuchon protecteur de la pointe de
soudage.
4. Vérifier que la pointe est bien fixée.
5. Placer l'interrupteur marche-arrêt à « l » pour le
réglage de puissance le plus bas (455 °C) ou à
«II » pour le réglage le plus haut (510 °C).
6. Tenir le fer à souder comme un stylo. Appuyer
sans relâcher continuellement sur le bouton
arrondi en haut de l’interrupteur coulissant. Le fer
se chauffe à la température de fusion de la
soudure en 15 secondes environ.
7. Pour épargner les piles, n’appuyer sur le bouton
que lors du soudage.
8. Placer le fer à souder chaud à la verticale afin que
le pointe n’entre pas en contact avec les objets à
proximité.
9. La soudure terminée, faire glisser l’interrupteur
sur la position « OFF » et remettre le capuchon
protecteur en place.
Entretien
1. Si le fer à souder prend plus de 30 secondes pour
atteindresa températurede fonctionnement,
installer des piles neuves.
2. Utiliser des piles alcalines pour des résultats
optimaux. Ne pas mélanger des piles neuves et
usagées.
3. Ne pas remplacer la pointe de soudage quand elle
est chaude. Utiliser l’extracteur de pointe fourni
pour retirer la pointe comme illustré.
4. La pointe de soudage est plaquée fer pour une
durée de vie optimale. Ne pas limer la pointe, ce
qui détruirait le placage.
5. Retirer les piles de l’outil lorsqu’il n’est pas utilisé
pendant une longue période afin d’éviter que les
piles ne fuient dans l'outil.
Embouts de rechange
N° de cat. Description
BP10 Conique
BP11 Tournevis
Garantie du fer à souder Weller® pour le
consommateur
Cooper Hand Tools garantit ce produit contre tout
défaut de matériau et de construction pendant une
période de sept années à compter de la date d’achat.
Aucune garantie n’est offerte concernant les produits
qui ont été a) modifiés ou réparés par quiconque
autre que Cooper Hand Tools, b) soumis à des abus,
de la négligence, un accident ou un mauvais remis-
age, c) installés, utilisés ou entretenus d’une
manièrequi ne correspond pas aux pratiques nor-
males ni aux instructions et données techniques de
Cooper Hand Tools, ou d) utilisés en combinaison
avec un produit, dispositif ou système quelconque
qui est défectueux, la source d’un défaut ou qui,
d’une manière raisonnable, n’était pas construit pour
être utilisé avec ce produit.
La garantie limitée ci-dessus est exclusive et rem-
place toutes les autres garanties, exprimées, sous
entendues ou prévues par la loi, y compris, mais pas
limitées à, toute garantie de vendabilité ou d’adapta-
tion à un usage particulier. Selon cette garantie lim-
itée, l’obligation de Cooper Hand Tools est expressé-
ment limitée à la réparation du produit, au rem-
boursement du prix d’achat ou au remplacement du
produit, à la seule et entièrediscrétion de Cooper
Hand Tools, sans frais pour l’acheteur.
Les remèdes prévus ici constituent le seul recours
de l’acheteur contreCooper Hand Tools, que la
réclamation soit sous forme d’action en responsabil-
ité délictuelle ou contractuelle, y compris les récla-
mations basées sous la garantie, la négligence, la
responsabilité stricte, la tromperie, la fraude, des
fausses déclarations ou autres. En aucun cas,
Cooper Hand Tools ne peut êtretenu responsable
des dommages spéciaux, indirects, secondaires ou
consécutifs (quelle que soit la forme de l’action) ni
la perte de bénéfices. La responsabilité de Cooper
Hand Tools pour toute réclamation ou tout dom-
mage provenant de, ou en rapport avec, la construc-
tion, la vente, la livraison, l’utilisation, l’entretien, la
réparation ou la modification de ce produit ne peut
dépasser le prix d’achat.
Pendant la période de garantie, Cooper Hand Tools
réparera, remplacera ou remboursera le prix de tout
produit qui s’avère défectueux, conformément à
cette garantie limitée. Renvoyer le produit, portpayé,
avec la preuve d’achat, à Cooper Hand Tools, 1000
Lufkin Road, Apex, NC 27539.
Soldador inalámbrico a
pilas BP860MP
Le agradecemos la compra del soldador inalámbrico
apilas BP860MP de Weller®. Esta es la adición
más reciente a la línea de soldadores inalámbricos y
convencionales, y de herramientas de aire caliente
de Weller, el líder mundial en productos para sol-
dadura. Manteniéndolo adecuadamente, el soldador
BP860MP le prestará servicios durante años.
El BP860MP es un soldador liviano, de calentamien-
to rápido, ideal para trabajo en obras adonde no hay
acceso a una conexión eléctrica. La bobina de calen-
tamiento se encuentra en la punta del soldador y así
puede alcanzar la temperatura de servicio en forma
extraordinariamente rápida. Esta es un herramienta
para servicio liviano en casos en que contar con un
soldador portátil es de suma importancia.
Notas de seguridad
1. ¡La punta estará muy CALIENTE! Si toca la punta
del soldador sufrirá quemaduras graves.
2. ¡No sumergir el soldador en agua!
3. Dejar que la punta se enfríe totalmente antes de
guardar el soldador.
4. Guarde el soldador con la funda protectora colo-
cada sobre la punta, en forma tal que también
cubra el interruptor en la posición de desconecta
do(Off).
5.Advertencia: Este producto contiene o, cuando se
utiliza como para soldar u otras aplicaciones simi-
lares, genera sustancias químicas consideradas
por el Estado de California como cancerígenas y
causantes de defectos fetales u otras alteraciones
reproductivas.
Instrucciones de uso
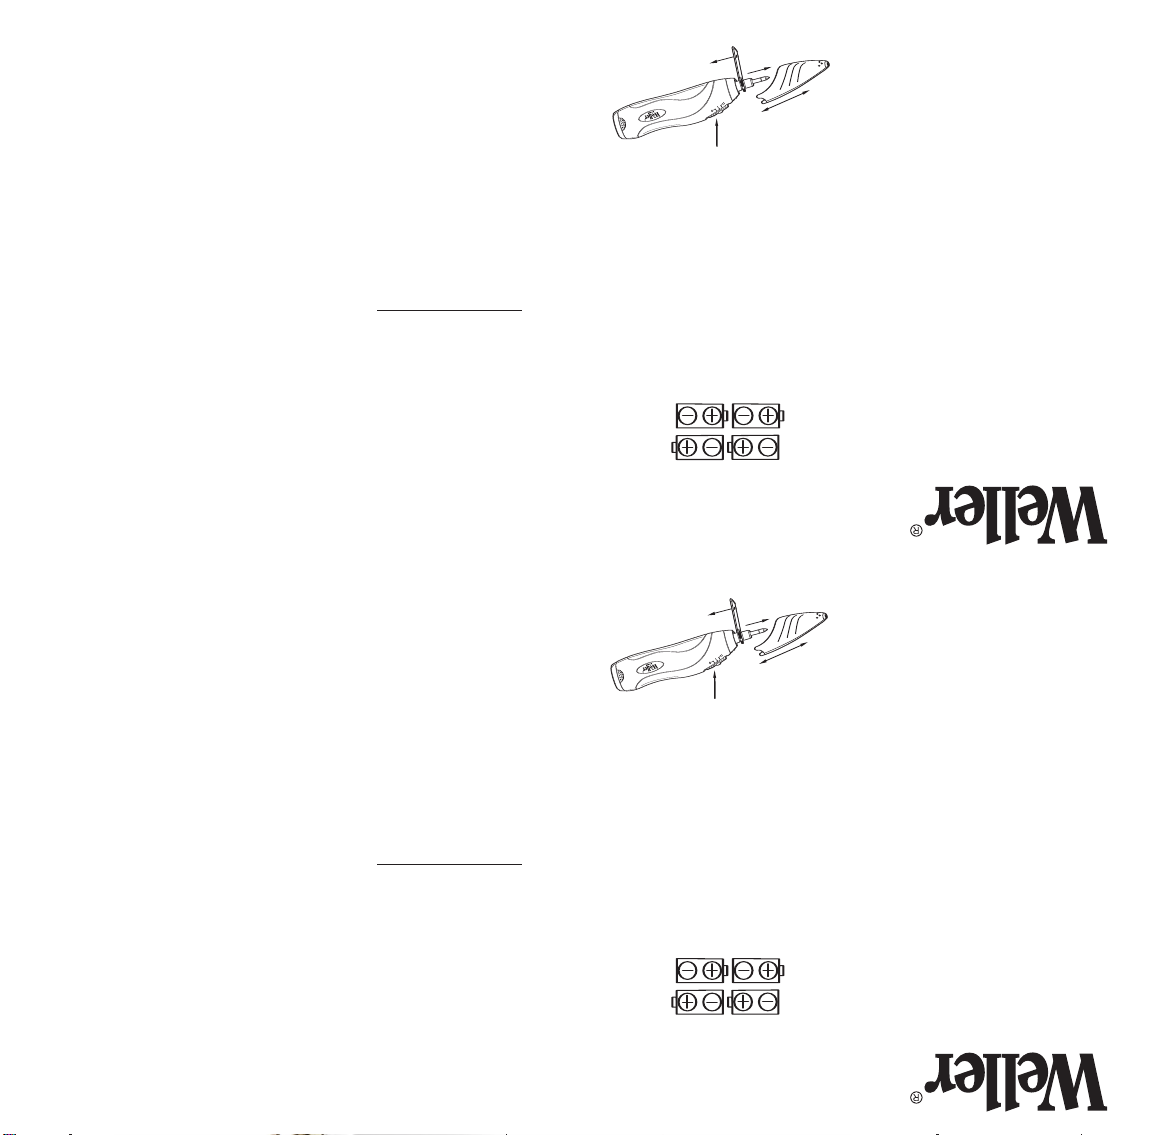
1. Para colocar las pilas, quitar la tapa del compar-
timiento de pilas presionando las orejas laterales.
2. Colocar tres (4) pilas alcalinas tamaño AA de 1,5
Voltios (incluidas con la unidad) tal como se indi-
ca en la ilustración y volver a colocar la tapa.
3. Quitar la funda protectora de la punta del soldador.
4. Verificar que la punta esté firmemente instalada.
5. Poner el botom On-Off en "I" para baja temperatura
(850°F) o "II" para alta temperatura (950°F).
6. Sostener el soldador como una lapicera y man-
tener presionado el botón redondo ubicado sobre
el interruptor deslizante de encendido. El soldador
se calentará hasta la temperatura de fusión del
material de soldadura en aproximadamente 15
segundos.
7. Para prolongar la duración de las pilas, presionar
este botón solamente cuando se va a soldar.
8. Usar el soldador en posición vertical para evitar
que la punta entre en contacto accidentalmente
con los objetos próximos al punto de soldadura.
9. Al terminar la soldadura, llevar el interruptor a la
posición de apagado (“OFF”) y colocar la funda
protectora.
Mantenimiento
1. Cambiar las pilas si el soldador tarda más de 30
segundos en calentarse.
2. Para obtener mejores resultados, usar siempre
pilas alcalinas. No instalar pilas nuevas y viejas al
mismo tiempo.
3. No cambiar la punta del soldador cuando todavía
está caliente. Usar el extractor de punta sumin-
istrado para quitar la punta del soldador, tal se
muestra en la ilustración.
4. La punta del soldador tiene revestimiento de
acero para prolongar su vida útil. No limar la
punta ya que se dañará este revestimiento.
5. Si el soldador no será utilizado por tiempo pro-
longado, quitar las pilas como medida de seguridad.
Puntas de recambio
Cat Descripción
BP10 Cónico
BP11 Desarmador
Garantía del soldador Weller®
Cooper Hand Tools garantiza este producto contra
defectos de materiales y mano de obra, por un
período de siete (7) años a partir de la fecha de
compra. No se ofrece ninguna garantía para produc-
tos que hayan sido (a) alterados, modificados o
reparados por personal ajeno a Cooper Hand Tools;
(b) sometidos a maltrato, uso indebido, uso negli-
gente, condiciones inadecuadas de almacenamiento,
ohayan sufrido daños por accidente; (c) instalados,
usados o mantenidos sin observar precauciones
normales para el caso, o sin cumplir con las instruc-
ciones y especificaciones de Cooper Hand Tools; o
(d) usados con cualquier producto, equipo, compo-
nente o sistema defectuoso, o que puede causar un
defecto, o que no esté destinado ni diseñado para
ser utilizado con este producto.
La presente garantía es de carácter exclusivo y se
otorga en reemplazo de cualquier otra garantía, sea
expresa o implícita incluyendo, aunque sin limita-
ciones, toda garantía de aptitud comercial o capaci-
dad para cumplir con un propósito particular. La
obligación de Cooper Hand Tools bajo los términos
de esta garantía limitada, se limita expresamente a la
reparación del producto, o la devolución del precio
por él pagado, o el cambio del producto, según lo
decida Cooper Hand Tools, sin costo alguno para el
Comprador.
Las medidas correctivas anteriormente mencionadas
constituyen el único recurso del Comprador contra
Cooper Hand Tools, sea el reclamo basado en
cláusulas contractuales o extracontractuales,
incluyendo reclamos por garantía, negligencia,
responsabilidad civil, falsedad, fraude, distorsión de
hechos o de cualquier otro tipo. En ningún caso
Cooper Hand Tools será responsable por perjuicios
especiales, indirectos, incidentales ni directos (inde-
pendientemente del curso de acción), ni por lucro
cesante. La responsabilidad de Cooper Hand Tools
en relación a cualquier reclamo emergente como
consecuencia de, o asociado con, la fabricación, la
venta, le entrega, el uso, el mantenimiento, la
reparación o la modificación de este producto, en
ningún caso será mayor que el precio de compra del
mismo.
Dentro del período de garantía, Cooper Hand Tools
reparará o cambiará el producto, o devolverá el
importe por él pagado, si el producto presentara en
realidad defectos contemplados en las condiciones
de esta garantía limitada. Enviar el producto con el
franqueo de retorno pagado y la factura o recibo de
compra, a: Cooper Hand Tools, 1000 Lufkin Road,
Apex, NC 27539