manuals.online logo
Brands
  1. Home
  2. •
  3. Brands
  4. •
  5. Westin
  6. •
  7. Automobile Accessories
  8. •
  9. Westin 21-1680 User manual

Westin 21-1680 User manual

5/12/09 1 IS-21-1950_5
INSTRUCTIONS-INSTRUCCIONES-CONSIGNES
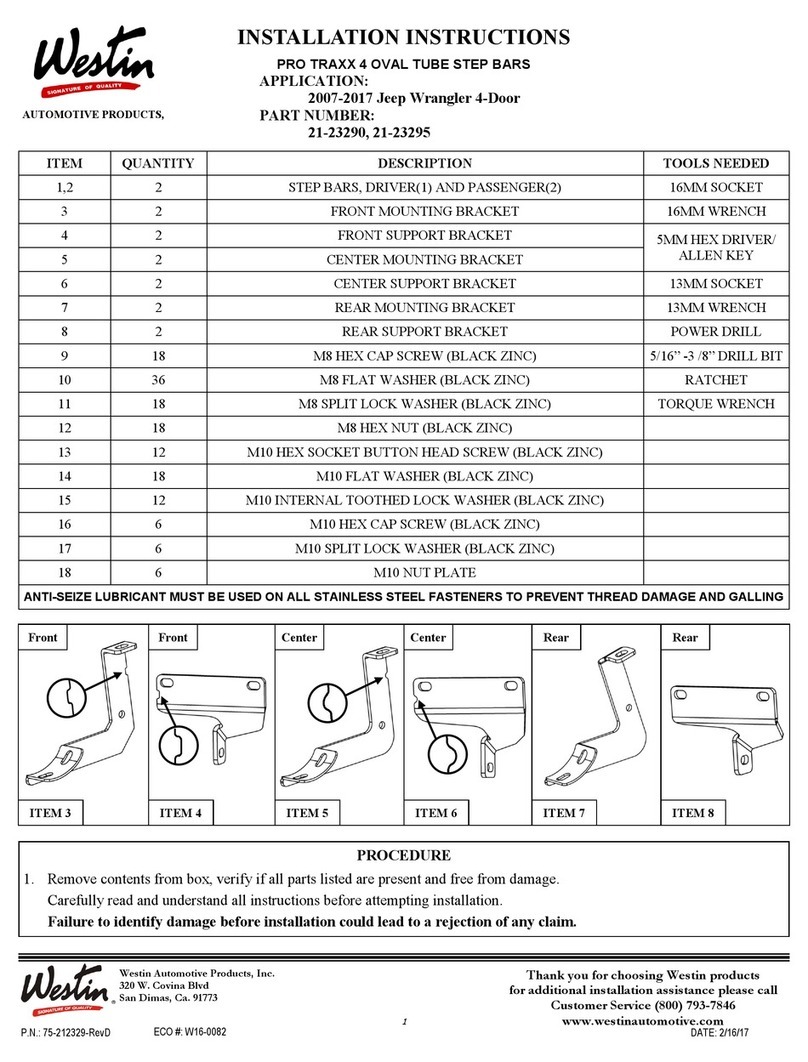
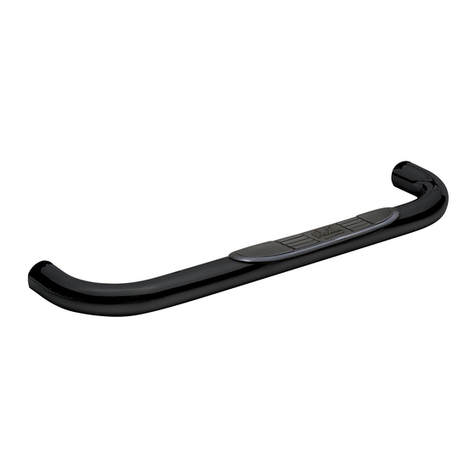
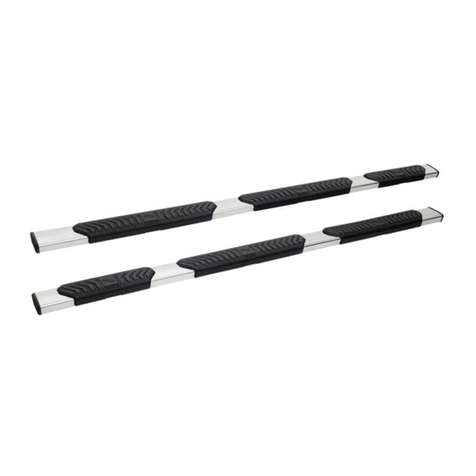
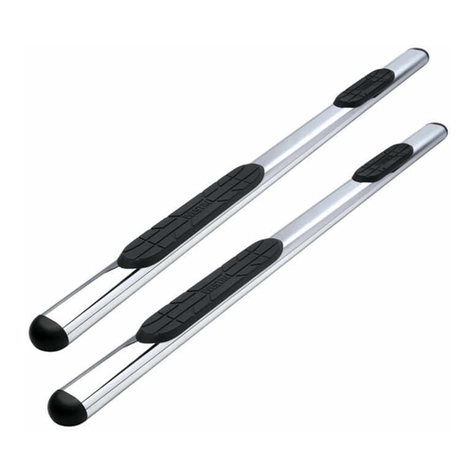
4” OVAL PLATINUM STEP BARS
1999-2007 CHEVROLET SILVERADO
EXTENDED CAB & CREW CAB
P/N 21-1680/21-1685/21-1950/21-1955
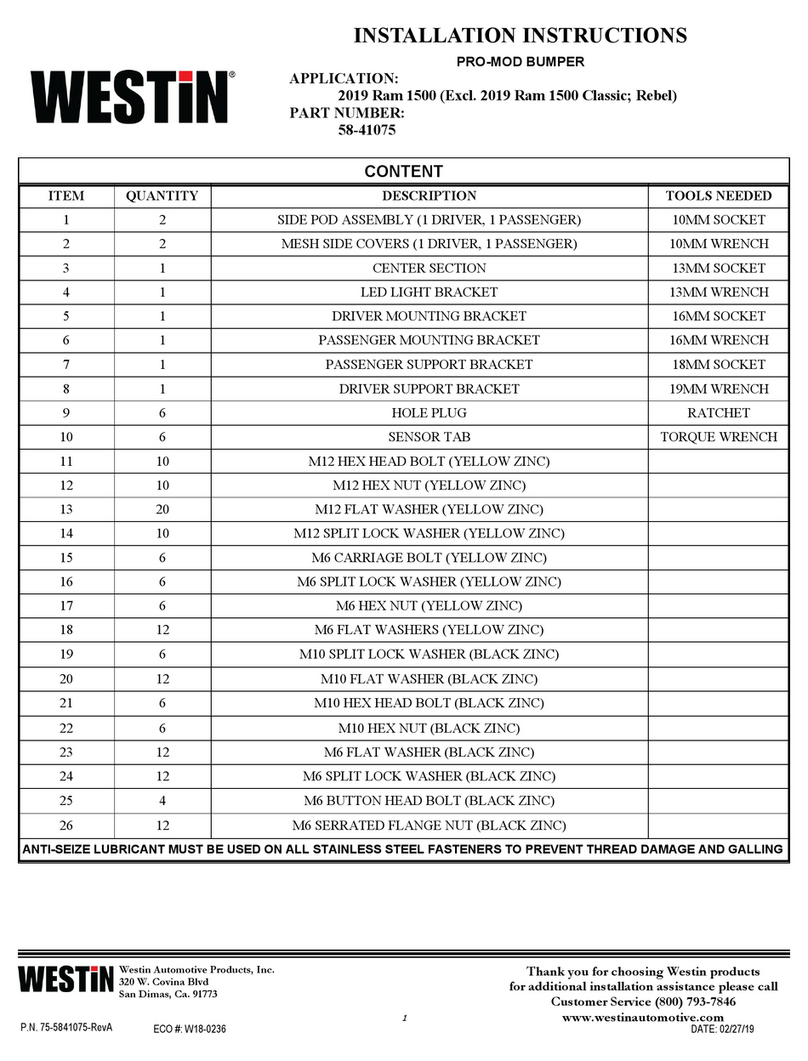
ITEM QUANTITY CONTENTS TOOLS
1 2 SIDE BARS 16MM SOCKET + RATCHET
2 2 FRONT MOUNTING BRACKETS (DRIVER & PASSENGER SIDE) 18MM SOCKET + RATCHET
3 2 CENTER MOUNTING BRACKETS 19MM SOCKET + RATCHET
4 2 REAR MOUNTING BRACKETS
5 4 1/2” X 2” HEX HEAD BOLTS
6 4 1/2” LOCK WASHERS
7 4 1/2” FLAT WASHERS
8 2 M10 X 25MM HEX HEAD BOLTS
9 2 M10 LOCK WASHERS
10 2 M10 FLAT WASHERS
ARTICULO CANTIDAD CONTENIDO HERRAMIENTA
1 2 El LADO IMPIDE ENCHUFE de 16 MM + se INCREMENTA
2 2 FRENTE CRECIENTE PONE ENTRE PARENTESIS
(CONDUCTOR & el LADO de PASAJERO) ENCHUFE de 18 MM + se INCREMENTA
3 2 CENTRE CORCHETES CRECIENTES ENCHUFE de 19 MM + se INCREMENTA
4 2 CRIE CORCHETES CRECIENTES
5 4 CABEZA del MAL DE OJO CIERRA 1/2” X 2”
6 4 ARANDELAS de CERRADURA 1/2”
7 4 ARANDELAS PLANAS 1/2”
8 2 CABEZA del MAL DE OJO CIERRA M10 X 25 MM
9 2 ARANDELAS de CERRADURA M10
10 2 ARANDELAS PLANAS M10
ARTICLE QUANTITE CONTENU OUTILS
1 2 LE COTE BARRE 16 MM LA DOUILLE + AUGMENTE
2 2 MONTER DE DEVANT MET ENTRE PARENTHESES (LE CONDUC-
TEUR & LE COTE DE PASSAGER) 18 MM LA DOUILLE + AUGMENTE
3 2 CENTRER des CROCHETS qui MONTENT 19 MM LA DOUILLE + AUGMENTE
4 2 MONTER D'ARRIERE MET ENTRE PARENTHESES
5 4 1/2” X 2” TETE DE SORT VERROUILLE
6 4 1/2” RONDELLES FREIN
7 4 1/2” RONDELLES PLATES
8 2 M10 X 25 MM LA TETE DE SORT VERROUILLE
9 2 M10 RONDELLES FREIN
10 2 M10 RONDELLES PLATES
5/12/09 2 IS-21-1950_5
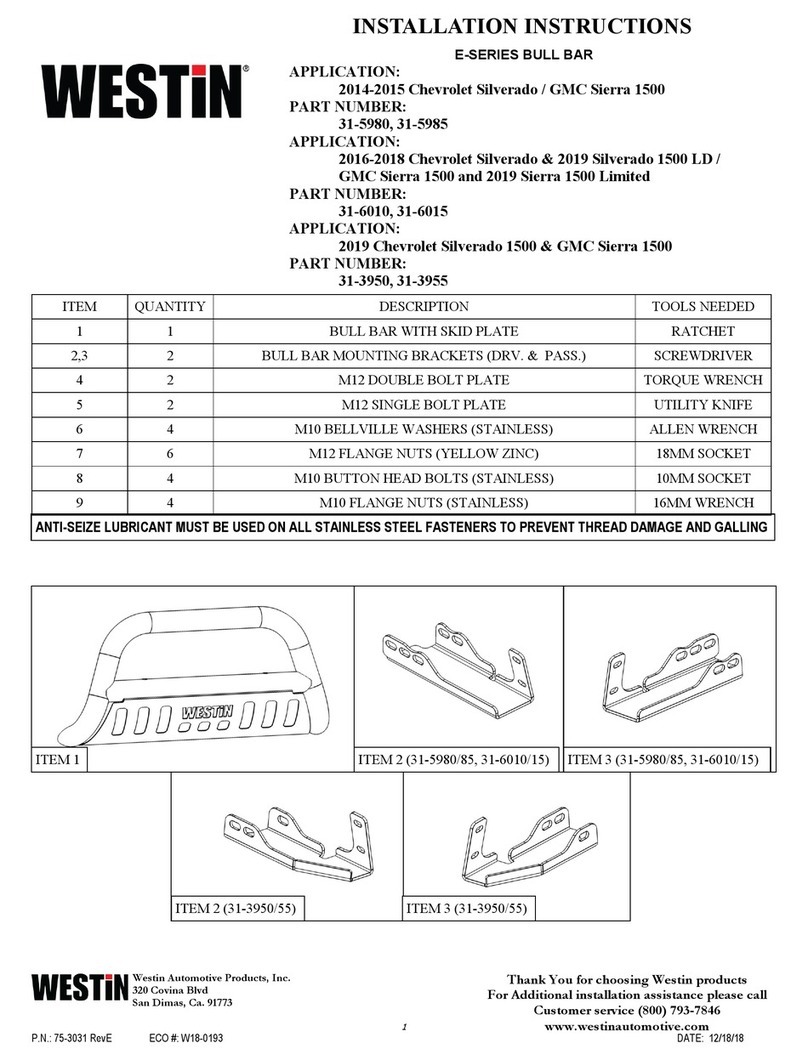
1. Verify all hardware contents listed above are present. Carefully read all instructions before installing.
2. Mounting location on the front driver side is the body mount bolt. (FIGURE 1,2,3)
3. Remove body mount bolt, place front driver side mounting bracket between the bolt and lower body mount bushing. Do not tighten at this time.
(FIGURE 4)
4. Repeat steps 1-2 for center mounting bracket. (FIGURE 5)
5. Rear driver side mounting location is at the rear body mount in front of the rear tire. (FIGURE 1,5)
6. Remove the body mount bolt, place the rear mounting bracket between the bolt and the lower body mount bushing. Do not tighten at this time.
(FIGURE 6)
7. Using the supplied M10 hardware attach the support bracket to the front hole of the driver side rear mounting bracket, the other end will attach
to the frame rail located next to the body mount bushing.
8. Using the supplied 1/2” hardware, attach the side bar to the mounting brackets loosely. (FIGURE 7)
9. Adjust side bar then tighten all fasteners.
(It is recommended to occasionally check and tighten all hardware)
CARE INSTRUCTIONS
• REGULAR WAXING IS RECOMMENDED. DO NOT USE ANY TYPE OF POLISH OR WAX THAT MAY CONTAIN ABRASIVES.
• STAINLESS STEEL PRODUCTS CAN BE CLEANED WITH MILD SOAP AND WATER. STAINLESS STEEL POLISH SHOULD BE USED TO POLISH
SMALL SCRATCHES.
• GLOSS BLACK FINISHES SHOULD BE CLEANED WITH MILD SOAP AND WATER.
INSTRUCTIONS-INSTRUCCIONES-CONSIGNES
4” OVAL PLATINUM STEP BARS
1999-2007 CHEVROLET SILVERADO
EXTENDED CAB & CREW CAB
P/N 21-1680/21-1685/21-1950/21-1955
1. Verifique todo contenido de ferreteria listó encima de son presente. Lea con cuidado todas instrucciones antes de instalar.
2. La ubicación creciente en el lado delantero de conductor es el cerrojo del monte del cuerpo. (FIGURA 1.2.3)
3. Quite el cuerpo cerrojo de monte, coloca el lado delantero de conductor que monta corchete entre el cerrojo y buje más bajo de monte de
cuerpo. No apriete en este momento. (FIGURA 4)
4. Repita los pasos 1-2 para montar de centro ponen entre paréntesis. (FIGURA 5)
5. El lado trasero del conductor que monta la ubicación está en el monte trasero del cuerpo delante del neumático trasero. (FIGURA 1.5)
6. Quite el cerrojo del monte del cuerpo, coloca el trasero que monta corchete entre el cerrojo y el buje más bajo del monte del cuerpo. No apriete
en este momento. (FIGURA 6)
7. Utilizar el ferreteria M10 suministrado conecta el corchete de apoyo al hoyo delantero del trasero del lado de conductor que monta corchete, el
otro fin conectará a la baranda del marco situada junto al buje de monte de cuerpo.
8. Utilizar el suministró 1/2” ferreteria, conecta la barra del lado a los corchetes crecientes flojamente. (FIGURA 7)
9. Ajuste la barra del lado entonces aprieta todos cierres.
(Es recomendado para verificar ocasionalmente y para apretar todo ferreteria)
CUIDE las INSTRUCCIONES
• REGULAR DANDO CERA ES RECOMENDADO. No UTILICE NINGUN TIPO DE polaco ni la CERA QUE mayo CONTIENE ABRASIVO
• Los PRODUCTOS del ACERO INOXIDABLE PUEDEN SER LIMPIADOS CON JABON Y AGUA TEMPLADOS. El ACERO INOXIDABLE polaco DEBE SER
UTILIZADO A PEQUEÑOS RASGUÑOS polacos.
• LUSTRE los FINES NEGROS DEBEN SER LIMPIADOS CON JABON Y AGUA TEMPLADOS
1. Vérifiez qu'il ne manque aucune pièce. Avant de procéder à l'installation, lisez attentivement toutes les instructions.
2. L'emplacement de montage avant du côté conducteur correspond à celui du boulon de fixation de carrosserie. (FIGURES 1, 2 ET 3)
3. Dévissez le boulon de fixation de carrosserie, insérez le support de montage avant du côté conducteur entre le boulon et la douille de fixation de
carrosserie inférieure. Ne serrez pas pour le moment. (FIGURE 4)
4. Répétez les étapes 1 et 2 pour le support de montage central. (FIGURE 5)
5. L'emplacement de montage arrière du côté conducteur correspond à celui du boulon de fixation de carrosserie arrière situé devant le pneu arriè-
re. (FIGURE 1 et 5)
6. Dévissez le boulon de fixation de carrosserie, insérez le support de montage arrière du côté conducteur entre le boulon et la douille de fixation de
carrosserie inférieure. Ne serrez pas pour le moment. (FIGURE 6)
7. Utilizar el ferreteria M10 suministrado conecta el corchete de apoyo al hoyo delantero del trasero del lado de conductor que monta corchete, el
otro fin conectará a la baranda del marco situada junto al buje de monte de cuerpo.
8. À l'aide d'un boulon de 1,2 cm fourni, fixez la barre latérale aux supports de montage sans serrer. (FIGURE 7)
9. Réglez la barre latérale, puis serrez toutes les attaches.
(Nous vous recommandons de vérifier et de resserrer régulièrement les attaches.)
ENTRETIEN ET INSTRUCTIONS
• CIREZ RÉGULIÈREMENT. N'UTILISEZ PAS DE PRODUITS DE POLISSAGE OU DE CIRAGE ABRASIFS
• NETTOYEZ LES PRODUITS EN ACIER INOXYDABLE AVEC DU SAVON DOUX ET DE L'EAU. UTILISEZ DES PRODUITS DE POLISSAGE POUR ACIER
INOXYDABLE AFIN DE POLIR LES PETITES ÉRAFLURES
• NETTOYEZ LES FINITIONS NOIRES VERNIES AVEC DU SAVON DOUX ET DE L'EAU
5/12/09 3 IS-21-1950_5
FIGURE 6
FIGURE 7
FIGURE 1 FIGURE 3 FIGURE 2
FIGURE 8
INSTRUCTIONS-INSTRUCCIONES-CONSIGNES
4” OVAL PLATINUM STEP BARS
1999-2007 CHEVROLET SILVERADO
EXTENDED CAB & CREW CAB
P/N 21-1680/21-1685/21-1950/21-1955
FIGURE 5
FIGURE 4

This manual suits for next models

3

Other Westin Automobile Accessories manuals

Westin 27-1405 User manual

Westin

Westin 27-1405 User manual

Westin 25-2130 User manual

Westin

Westin 25-2130 User manual

Westin 65-1305 User manual

Westin

Westin 65-1305 User manual

Westin 21-2350 User manual

Westin

Westin 21-2350 User manual

Westin 31-5270 User manual

Westin

Westin 31-5270 User manual

Westin 30-0000 User manual

Westin

Westin 30-0000 User manual

Westin 23-3610 User manual

Westin

Westin 23-3610 User manual

Westin 46-24025 User manual

Westin

Westin 46-24025 User manual

Westin 45-3550 User manual

Westin

Westin 45-3550 User manual

Westin 58-41175 User manual

Westin

Westin 58-41175 User manual

Westin 27-1255 User manual

Westin

Westin 27-1255 User manual

Westin Sportsman X Grille Guard User manual

Westin

Westin Sportsman X Grille Guard User manual

Westin 30-0020 User manual

Westin

Westin 30-0020 User manual

Westin 27-1805 User manual

Westin

Westin 27-1805 User manual

Westin 22-1405 User manual

Westin

Westin 22-1405 User manual

Westin 25-2630 User manual

Westin

Westin 25-2630 User manual

Westin HDX RUNNING BOARDS User manual

Westin

Westin HDX RUNNING BOARDS User manual

Westin 25-0530 User manual

Westin

Westin 25-0530 User manual

Westin 22-1555 User manual

Westin

Westin 22-1555 User manual

Westin 28-51315 User manual

Westin

Westin 28-51315 User manual

Westin 30-0000 User manual

Westin

Westin 30-0000 User manual

Westin 58-41045 User manual

Westin

Westin 58-41045 User manual

Westin E Series User manual

Westin

Westin E Series User manual

Westin 27-74715 User manual

Westin

Westin 27-74715 User manual

Popular Automobile Accessories manuals by other brands

Omron Automotive Electronics OKA-105W user manual

Omron Automotive Electronics

Omron Automotive Electronics OKA-105W user manual

Aries AL235017 installation manual

Aries

Aries AL235017 installation manual

Hook 140 101 manual

Hook

Hook 140 101 manual

Laser Interceptor Laser Interceptor user manual

Laser Interceptor

Laser Interceptor Laser Interceptor user manual

Steinhof K-062 FITTING AND OPERATION MANUAL

Steinhof

Steinhof K-062 FITTING AND OPERATION MANUAL

ACS Systems e4 00 3957 manual

ACS Systems

ACS Systems e4 00 3957 manual

Prorack K824W Fitting instructions

Prorack

Prorack K824W Fitting instructions

Blue Ox Patriot BRK2010 owner's manual

Blue Ox

Blue Ox Patriot BRK2010 owner's manual

Lippert Components In-Wall Slide-Out Assembly manual

Lippert Components

Lippert Components In-Wall Slide-Out Assembly manual

Fabtech FTS7006 installation instructions

Fabtech

Fabtech FTS7006 installation instructions

Ravpower PRIME RP-PC106 user guide

Ravpower

Ravpower PRIME RP-PC106 user guide

Menabo SIRIO Fitting instructions

Menabo

Menabo SIRIO Fitting instructions

STO N SHO SNS 289 Installation procedures

STO N SHO

STO N SHO SNS 289 Installation procedures

Tommy Gate 650 Series Replacement instructions

Tommy Gate

Tommy Gate 650 Series Replacement instructions

AUSSIE TONNEAU ATR01156 FITTING INSTRUCTION

AUSSIE TONNEAU

AUSSIE TONNEAU ATR01156 FITTING INSTRUCTION

RVE Thermolec DCC-11-BOX installation manual

RVE

RVE Thermolec DCC-11-BOX installation manual

Mont Blanc FK214 Fitting instructions

Mont Blanc

Mont Blanc FK214 Fitting instructions

Outback S3 Quick reference guide

Outback

Outback S3 Quick reference guide

manuals.online logo
manuals.online logoBrands
  • About & Mission
  • Contact us
  • Privacy Policy
  • Terms and Conditions

Copyright 2025 Manuals.Online. All Rights Reserved.