page Contents – 2
G-5 / Sep 2003
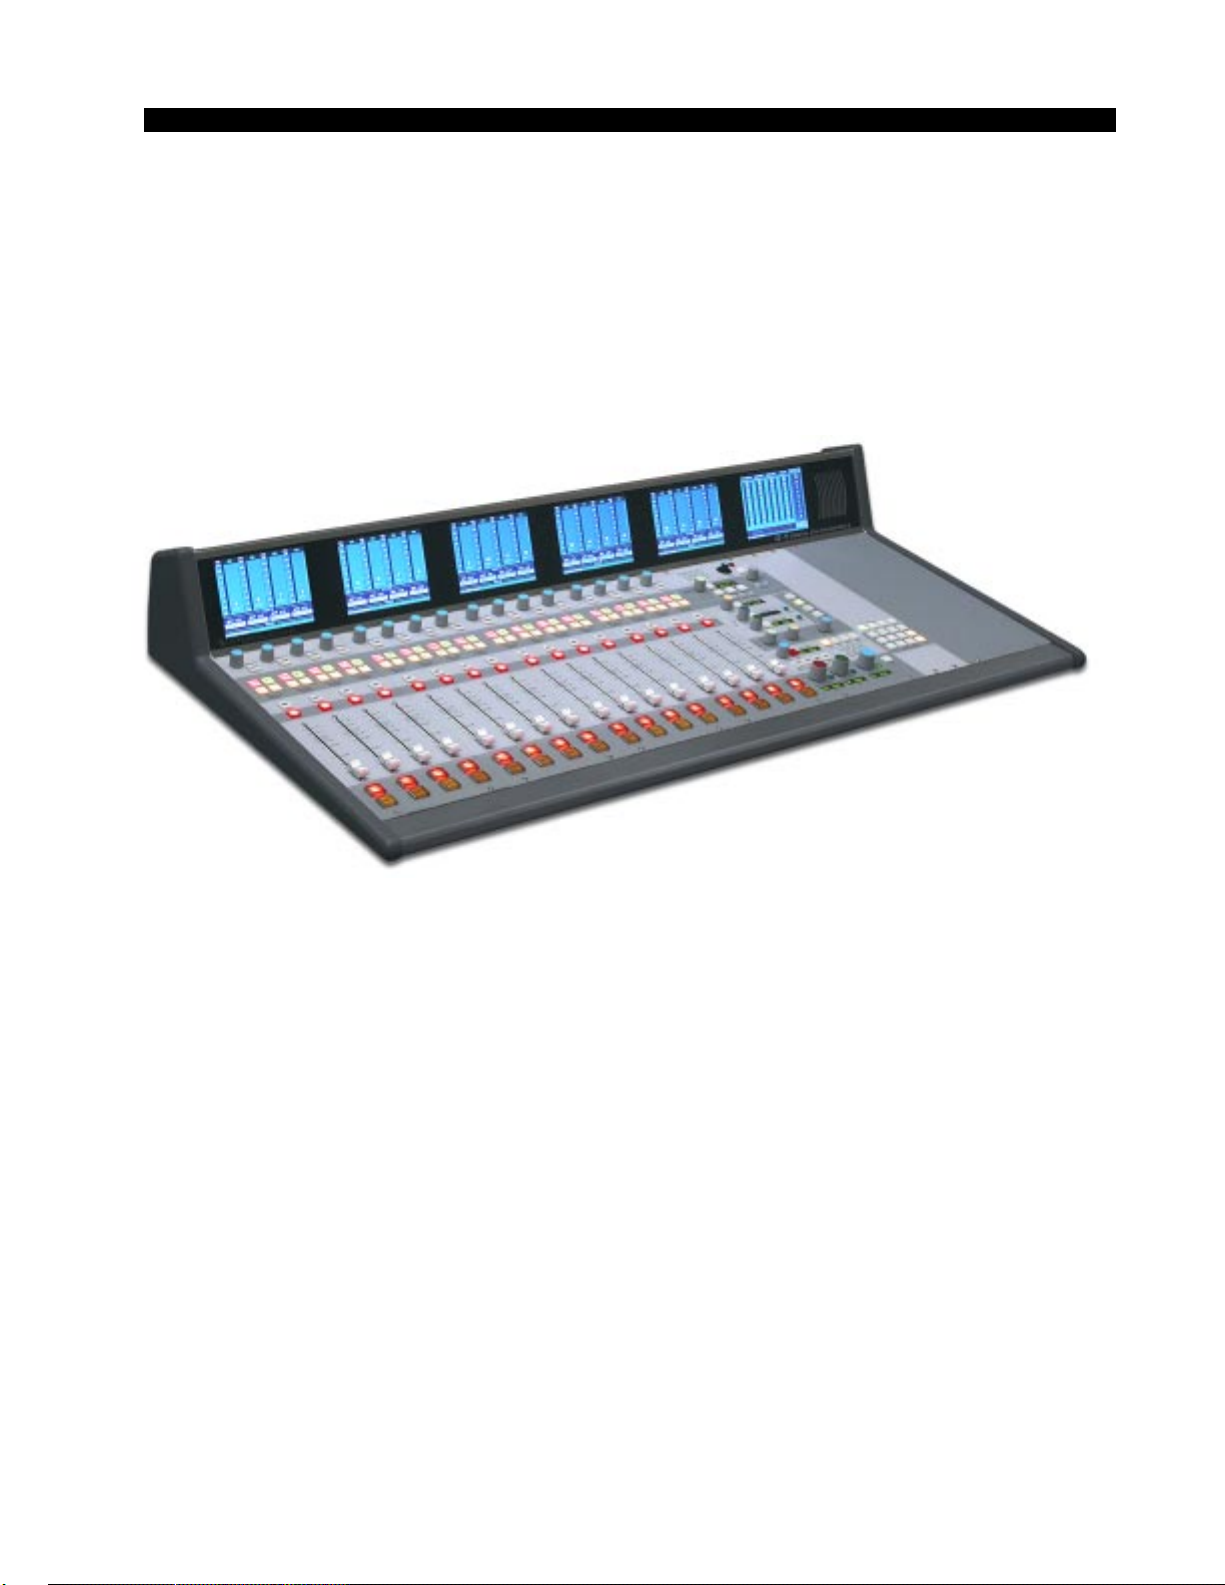
CONTENTS
Timer Section............................................................................................................ 3-6
Time of Day Clock .................................................................................................... 3-6
XY Controller Section ............................................................................................... 3-7
Selecting Input Channel Sources ........................................................................ 3-7
Selecting Output Mix Destinations ...................................................................... 3-7
Changing Output Mix Destinations...................................................................... 3-7
Removing Output Mix Destinations ..................................................................... 3-8
X-Y Set Button ..................................................................................................... 3-8
Event Controller Section........................................................................................... 3-8
Storing an Event .................................................................................................. 3-8
Taking an Event................................................................................................... 3-8
Undoing an Event ................................................................................................ 3-8
Modifying the Currently Selected Event .............................................................. 3-9
Deleting an Event ................................................................................................ 3-9
Previewing an Event............................................................................................ 3-9
Event Default Button............................................................................................ 3-9
Establishing the Default Setting .......................................................................... 3-9
Naming an Event ................................................................................................ 3-10
Control Modes .................................................................................................... 3-10
Information Display .................................................................................................. 3-11
Chapter 4 - DCM Control Panel (DCM-G5)
Controls and Functions................................................................4-2
Programmable Buttons ............................................................................................. 4-2
Display Buttons......................................................................................................... 4-3
Chapter 5 - Host CPU (HC-9)
Overview ........................................................................................5-2
HC-9 BIOS Settings/Format..........................................................5-2
Ethernet IP Addressing ................................................................5-2
Ethernet Interface Wiring .............................................................5-2
Mixer Link Wiring ..........................................................................5-3
Internal Programming Options ....................................................5-3
Switch Settings .............................................................................5-3
SW6 - Master Reset ................................................................................................. 5-3
SW7 - CPU Reset..................................................................................................... 5-3
SW8 Position 1 - Sample Rate ................................................................................. 5-3
SW8 Position 3 - Redundant CPU ........................................................................... 5-3
SW8 Position 4 - CAT5 vs. Fiber.............................................................................. 5-3
Hook-Ups .......................................................................................5-4
“ETH A” RJ-45 - Main Ethernet Connector .............................................................. 5-4
“ETH B” RJ-45 - Optional Redundant Computer Ethernet Connector ..................... 5-4
“CAT5” RJ-45 - Mixer Link Connector ...................................................................... 5-4
Typical Ethernet Cable .................................................................5-5
Typical Crossover Cable ..............................................................5-5
G-5 / Jan 2006