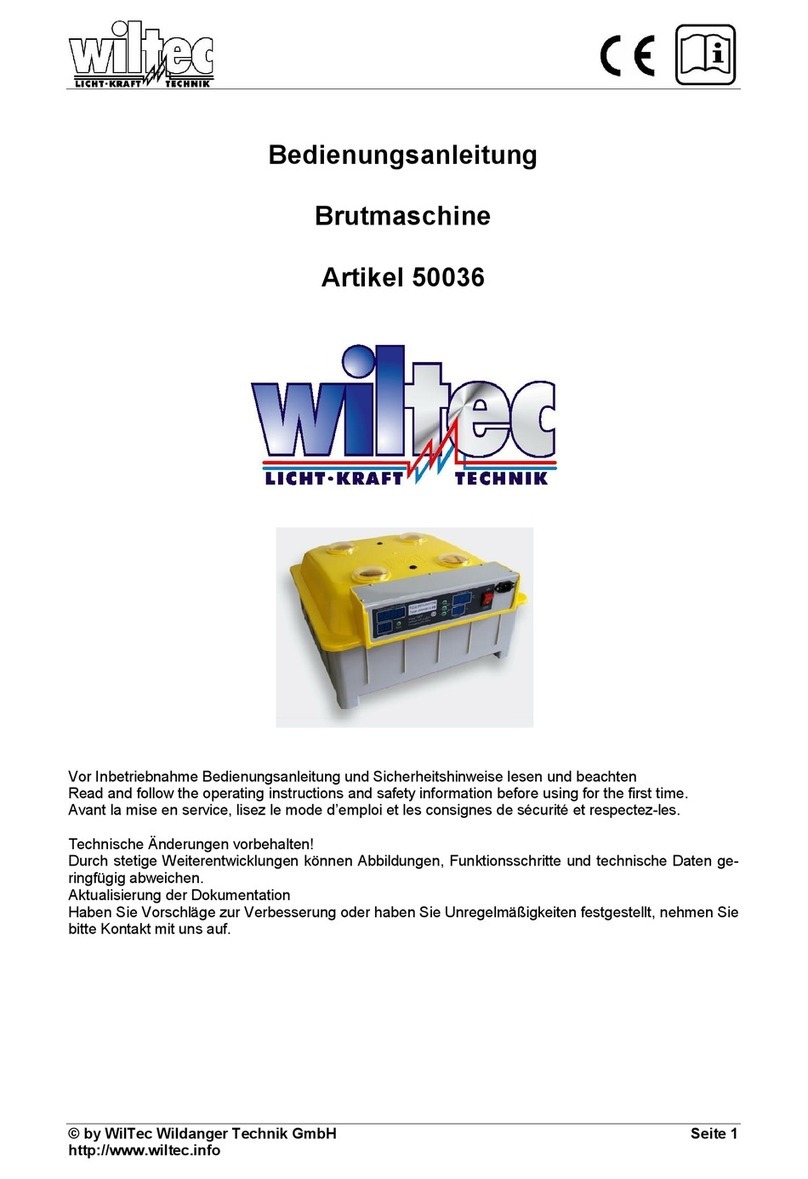
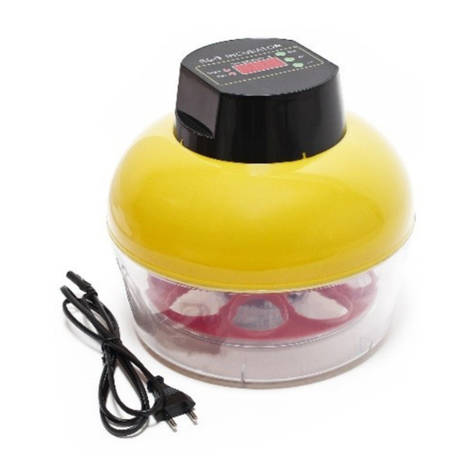
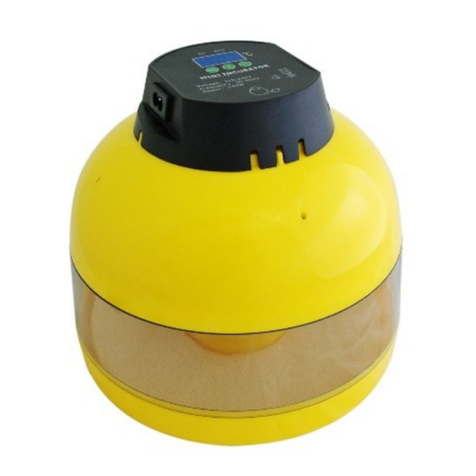
WilTec 50039 User manual

Operation Manual
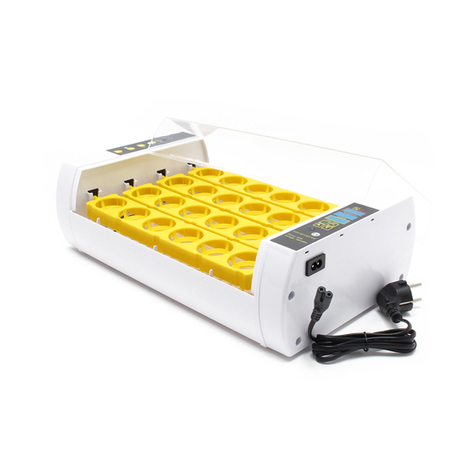
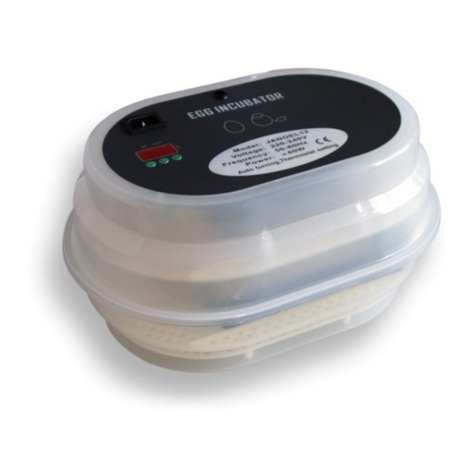
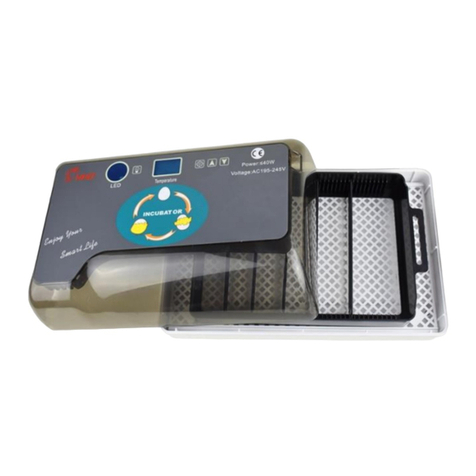
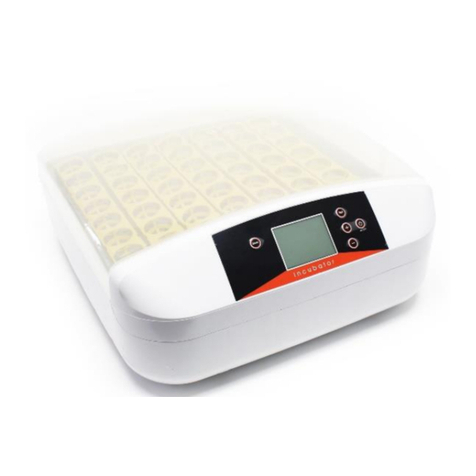
Big Series Breeding Machine
50039, 50041, 51074–51077, 51271–51274

!!"#$"
%!!"#$
"
"""
&
'
&
&((((
&
&(((
)&
!!"#$
*+,-
.--/0%
#
"1)"&
!!"#$
*+-2
.--/0%
#
"
%&'
&3/0-/45...0-4
67&3/0-/45...0-,.
7
7
!!"#$
*+-2
.--/0%
%&service wiltec.info
&3/0-/45...0-4
67&3/0-/45...0-,.
8!!"#$.4450.44/,.,49/:.,499.,-9,:.,-9/ ;-
&((!
&(( ,,-4-4,
&((

Introduction
"<"="
<;
"
*
Safety Notes
Warning!
>?
(""
@
Attention!
•A7
B
•)
•C"*"
"
•7
7"
<
•-54DA @7
•
•%
•"
•7
•<
"<
•"<
•B
"(=
•*
Technical Data
4E@:00E@
F4,E@
$ 4G:00G$
F5G$
6 =
$
$
(
8!!"#$.4450.44/,.,49/:.,499.,-9,:.,-9/ ;5
&((!
&(( ,,-4-4,
&((

Overview maximal amount of Eggs
.4450&/2<(/2"("
.44/,&0H<(0H"("
.,49/&/2<(,-"("
.,49.&,.<(,."("
.,49H&0H<(-/"("
.,499&/2<(/2"("
.,-9,&,//<(5H"("
.,-9-&.H<(.H"("
.,-95&-22<(9-"("
.,-9/&,,-<(,,-"("
Surrounding Conditions
A -54DA(.4D$I
J..G9.G
J,9E@-.E@
The Right Location
6=
,9E@-.E@
7
K";
724D
"
General Information on breeding
1. How do the poultry eggs have to be stored before placing them into the incubator?
$"
>2:,.E@?9.G
-/
Important:
7
2. When is the incubator ready?
at least 24 hours before placing any eggs into it.
"=
"< =
"B=
"
B
Thus: Before the first breeding and after every new breeding, thoroughly disinfect the in-
cubator.
C")
"
8!!"#$.4450.44/,.,49/:.,499.,-9,:.,-9/ ;/
&((!
&(( ,,-4-4,
&((
Important notice on the parameters:@LM>NO?
LM>?LM
3. Which temperature should my incubator have?
<%
<<
<
An example based on a chicken egg:
!>?
524E@525E@
>(7?
59.E@
poultry<&
Type of poultry Breeding temperature
@" 59/:59HE@
" 59/:59HE@
; 52.E@
# 59HE@
P 59H:592E@
Note: "
7
4. Does my thermometer show an exact value?
7*
>?
!&"
How to check the thermometer:*
C<=
=
5. What has to be the amount of humidity?
<
;"<
$7&
@"&
,:,2& .4:..G
6,0& 94:9.G
P&
,:,/& ..G
6,.& 9.G
8!!"#$.4450.44/,.,49/:.,499.,-9,:.,-9/ ;.
&((!
&(( ,,-4-4,
&((

!""
C
"
Note:"
7Q"7
%>D?
Important:="
Q6"
7>?
QQ7
&
(
6. How long is the incubation time?
Poultry type Incubation timeR&,:-S
@" -4:-,
" -2
; ,2
# 54
P ,H:,2
7. Poultry eggs: When should I start to turn and at what frequency? From which moment on-
wards do they not to be turned any longer?
The incubator does not have an automatic turning mechanism, thus the eggs need to be turned
by hand."
"
.04E
Important:During the last two to three days of the breeding process, the eggs must not be
turned any longer. "
8. What is to be paid attention to during the last days of the breeding process?
Note: Most chicks do not cope with a complete collapse of the climate.
9. Poultry eggs: What happens after hatching?
@"$"
7-/
8!!"#$.4450.44/,.,49/:.,499.,-9,:.,-9/ ;H
&((!
&(( ,,-4-4,
&((

Important:)"
" "
""
""
"
Note:
Operation
Before the eggs are placed into the incubator, do the following:
1. )""
2. B&")
7
@
"
3. )7
4.
@
Attention!not
>.44/,.,-95.,-9/?)
>?
(>?
6,&
Right:not 6-&
Wrong:
1. "
2. -/
@"
=D
> “Display, function buttons and basic settings”).
8!!"#$.4450.44/,.,49/:.,499.,-9,:.,-9/ ;9
&((!
&(( ,,-4-4,
&((

3. @"
"(
<
4. "
Adding the Eggs
1.
;
>5?
<>?
Note: ; <
Note:
;
65&)
1. =
;
"4
2. 6<"<
T
Important:)
3.
<4T4> “Dis-
play, function buttons and basic settings”).
"
<"
Important: ;
T
=
4.
"
!=
8!!"#$.4450.44/,.,49/:.,499.,-9,:.,-9/ ;2
&((!
&(( ,,-4-4,
&((

!"
"
Display, function buttons and basic settings
For incubators with item no. 50039, 50041, 51077, 51271, 51272, 51273, 51274
)(
((
J>,:/?>
“Function buttons description”)>N"O?
=>NO?
,<R&S
-@
5
/
Function buttons description
For the incubators with item no. 50039, 50041, 51077, 51271, 51272, 51273, 51274
<
J
>?
&NO>?NON3ON:O
1. Rst (Reset): This button allows for the turning to be carried out manually.
;&
=>-?
-
<=,
Set: This button allows for the setting of the required incubator conditions.
; & = >&
;;?
8!!"#$.4450.44/,.,49/:.,499.,-9,:.,-9/ ;0
&((!
&(( ,,-4-4,
&((

JN3ON:O=
NO
*NO&=
>,?
JNO
N3ON:O=
JNO
/(>?
-
Basic parameters Parameter-
ID
Adjustment range Standard
value
Note
< 6, 4:000 ,-4 !
4
6- 4:000 ,. !
4
65
$ 6/
6. 4:00
"
4
,& =NO
Holding “set “and “+” at the same time will let you enter the menu for fine adjustments (see
table 2).
JNO
N3ON:O=
JNO
/(>?
-
Finer parameters Parameter
ID
Adjustment range Standard
setting
Note
;, 4:000E@ 52.E@
$ ;- 4:000E@ 599E@ ;
D
52E@
592E@
8!!"#$.4450.44/,.,49/:.,499.,-9,:.,-9/ ;,4
&((!
&(( ,,-4-4,
&((

$ ;5 4:000E@ 59/E@
;/ 4:000E@ 5H0E@
$
$, 4:00G 24G
$
$- 4:00G /4G
-& =NO
“+” and “–”: Holding both down at the same for a longer moment (approx. 8 seconds) will
reset the incubator to factory settings, a beep will sound.
Display, function buttons and basic parameters
For the incubators with item no. 51074, 51075
)
J>,-?>“De-
scription of the function buttons”)
>N"O?=>NO?
,@
-
8!!"#$.4450.44/,.,49/:.,499.,-9,:.,-9/ ;,,
&((!
&(( ,,-4-4,
&((

Function buttons explanation
For the incubators with item no. 51074 and 51075
<
7J
>?
&NON3ON:O
Set: This button allows to set the incubator basic temperature.
◦;& =>&;;?
◦JN3ON:O=
NO
◦*NO&=
>5?
◦JNO
◦N3ON:O=
JNO
◦-(>?
◦,
Basic parameters Parameter
ID
Adjustment range Standard
setting
Note
< 6, 4:000 ,-4 !
4
6- 4:000 ,. !
4
65
$ 6/
6. 4:00
"
4
5& =NO
Holding “set “and “+” at the same time will let you enter the menu for fine adjustments
(see table 4).
JNO
N3ON:O=
JNO
-(>?
,
Finer parameters Parameter
ID
Adjustment range Stand-
ard set-
tings
Note
;, 4:000E@ 52HE@
$ ;- 4:000E@ 592E@ ;
8!!"#$.4450.44/,.,49/:.,499.,-9,:.,-9/ ;,-
&((!
&(( ,,-4-4,
&((

52E@
592E@
$ ;5 4:000E@ 59.E@
;/ 4:000E@ 59E@
$
$, 4:00G 24G
$
$- 4:00G /4G
/& =NON3O
“+” : Allows for the turning to be carried out manually.
;&
D, =>-?
-
<=5
“+” and “–”: Holding both down at the same for a longer moment (approx. 8 seconds)
will reset the incubator to factory settings, a beep sound will sound.
Display, function buttons and basic settings
For the incubator with item no. 51076
)
)(
((
J>,-?
>“Function buttons description”)
>N"O?=>NO?
,@
-
8!!"#$.4450.44/,.,49/:.,499.,-9,:.,-9/ ;,5
&((!
&(( ,,-4-4,
&((

Function buttons explanation
For the incubator with item no. 51076
<
7J
(
>?
&NON3ON:O
1. Set: This button allows to set the basic temperature of the incubator.
; & = >&
;;?
JN3ON:O=
NO
*NO&=
>.?
JNO
N3ON:O=
JNO
-(>?
,
Basic parameter Parameter
ID
Adjustment range Standard
setting
Note
< 6, 4:000 ,-4 !
4
6- 4:000 ,. !
4
65
$ 6/
6. 4:00
"
4
.& =NO
1. Holding down “set” and “+” together at the same time will open the menu for finer para-
meter adjustments (see table 6)
JNO
N3ON:O
JNO
-(
>?
,
Finer parameters Parameter
ID
Adjustment range Standard
setting
Note
;, 4:000E@ 52HE@
$ ;- 4:000E@ 592E@ ;
8!!"#$.4450.44/,.,49/:.,499.,-9,:.,-9/ ;,/
&((!
&(( ,,-4-4,
&((

D
52E@
592E@
$ ;5 4:000E@ 59.E@
;/ 4:000E@ 59E@
$
$, 4:00G 24G
$
$- 4:00G /4G
H& =NON3O
“+” : Allows for the turning to be carried out manually.
;&
D, =>-?
-
<=
“+” and “–”: Holding both down at the same for a longer moment (approx. 8 seconds)
will reset the incubator to factory settings; a beep will sound.
8!!"#$.4450.44/,.,49/:.,499.,-9,:.,-9/ ;,.
&((!
&(( ,,-4-4,
&((

Troubleshooting (problems with the chicks)
# Problem Possible reasons Measures
,
>?!
>?@"
M
>?K >?6
""
>?
>? T
"T
>?
>?%
"
>? >? <
>? >? <
>?
>?"
T
>2:,.E@?
9.:24G
7
-
J
>?
>? @"
>?,>? >?,>?
5J"
>?->? >?->?
>?%
>?</:.
T
>?
,4,/ >?@"
>?A >?
>? >? ) "T
"
/%
>? >?
>?
>? @"
>?; >?@"
.
>? $
>?
>?>?>? =
(=
>? $
>?
>? "
"
>?
"
H
"
>?
>?->?
>? >?->?
8!!"#$.4450.44/,.,49/:.,499.,-9,:.,-9/ ;,H
&((!
&(( ,,-4-4,
&((

>?% >? 5>?T
9@"
J( U (
D"
2
!""
>? >?.
>?U >?)I
" >? >?/
$
"
>? >?/
>?; >?J"
>? V
>?->?
!""
>? A
>?5>?
>?)>? >?@
<
0
%I
"
"
I
Troubleshooting (technical problems)
# Problem Possible reason Measures
,
(
>?;
>?@"
>?;
"
>?
""
"
>? >? @
"
>? >?%7
>?V
>?@"
>?%7
-
>?
" >?%7
>?" >?->?
5
!
>?
>?
>? "
>.44/,.,-95.,-9/?
>? @ 7
>?
> “Operating: be-
fore placing the eggs into the in-
cubator”)
8!!"#$.4450.44/,.,49/:.,499.,-9,:.,-9/ ;,9
&((!
&(( ,,-4-4,
&((

Disposal regulations
%U >!%%%-4,-(,0(%U?
<
! !%%%
<
!"#$ # %
!%%%%/.-2594/
> %
U%
?
"
<J
&
!!"#$
*+,-(-2
.--/0%
&
7
<!!"#$
8!!"#$.4450.44/,.,49/:.,499.,-9,:.,-9/ ;,2
&((!
&(( ,,-4-4,
&((
This manual suits for next models
9
Table of contents
Other WilTec Accessories manuals

WilTec
WilTec 51185 User manual

WilTec
WilTec 52168 User manual

WilTec
WilTec 52168 User manual

WilTec
WilTec 50035 User manual

WilTec
WilTec 50033 User manual

WilTec
WilTec 50036 User manual

WilTec
WilTec 51185 User manual

WilTec
WilTec PAXTON User manual

WilTec
WilTec 51073 User manual

WilTec
WilTec 62304 User manual