2. Note: when ambient temperature is less than 25'C`, measure shall be taken for heat preservation,
it's good for temperature uniformity when the device is enclosed with clothes or other wa rms, and it
also helps energy-saving and reduces heat dissipation. Use thermometer to correct temperature dis-
play before use, CA parameter can be adjusted.
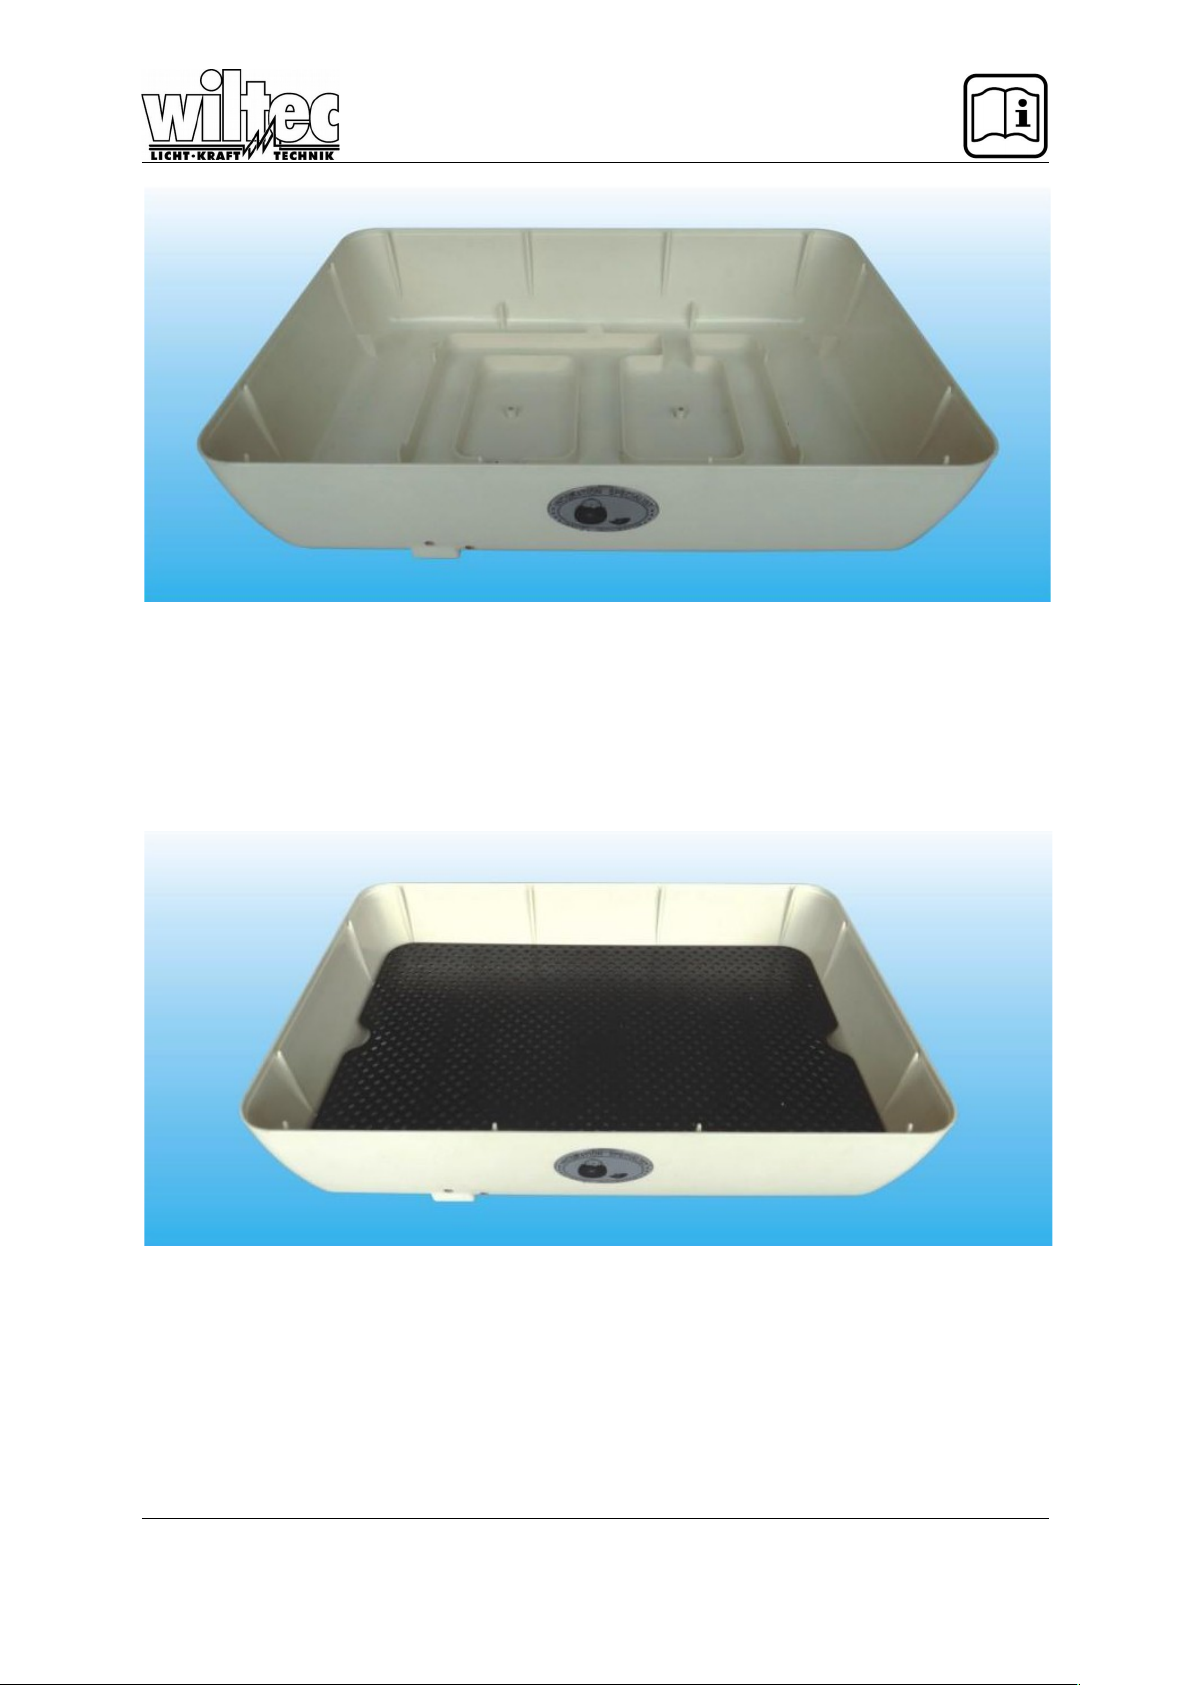
3. The incubator can be placed into service after 2-hour trial run. lt's best to clean the base, egg tray
and mesh plate before test.
ll. Operating Steps:
l. Put the movable egg tray on the mesh plate.
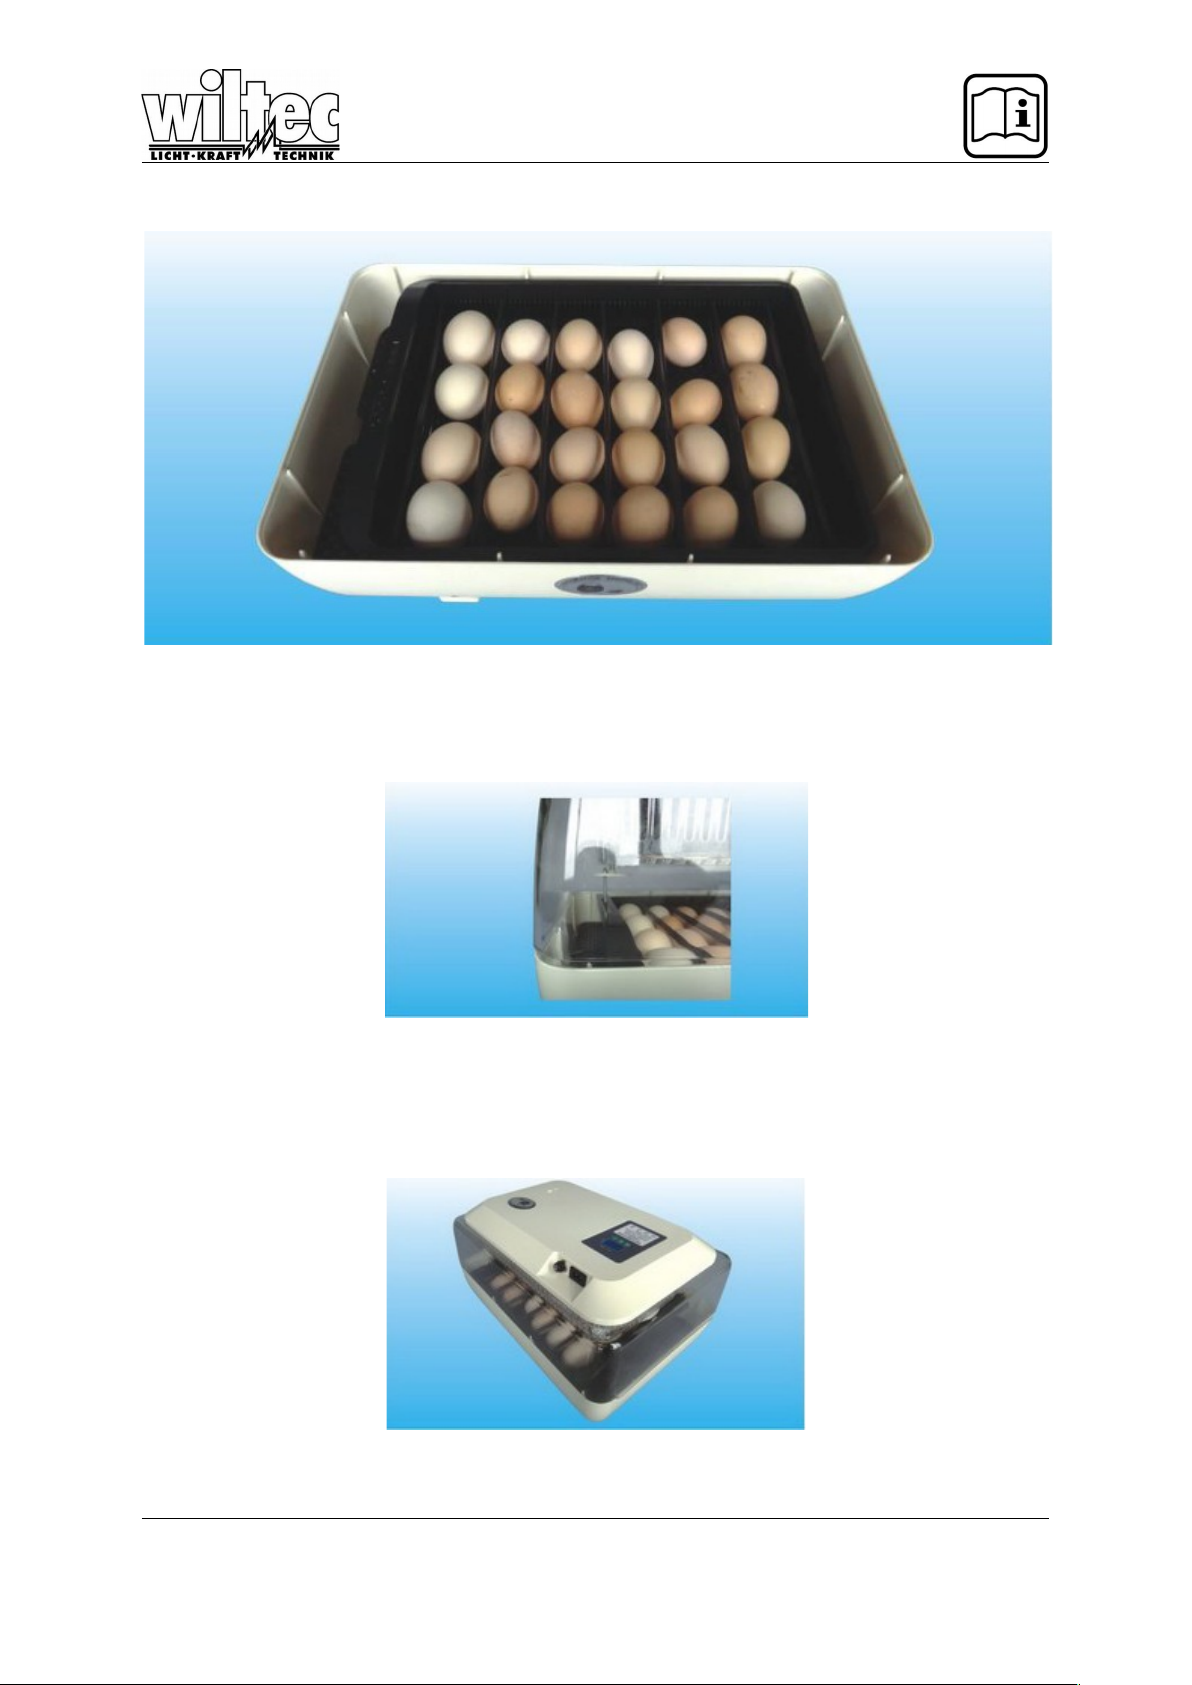
3. Put the egg tray grille into movable egg tray according to size of egg for incubation.
-·l. Put the hatching egg into movable egg tray for incubation, pay attention that after each egg is put
into the grille, there should be 5-l0mm clearance at least for convenient turning ofhatching egg, inject
300ml water into the base after the hatching egg is put, check once for every day so that the incubator
is not short of water. Every water injection shall not be more than 100- l50ml, take down the date of-
placing hatching egg so as to well control the hatching time. It's best to place the incubator on 60-
80CM table for conve nient observation.
5. When closing the cover, the rod must insert the shifting slot of movable egg tray, so that the egg
tray can shift normally.
6. Switch on the power supply after closing the cover, and set the temperature according to Push-But-
ton Instruction and Incubation Technology. If the user has no time to care about the temperature, the
temperature can be set at 38°Cfrom the first day of incubation to first day of hatching, and it can be set
as 37.5 -37.8°C since the following day of hatching.
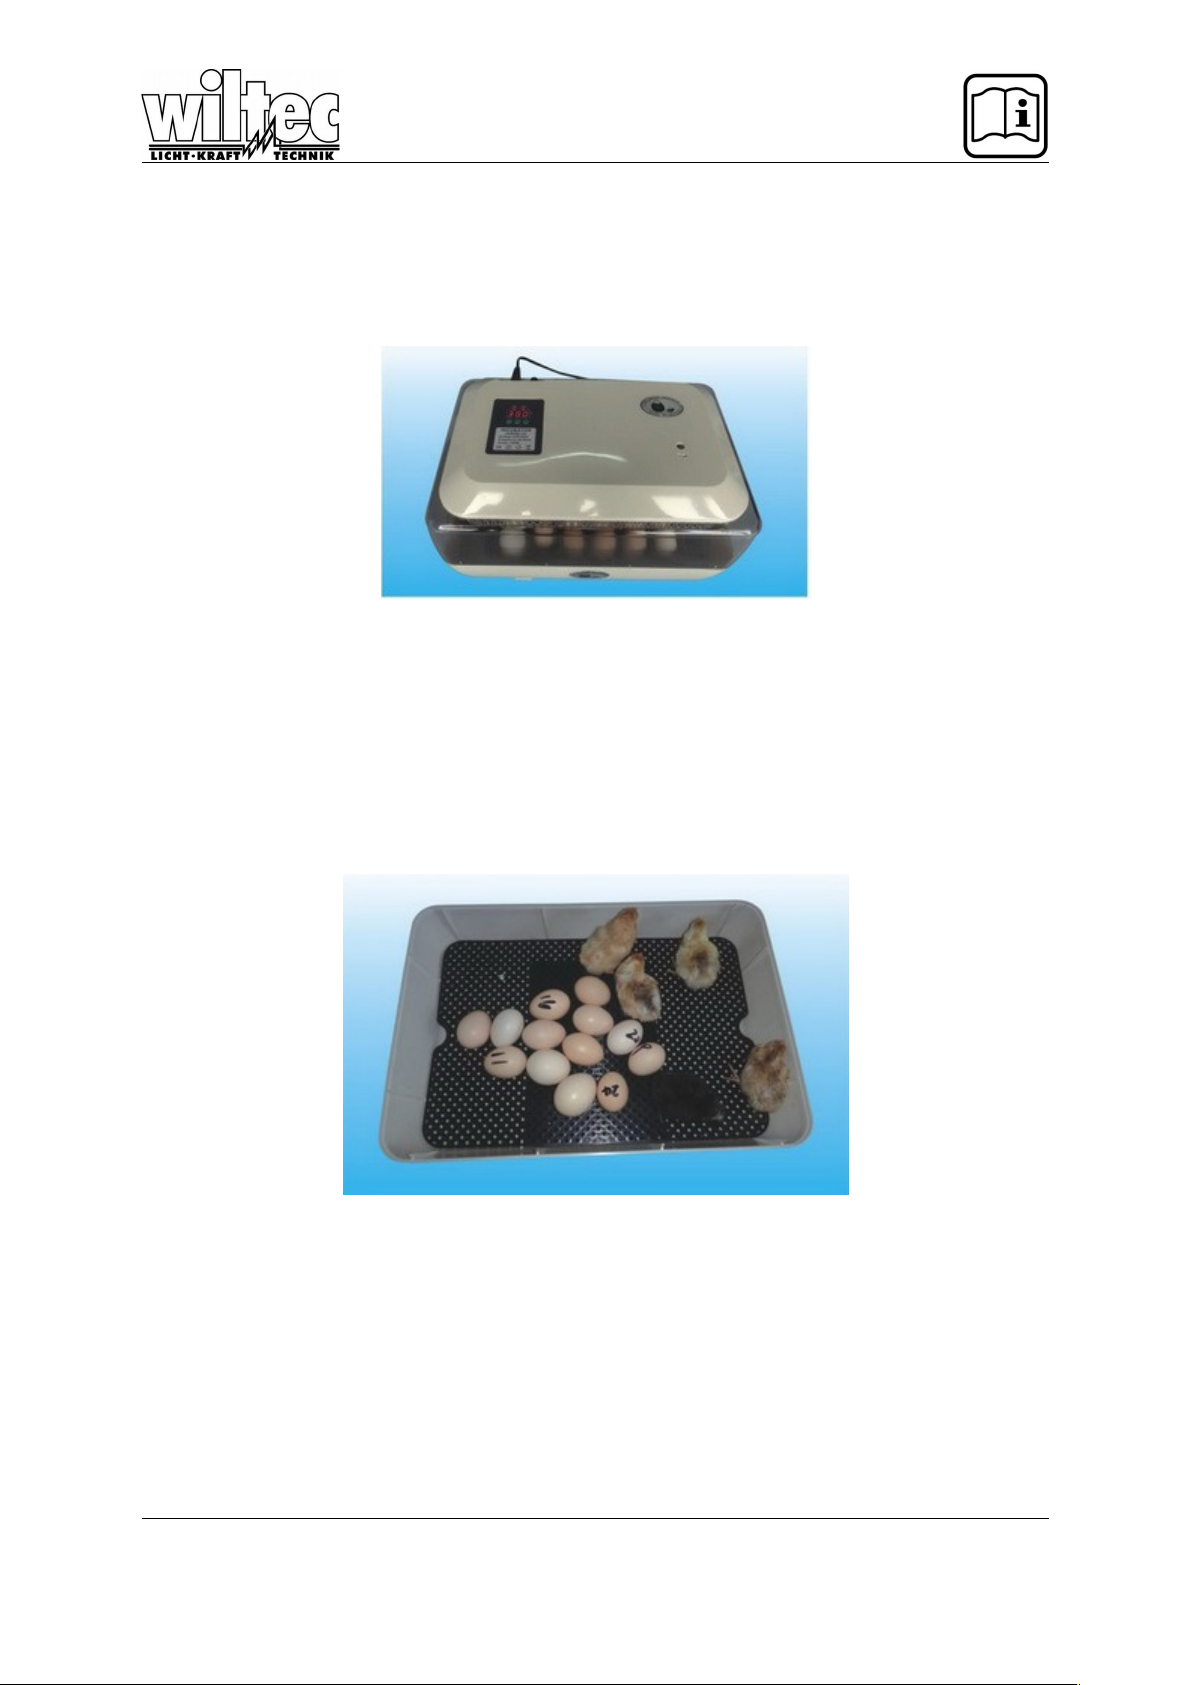
7. It moves to hatching tray 3 days earlier than incubation period for all poultries.
8. It usually takes 3--I days less than the number of incubation days for egg tray replacement, replace
the egg tray once one or two hatching eggs are seen hatched, and then take the movable egg tray and
grille out.
9. After closing the cover and switching on the power supply, the hatching situation can be observed.
III. Important for Safety
1.0nly the power supply marked on the incubator can be used,
2. Don't put any goods on the wire, the power line ofincubator shall be placed where it won't be
stepped on or make people trip and fall;
3. Make sure that the socket and extension line in use have no overload, otherwise, it may cause fire
or electric shock;
-I. If the incubator is smoking, or sending abnormal smell or unusual noise, please cut off the power
supply and pull down the power line to stop the fault, after that, contact the agency or maintenance
center;
5. Please don't touch the power line with wet hand, or it may cause electric shock;
6. This incubator can't be exposed to rain and sunshine;
7. Make sure that the power supply is switched off before cleaning the incubator;
8. The incubator shall be placed in room where is ventilated without vibratory equipment, it can't be
placed in room with fast air movement or room with harmful and noxious chemicals and other pollu-
tants.
IV. Push-button Instruction:
1. SET:
A: Push SET once to enter temperature control set, push <+> or <-> to adjust parameter,
push<+>or<-> for 3s to enter fast adjustment mode, push SET again to exit from setting state.
B: Push SET for 3s to enter system menu set, push <+> or <-> to select menu in need of adjustment,
then push SET again to enter relative parameter setting state, push <+> or <-> to adjust parameter in
need of modification, push RST to exit after adjustment, or the system will exits after 5s delay.
2.<+>: Up button
3.<->: Down button
Operation Instruction:
Indicating lamp state instruction:
© by WilTec Wildanger Technik GmbH Seite 16
htt ://www.WilTec.de
htt ://www.aoyue.eu
htt ://www.teichti .de