© by WilTec Wildanger Technik GmbH Item 51185, 51186 Page 8
http://www.WilTec.de
http://www.aoyue.eu 09 2021-1
http://www.teichtip.de
lem and how to change settings, such as the temperature alarm (regarding the paragraph
“Display, function buttons and basic settings”).
•Check the individual values with the help of an additional thermometer and hygrometer. If
necessary, calibrate the values. Test how you can keep the desired air humidity at the right
level/ how much water is required to stay in the desired range.
•If the incubator works without a problem, and you are accustomed with the functions, unplug
the incubator and clean it from the inside and the outside with a suitable disinfectant.
Adding the eggs
•As soon as the incubator has been cleaned, you can place water into the grooves. Please
note, that the air humidity should be noticeably lower at the beginning of the breeding process
than towards the end (at least for most bird types). Therefore, only fill a little bit of water into
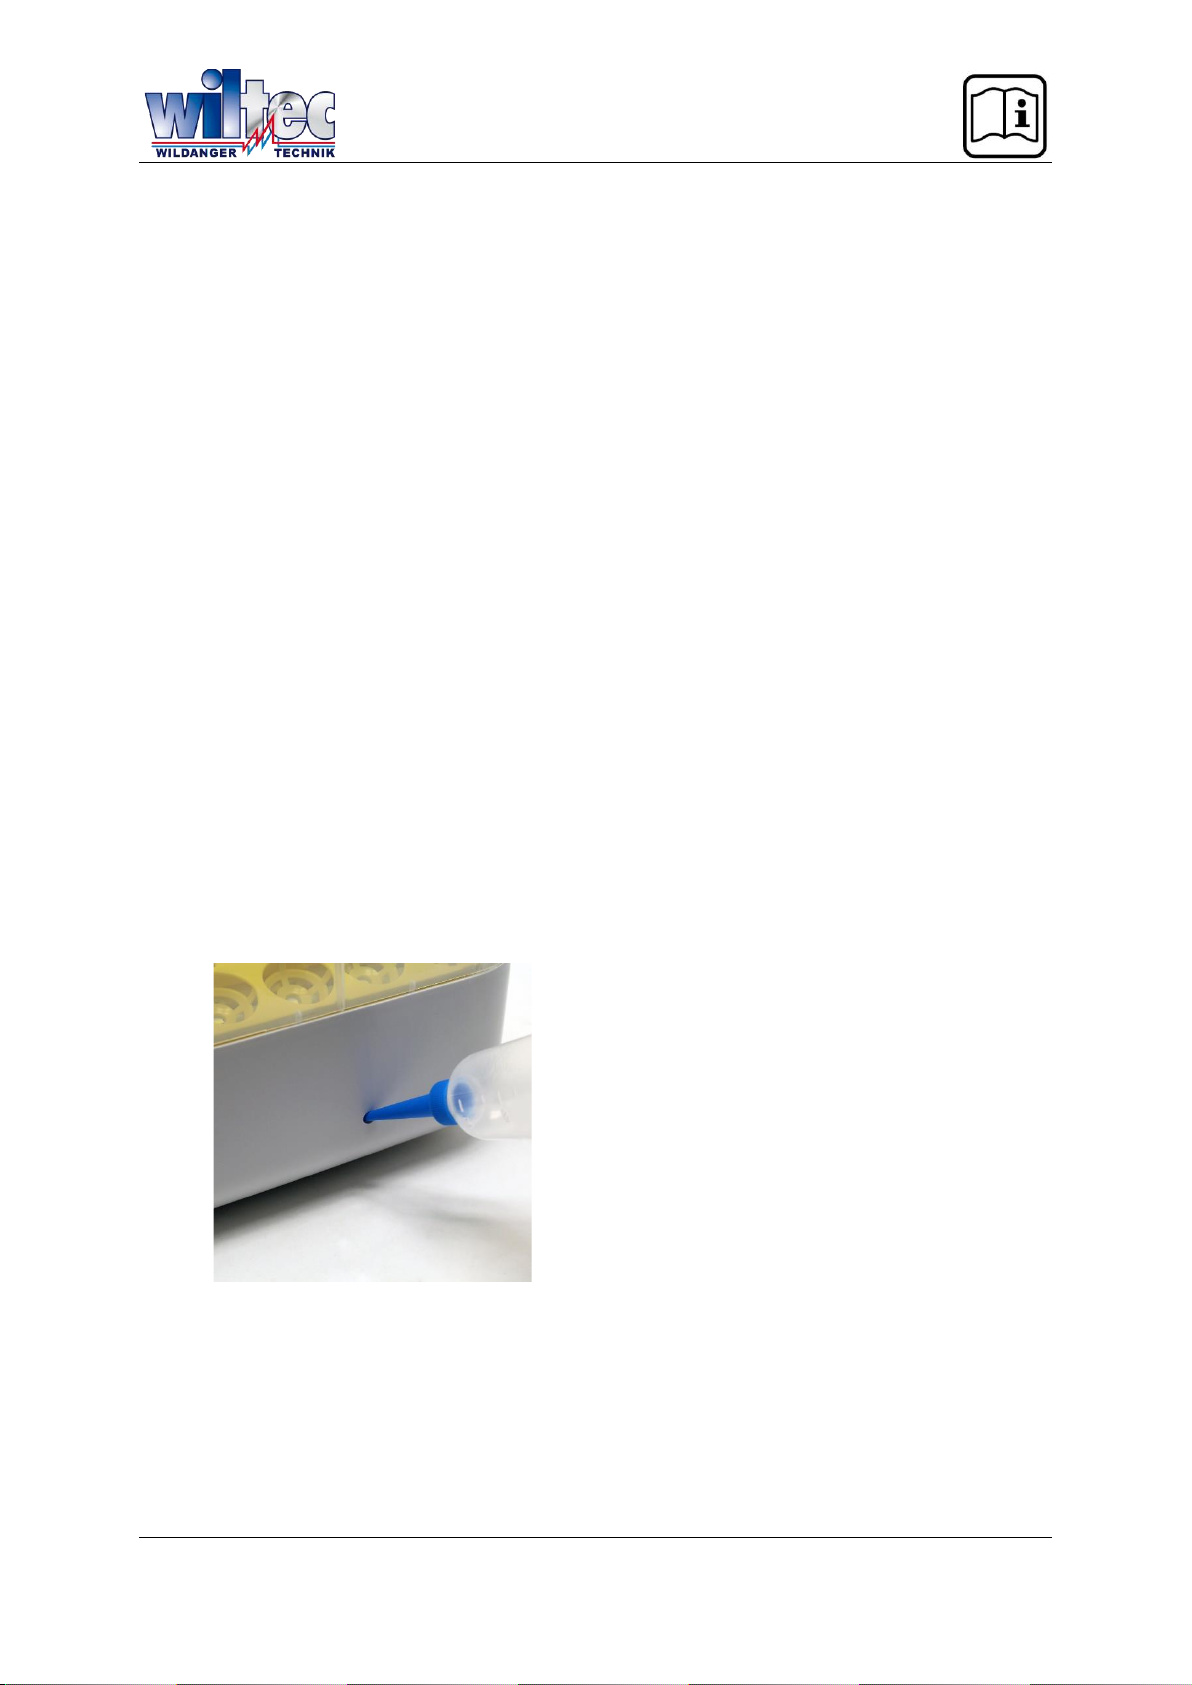
the grooves at the beginning. The incubator has a small opening on the side (see picture 3),
through which water can be filled when needed (too low air humidity). Thus, the lid does not
have to be opened during the breeding process.
Note: Please note the individual requirements of every type of animal. Do not place too much
water into the incubator as this can lead to bad hatching results. Ideally, you have already
found out how much water is required at the beginning.
Note: If the humidity is too low, even though the two grooves are filed with plenty of water, a
bowl can be added to the incubator. Please be careful not to make the eggs or the inlay wet.
Do not keep the incubator open for too long, when placing the bowl, as this can have a nega-
tive impact on the hatching result.
Important: Choose the shape and design of the water bowls, making sure they do not pose a
fatal risk to hatched chicks and reptiles.
After adjusting the according parameters of the incubator, the eggs can be placed into the in-
cubator with the tip downward. Set the number of days to 0.
•Regularly check the temperature and humidity on the control panel of the incubator and, if
necessary, alter the parameters. Pay attention to the water level in the grooves of the incuba-
tor, there should always be a sufficient amount of water.
Important: There must be no water on the egg inlay!
This can otherwise have a negative impact on the hatch-
ing results!
•Towards the end of the hatching process, the
poultry eggs must not be turned any longer. The auto-
matic turning mechanism needs to be switched off then.
Therefore, the electricity supply neds to be disconnected
between the turning motor and the turning insert, by
disconnecting the cables. The according cables can be
found in the turning insert.
Fig. 3: Opening for water refill
•It is also possible to remove the turning mechanism entirely. Open the incubator, disconnect
both cables of the turning motor from one another and lift the turning mechanism out of the in-
cubator. Then place all eggs carefully back onto the insert in the incubator. Spray the eggs
with warm water and carefully, yet fast place the eggs, allowing for the humid and warm cli-
mate to be kept sustained.
Important: Please note that the incubator should not be opened towards the end of the breed-
ing process with more sensitive species. Thus, ensure that the humidity is high enough, as
soon as the eggs are placed still and the turning mechanism is switched off. During the hatch-