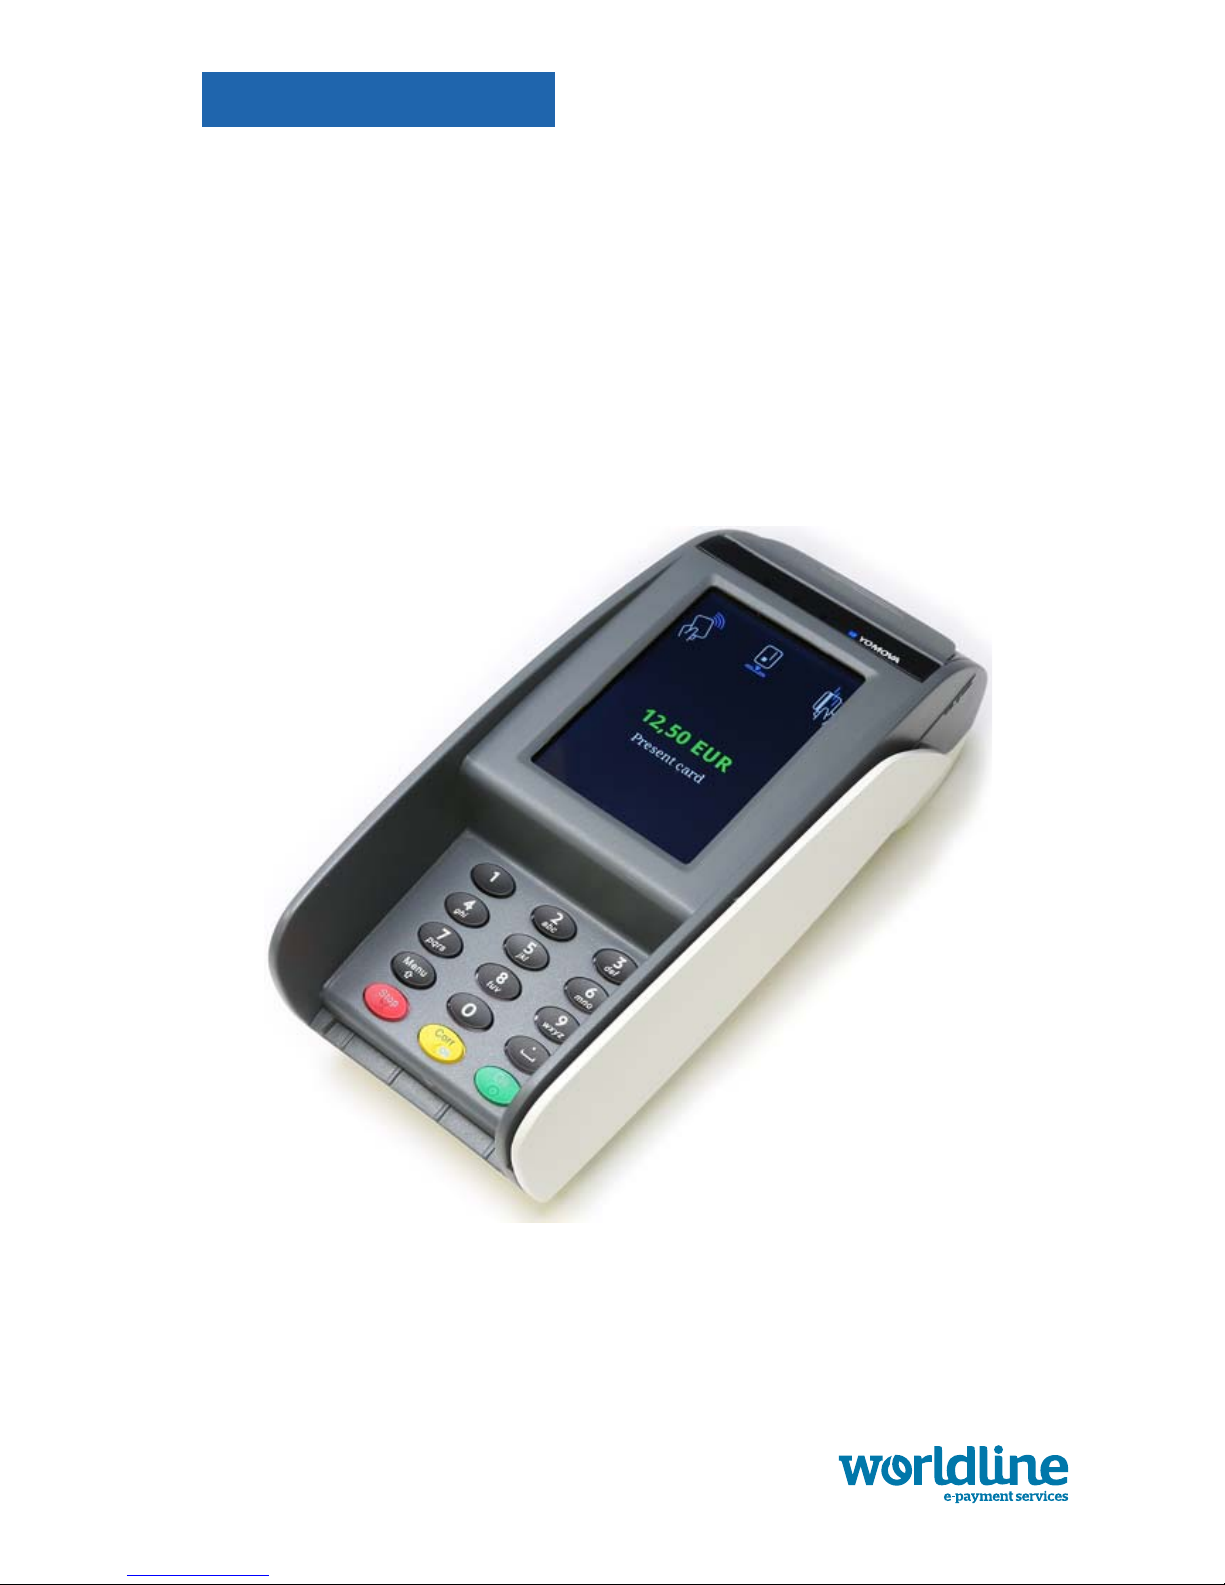
YOMOVA countertop owner manual
Legal disclaimer and copyrights
The information in this document is subject to change without notice and shall not be construed as a
commitment by Worldline S.A./N.V. (“Worldline”)
The content of this document, including but not limited to trademarks, designs, logos, text, images, is
the property of Worldline and is protected by the Belgian Act of 30.06.1994 related to authors’ rights and
by the other applicable Acts.
ThewordYOMOVAand othertrademarksusedin thisdocumentarethepropertyofWorldline.Worldline
trademarks used in this document are indicated. Linux is a registered trademark of Linus Torvalds, Java
is a registered trademark of Oracle and/or its affiliates and Android is a trademark of Google Inc.
The contents of this document can be reproduced by or on behalf of third parties with the prior written
consent of Worldline and following its instructions. Worldline accepts no responsibility for errors and
omissions introduced when translating or reworking this document.
Except with respect to the limited licence to download and print certain material from this document for
non-commercial and personal use only, nothing contained in this document shall grant any licence or
right to use any of Worldline's proprietary material.
While Worldline has made every attempt to ensure that the information contained in this document is
correct, Worldline does not provide any legal or commercial warranty on the document that is described
in this specification. The technology is thus provided “as is” without warranties of any kind, expressed
or implied, included those of merchantability and fitness for a particular purpose. Worldline does not
warrant or assume any legal liability or responsibility for the accuracy, completeness, or usefulness of
any information, product or processes disclosed.
To the fullest extent permitted under applicable law, neither Worldline nor its affiliates, directors,
employees and agents shall be liable to any party for any damages that might result from the use of the
technology as described in this document (including without limitation direct, indirect,incidental, special,
consequential and punitive damages, lost profits).
These terms shall be governed by and construed in accordance with the laws of Belgium. You
irrevocably consent to the jurisdiction of the courts located in Brussels for any action arising from or
related to the use of this document.
Document information
document title YOMOVA countertop – owner manual
security unrestricted
last modified 16 February 2017
owner Philippe Lesire
author Niels Grundtvig Nielsen
version 2.2
© Worldline 2014, 2016, 2017