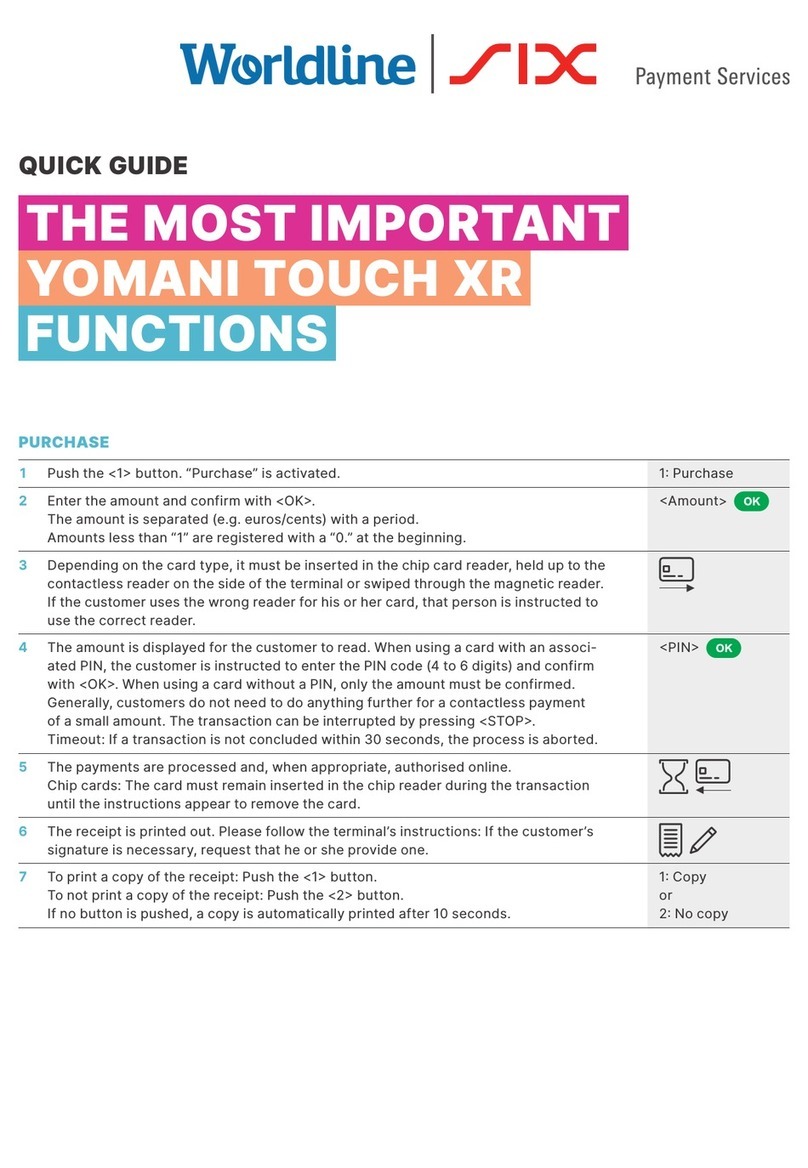
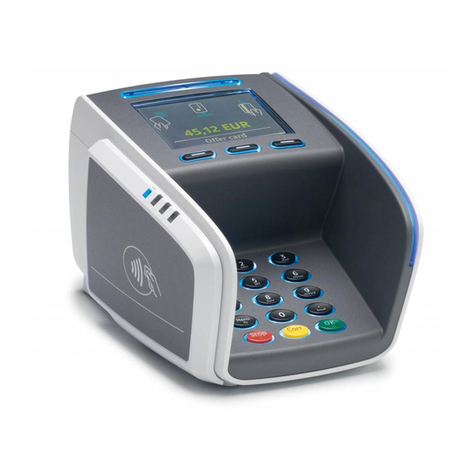
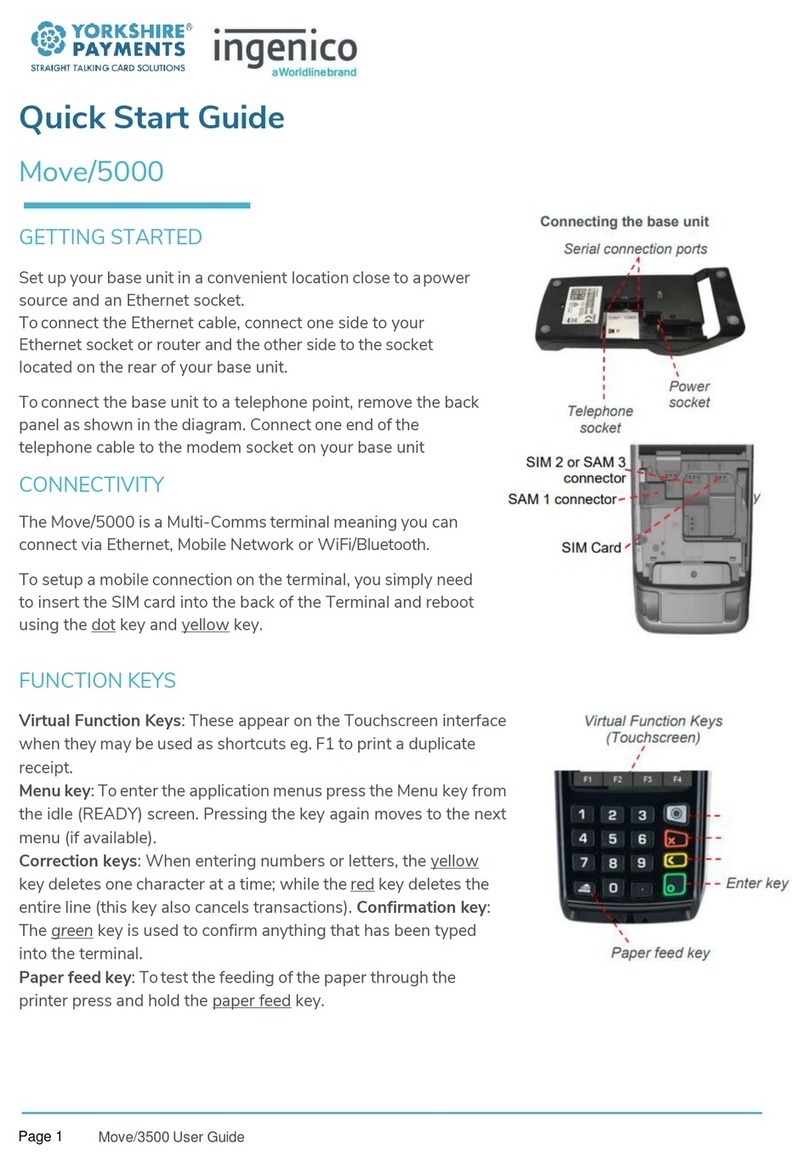
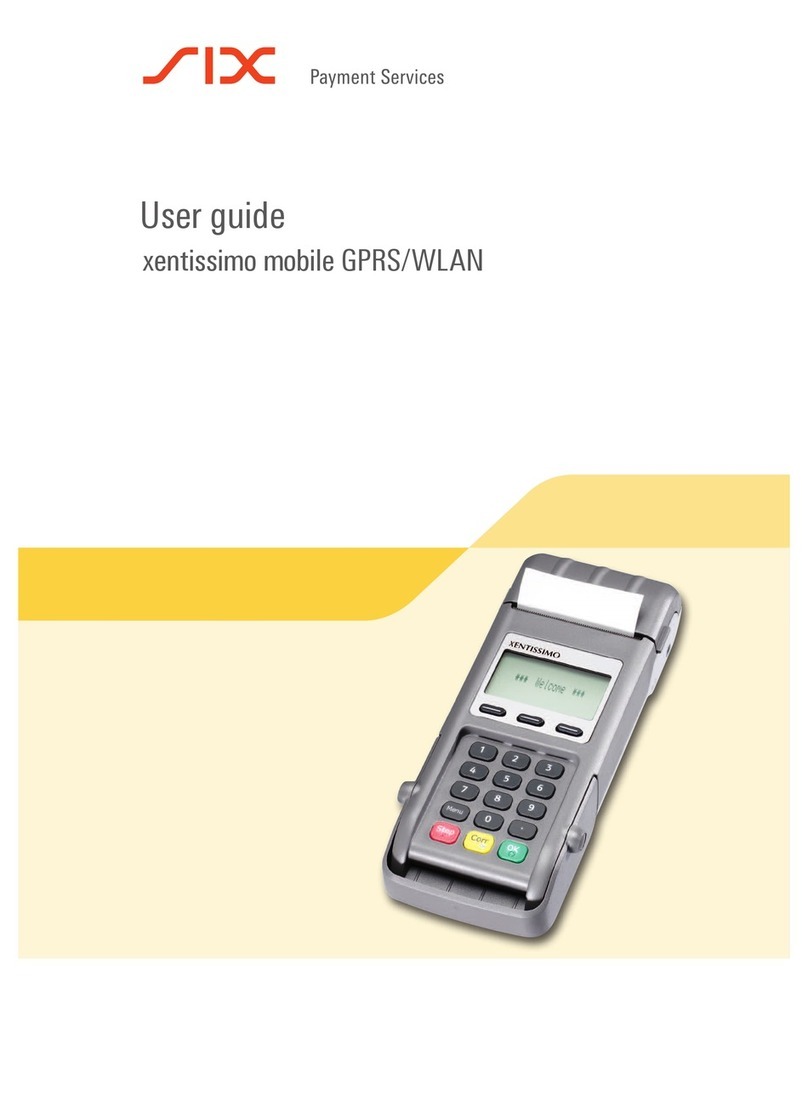
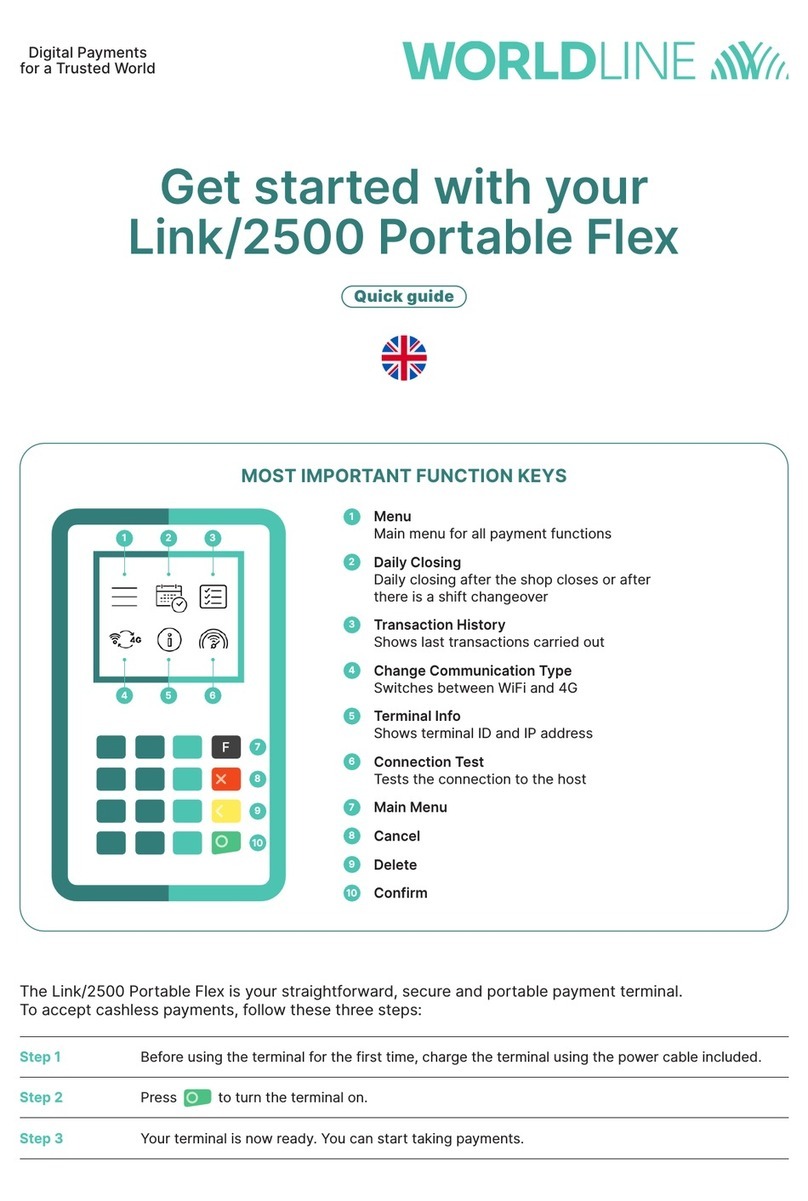
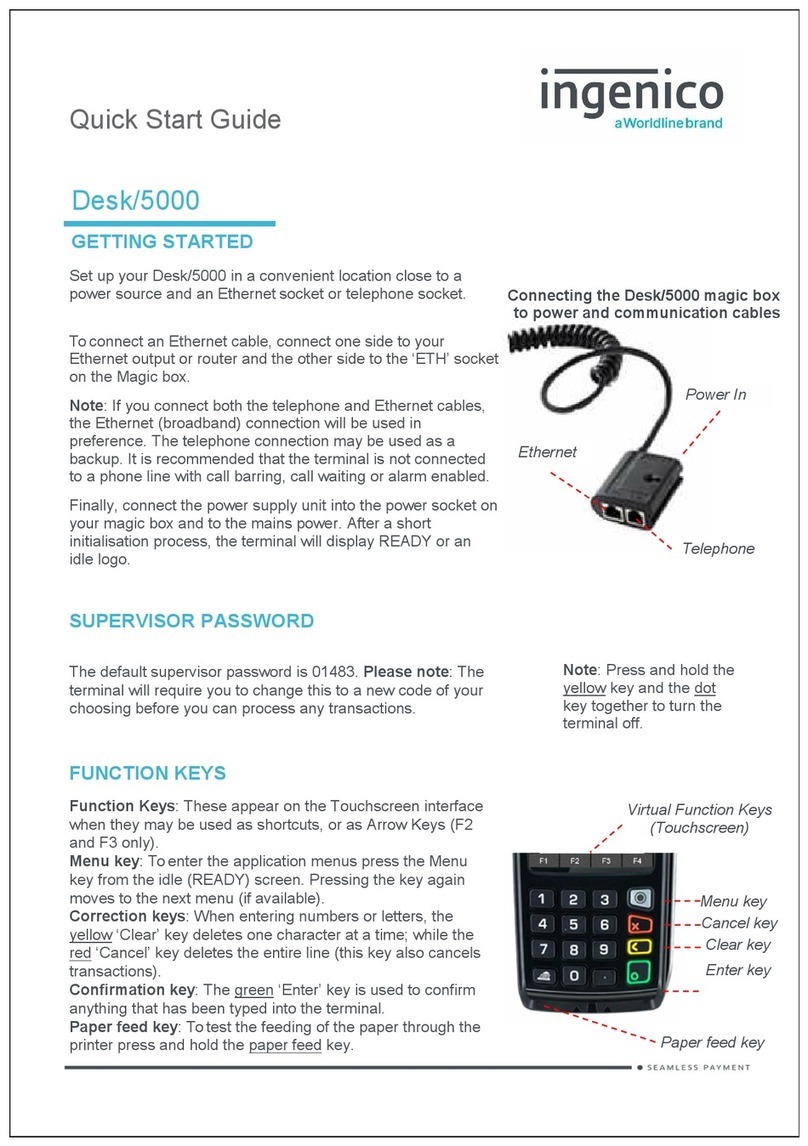
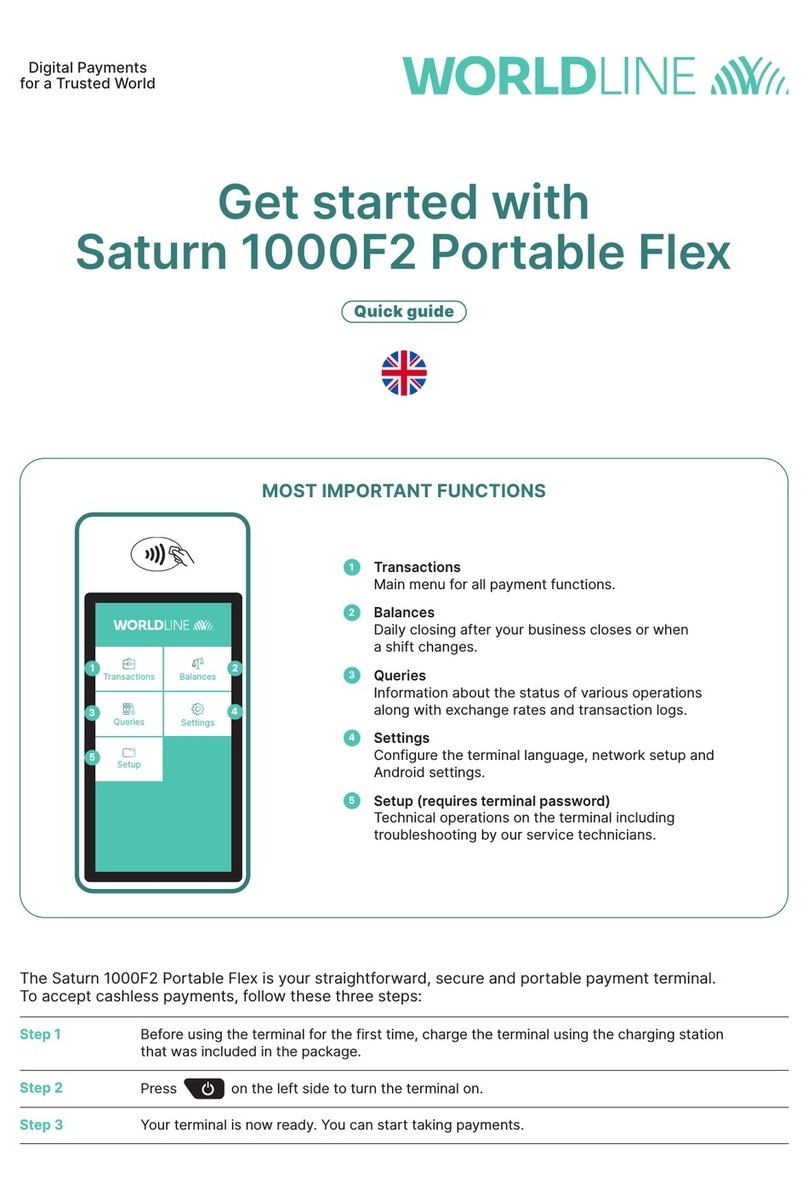
Worldline VALINA Use and care manual

INTEGRATION MANUAL
an atos company
••••••
VALINA
the next generation
compact, convenient, complete
product picture – 4.014 x 3.596

VALINA integration manual
Legal disclaimer and copyrights
The information in this document is subject to change without notice and shall not be construed as a
commitment by Worldline S.A./N.V. (“Worldline”)
The content of this document, including but not limited to trademarks, designs, logos, text, images, is
the property of Worldline and is protected by the Belgian Act of 30.06.1994 related to authors’ rights and
by the other applicable Acts.
The word VALINA and other trademarks used in this document are the property of Worldline. Worldline
trademarks used in this document are indicated. Linux is a registered trademark of Linus Torvalds, Java
is a registered trademark of Oracle and/or its affiliates and Android is a trademark of Google Inc.
The contents of this document can be reproduced by or on behalf of third parties with the prior written
consent of Worldline and following its instructions. Worldline accepts no responsibility for errors and
omissions introduced when translating or reworking this document.
Except with respect to the limited licence to download and print certain material from this document for
non-commercial and personal use only, nothing contained in this document shall grant any licence or
right to use any of Worldline's proprietary material.
While Worldline has made every attempt to ensure that the information contained in this document is
correct, Worldline does not provide any legal or commercial warranty on the document that is described
in this specification. The technology is thus provided “as is” without warranties of any kind, expressed
or implied, included those of merchantability and fitness for a particular purpose. Worldline does not
warrant or assume any legal liability or responsibility for the accuracy, completeness, or usefulness of
any information, product or processes disclosed.
To the fullest extent permitted under applicable law, neither Worldline nor its affiliates, directors,
employees and agents shall be liable to any party for any damages that might result from the use of the
technology as described in this document (including without limitation direct, indirect, incidental, special,
consequential and punitive damages, lost profits).
These terms shall be governed by and construed in accordance with the laws of Belgium. You
irrevocably consent to the jurisdiction of the courts located in Brussels for any action arising from or
related to the use of this document.
Document information
document title VALINA integration manual
security unrestricted
last modified 6 June 2016
owner Luc Luyckx
author Niels Grundtvig Nielsen
document release 0.1
© Worldline 2016

unrestricted i
im_valinaTOC.fm document release 0.1 last updated 6/6/16
INTEGRATION MANUAL
VALINA
Contents
1. About this book.................................................................................................. 1
What is in this book ............................................................................................ 1
Who should use this book .................................................................................. 1
2. VALINA key features.......................................................................................... 3
3. Safety................................................................................................................... 5
Operating safety ................................................................................................. 5
Repairs and end-of-life ....................................................................................... 6
4. Installing VALINA............................................................................................... 7
Selecting a location ............................................................................................ 8
Installation step by step...................................................................................... 9
Step 1.Check the gasket positioning ......................................................................9
Step 2.Mount the VALINA in the vending machine ................................................9
Step 3.Connect power and communication cables at the back of the VALINA ......9
Step 4.Power up VALINA and fasten cables ........................................................10
Step 5.Install SAM card – optional................................................................. 12
Step 6.Install micro SD card – optional ................................................................13
Step 7.Install communications board – optional ...................................................14
5. Power supply, ports and pin-outs .................................................................. 17
Power supply.................................................................................................... 17
USB-B (device) interface.................................................................................. 18
Ethernet 10/100 Mbit ........................................................................................ 18
RS-232 interface .............................................................................................. 19
USB-A (host) interface ..................................................................................... 19
Vending machine controller.............................................................................. 19
Power consumption.......................................................................................... 20
6. JTAG/DEBUG port............................................................................................ 21
7. Cleaning............................................................................................................ 23
Cleaning cards ................................................................................................. 23
8. Repairs and end-of-life .................................................................................... 25
Step by step ..................................................................................................... 25
Appendix A. Technical specifications............................................................... 27
Software ........................................................................................................... 30
Appendix B. Approvals....................................................................................... 31
Approvals/certification ...................................................................................... 31
EMC emissions and immunity .................................................................... 31


VALINA
INTEGRATION MANUAL
ii – empty for double-sided printing – im_valinaTOC.fm
ESD immunity............................................................................................. 32
Safety ......................................................................................................... 32
VALINA with GSM ...................................................................................... 32
VALINA with WLAN.................................................................................... 32

unrestricted iii
im_valinaLOF.fm document release 0.1 last updated 6/6/16
INTEGRATION MANUAL
VALINA
Figures
Figure 1. VALINA – front view................................................................................................4
Figure 2. VALINA – back view ............................................................................................... 4
Figure 3. Aligning VALINA terminal and mounting plate........................................................9
Figure 4. Power connections – Microfit (left), MDB (right) ...................................................10
Figure 5. Cable ties for VALINA........................................................................................... 11
Figure 6. VALINA with TELECOM cover [1] in place ...........................................................12
Figure 7. Fitting SAM cards ................................................................................................. 13
Figure 8. Inserting the micro SD card ..................................................................................14
Figure 9. Inserting optional communications board in VALINA............................................15
Figure 10. Fitting the SIM card.............................................................................................15
Figure 11. Power supply / data connectors on the VALINA.................................................17
Figure 12. JTAG/DEBUG port..............................................................................................21
Figure 13. Cleaning card for chip-card reader (sliding brush)..............................................23
Figure 14. Cleaning card for magstripe-card reader ............................................................ 23
Figure 15. Internal mounting details for VALINA..................................................................28
Figure 16. Minimum required space (from EVA Specs)....................................................... 28

VALINA
INTEGRATION MANUAL
iv – empty for double-sided printing – im_valinaLOF.fm

unrestricted 1
im_vln_about.fm document release 0.1 last updated 6/6/16
INTEGRATION MANUAL
VALINA
1. About this book
The VALINA is the newest unattended payment terminal from Worldline.
What is in this book
•VALINA and its accessories
•technical specifications
•integrating the VALINA in other equipment such as a vending machine,
including safety considerations
•powering and maintaining VALINA
•troubleshooting
•approvals and certifications, including applicable environmental regulations
Who should use this book
•anyone who will be installing a VALINA in a vending machine or other
equipment
•field and service technicians using the service unit
Information from this book may be reused in other documentation such as a user guide.

INTEGRATION MANUAL
VALINA
2 – empty for double-sided printing – im_vln_about.fm

unrestricted 3
im_vln_keyFeatures.fm document release 0.1 last updated 6/6/16
INTEGRATION MANUAL
VALINA
2. VALINA key features
The VALINA is an intelligent all-in-one terminal for unattended payments with and
without PIN, supporting a range of standards including EMV and Mifare. It handles
payments by chip card, NFC cards and devices, and magstripe card.
The VALINA is PCI 4.x certified, SRED included. It has been designed to provide a
complete solution for EMV payments, and can run either newly-developed Android apps
or legacy apps (written for the MAPS platform) from Worldline.
Key hardware features include:
•3.5” touch TFT colour display for an enjoyable payment experience
•small footprint matches EVA/CVS 1.3 standards for Standard Door Module
(SDM) dimensions, making integration in vending machines easy
The VALINA takes up limited space inside the machine: compare this with the
footprint of a bank note acceptor (BNA) or coin detector.
•onboard Ethernet, serial interface, MDB, USB host and USB device meet most
communications requirements out-of-the-box
•proximity detector (patented) for improved power management
Typical integration scenarios for the VALINA include:
•vending machines, ticket machines and kiosks
•petrol forecourts and car-washes
•on-street and off-street parking
•dispensers and pre-payment meters
•self-service checkouts

INTEGRATION MANUAL
VALINA
4 – empty for double-sided printing – im_vln_keyFeatures.fm
Figure 1. VALINA – front view
Figure 2. VALINA – back view
For more information on connectors, see Power supply, ports and pin-outs, on page 17.

unrestricted 5
im_vln_safety.fm document release 0.1 last updated 6/6/16
INTEGRATION MANUAL
VALINA
3. Safety
Follow the guidelines in this manual when integrating the VALINA. Neither Worldline nor
its vendor will bear any responsibility or cost for malfunctioning, breakdowns or any
anomaly that may result from incorrect handling of the VALINA. Worldline declines any
liability if the instructions and precautions contained in this manual are not observed.
If you notice that any VALINA component blocks, does not fit, or shows any other
malfunction, contact your vendor. Do not try to repair or alter it in any way.
Use only accessories (power adaptor, cables and so on) provided by your vendor or by
an approved source.
Check that the VALINA has completed the required application-loading and key-loading
stages.
Operating safety
Keep the VALINA away from excessive heat, fire, high voltage, radiation, shocks and
abrasive chemicals.
To guarantee safe operation of the VALINA, make sure:
•the VALINA is firmly fixed in the kiosk/vending machine and correctly powered
•the kiosk/vending machine where the VALINA is mounted is protected from
dust, strong sunlight, rain, wind and flying debris (for example, stones thrown
up by passing traffic)
•the operating temperature of the VALINA remains between -20°C and 70°C
This corresponds to an environmental temperature of -20°C to +50°C, depending
on the position of the terminal (in direct sunlight, sheltered …)
•the VMC is installed, positioned in line with manufacturer recommendations
Always:
•use only the power adaptor supplied, or a power adaptor compliant with the
appropriate specifications
•disconnect the power adaptor before cleaning the housing and for servicing or
repair
Never:
•drop, throw, slam or vibrate the VALINA
•let oil, water or other liquids enter the VALINA
!

INTEGRATION MANUAL
VALINA
6unrestricted
last updated 6/6/16 document release 0.1 im_vln_safety.fm
•use extension cables to extend the power cable between the power adaptor
and the VALINA
•connect any unused cables to the VALINA
•store, install or use the VALINA
–near any source of excessive voltage fluctuations, electromagnetic fields or
microwave radiation (for example, electric motors or high-frequency devices)
–in a deep-freeze or a defrosting system
•store the VALINA near food, or with explosive substances such as lighter fuel
or petrol
•open the VALINA
Repairs and end-of-life
All servicing other than the actions described in this manual must be performed by
Worldline or an approved service centre.
Contact your vendor for information on how to dispose of your VALINA at the end of its
life. Do not discard, give away or sell your VALINA as it contains materials that can be
recycled and must be treated by a professional party.

unrestricted 7
im_vln_installing.fm document release 0.1 last updated 6/6/16
INTEGRATION MANUAL
VALINA
4. Installing VALINA
•read Operating safety, on page 5, before you start installing a VALINA
•make sure the contents of the VALINA package are complete and correct
Inspect the package for damage, and make sure it contains all the items listed. In
case of doubt, or if items are missing or damaged, contact your vendor
immediately.
Make sure that:
–there is no sign of unusual cables connected anywhere on the VALINA
–there is no foreign object in either of the card-readers
–the terminal is not displaying any warning message
–the housing is not visibly damaged
–the terminal serial number (on the label) corresponds to the inventory
•make sure the vending machine has the necessary front panel openings and spot-
welded connection bolts, and that the weld seams are within permitted limits
•make sure the front panel of the vending machine is smooth and rigid with no
unfinished edges on any of the holes or openings.
•installing a SAM card (described on page 12) and installing an optional
communications board (described on page 14) are easier before installing the
VALINA in a vending machine
85.50
17.80 50.80
110.00
108.71
86.40
108.71
118.10
view from inside
device footprintall measurements in mm
4 welded studs M4 x 25

INTEGRATION MANUAL
VALINA
8unrestricted
last updated 6/6/16 document release 0.1 im_vln_installing.fm
•make sure the VALINA cannot be removed from the vending machine after
integration
Selecting a location
The terminal is designed for unattended use both indoors and outdoors. Electrical
installations where the VALINA is installed must comply with local and regional codes for
office and residential electrical wiring, such as International Electrotechnical Commission
(IEC).
Finding a proper location is an important aspect of installing VALINA components.
Follow the guidelines given here, and also check local requirements:
•select a location on the machine that is conveniently accessible
•on the front side of the vending machine, make sure that:
–the VALINA fits in the mounting position
–the VALINA faces the cardholder and will be clearly visible
–the display is readable
–the card slot is accessible
•avoid a position that exposes the VALINA to rain or hostile weather
•make sure air can circulate freely around the components
•to avoid reflections and guarantee readability, do not expose the display to direct
sunlight
•for the security of the card-holder, make sure that PIN privacy is guaranteed:
–locating the display outside the field of vision of cameras, mirrors and so on, and
away from stairs
–check all local regulations and requirements for PIN privacy
•for the convenience of the technician, make sure there is sufficient space on the
vending machine to:
–access the ground connection
–guide the cables without folding them, and use cable ties
–fit the mounting brace that fastens the terminal tightly into the machine
–access the rear side of the VALINA
•the maximum permitted length of the cable between the VALINA and the vending
machine controller (VMC) is 3m

unrestricted 9
im_vln_installing.fm document release 0.1 last updated 6/6/16
INTEGRATION MANUAL
VALINA
Packaging
packaging
Inspect the package for damage, and make sure it contains all the items listed. In case
of doubt, or if items are missing or damaged, contact your shipping company and/or
vendor.
If you are going to attach the mounting plate direct to the vending machine, you will also
need four M4 locknuts. These are not included in the package.
Installation step by step
Step 1. Check the gasket positioning
Lugs (pins) in the rubber should fit into the terminal openings above and below.
Step 2. Mount the VALINA in the vending machine
1. Line up the VALINA with the front panel opening on the vending machine.
valinaAlign
Figure 3. Aligning VALINA terminal and mounting plate
2. Clamp the EVA frame to the rigid front plate of the machine using four locknuts.
note: these locknuts are not included in the terminal package
3. Tighten the locknuts in a Z-pattern.
To avoid damaging the VALINA, do not over-tighten the nuts. 0.7Nm is
recommended, depending on the material the front plate is made from.
After mounting the VALINA on the vending machine, continue by connecting the power
and communications cables as described under Power up VALINA and fasten cables, on
page 10
Step 3. Connect power and communication cables at the back of the VALINA
There are six numbered interfaces on the back of the VALINA, for connections to
external peripherals.
quantity item
1 VALINA terminal
2 fixing plates
1 gasket
optional items
1 power adaptor
cable(s) RS232 VALINA serial cable 2m (ePOS/ECR to VALINA), Ethernet, RS232,
USB, power (TTL)

INTEGRATION MANUAL
VALINA
10 unrestricted
last updated 6/6/16 document release 0.1 im_vln_installing.fm
For detailed information on pinouts, see Power supply, ports and pin-outs, on page 17.
table
Step 4. Power up VALINA and fasten cables
The VALINA requires an external power supply, using one of these two options:
•connector 5 – 12V DC 2A (Microfit connector)
•connector 6 – 24-48VDC (MDB connector)
The VALINA cannot be powered through any other port.
Figure 4. Power connections – Microfit (left), MDB (right)
To reduce wear on the connectors, use a cable tie to fasten the cables to the strain-relief
point on the EVA frame of the VALINA.
!

unrestricted 11
im_vln_installing.fm document release 0.1 last updated 6/6/16
INTEGRATION MANUAL
VALINA
Figure 5. Cable ties for VALINA
In normal state, the status LED on the front of the VALINA lights up steadily as soon as
you power up the terminal. In tampered state, the device displays a warning message
and it is not possible to use the terminal to make a payment. When a warning message
is displayed:
1. remove the terminal from service
2. contact the supplier immediately, who may then report the problem to Worldline
3. keep the terminal available for possible forensic investigation
!

INTEGRATION MANUAL
VALINA
12 unrestricted
last updated 6/6/16 document release 0.1 im_vln_installing.fm
Step 5. Install SAM card – optional
The VALINA has two type ID 0 SAM slots.
•install any SAM card before installing the optional communications board
•install both SAM card and communications board before installing the VALINA in
the vending machine.
1. open TELECOM cover
Remove the retaining screw of the TELECOM cover (if present) and open the
cover.
Figure 6. VALINA with TELECOM cover [1] in place
2. open SAM holder and insert SAM card
Open the SAM holder (with the two bar-code labels on) and insert one or two SAM
cards as shown. Make sure the card is completely inserted.

unrestricted 13
im_vln_installing.fm document release 0.1 last updated 6/6/16
INTEGRATION MANUAL
VALINA
Figure 7. Fitting SAM cards
3. close all slots
Close the SAM holder, and press it down until it engages with an audible click
4. close the TELECOM cover
If you will be installing the optional micro SD card or the optional communications
board, do not close the TELECOM cover yet
If you are using a retaining screw for the cover, use one 8 torx screw (included). Do
not over-tighten the screw.
Step 6. Install micro SD card – optional
1. open TELECOM cover
Remove the retaining screw of the TELECOM cover (if present) and open the
cover.
2. insert the microSD card in the holder as shown

INTEGRATION MANUAL
VALINA
14 – empty for double-sided printing – im_vln_installing.fm
Figure 8. Inserting the micro SD card
If you will be installing the optional communications board, do not close the
TELECOM cover yet
If you are using a retaining screw for the cover, use one 8 torx screw (included). Do
not over-tighten the screw
Step 7. Install communications board – optional
When the VALINA is going to use via 2G/3G or WiFi/Bluetooth, a communications board
is required. YONEO communications boards are compatible with the VALINA.
For easy access to the communications board, install the board in the VALINA before
installing the VALINA in the vending machine.
1. Prepare the communications board.
–unpack the communications board, taking precautions to avoid electrostatic
discharge (ESD)
–make sure that all the required accessories (board, cables, and so on) are correct
and present
–insert SIM under clip
2. Open TELECOM cover if necessary
Remove the holding screw of the TELECOM cover (if present) and open the cover.
3. Fit the communications board:
a. carefully align the connector of the communication board with the connector on
the VALINA, taking care not to damage the connector.
b. slide the communication board under the retention clip on the left side (viewed
from the back)
Other manuals for VALINA
2
Table of contents
Other Worldline Payment Terminal manuals

Worldline
Worldline Saturn 1000F2 Portable Flex Specification sheet

Worldline
Worldline SIX Payment Services YOMANI TOUCH XR User manual

Worldline
Worldline xentissimo User manual

Worldline
Worldline Self/7000 Quick setup guide

Worldline
Worldline Six VALINA Quick setup guide

Worldline
Worldline ingenico Move/5000 User manual

Worldline
Worldline YOMANI User manual

Worldline
Worldline Ingenico Telium TETRA Desk/3500 User manual

Worldline
Worldline VALINA User manual

Worldline
Worldline Ingenico Lane/3600 User manual