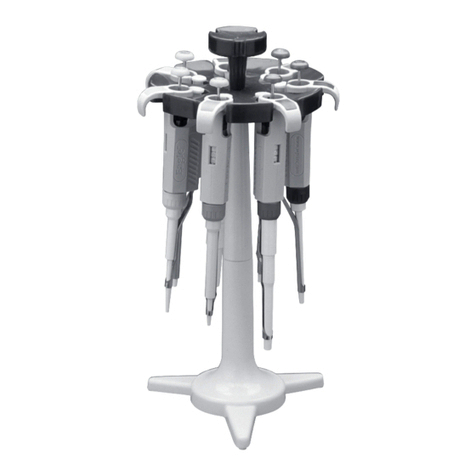
Regal Pipetters
World Precision Instruments 5
Regal Tip Compatibility Chart
Pipette WPI Universal Tips Stands
REG2, REG10 500191, 500192, 500199, 500202, 500203,
500204
504591
REG20 500191, 500192, 500193, 500194, 500199,
500200, 500202, 500203, 500204, 500205,
500206
REG50, REG100,
REG200
500193, 500194, 500200, 500205, 500206,
500207
REG1000 500195, 500196, 500201
REG5K 500197, 500198
REG10K 504588, 504589, 504590
3. Press the push button down to the first stop position.
4. Hold the pipette vertically and immerse the tip into the solution so that it is just
deep enough to draw in the liquid (about 2–4mm).
5. After 2–3 seconds, slowly release the push button and allow it to return to the
initial position. The solution is drawn up after a brief interval.
6. Slowly remove the tip from the liquid, keeping the pipette in a vertical position.
CAUTION: Do not lay the pipette down when a filled tip is attached.
Dispensing Liquid
1. To dispense the liquid, position the pipette tip close to the inner wall of the
receiving vessel and press the push button down to the first stop position.
2. Press the push button down to the second stop position to remove all the liquid
from the tip.
3. Press the tip ejector button to remove the used pipette tip.
Exchanging Tip Ejector Unit (Single channel only)
NOTE: The CRYSTAL-ML10 has no tip ejector.
• To remove the tip ejector unit, hold the tip ejector button down and pull out
the tip ejector unit from the ejection rod along the nose cone. Do not lose the
spring on the rod.
• To install the tip ejector unit, hold down the tip ejector button and check the
position of ejector connection. While holding down the tip ejector button, fit the
tip ejector unit on the rod. Push the ejector unit firmly onto the rod.
CAUTION: The stopper on the tip ejector button may be damaged if you do
not hold down the tip ejector button while reassembling.


