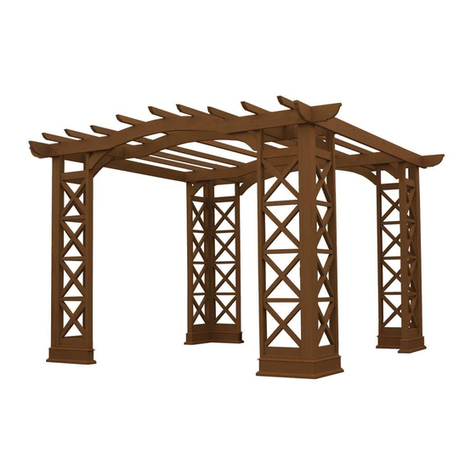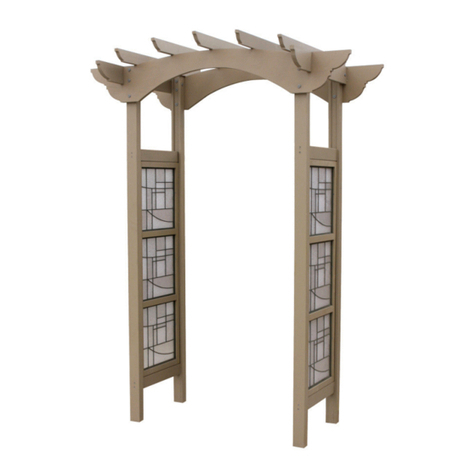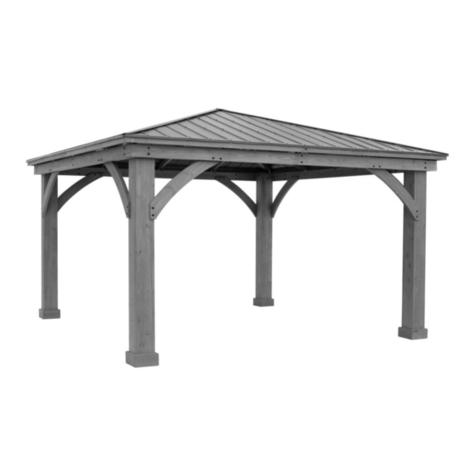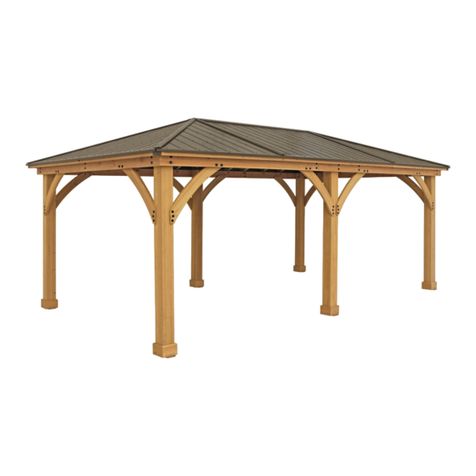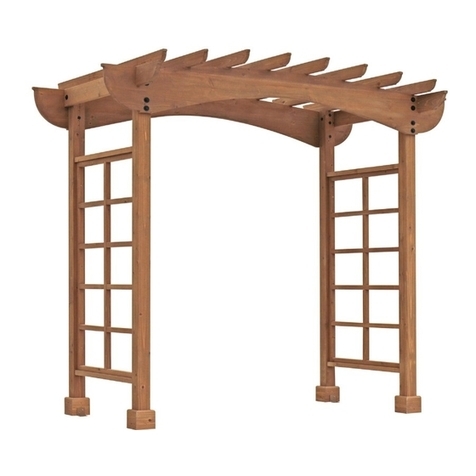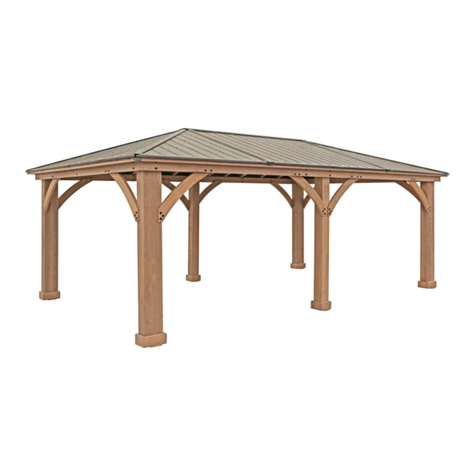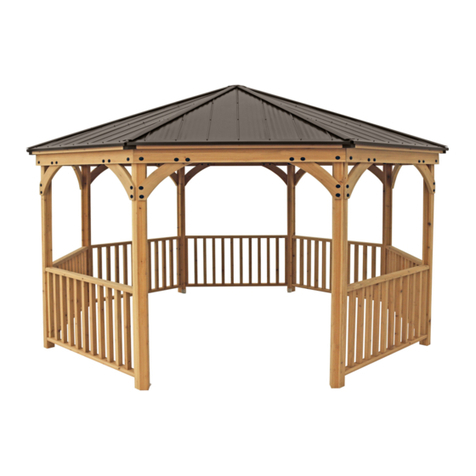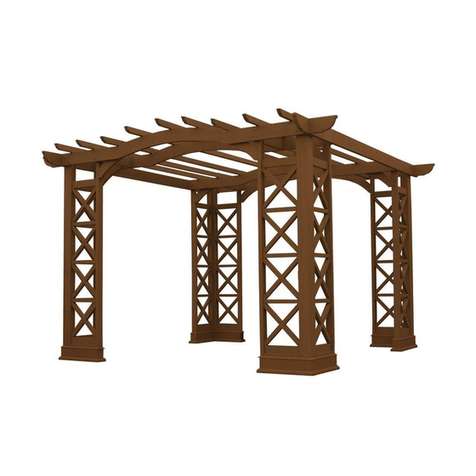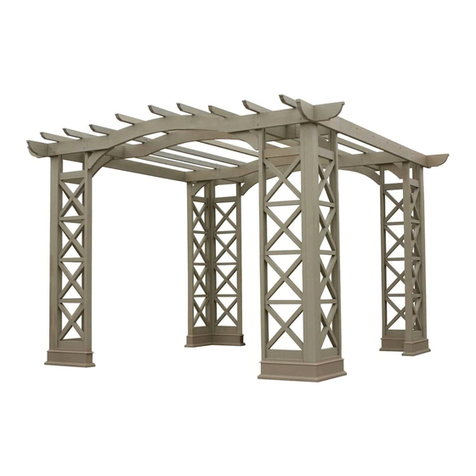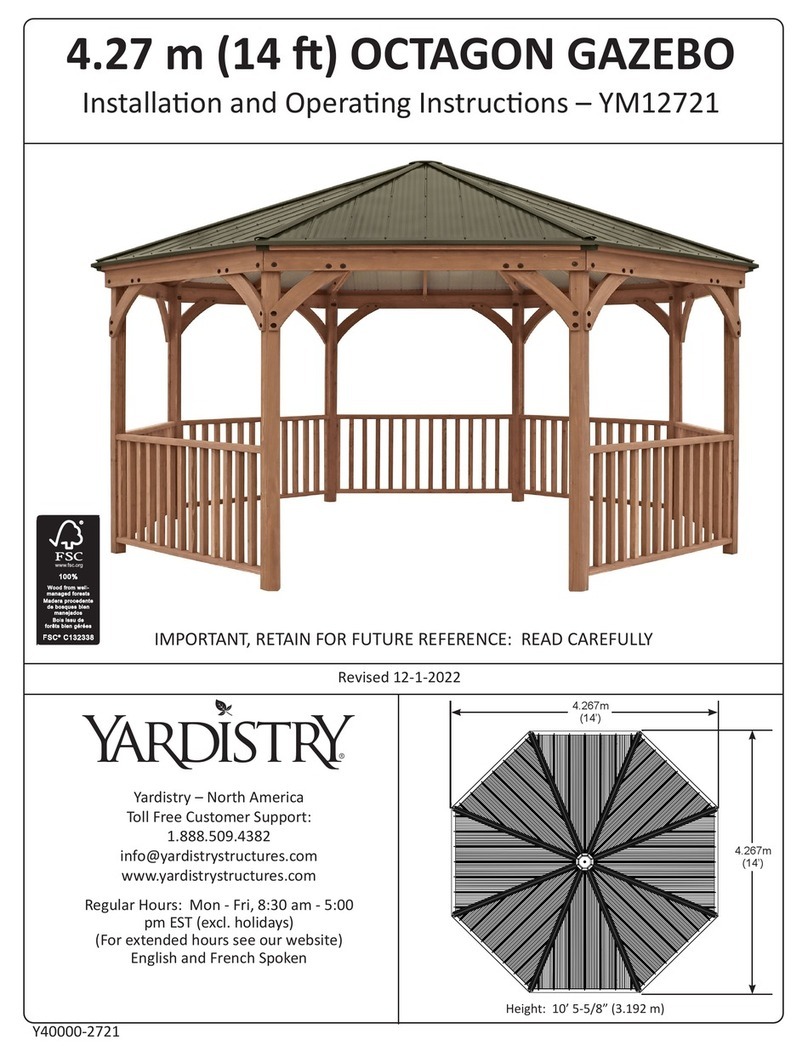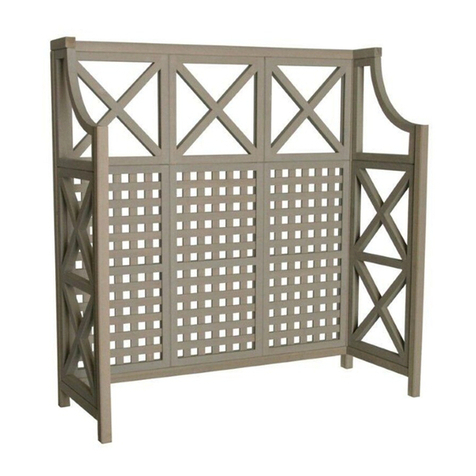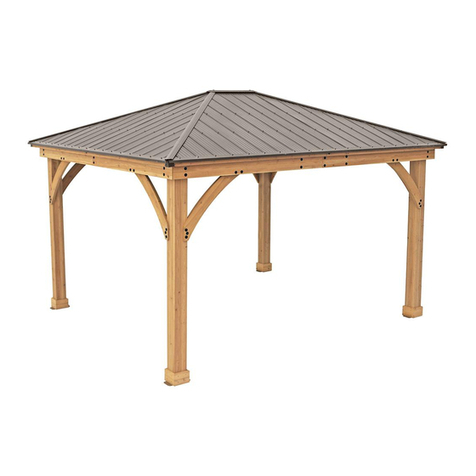
!Important SafetyNotice!
Yardistry components are intended for
privacy,decorative and ornamental use
only.
Product is NOT INTENDED for the
following:
-A safety barrier to prevent unsupervised
access to pools, hot tubs, spas, or ponds.
- Safety railings for elevated platforms or
decks.
-As load bearing support for a building,
structure, heavy objects or swings.
- Used in structures that trap wind, rain or
snow that would create extra load on the
product.
Permanent structures may requirea
building permit. As the purchaser and or
installer of this product you are advised to
consult local planning, zoning, and building
inspection departments for guidance on
applicable building codes and or zoning
requirements.
Wood is NOT flame retardantand will
burn. Grills, fire pits and chimineas are a
fire hazard if placed too close to a Yardistry
structure. Consult user's manual of the grill,
firepit or chimnea for safe distances from
combustible materials.
During installation, follow all safety
warnings provided with your tools and
use OHSA approved safety glasses. Some
structures may require two or more people
to install safely.
Check for underground utilities before
digging or driving stakes into the ground!
¡Aviso importante de seguridad!
Los componentes Yardistry están diseñados
exclusivamente para ofrecer privacidad y parauso
decorativo y ornamental.
El producto NO FUE DISEÑADO para las
siguientes aplicaciones:
- Barrera de seguridad para evitar el acceso sin
supervisión a piscinas, jacuzzis o estanques.
-Rieles de seguridad paraplataformas o terrazas
elevadas.
-Soporte de carga paraedificios, estructuras,
objetos pesados o columpios.
- Elementos de estructuras para atrapar viento o
recolectar lluvia o nieve de maneraque se aplique
una carga
adicional sobre el producto.
Las estructuras permanentes pueden requerir un
permiso de construcción. Como comprador o
instalador de este producto, le recomendamos que
consulte los departamentos locales de planificación,
zonificación e inspección de viviendas para obtener los
códigos o leyes de construcción y los requerimientos
de zonificación que apliquen.
La madera NO es retardadora de llamas y se
quemará. Las parrillas, hogueras ychimeneas
representan riesgos de incendio si se colocan
demasiado cerca deuna estructura Yardistry. Consulte
el manual del usuario de la parrilla, hoguera o
chimenea paraconocer las distancias seguras que debe
haber entre estos elementos y materiales combustibles.
Durante la instalación, siga todas las advertencias
de seguridad proporcionadas con sus herramientas
y use lentes de protección aprobados por la OSHA.
Algunas estructuras pueden requerir la participación de
dos o más personas parainstalarlas de manerasegura.
Verifique la ubicación de las tuberías subterráneas
antes de excavar o de clavar estacas en el suelo.
!Avertissement de sécurité important!
Les composants Yardistry sont conçus uniquement pour une
utilisation non commerciale, décorative et ornementale.
Ce produit N'EST PAS CONÇU pour les utilisations
suivantes :
-Barrièrede sécurité servant à empêcher l'accès non autorisé
à une piscine, un bain à remous, un spa ou un bassin.
-Barrièrede sécurité pour les plateformes ou les terrasses
surélevées.
-Élément porteur d'une charpente de bâtiment, d'une
structure, d'une balançoireou pour supporter des objets
lourds.
-Élément d'une structure qui retient le vent, la pluie ou la
neige (cela créerait une charge supplémentaire sur le produit).
Pour les structures permanentes, il est possible qu'un
permis de construire soit nécessaire. En tant qu'acheteur
et/ou
installateur de ce produit, il est recommandé de consulter les
organismes d'aménagement locaux, les services de zonage et
d'inspection des constructions afin d'obtenir les lignes
directrices relatives aux codes de la construction applicables et
les exigences en matière de zonage.
Le bois N'EST PAS un produit ignifuge et est susceptible de
brûler. Les grils, foyers et cheminées représentent un risque
d'incendie s'ils sont placés trop près d'une structure Yardistry.
Consultez le mode d'emploi du gril, dufoyer ou de la cheminée
pour connaître la distance sécuritaire à laquelle ilfaut tenir ces
équipements éloignés des matériaux inflammables.
Lors de l'installation, respectez tousles avertissements de
sécurité fournis avec vos outils et utilisez des lunettes de
sécurité certifiées par l'HAST. Pour une question de sécurité,
l'installation de certaines structures pourra nécessiter deux
personnes ou plus.
Vérifiez la présence d'installations de services publics
souterraines avant de creuser ou d'enfoncer des pieux dans
le sol.
General Information: Wood components
are manufactured with Cedar
(C. Lanceolata) which is protected with
factoryapplied water-based stain. Knots,
small checks (cracks) and weathering are
naturally occurring and do not affect the
strength of the product. Annual application
of a water-based water repellant sealant or
stain will help reduce weathering and
checks.
Warranty: Yardistry Limited products are
backed by a 5 year limited lifetime warranty
from the date of original retail purchase for
manufacturing defects and if installed as per
manufacturer's installation instructions.
www.yardistystructures.com
Questions?Call toll free or write us at:
1 (888) 509-4382
Patents Pending
Información general: Los componentes de madera
se fabrican con cedro (C. Lanceolata),está protegido
con tinte a base de agua aplicado en fábrica. Los nudos,
pequeñas marcas (grietas) y erosión se originan de
maneranatural ynoafectan la resistencia del producto.
La aplicación anual de un tinte o sellador impermeable
a base de agua ayudaráa minimizar la erosión y las
grietas.
Garantía:Los productos de Yardistry Limited
cuentan con una garantía de 5 años desde la fecha
original de comercialización contra defectos de
fabricación, siempre ycuando se instalen según las
instrucciones de instalación del fabricante.
www.yardistrystructures.com
¿Preguntas?Comuníquese sin
cargo o escríbanos a:
1 (888) 509-4382
Patentes pendientes
Informations générales: Les éléments en bois sont fabriqués
avec du cèdre (C. Lanceolata) protégés par une teinture à base
d'eau appliquée en usine. Les noeuds, les petites fissures et
l'aspect de vieillissement sont produits naturellement et n'ont
aucune incidence sur la robustesse du produit. Une application
annuelle de scellant ou de teinture
hydrofuge à base d'eau aidera à réduire le vieillissement et les
fissures.
Garantie: Les produits Yardistry Limited sont couverts par
une garantie limitée de 5 ans à partir de la date de l'achat initial
en magasin. Cette garantie couvre les défauts de fabrication,
sous réserve que ces produits aient été installés conformément
aux instructions du fabricant.
www.yardistrystructures.com
Des questions?Appelez-nous sans
frais ou écrivez-nous :
1 (888) 509-4382
Brevets en instance
# YP11013rev 3-25-2010
1
Les instructions pour Poteau/Rail 2 x 2 x 62po
2" x 2" x 62" Post/Rail Instructions
Instrucciones sobre los postes/travesaños de 2x2x62"
Yardistry Ltd.
Collection Series Instructions

