manuals.online logo
Brands
  1. Home
  2. •
  3. Brands
  4. •
  5. Yealink
  6. •
  7. IP Phone
  8. •
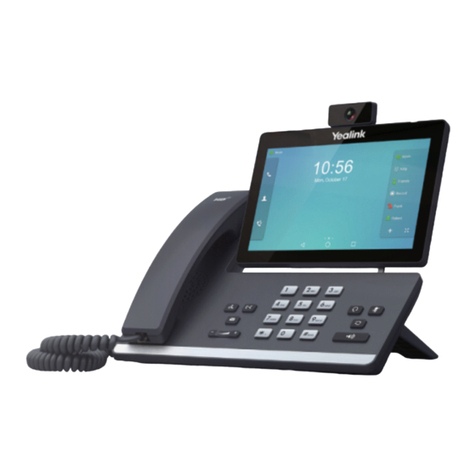
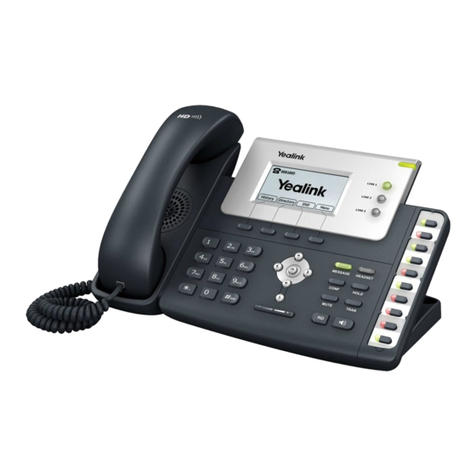
  9. Yealink T20P User manual

Yealink T20P User manual

Other manuals for T20P

9

Other Yealink IP Phone manuals

Yealink Yealink SIP-T22P User manual

Yealink

Yealink Yealink SIP-T22P User manual

Yealink T48G User manual

Yealink

Yealink T48G User manual

Yealink T4 series User manual

Yealink

Yealink T4 series User manual

Yealink Yealink SIP-T28P User manual

Yealink

Yealink Yealink SIP-T28P User manual

Yealink Yealink SIP-T28P User manual

Yealink

Yealink Yealink SIP-T28P User manual

Yealink SIP-T41S User manual

Yealink

Yealink SIP-T41S User manual

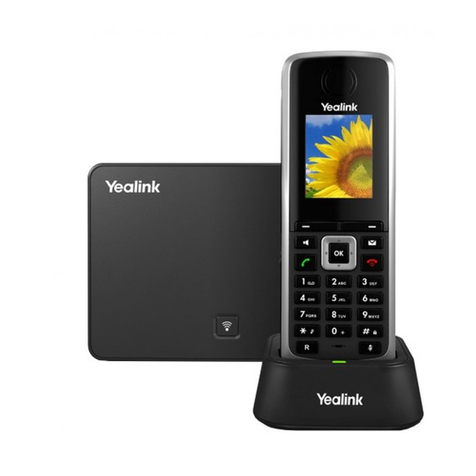
Yealink W60P Telesystem User manual

Yealink

Yealink W60P Telesystem User manual

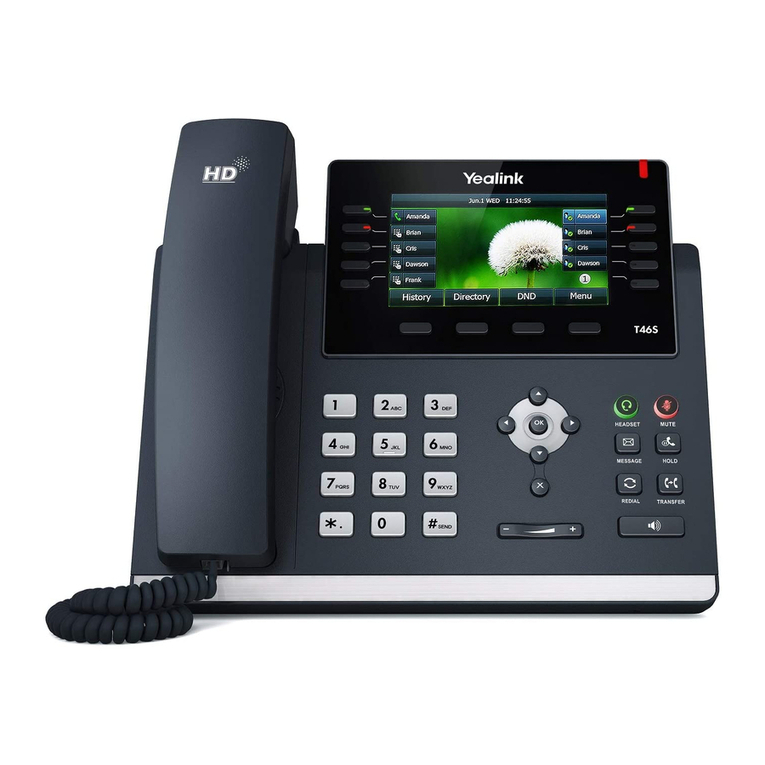
Yealink T46S Skype for Business Instruction manual

Yealink

Yealink T46S Skype for Business Instruction manual

Yealink SIP-T18P User manual

Yealink

Yealink SIP-T18P User manual

Yealink Telkom W52P User manual

Yealink

Yealink Telkom W52P User manual

Yealink W57R User manual

Yealink

Yealink W57R User manual

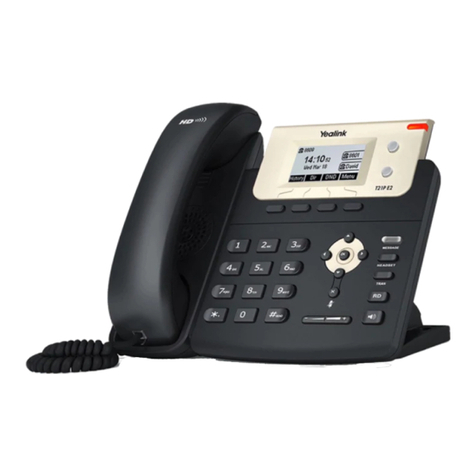
Yealink SIP-T21 E2 User manual

Yealink

Yealink SIP-T21 E2 User manual

Yealink T58A Skype for Business User manual

Yealink

Yealink T58A Skype for Business User manual

Yealink T48G User manual

Yealink

Yealink T48G User manual

Yealink Yealink SIP-T28P User manual

Yealink

Yealink Yealink SIP-T28P User manual

Yealink SIP-T27P User manual

Yealink

Yealink SIP-T27P User manual

Yealink SIP-T9CM User manual

Yealink

Yealink SIP-T9CM User manual

Yealink Telkom W52P User manual

Yealink

Yealink Telkom W52P User manual

Yealink W56H User manual

Yealink

Yealink W56H User manual

Yealink T55A Teams User manual

Yealink

Yealink T55A Teams User manual

Yealink Telkom W52P User manual

Yealink

Yealink Telkom W52P User manual

Yealink T26P User manual

Yealink

Yealink T26P User manual

Yealink Yealink SIP-T46G User manual

Yealink

Yealink Yealink SIP-T46G User manual

Yealink Yealink SIP-T20P User manual

Yealink

Yealink Yealink SIP-T20P User manual

Popular IP Phone manuals by other brands

Cortelco C62 VoIP Phone user guide

Cortelco

Cortelco C62 VoIP Phone user guide

VanillaIP Polycom IP300 user manual

VanillaIP

VanillaIP Polycom IP300 user manual

Viking SR-IP product manual

Viking

Viking SR-IP product manual

Panasonic KX-UT133-B Administrator's guide

Panasonic

Panasonic KX-UT133-B Administrator's guide

Avaya one-X 9600 Series overview

Avaya

Avaya one-X 9600 Series overview

AVA Enterprises B179 Installation and administration guide

AVA Enterprises

AVA Enterprises B179 Installation and administration guide

Cisco Unified 7900 Series System guide

Cisco

Cisco Unified 7900 Series System guide

Polycom SoundPoint IP 450 datasheet

Polycom

Polycom SoundPoint IP 450 datasheet

Cisco SPA-500 Series user guide

Cisco

Cisco SPA-500 Series user guide

IPitomy IP290 user manual

IPitomy

IPitomy IP290 user manual

Polycom SoundPoint IP 650 user guide

Polycom

Polycom SoundPoint IP 650 user guide

Proximus Maestro 3016 IP quick start guide

Proximus

Proximus Maestro 3016 IP quick start guide

Polycom IP 450 user guide

Polycom

Polycom IP 450 user guide

Fanvil X4 user manual

Fanvil

Fanvil X4 user manual

Snom 320 quick start guide

Snom

Snom 320 quick start guide

Avaya Integral 5 R3.0 user guide

Avaya

Avaya Integral 5 R3.0 user guide

Nortel 1140E Getting started

Nortel

Nortel 1140E Getting started

Nexotek NT-P500 user manual

Nexotek

Nexotek NT-P500 user manual

manuals.online logo
manuals.online logoBrands
  • About & Mission
  • Contact us
  • Privacy Policy
  • Terms and Conditions

Copyright 2025 Manuals.Online. All Rights Reserved.

T20P
Quick Reference Guide
Customizing Your Phone
Voice Message
Contact Directory
Ring Tones
Volume Adjustment
To add a contact:
To edit a contact:
SIP-T20P
Quick Reference Guide
www.yealink.com
Call History
Note: You can add contacts from the call history easily. For more information, refer to Call History above.
To delete a contact:
To listen to voice messages:
Press to place a call.
Press to add the entry to the local directory.
Press during a call to adjust the receiver volume of the handset/speakerphone/
headset.
Press when the phone is idle to adjust the ringer volume.
Press to delete the entry from the list.
Message waiting indicator on the idle screen indicates that one or more voice messages are
waiting at the message center. The MESSAGE key LED lights up.
1. Press or .
2. Follow the voice prompts to listen to your voice messages.
1. Press when the phone is idle, press or to scroll through the list.
2. Select an entry from the list, you can do the following:
1. Press when the phone is idle, and then select Local Directory->All Contact.
1. Press when the phone is idle, and then select Local Directory->All Contact .
4. Press when the LCD screen prompts “Delete selected Item?”.
1. Press when the phone is idle, and then select Settings->Basic->Sound->Ring Tones.
2. Press or to select the desired ring tone.
3. Press to accept the change.
4. Edit the contact information.
5. Press to accept the change.
4. Enter a unique contact name in the Name field, and enter the phone number in the proper field.
Enterprise IP Phone
For more information, refer to the User Guide available online:
http://www.yealink.com/DocumentDownload.aspx?CateId=142&flag=142
Copyright 2013 YEALINK NETWORK TECHNOLOGY CO.,LTD.
2. Press or to select Enter and then press .
3. Press or to select New Item and then press .
5. Press to accept the change.
c
2. Press or to select Enter and then press .
3. Press or to select the desired entry, press or to select Edit and then press .
2. Press or to select Enter and then press .
3. Press or to select the desired entry, press or to select Del and then press .
Applies to firmware version 71 or later.
Semi-Attended Transfer
Attended Transfer
www.yealink.com
Basic Call Features
Placing a Call
Answering a Call
Ending a Call
Call Mute and Un-mute
Redial
Call Hold and Resume
Call Conference
Call Forward
To place a call on hold:
Blind Transfer
Call Transfer
Speed Dial
To configure a speed dial key:
To use the speed dial key:
Using the handset:
Using the speakerphone:
Using the headset:
Using the handset:
Using the speakerphone:
Using the headset:
Using the handset:
Using the speakerphone:
Using the headset:
1. With the handset on-hook, press .
1. Pick up the handset.
2. Enter the number, and then press .
1. With the headset connected, press to activate the headset mode.
2. Enter the number, and then press .
Note: During a call, you can alternate between headset, hands-free speakerphone and handset modes by
pressing the HEADSET key or the Speakerphone key or picking up the handset. Headset mode requires a
headset connected.
Note: You can ignore an incoming call by pressing the Xkey.
2. Enter the number, and then press .
Pick up the handset.
Press .
Hang up the handset or press .
Press .
Press or .
Press .
SIP-T20P Quick Reference Guide
Press to enter the Placed Calls list, press or to select the desired entry, and then
press or .
Press twice when the phone is idle to dial the last dialed number.
To resume the call, do one of the following:
Press to mute the microphone during a call.
Press again to un-mute the call.
If there is only one call on hold, press .
Press during an active call.
If there is more than one call on hold, press or to select the desired call, and then
press .
You can transfer a call in the following ways:
1. Press during a call. The call is placed on hold.
2. Enter the number you want to transfer to, and then press .
3. Press when the second party answers.
To enable call forward:
Always ---- Incoming calls are forwarded unconditionally.
Busy ---- Incoming calls are forwarded if the phone is busy.
No Answer ---- Incoming calls are forwarded if not answered after a period time.
1. Press when the phone is idle, and then select Features->Call Forward.
2. Select the desired forward type:
3. Enter the number you want to forward to. For No Answer, press or to select the ring time
to wait before forwarding.
4. Press to accept the change.
1. Press during an active call. The call is placed on hold.
2. Enter the number of the second party, and then press .
4. Press the Cancel soft key to disconnect all parties.
1. Press when the phone is idle, and then select Features->DSS Keys.
2. Select the desired line key, and then press .
4. Press to accept the change.
Press the speed dial key to dial out the preset number.
3. Select Speed Dial from the Type field, select the desired line from the Account ID field, and enter
the number in the Value field.
3. Press again when the second party answers. All parties are now joined in the conference.
2. Enter the number you want to transfer to, and then press .
3. Press when you hear the ring-back tone.
3. Press .
2. Enter the number you want to transfer to.