manuals.online logo
Brands
  1. Home
  2. •
  3. Brands
  4. •
  5. Yealink
  6. •
  7. IP Phone
  8. •
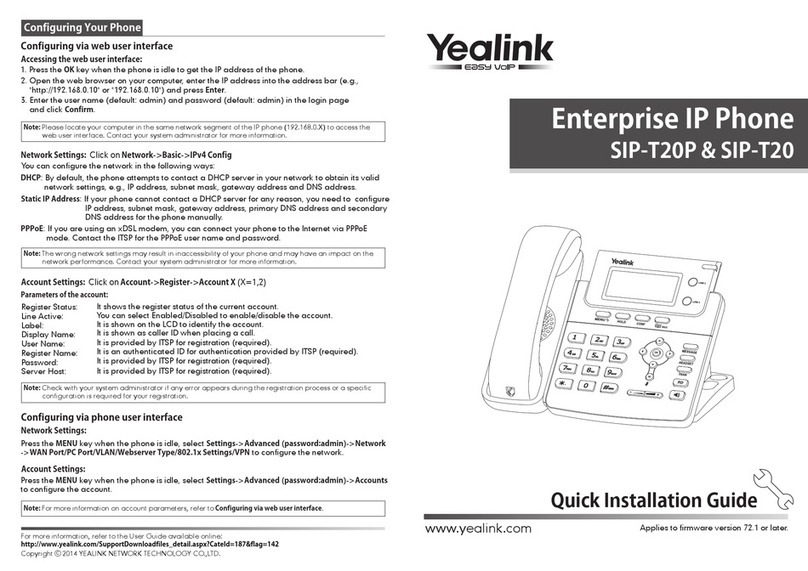
  9. Yealink Yealink SIP-T26P User manual

Yealink Yealink SIP-T26P User manual

Other manuals for Yealink SIP-T26P

16

Other Yealink IP Phone manuals

Yealink T42G User manual

Yealink

Yealink T42G User manual

Yealink T46G-Skype User manual

Yealink

Yealink T46G-Skype User manual

Yealink SIP-T46S User manual

Yealink

Yealink SIP-T46S User manual

Yealink MP56 User manual

Yealink

Yealink MP56 User manual

Yealink T46G Skype For Business Edition User manual

Yealink

Yealink T46G Skype For Business Edition User manual

Yealink Telkom W52P User manual

Yealink

Yealink Telkom W52P User manual

Yealink SIP-T57W User manual

Yealink

Yealink SIP-T57W User manual

Yealink Yealink SIP-T20P User manual

Yealink

Yealink Yealink SIP-T20P User manual

Yealink T43U Troubleshooting guide

Yealink

Yealink T43U Troubleshooting guide

Yealink Yealink SIP-T46G User manual

Yealink

Yealink Yealink SIP-T46G User manual

Yealink T54W User manual

Yealink

Yealink T54W User manual

Yealink SIP-T19 E2 T4 Series User manual

Yealink

Yealink SIP-T19 E2 T4 Series User manual

Yealink T58A Teams Service manual

Yealink

Yealink T58A Teams Service manual

Yealink SIP- T28P User manual

Yealink

Yealink SIP- T28P User manual

Yealink T54W User manual

Yealink

Yealink T54W User manual

Yealink Yealink SIP-T22P User manual

Yealink

Yealink Yealink SIP-T22P User manual

Yealink Yealink SIP-T41P User manual

Yealink

Yealink Yealink SIP-T41P User manual

Yealink W60P Telesystem User manual

Yealink

Yealink W60P Telesystem User manual

Yealink SIP-T29G User manual

Yealink

Yealink SIP-T29G User manual

Yealink SIP-T32G User manual

Yealink

Yealink SIP-T32G User manual

Yealink T58V User manual

Yealink

Yealink T58V User manual

Yealink T53W User manual

Yealink

Yealink T53W User manual

Yealink Telkom W52P Troubleshooting guide

Yealink

Yealink Telkom W52P Troubleshooting guide

Yealink SIP-T23P User manual

Yealink

Yealink SIP-T23P User manual

Popular IP Phone manuals by other brands

Cortelco C62 VoIP Phone user guide

Cortelco

Cortelco C62 VoIP Phone user guide

VanillaIP Polycom IP300 user manual

VanillaIP

VanillaIP Polycom IP300 user manual

Viking SR-IP product manual

Viking

Viking SR-IP product manual

Panasonic KX-UT133-B Administrator's guide

Panasonic

Panasonic KX-UT133-B Administrator's guide

Avaya one-X 9600 Series overview

Avaya

Avaya one-X 9600 Series overview

AVA Enterprises B179 Installation and administration guide

AVA Enterprises

AVA Enterprises B179 Installation and administration guide

Cisco Unified 7900 Series System guide

Cisco

Cisco Unified 7900 Series System guide

Polycom SoundPoint IP 450 datasheet

Polycom

Polycom SoundPoint IP 450 datasheet

Cisco SPA-500 Series user guide

Cisco

Cisco SPA-500 Series user guide

IPitomy IP290 user manual

IPitomy

IPitomy IP290 user manual

Polycom SoundPoint IP 650 user guide

Polycom

Polycom SoundPoint IP 650 user guide

Proximus Maestro 3016 IP quick start guide

Proximus

Proximus Maestro 3016 IP quick start guide

Polycom IP 450 user guide

Polycom

Polycom IP 450 user guide

Fanvil X4 user manual

Fanvil

Fanvil X4 user manual

Snom 320 quick start guide

Snom

Snom 320 quick start guide

Avaya Integral 5 R3.0 user guide

Avaya

Avaya Integral 5 R3.0 user guide

Nortel 1140E Getting started

Nortel

Nortel 1140E Getting started

Nexotek NT-P500 user manual

Nexotek

Nexotek NT-P500 user manual

manuals.online logo
manuals.online logoBrands
  • About & Mission
  • Contact us
  • Privacy Policy
  • Terms and Conditions

Copyright 2025 Manuals.Online. All Rights Reserved.

SIMPLYBITS.COM | (520) 545-0400 | 5225 N. SABINO CANYON ROAD, TUCSON, AZ 85750 V13.03
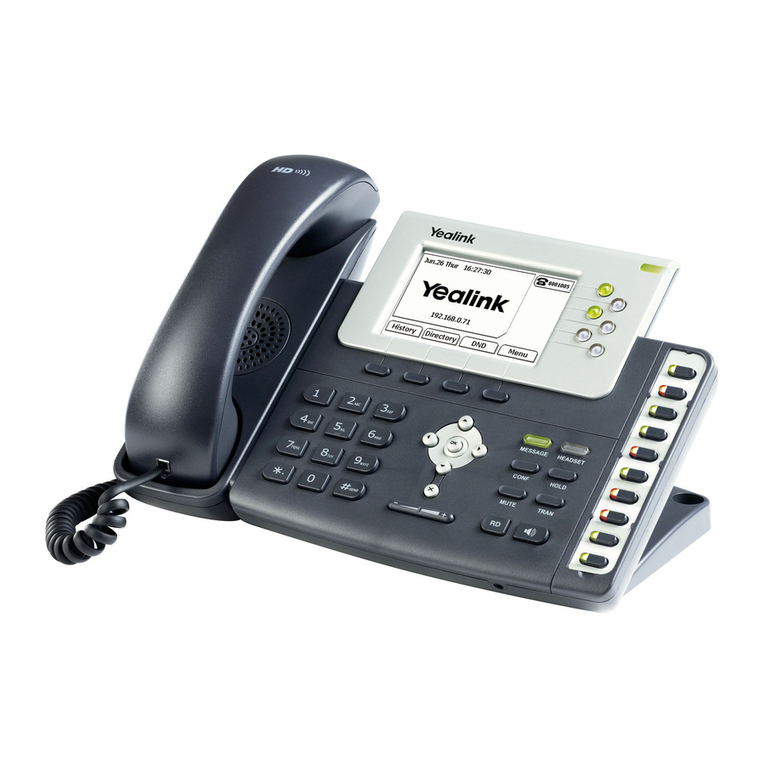
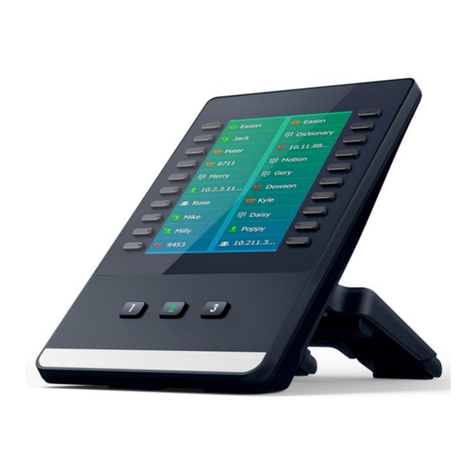
Item
Description
1
LCD Screen
Shows information about calls, messages, soft keys, time, date and other
relevant data.
2
Power Indicator LED
Indicates phone power status.
3
Line Buttons
Use these buttons to access up to three phone extensions or DSS key
functions.
4
Memory Buttons
Use these buttons to assign various DSS key functions. The button LED will
light when the assigned feature is enabled.
5
MESSAGE Button
Indicates and accesses voice messages.
6
HEADSET Button
Toggles and indicates headset mode.
7
HOLD Button
Places a call on hold or resumes a held call.
8
TRAN Button
Transfers a call to another party.
9
MUTE Button
Toggles the Mute feature on or off.
10
Speakerphone Button
Toggles the hands-free speakerphone mode.
11
Redial Button
Redials a previously dialed number.
12
CONF Button
Conducts a conference call with up to three parties.
13
Volume Button
Adjusts the volume of the handset, headset, ringer and speakerphone.
14
Keypad
Provides the digits, letters and special characters in context-sensitive
applications.
15
Scroll through displayed information or options.
Confirms actions or answers an incoming call.
Cancels actions or rejects an incoming call.
16
Soft Keys
Labels change automatically to identify their context-sensitive features.
Basic Features
To Place a Call:
Lift the handset, dial the extension
or phone number, and then press
the button.
-OR-
Dial the extension or phone
number, and then lift the handset.
Press the button, dial the
extension or phone number, and
then press the button.
-OR-
Dial the extension or phone
number, and then press the
button.
Press the button, dial the
extension or phone number, and
then press the button.
-OR-
Dial the extension or phone
number, and then press the
button.
To Answer a Call:
Lift the handset to answer the call.
Press the button -OR-press the Answer soft key -OR-press the flashing
Line key.
Press the button -OR-with the headset mode activated, press the Answer
soft key -OR-with the headset mode activated, press the flashing Line key.
To Reject a Call:
Press the Reject soft key—the call will immediately be connected to the voice
mail configured for the ringing extension.
To End a Call:
Hang up the handset -OR-press the Cancel soft key.
Press the button -OR-press the Cancel soft key.
Press the Cancel soft key.
To Redial the Last Call Placed:
Press the button twice—a call to the last number dialed is attempted.
To Mute a Call:
Press the button—the call will be muted and the LCD screen will indicate
that the call is muted.
To Place a Call on Hold:
Press the button on the phone -OR-press the Hold soft key—the call will
be placed on hold and the LCD display on the phone will change to indicate that
the call is on hold.
To Resume a Call on Hold:
Press the button on the phone -OR-press the Resume soft key -OR-press
the Line button for the held call.
Quick Reference Guide
Yealink SIP-T26P
SIMPLYBITS.COM | (520) 545-0400 | 5225 N. SABINO CANYON ROAD, TUCSON, AZ 85750 V13.03
Basic Features (continued)
To Conference in a Second Party:
Establish the call with the first party (either by calling the first party or after
answering the call from the first party).
Press the button or Conf soft key.
Call the second party—wait until the call is answered.
Press the button or Conf soft key again—all parties are now connected.
To Perform a Blind Transfer:
Press the button or the Tran soft key.
Dial the extension or phone number of the transfer recipient.
Press the button or the Tran soft key again—the call will immediately begin
to ring on the recipient phone.
To Perform an Attended Transfer:
Press the button or the Tran soft key.
Dial the extension or phone number of the transfer recipient.
Press the button, the Send soft key or the button —wait for the transfer
recipient to answer the call and announce the caller.
Press the button or the Tran soft key again—the call will be connected to
the transfer recipient.
To Configure & Enable Always Forward:
Using the soft keys, select Menu Features Call Forward.
Press the and buttons to select Always Forward, and then press the
Enter soft key
Press the Switch soft key or the and buttons to select Enable from the
Always field.
Enter the destination extension or phone number you want to forward all call to in
the Forward to field.
Press the Save soft key—Always Forward is configured and enabled, the
icon on the LCD display indicates that call forwarding is enabled.
To Enable / Disable Do Not Disturb (DND):
When the phone is idle, press the DND soft key to toggle the DND mode on or
off—the phone displays the icon in the LCD panel to indicate that DND
mode is activated.
To Park a Call:
Dial #72 -OR-press the Call Park DSS key—the system will respond with a
prompt indicating which parking lot number to dial to retrieve the call (780x).
Listen to the system prompt and remember which parking lot location the active
call has been assigned.
To Retrieve a Parked Call:
Dial the parking lot location (780x)—the parked call will be connected with that
phone.
Voice Mail Quick Reference
When the phone receives a new voice mail message, the phone will play a warning tone,
the button LED will illuminate (this is the Message Waiting Indicator or MWI), the
LCD screen will display a prompt that New Voice Mail was received and a flashing
icon will appear in the upper right corner of the LCD screen.
To Listen to Voice Mail:
Press the button or the Connect soft key—the phone will connect to the
voice mail box for the primary line on the phone.
To Access Voice Mail from a Different Internal Phone:
Dial 7999—the system will prompt for an extension.
Dial the extension—the system will prompt for a password.
Dial the password—the system will prompt with the Voice Mail Main Menu.
Voice Mail Main Menu:
1 New Messages (or if no New Messages,
Old Messages)
2 Change Folders
0 New Messages
1 Old Messages
2 Work Messages
3 Family Messages
4 Friends Messages
# Cancel
3 Advanced Options (used only during
message playback)
* Return to Main Menu
0 Mailbox Options
1 Record Unavailable Message
2 Record Busy Message
3 Record Name
4 Manage Temporary Greeting
1 Record Temporary
Greeting
2 Erase Temporary
Greeting (available only
if a Temporary Greeting
is present)
5 Change Password
* Return to Main Menu
* Help
# Exit Voice Mail
Options During Playback (any folder):
3 Advanced Options
1 Send Reply (available only if
message was sent or
forwarded from an internal
extension)
3 Hear Message Envelope
* Return to Main Menu
4 Play Previous Message (available only if
multiple messages present in current
folder)
5 Repeat Current Message
6 Play Next Message (available only if
multiple messages present in current
folder)
7 Delete Current Message
8 Forward Message to Another Mailbox
9 Save Message in a Folder:
0 New Messages
1 Old Messages
2 Work Messages
3 Family Messages
4 Friends Messages
# Cancel
* Rewind 3 Seconds
# Skip Forward 3 Seconds
Options After Recording a Message / Greeting:
1 Accept the Message / Greeting
2 Listen to the Message / Greeting
3 Re-record the Message / Greeting