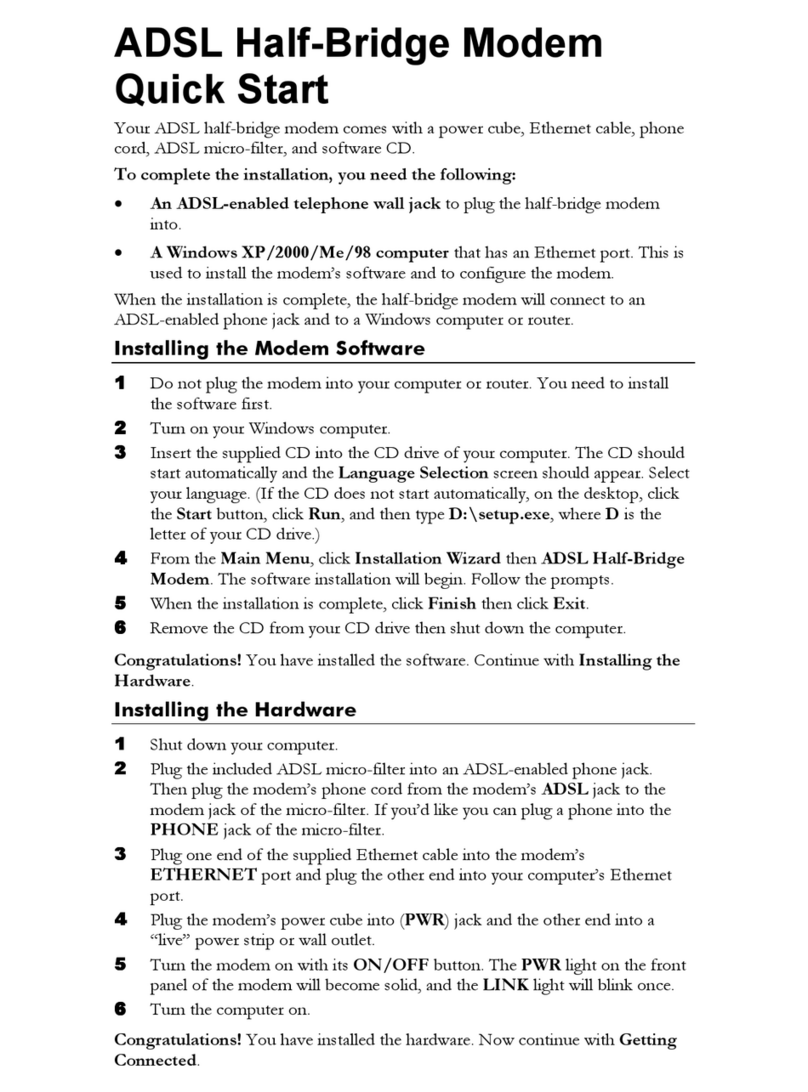
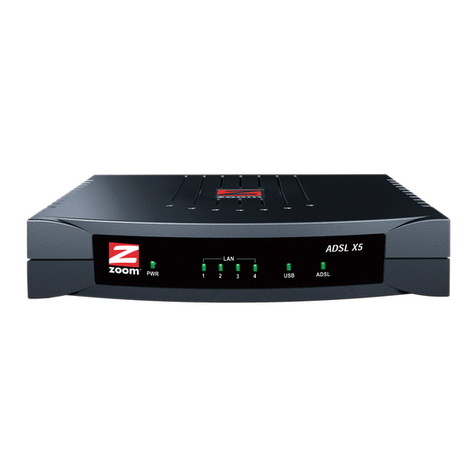
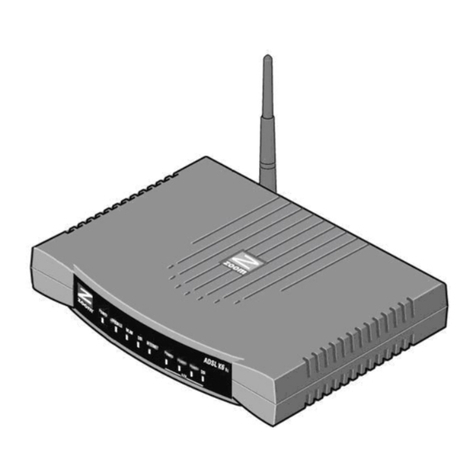
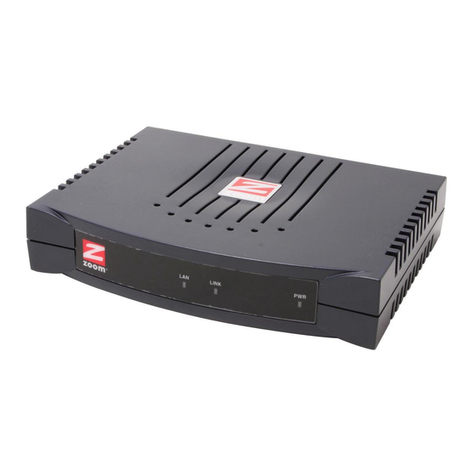
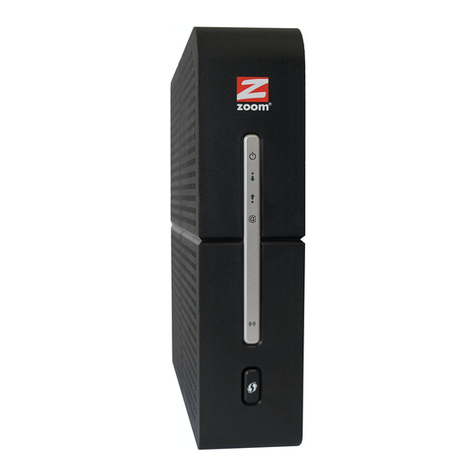
Zoom V.34 Plus User manual

QUICK
START

Contents
BEFORE YOU BEGIN .................................................................3
INSTALLATION...........................................................................4
SETTING UP YOUR FAXMODEM FOR WINDOWS 95..................8
SETTING UP YOUR FAXMODEM
WITH WINDOWS 3.1 OR 3.11.....................................................9
INSTALLING SOFTWARE FROM THE CD-ROM.........................11
INSTALLING BITWARE FROM FLOPPY DISKS .........................11
USING THE SPEAKERPHONE FEATURE WITH BITWARE..........13
USING THE SVD FEATURE WITH BITWARE..............................15
USING THE SVD FEATURE WITH OTHER SOFTWARE..............15
TESTING YOUR FAXMODEM ...................................................16
SENDING A FAX IN BITWARE...................................................17
COMMON PROBLEMS AND SOLUTIONS..................................17
IMPORTANT INFORMATION.....................................................20

3
Before You Begin,Check That You
Have Received the Following:
• Your faxmodem (referred to in this manual as a “modem”
or “faxmodem”)
• Phone cord
• External speaker
• Microphone with stand
• A CD-ROM containing voice/fax/data software and other
software, documentation, and customer support
information.
• Voice/fax/data software is on floppy disks, in case you
don’t have a CD-ROM drive. These floppies also contain
some helpful installation utilities for non-Plug and Play
systems.
• Packet of free and reduced-price online service offers.

4
Installation
CAUTION!
Do not handle any internal modem card when the phone
line is plugged into it. The voltages present when the line
is ringing are potentially harmful.
If you need to remove the card for any reason, simply remove
the phone line from the internal card before handling it.
7R,QVWDOO\RXU7R,QVWDOO\RXU)D[PRGHP)D[PRGHP
Before you start the hardware installation, turn your computer off
and unplug it. Don't plug it back in or turn it on until you complete
the faxmodem hardware installation. Remember, your computer
should be located near a phone jack.
Take the cover off your computer. This is a little different for
every computer. If you are not familiar with the procedure,
consult your computer's manual for more detailed instructions.
Locate an available 16-bit slot (see the illustration on the next
page).
Note that the faxmodem has two sections of gold connecting
fingers. A 16-bit slot has double connectors to match the fingers.
Unscrew and remove the metal cover plate on the rear of the
computer that lines up with the 16-bit slot. This plate is similar to
the bracket on the faxmodem.
Put the plate and screw aside.
Plug the faxmodem firmly into the 16-bit slot. Be sure that the
bracket is lined up properly, then screw the bracket into the
computer with the screw you removed with the cover plate.
1
2
3
4
5

5
Replace the computer cover.
Connect the telephone cord. Plug one end of the phone cord into
the jack marked LINE. Plug the other
end into a phone jack (where you
would normally connect a phone).
You can also plug a regular telephone
into the jack marked PHONE. The
telephone shares the phone line with
the faxmodem and works as a normal
telephone when the faxmodem is not in
use.
6
33++2211((RRSSWWLLRRQQDDOO
//,,11((
00,,&&552233++2211((
((;;77((5511$$//6633(($$..((55
LINE
PHONE
MIC
SPK
7

6
Assemble the microphone. Put the two halves of the microphone
holder together, and then slide the holder into the slot on the
microphone stand. Finally, slide the microphone stem into the
groove on the microphone stand. Refer to the assembly drawing
on the next page.
Insert the microphone plug into the jack marked MIC and then
insert the external speaker plug into the jack marked SPK. The
diagram on the next page shows the connections.
8
9

7
Plug in your computer and turn it
ON.
If you are running Windows 3.1 or 3.11, proceed to Setting Up
Your Faxmodem with Windows 3.1 or 3.11 on page 9. If you
are running the Windows 95 operating system, proceed to the
next section.
10
11

8
Setting Up Your Faxmodem for
Windows 95
If you are running Windows 95, your faxmodem is automatically
detected by the Plug and Play feature of the Windows 95 operating
system. Follow the procedure below to complete your faxmodem
setup.
Restart your computer. As the Windows 95 operating system
boots up, it displays a New Hardware Found dialog box on your
screen for a few seconds with the identifier name (336/Spkr or
something similar) of your faxmodem.
In the New Hardware Found dialog box, you have three choices
for installing a “driver.” The default choice is for the driver to be
installed from a disk provided by the hardware manufacturer.
Highlight this selection if it’s not already highlighted and click OK.
An Install from Disk box appears. It lists A:\ as the default
drive.
If you are installing from the CD-ROM
, type:
D:\unimodem
and click OK. (this assumes that your CD-ROM drive is the D:
drive. If it isn’t, substitute the correct drive letter for D:)
If you are installing from a floppy disk
, make sure that
correct drive is designated in the Install From Disk dialog box
(A: is probably correct). Insert the
BitWare Disk 1
in the drive
and click OK.
Windows 95 auto-detects the correct files and copies them.
Since you are installing from a floppy disk, you cannot install
Unimodem V at this time. You don’t need Unimodem V to use the
software on the floppies. You only need it for use with TAPI-
compliant applications. (TAPI is Microsoft’s Telephony
Applications Program Interface). If you would like Unimodem V,
you can locate and download this enhancement from Microsoft
and other sites on the Internet or World Wide Web. See the
Technical Support flyer, or if you have access to a computer with
1
2
3

9
a CD-ROM drive, check the Customer Support section on the
CD-ROM.
Windows 95 continues its startup procedure. Once the system is
completely booted up, you should determine what COM port
your faxmodem is set to. To do this, double-click the My
Computer icon. When the My Computer window opens,
double-click the Control Panel icon. Inside the Control Panel
window, double-click the Modems icon. In the Modems
Properties dialog box, select this product, which should be listed
as a modem found by the system. Then click Properties. Your
faxmodem’s properties are listed in a Properties dialog box. In
the Port box, it lists your Communications Port and then, in
parentheses, the COM number. Make a note of this port setting
and write it in the Important Information table on page 20 (or in
some other easy-to-find place). The COM port information is
important because you will be asked to set the COM port when
you configure your software applications.
Setting Up Your Faxmodem with
Windows 3.1 or 3.11
If you are running Windows 3.1 or 3.11, you need to run the
SETPORT utility from your DOS prompt.
If your computer has a CD-ROM drive, insert the disc that came
with your faxmodem. Otherwise, Insert the disk labeled BitWare
Disk 2 in your floppy drive.
From the DOS prompt, type D:\ (or the drive letter of the correct
drive) and press Enter. At the D:\ (or A:\) prompt, type cd
setport and press Enter. This opens the SETPORT directory.
This directory contains utilities that help you configure your
faxmodem’s COM port and IRQ settings.
Type setport 3 and press Enter. The program tries to set up
the faxmodem on COM 3. In almost all circumstances, setport 3
successfully sets the modem to COM3 and a free IRQ, usually
12 or 11.
4
1
2
3

10
Once the program finds a free IRQ, it tries to communicate with
the faxmodem using these settings. If successful, the program
asks if you want it to automatically modify your AUTOEXEC.BAT
and SYSTEM.INI files.
We strongly recommend that you answer Yes to these prompts.
If unsuccessful, PORTWIZ checks more IRQs until it finds one
that works. PORTWIZ checks the following IRQs in order: 12,
11, 15, 10, 7, and 5.
If you
don’t
get an error message at this point and your
computer does not start behaving erratically, skip to step 5;
your faxmodem hardware is installed.
If you
do
have a problem, continue below.
Repeating step 3, but use COM 4 (i.e., type setport 4 and
press Enter). If COM 4 results in an error message, try COM 1
and then COM 2.
Even if SETPORT is successful, you may still run into a conflict
with another peripheral, such as a mouse, a video card, or a
sound card. This happens because SETPORT is unable to tell
that a particular IRQ setting is already assigned to another
device if that device is not being used at the time. If you get
erratic behavior, such as inconsistent modem performance or a
piece of hardware that stops working even though it worked
before, there are some advanced setup instruction in the
Owner’s Manual on the CD-ROM. If you don’t have a CD-ROM
drive but have access to one through a friend or at work, you
can print the whole manual or the appropriate pages from the
manual.
Write down the COM port and IRQ setting of your faxmodem in
the Important Information form on page 20, or some other easy-
to-find place. The information is important because you may
need to use it in setting up your software applications.
Your faxmodem
hardware is installed!
4
5

11
Installing Software from the CD-ROM
If you have a CD-ROM drive, you can install the software using an
easy point-and-click interface.
)RU:LQGRZV)RU:LQGRZV
Insert the disc in your CD-ROM drive. It starts automatically. Follow
the instructions on the screen.
)RU:LQGRZVRU)RU:LQGRZVRU
Insert the disc in your CD-ROM drive. Choose Run from the Start
menu, type D:\setup (use the correct drive letter if it isn’t D:), and
press Enter. Follow the instructions on the screen.
Installing BitWare from Floppy Disks
If you don’t have a CD-ROM drive, the BitWare Voice/Fax/Data
(F/D/V) installation program copies files from two 3.5" disks onto
your system’s hard disk and updates Windows system files. Below
are the basic instructions for installing BitWare. The instructions
below assume your 3.5” floppy drive is A:.
Start Windows and place the
BitWare Disk 1
in drive A:.
For Windows 3.1 or 3.11:
Choose Run from the File menu. Type D:\BITWARE\SETUP
and click OK. If you are installing from a floppy, type A:\SETUP
and click OK. After a few moments, the Cheyenne BitWare
install dialog box appears.
For Windows 95:
1
2

12
Double-click the My Computer icon. When the My Computer
window appears, double-click the Control Panel icon. When the
Control Panel window appears, double-click the Add/Remove
Programs icon. When the Add/Remove Programs Properties
box appears, click Install. When the Install Program From
Floppy Disk or CD-ROM box appears, click Next. Windows 95
detects the BitWare setup program in your floppy drive. The line
D:\BITWARE\SETUP (or A:\SETUP.EXE)appears in the
Command line for installation program box. Click Finish to
proceed with the installation. After a few moments, the
Cheyenne BitWare install dialog box appears.
Follow the prompts on the screen.
A Group Name box appears and asks you to name the BitWare
group window that you want to appear in your Program
Manager. Choose the default name, Cheyenne BitWare, by
clicking OK, or type another name in the space and click OK.
A Cheyenne BitWare Setup dialog box appears and informs
you that it can create independent Program icons that provide
easy drag-and-drop use in Windows. Click OK if you want this
option.
A Group Name dialog box appears again, this time asking you
to name the second group window for the BitWare program
icons. Choose the default name, BitWare Icons, by clicking OK,
or typing another group name in the space and then clicking OK.
A dialog box appears and asks if you want to select BitWare as
your default printer. If you want to select BitWare automatically
to fax when you print from all of your Windows applications, click
Yes. If you use a standard printer more often than you use
BitWare, click No. You can always select BitWare as your
printer when you want to send your fax.
A Copying Application Macros dialog box appears. BitWare
includes macros for various desktop applications, such as
Microsoft Word for Windows. BitWare copies its Send fax
macros for any of these applications it detects in your system to
the appropriate directories. Click Copy if you want the macros
copied.
3
4
5
6
7
8

13
If your faxmodem is installed, the BitWare installation program
automatically tries to determine the type of faxmodem and the
COM port to which it is connected. When prompted, click YES to
start detection
If BitWare is successful, a Modem Information box appears
showing the modem class and the modem’s fax send and receive
speeds. Click Close to proceed.
Using the Speakerphone Feature with
BitWare
BitWare F/D/V software has a speakerphone support feature called
BitPhone. With this feature you can conveniently dial out and receive
calls, hands-free, using the microphone and speaker.
Dialing Out:
Start BitWare F/D/V. When the task bar appears on your
screen, click the BitPhone icon.
9
10
1

14
The BitPhone appears on your screen and
the green PwrOn light comes on. Click the
numbers on the touch tone keypad to dial
the phone number you want (making sure
to include a 1 and an area code for a long
distance call, if necessary.) When you
have entered the phone number, click the
green Send button. The green InUse light
comes on when you dial the number and
an In-Use message appears in the white
box above the number you are calling.
When the party that you are calling
answers your call, you should hear him or
her through the speaker, and you can talk
through the microphone.
When you finish your call, click the red
End button to terminate the call. To hang
up the phone, click the red and black On/Off button.
Receiving a Call:
Start BitWare F/D/V. When the task bar appears on your
screen, click the BitPhone icon.
The BitPhone appears on your screen and the green PwrOn light
comes on. When someone calls you, BitPhone displays a
flashing bell icon. Click the green Send button. The green InUse
light comes on when you answer the incoming call, and BitPhone
displays an In-Use. When you answer the incoming call, speak
into the microphone. You can hear the caller through the
speaker.
When you are finished, click End to terminate the call. To hang
up the phone, click On/Off.
BitWare F/D/V Online Help
For more information about using BitPhone and the speakerphone
feature, highlight the BitWare F/D/V icon bar and press F, or choose
BitWare from the Help menu.
2
3
1
2
3

15
Using the SVD Feature withBitWare
Your faxmodem incorporates AudioSpan™ simultaneous voice and
data (SVD) capability. This means that you can be communicating
data between your PC and someone else’s while talking to that
person. AudioSpan is a particular type of SVD. For you to use
AudioSpan in BitWare (or in any other application), the person with
whom you are communicating also must have a faxmodem with the
AudioSpan feature.
BitWare supports AudioSpan directly in its BitCom module, using a
simple point-and-click method.
Using the SVD Feature withOther
Software
More and more software packages support AudioSpan in a direct
and user-friendly way. These software packages include FarSite Lite
and Wacky Wheels. For software that doesn’t directly support
AudioSpan, you can still use the feature by employing certain AT
commands in your modem’s initialization string.
These AT commands turn AudioSpan on and off and select the
hardware settings you use to speak with and listen to another user.
The general form of the commands is:
$$AS
n
=ON to turn AudioSpan on, and
$$AS
n
=OFF to turn AudioSpan off
Where n is a number from 1 to 6. The following chart describes the
use of the numbers:
Voice Device Moderate Voice Quality
with Faster Data Best Voice
Quality with
Slower Data
Speakerphone $$AS5 (recommended) $$AS6
Telephone $$AS3 $$AS4
Headset/Headphone $$AS1 $$AS2

16
For example, to turn on AudioSpan using speakerphone hardware
and faster data, include the following in the initialization string:
$$AS5=ON
You may later call an AudioSpan modem when you do not want
AudioSpan on—because you want privacy or a higher data rate, for
instance. In that case, simply change the word ON to OFF in the
initialization string:
$$AS5=OFF
You can see that it is easy to toggle the AudioSpan feature ON or
OFF.
The online Owner’s Manual on the CD-ROM contains more
information on the use of AT commands in initialization strings.
Testing Your Faxmodem
Logging on to an online service or Internet Service Provider (ISP)
gives you an opportunity to test your faxmodem. You also have a
chance to enjoy the online services’ free offers.
If you have a CD-ROM drive, launch the easy point-and-click
interface. Go to the Online Services menu and select one of the
services (such as America Online or CompuServe).
If you don’t have a CD-ROM drive, locate the America Online or
other package included with this product. Instructions for installing
the software are included with the services’ diskettes. After
installation, double-click the online service icon when it appears on
your screen. After that, step by step instructions from the software
guide you all the way through the logon and registration process.

17
Sending a Fax in BitWare
To test your fax software you can send a fax from one of your
windows applications.
Open a word processing program, such as Word for Windows,
and then proceed.
In your application, open or create a document. When you have
a document ready, choose Print from the File menu. Select
BitWare as your printer, if you have not already selected it as
your default printer during installation. Then select the pages to
fax and click OK.
At the Dial Fax box, type the name and fax phone number you
want to call. (You also can select Add to Phonebook and
Cover Page, if desired.) Then select Start/Fax. The Status box
shows when your modem connects and its progress. (When the
box disappears, the fax transmission is complete.)
You can check the status of the fax by clicking the Transmit
Log icon in the BitWare Icons box. For further details about
sending and receiving faxes, refer to the BitWare User's Guide.
Common Problems and Solutions
The following problems and solutions are commonwhenusing modems.
Problem: The faxmodem disconnects while communicating
with a remote system.
Solution: The telephone line disrupted your call. If your telephone
service includes Call Waiting, turn it off if possible before
making modem calls. Ask your telephone company if you
can temporarily disable Call Waiting by pressing *70, or
another code. If so, include *70, (or other code) as a
prefix with the telephone numbers in the software’s dialing
directory. Or you can add *70, or the correct code to the
1
2
3

18
initialization string. (Be sure to include the comma). Note
that this helps with outgoing but not incoming calls.
Problem: Your software says it can't find your faxmodem.
Solution: Make sure that you have set your communications
software to the proper COM port, the one where your
faxmodem is installed. If you did not record the
faxmodem’s COM port setting earlier, you need to find it
now. See the Installation section of this Quick Start.
Problem: You connected using BitWare, but got garbled data
on the screen.
Solution: Change the settings for Data Bits, Parity, Stop Bits,
and/or Term(inal) to match the modem or bulletin board
service you are calling. A common setting is Data Bits: 8,
Parity: None, Stop Bits: 1 (often abbreviated as 8N1).
Many bulletin boards use ANSI terminal emulation.
Problem: The maximum volume of your speaker is too low.
Solution: Install or move the jumpers on the faxmodem. This
procedure is described in Appendix B of the electronic
Owner’s Manual.
Problem: You can't receive faxes.
Solution: Make sure that Automatic Receptionis enabled inthe fax
software and that the fax software is running. Make sure that no
other communications software is running.
Problem: Your faxmodem goes off hook and seizes the
telephone line when there is an incoming voice call
that you want to take on your telephone.
Solution: The faxmodem is configured for auto-answer. Turn off
auto-answer in your software.
Problem: You encounter other communications problems with
your faxmodem.
Solution: Check that your communications software is properly set
up. Recheck the initialization string and dial string
specified in your software manual. Remember that
commands in the initialization string are sent to the
modem each time you start your software and override
the settings stored in the modem’s nonvolatile memory.

19
Problem: The faxmodem does not automatically dial a call
when you use your software to dial a number.
Solution: Make sure the modem speaker is turned on and the
volume setting is turned up in your software so that you
can hear dialing sounds. Also make sure that the phone
line is plugged in. If you are using tone dialing on a line
that requires pulse dialing, the line may not be able to
accept tone-dialed calls. Select pulse dialing in your
software.
For more troubleshooting tips, refer
to your Owner's Manual.

20
Important Information
In the event you need technical support or customer service, you
will need the information below.
We recommend that you take a few moments to fill in the
following information for your future reference.
Faxmodem Model
(located on the FCC label
and on the end of the box)
Serial Number
(located on the bracket)
COM Port ______ IRQ
(if known)
Date of Purchase
Store
or Dealer
This manual suits for next models
24
Table of contents
Other Zoom Modem manuals