Measuring Sound Pressure Level (SPL)
QUICK START
2
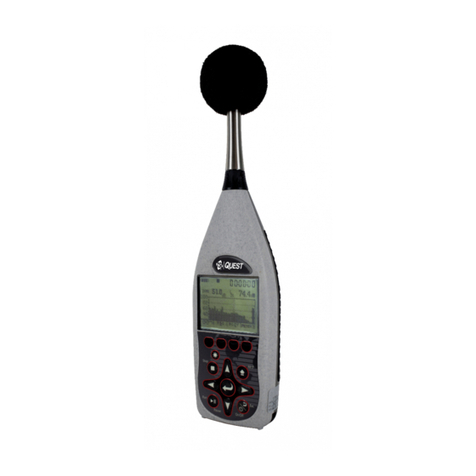
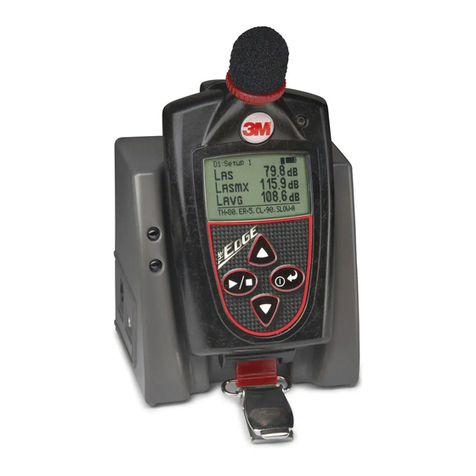
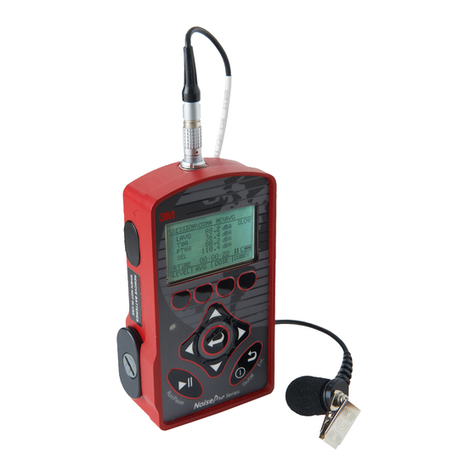
Display and Keys
1. LEDs: Used in the LED Alert measurement screen
2. Screen indicators: Slow time response & Afrequency weighting (S, A is a common setting)
3. Measurement type (SPL, LEQ/LAVG, LEDAlert , MAX, MIN, Run-Time )
• Note: No indicator signies SPL
4. Measurement value
5. F/S (Fast/Slow time response) key
6. Mode key (cycles through measurement screens)
7. Run/Stop key for averaging values (LEQ/LAVG, MAX, MIN, LED Alert , Run-Time )
8. Power On/Off key
9. A/C frequency weighting key
1. Place windscreen over microphone (if not attached)
2. Power on the SD-200 and check that the battery indicator is not present.
• If present, charge the instrument prior to measuring.
3. Select desired weighting and/or response time. (See diagram #5 and #9.)
4. Position the SD-200 microphone so it is angled about 70 degrees from the noise source.
5. Measures: when rst powered on, the current SPL will be displayed or the last viewed parameter.
• For integrated measurements, press the Run/Stop key. (Unlike SPL, the LEQ/LAVG values
will provide steadier values over a period of time until values become more stable.)
• To view measurements, repeatedly press the Mode key. (This cycles through the measurements.)
• Press Run/Stop key to Stop measuring.
6. Power off by pressing and holding the key until it turns off (while not in run mode).
95
6
7
8
1
3
4
3MTM Sound Detector SD-200
