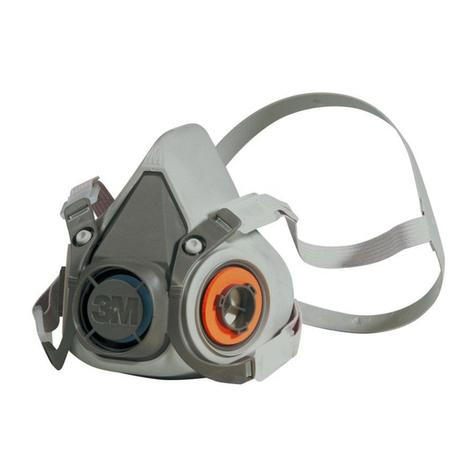
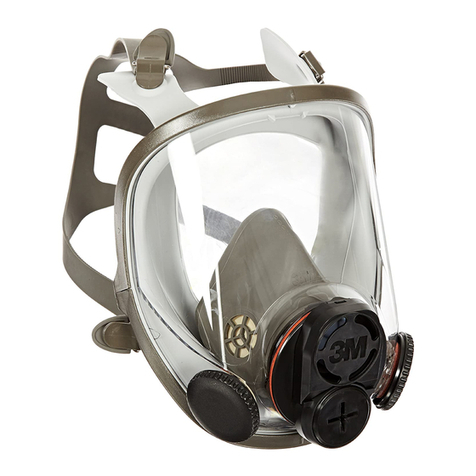
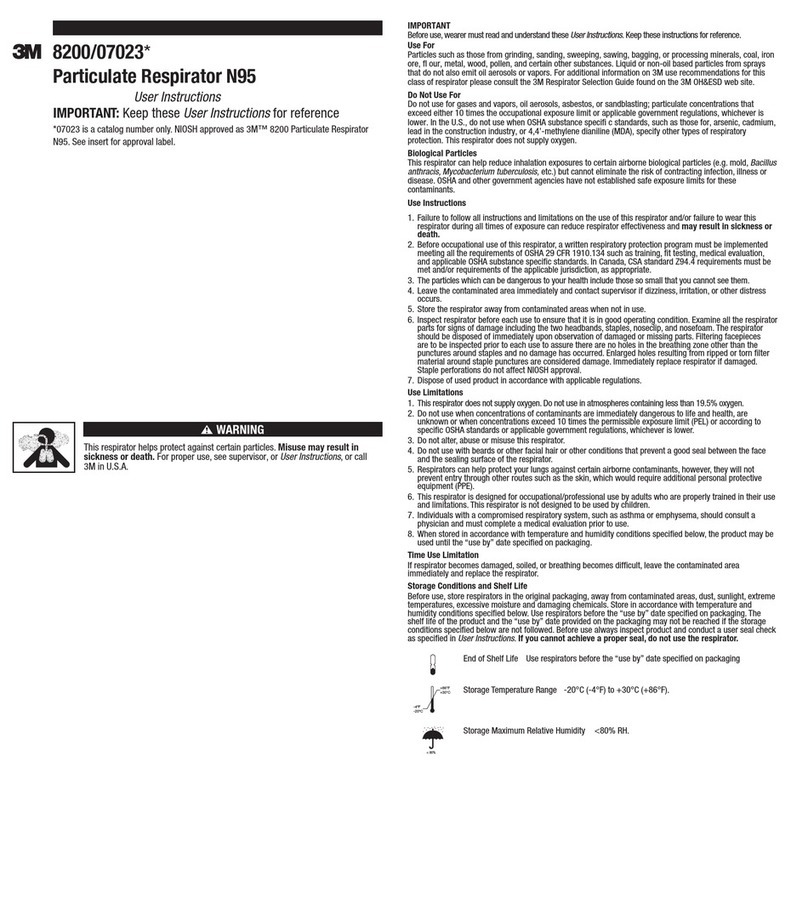
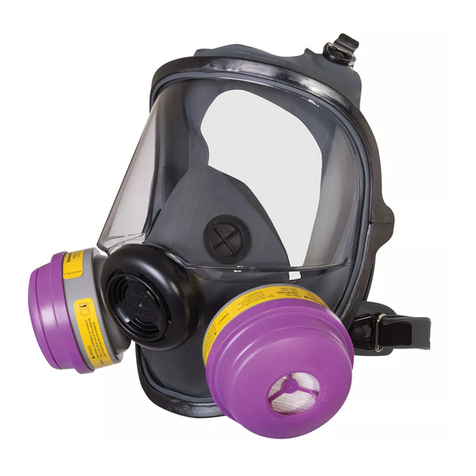
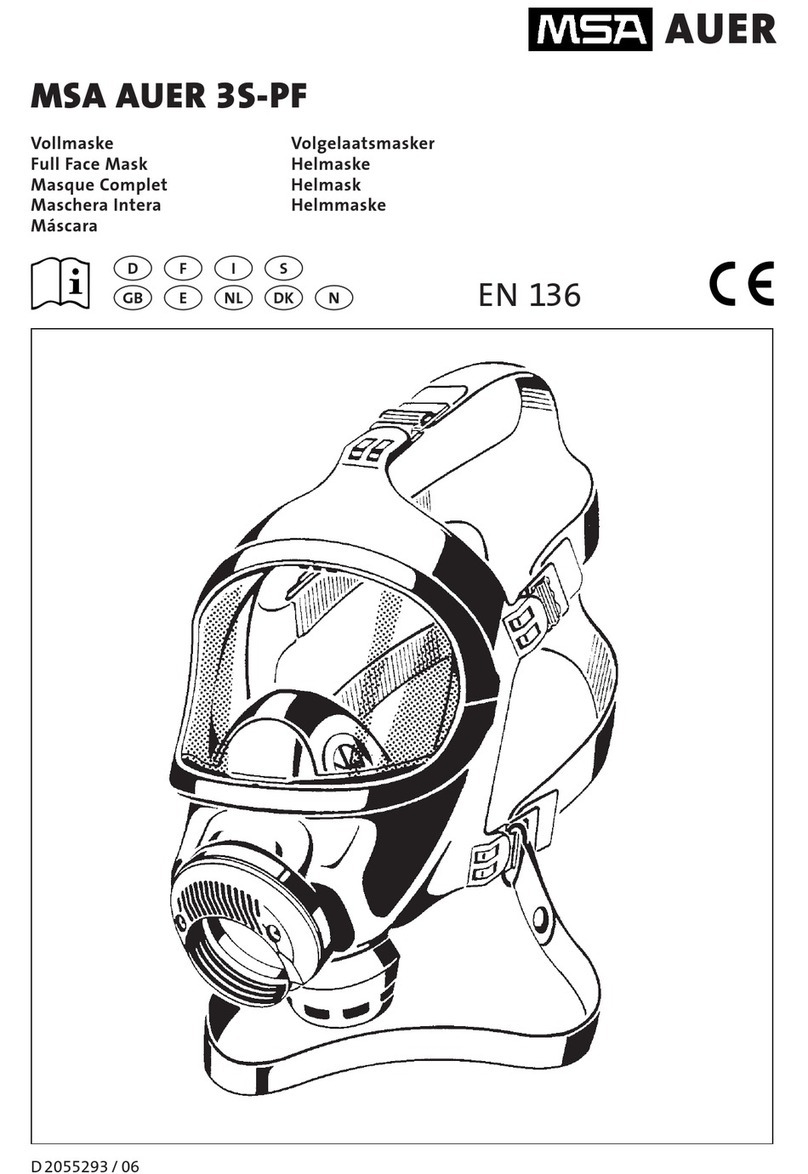
3M SCOTT Vision C5 User manual

USER INSTRUCTIONS
3M™ SCOTT™ VISION C5
FULL FACEPIECE
READ ALL USER INSTRUCTIONS BEFORE USE
P/N 595390-01 Rev D 202009

All information, illustrations, and specifications in this User Instruction are based on the latest product information
available at the time of publication. 3M Scott reserves the right to make changes at any time without notice.
The contents of this User Instruction may not be reproduced in whole or in part without obtaining express written
permission from 3M Scott.
Cautionary Notice
While the manufacturer has attempted to detail in this User Instruction all areas of possible danger to personnel in
connection with the use and servicing of this equipment, personnel should use caution when installing, inspecting,
operating, and servicing this equipment.
The manufacturer is specifically not liable for any damage or injury arising out of a user’s failure to follow the
instructions contained in this User Instruction or failure to exercise due care and caution in the installation, operation,
inspection, and service of this equipment.
Import and Export
The international transport of this equipment and any related documentation is regulated under United States export
laws and regulations and may be regulated by the import or export laws and regulations of other countries.
If you have any questions or concerns regarding these regulations, contact 3M Scott at 1-800-247-7257
(704-291-8300 outside the continental United States).
Questions or Concerns
If you have any questions or concerns regarding use of this equipment, contact your authorized 3M Scott distributor,
or contact 3M Scott at 1-800-247-7257 (704-291-8300 outside the continental United States) or

P/N 595390-01 Rev D 202009 3
Contents
About This User instruction ......................................................................................................... 5
Intended Readers........................................................................................................................................5
How to Read This User Instruction ........................................................................................................ 5
Warnings, Cautions, and Notes .......................................................................................................5
Before You Begin ........................................................................................................................................6
Maintenance and Repairs ..................................................................................................................6
Retirement Criteria and Considerations ........................................................................................6
Safety Information ...................................................................................................................... 7
All 3M Scott Fire & Safety Products...................................................................................................... 7
3M Scott Full Facepieces.........................................................................................................................8
Warnings and Cautions .............................................................................................................................8
Chapter 1 Introduction ...................................................................................................................................11
Before You Begin ....................................................................................................................................... 11
Overview ...................................................................................................................................................... 11
Facepiece Components........................................................................................................................... 11
Chapter 2 Inspection .....................................................................................................................................13
Before You Begin ...................................................................................................................................... 13
Inspecting the Facepiece ....................................................................................................................... 13
Performing Operational Testing............................................................................................................ 14
Chapter 3 Donning .........................................................................................................................................15
Before You Begin ...................................................................................................................................... 15
Donning the Facepiece ........................................................................................................................... 15
Chapter 4 Cleaning & Maintenance ............................................................................................................21
Before You Begin .......................................................................................................................................21
Cleaning the Facepiece ...........................................................................................................................21
Maintenance...............................................................................................................................................23
Available Parts ....................................................................................................................................23
Removing and Installing the Nosecup Assembly ......................................................................23
Removing and Installing the Head Harness & Straps ...............................................................25
Installing the Neck Strap .................................................................................................................26
Appendix A Facepiece Fitting .........................................................................................................................29
About Fit Testing ......................................................................................................................................29
CBRN SCBA or APR ............................................................................................................................... 30
Fit Testing Procedure ............................................................................................................................. 30
Negative Pressure User Seal Check ............................................................................................ 30
Quantitative Fit Testing .................................................................................................................. 30
Routine Testing .................................................................................................................................. 31
Facepiece Sizes.........................................................................................................................................32
Appendix B Options & Accessories................................................................................................................33
P/N 595390-01
202009
Rev D

CONTENTS
4 P/N 595390-01 Rev D 202009

P/N 595390-01 Rev D 202009 5
ABOUT THIS USER INSTRUCTION
This User Instruction provides operating and maintenance instructions for the 3M Scott Vision C5 full facepiece.
Intended Readers
3M Scott provides User Instructions for individuals with different levels of training. This User Instruction is written for
Trained Operators.
•A Trained Operator is an individual who has had minimum-level training in the use of 3M Scott Fire & Safety
equipment in a hazardous environment. He or she is familiar with the instructions provided in this manual and is
capable of performing basic maintenance tasks as outlined.
•A Certified Technician is an individual who has successfully completed the Air Supplied Certified Technician II
class offered by 3M Scott. Certified technicians are able to use specialized equipment, including the Posi3 USB™
1 SCBA testing equipment, and are able to make repairs to the SCBA that involve the air flow path.
How to Read This User Instruction
Warnings, Cautions, and Notes
Throughout this User Instruction, special references are made when deemed important. The following classifications
distinguish these references by their level of importance:
1. Posi3 USB is a trademark of Honeywell Analytics, Inc., Lincolnshire, IL.
WARNING
Indicates a hazardous situation which, if not avoided, could result in serious injury or death
CAUTION
Indicates a hazardous situation which, if not avoided, could result in minor or moderate injury and/or
property damage
NOTE
Indicates a situation which, if not avoided, could result in property damage
TIP
Indicates helpful information
P/N 595390-01
202009
Rev D

ABOUT THIS USER INSTRUCTION
6 P/N 595390-01 Rev D 202009
Before You Begin
Before beginning any procedures, review the User Instruction in its entirety. Thoroughly read all warnings, cautions,
and notes. Ensure that the proper tools, kits, parts, and materials are at hand and ready for use. Any required tools and
other supporting materials are listed at the beginning of the procedure. When performing any maintenance checks or
services on any 3M Scott Fire & Safety product or device, proceed only as far as necessary and as instructed by this
User Instruction.
Maintenance and Repairs
Comply with all instructions and warnings contained in all applicable User Instructions.
It is your responsibility to obtain and use the most current User Instructions that apply to the operations being
performed. The instructional material must include the most current materials: manuals or manual modules, User
Instructions, Inspection and Cleaning Instructions, Installation and Use Instructions, and any additional 3M Scott
approved support material required to maintain the equipment.
Current service literature is available from 3M Scott. The Certified Technician I Training Manual contains additional
maintenance information that goes beyond the routine cleaning and regular operational inspection of the equipment
but is less advanced than Certified Technician II-level maintenance available at a 3M Scott Authorized Service Center.
A person with good mechanical ability using standard hand tools is capable of performing Technician I-level tasks.
Contact 3M Scott or your 3M Scott distributor for details.
Because this equipment may be used to support human life in a hazardous atmosphere, do not attempt maintenance
beyond that described in this User Instruction or in the Certified Technician I Training Manual. If disassembly or
adjustment other than described in this User Instruction or the Certified Technician I Training Manual is required, the
equipment must be serviced by a 3M Authorized Service Center in accordance with the appropriate 3M Scott Fire &
Safety Technician Service Manuals. You can arrange service by an Authorized Service Center through your authorized
3M Scott distributor or by contacting 3M Scott.
If you note a discrepancy while performing operation or maintenance checks and services, tag the equipment as “Out
of Service” and refer it to a 3M Scott Certified Technician II.
While an attempt has been made to address all foreseeable operation/service conditions, exercise careful judgment
in removing from service any equipment that does not appear to function correctly, even if all operator-level
maintenance checks and services have been completed. If there is any doubt regarding the safe operation of the
equipment, remove it from service and tag it for repair.
Retirement Criteria and Considerations
Retirement criteria and considerations are determined by 3M Scott trained and Certified Technicians (Level II).

P/N 595390-01 Rev D 202009 7
SAFETY INFORMATION
Read all of the safety information before beginning any of the procedures in this User Instruction. The safety
information in this section is organized as follows:
•“All 3M Scott Fire & Safety Products” on page 7
•“3M Scott Full Facepieces” on page 8
All 3M Scott Fire & Safety Products
The following safety directives apply to all 3M Scott Fire & Safety products.
•Many 3M Scott Fire & Safety products are intended to support human life in hazardous atmospheres. Failure to
carefully read, understand, and follow the instructions and warnings in this User Instruction may result in serious
injury or death.
•Improper use of this equipment may result in serious injury or death. Improper use includes, but is not limited to,
use without adequate training, disregard of the warnings and instructions contained herein, use of the equipment
for purposes not included in these User Instructions, and failure to inspect and maintain the equipment.
•Apply only the instructions offered within this User Instruction. Maintenance procedures beyond the scope of this
User Instruction must not be performed. Additional disassembly may cause operation errors and/or component
failure and result in serious injury or death. If a discrepancy or malfunction cannot be corrected using the
procedures contained within this User Instruction, the product must be tagged to indicate that it is unserviceable
and referred to a 3M Scott Certified Technician II for evaluation and repair.
•Comply with all User Instructions and warnings contained in this and all applicable manuals and modules. While
an attempt has been made to address all foreseeable operating conditions, you must exercise careful judgment
when operating any equipment. If there is any doubt regarding the safe operation of equipment, remove the
equipment from service and tag it for repair.
•You are responsible for any damage, improper function, or injury as a result of user-applied markings, etchings,
labeling, material additions, or modifications to the equipment.
P/N 595390-01
202009
Rev D

SAFETY INFORMATION
8 P/N 595390-01 Rev D 202009
3M Scott Full Facepieces
The following safety directives, warnings, and cautions apply to 3M Scott full facepieces. For safety information
specific to 3M Scott Air-Pak respirators, see the User Instructions provided with the respirator.
•Improper use of this equipment may result in serious injury or death. Improper use includes, but is not limited to,
use without adequate training, disregard of the warnings and instructions contained herein, and failure to inspect
and maintain this equipment. Read and understand all User Instructions before attempting to operate or service
this equipment.
•The information in this User Instruction is meant to supplement — not replace — the instructions, training,
supervision, maintenance, and other elements of your organized respiratory protection program.
•Use this equipment only in conjunction with an organized respiratory protection program.
•This equipment is designed and intended to function properly in reasonable/ordinary firefighting conditions. The
functionality of this equipment may be compromised by extreme fire conditions.
•Training is required before use of this equipment. Use this equipment only if you have been trained in its use and
only in conjunction with an organized respiratory protection program. Do not use this equipment for purposes
other than those authorized by your respiratory protection program. Do not use this equipment underwater.
•Fit testing is required to determine the correct facepiece for each user. The Respiratory Protection Program
Manager or Safety Coordinator must assist the user in selecting the correct facepiece size relative to the user’s
facial features and dimensions. Prior to use, fit testing must be performed with any approved 3M Scott accessory
that will be installed on the facepiece, such as communications devices or thermal imaging systems. See
“Appendix A: Facepiece Fitting” on page 29.
Warnings and Cautions
WARNING
To reduce the risks associated with exposure to contaminants:
The contaminant must be identified, and effectively removed or contaminated components must be
removed and disposed of in accordance with applicable regulations.
CAUTION
To reduce the risks associated with environmental contamination:
Dispose of all system components, including battery (when provided), in accordance with applicable local
laws and government regulations.
WARNING
To reduce the risks associated with loss of air supply, exposure to contaminants, and oxygen-deficient
atmospheres:
•Do not store the facepiece with anything attached to the docking port. Storing the facepiece in this way
may cause damage.
•Verify all moisture has been removed from all respirator components before storage. Moisture in the
facepiece or working parts of the respirator, especially when exposed to freezing temperatures, may
cause a malfunction of the respirator.

SAFETY INFORMATION
9 P/N 595390-01 Rev D 202009
WARNING
To reduce the risks associated with exposure to contaminants and oxygen-deficient atmospheres:
•Verify that the facepiece is properly donned according to the donning procedure section in this User
Instruction and nothing interferes with the face to facepiece seal.
•Perform a quantitative fit test and facepiece leak check after donning the facepiece.
•Do not wear the facepiece when conditions prevent a good faceseal. Such conditions may include, but
are not limited to, facial hair such as growth of beard or sideburns, a low hairline that crosses or interferes
with the sealing surface, thick or protruding hairstyles such as pony tails or buns that interfere with the
smooth and close fit of the head harness to the head, a skull cap that projects under the facepiece, or
temple pieces on glasses. Also, the absence of one or both dentures can seriously affect the fit of a
facepiece.
•Regularly inspect the facepiece and harness for loose, worn, or damaged components.
•Take care to prevent snagging the facepiece, which may pull the facepiece away from the face.
WARNING
To reduce the risks associated with vision impairment:
Verify the nosecup and nosecup inhalation valves are properly installed.
WARNING
To reduce the risks associated with fire and extreme heat exposure:
Ensure that any protective head gear does not interfere with the facepiece seal or the facepiece's functions.
If wearing a fire hood, ensure that its face opening sits on top of the faceseal directly behind the bezel.
WARNING
To reduce the risks associated with loss of air supply, reduced service life, exposure to contaminants,
and oxygen-deficient atmospheres:
If you detect an air leak into the facepiece performing a User Seal Check, do not use the respirator.
WARNING
To reduce the risks associated with exposure to contaminants, oxygen-deficient atmospheres, and
entanglement:
Ensure the facepiece neck strap is behind your head when the facepiece is donned so that the strap is not
easily snagged but allows enough slack for free movement of the facepiece.
WARNING
To reduce the risks associated with fire and explosion:
•When cleaning the facepiece, use a dampened cloth to avoid building an electrostatic charge.
•Do not clean or perform maintenance on the facepiece in an explosive environment.
•Do not use an RFID tag reader that has an output power greater than 6 watts while in a flammable
atmosphere.

SAFETY INFORMATION
10 P/N 595390-01 Rev D 202009
WARNING
To reduce the risks associated with fire, explosion, exposure to contaminants, and oxygen-deficient
atmospheres:
•Do not alter or repair the facepiece beyond the scope of these User Instructions.
•Use only 3M Scott-approved parts.
•Follow the regular operational inspection procedures exactly. If there are any operational malfunctions,
remove the respirator from service and tag for repair by authorized personnel.
WARNING
To reduce the risks associated with loss of air supply, exposure to life-threating contaminants, or
oxygen-deficient atmospheres:
•Stay alert when operating this equipment.
•Do not operate this equipment while under the influence of drugs, alcohol, or medication that may affect
vision, dexterity, or judgment.
WARNING
To reduce the risks associated with fire and dermal exposure to contaminants:
Always wear the appropriate personal protective equipment in accordance with your EHS program. This
respirator only provides protection to the user's respiratory system and to part of the face.

P/N 595390-01 Rev D 202009 11
P/N 595390-01
202009
Rev D
CHAPTER 1
INTRODUCTION
This chapter describes the 3M Scott Vision C5 full facepiece and its major components.
Before You Begin
Carefully read “Safety Information” on page 7 before beginning any of the procedures in this User Instruction.
Overview
The Vision C5 full facepiece, when combined with an appropriate respiratory protection system, provides respiratory
protection to an individual when entering, working in, or exiting a hazardous atmosphere. This equipment is designed
to withstand exposure to certain environmental conditions as defined by the applicable approvals.
Facepiece Components
The Vision C5 facepiece consists of the components shown in Figure 1-1.
Figure 1-1 3M Scott Vision C5 full facepiece
Head Harness
Nosecup with
inhalation valves
Lens
(Fenestra)
Facepiece Docking Port
Voicemitters
Lens Frame
(Bezel)

12 P/N 595390-01 Rev D 202009
The full facepiece is available in specific models and sizes. Before use, the facepiece must be properly fitted as
outlined in “Appendix A: Facepiece Fitting” on page 29.
Fit testing per OSHA Standard 29 CFR Part 1910.134 Appendix A, or ANSI/AIHA/ASSE Z88.10, current edition,
requires testing in the negative pressure mode using protocols deemed acceptable by those standards. For
quantitative fit testing, 3M Scott Fire & Safety facepieces require use of a Fit Test Adapter or equivalent and
appropriate negative pressure testing equipment. A Mask Seal Kit may also be required to attain a proper fit. See
“Appendix A: Facepiece Fitting” on page 29.

P/N 595390-01 Rev D 202009 13
P/N 595390-01
202009
Rev D
CHAPTER 2
INSPECTION
This chapter describes how to perform a regular operational inspection of a 3M Scott Vision C5 full facepiece. Follow
the procedures in this chapter when you first receive the facepiece and during daily or periodic inspection of the
facepiece:
•“Before You Begin” on page 13
•“Inspecting the Facepiece” on page 13
•“Performing Operational Testing” on page 14
Before You Begin
Carefully read the “Safety Information” on page 7 before beginning any of the procedures in this chapter.
See the User Instructions provided with your 3M Scott Air-Pak respirator for full details about donning and using the
facepiece. Remember, the facepiece alone does not provide any protection against a hazardous atmosphere without
the use of the other components required for operation of the complete respirator.
Inspecting the Facepiece
Always inspect and clean the facepiece before the first use. Remove and keep the protective static cling label
attached to the lens of a new facepiece; the label may be re-used during storage of the facepiece.
The facepiece must be complete and in serviceable condition with no worn, loose, or damaged components.
To inspect the facepiece
1 Inspect the facepiece seal and other rubber components for deformation, wear, cracks, or other damage.
2 Inspect the lens and lens frame.
a Inspect the lens for scratches, gouges, cracks, crazing, distortion, melting, or any other damage or condition
that could impair the user’s vision or the operation of the facepiece.
b Inspect the lens frame for damage such as cracks or distortion.
c Verify that the lens frame screws are present and installed correctly.
3 Inspect the head harness.
a Check that all harness anchors are present and operating properly.
b Inspect the head harness for correct installation with all straps oriented correctly.
c Inspect the head harness for damage or worn components.
4 Inspect the voicemitters and ducts.
a Verify that the voicemitter ducts are properly installed.
b Inspect the voicemitters for damage and verify that the voicemitters are properly installed and secure in the
voicemitter ducts.

INSPECTION
14 P/N 595390-01 Rev D 202009
5 Inspect the nosecup.
a Inspect the nosecup for cuts or damage. Look for any signs of damage to the facepiece docking port side of
the nosecup where the regulator attaches.
b Verify that both inhalation valves in the nosecup are present
and properly installed.
c Verify that the nosecup is properly installed. Check that the
nosecup is properly seated between the flanges of the
voicemitter ducts and is inside the faceseal (away from the
wearer). See Figure 2-1.
6 Verify that the facepiece is clean. See “Cleaning the Facepiece”
on page 21.
7 Adjust the head straps to the full outward position.
Figure 2-1 Checking the nosecup installation
Performing Operational Testing
See the User Instructions provided with your 3M Scott Air-Pak respirator for full details about operational testing of the
respirator with the facepiece. You should perform operational testing before each use of the respirator.
Nosecup
Faceseal

P/N 595390-01 Rev D 202009 15
P/N 595390-01
202009
Rev D
CHAPTER 3
DONNING
This chapter provides the basic instructions for donning the 3M Scott Vision C5 full facepiece. Training and practice
with the equipment are required before operation to ensure that you are completely familiar with its operation.
Instructions for donning the facepiece are divided into the following sections:
•“Before You Begin” on page 15
•“Donning the Facepiece” on page 15
Before You Begin
Before performing any of the procedures in this chapter:
•Carefully read “Safety Information” on page 7.
•Inspect the facepiece as described in “Chapter 2: Inspection” on page 13.
Determine what other protective gear you will use and don the facepiece accordingly.
If facepiece use is expected at temperatures near or below freezing, or if the facepiece is to be used after storage at
temperatures near or below freezing, see the User Instructions provided with your 3M Scott Air-Pak respirator for full
details about low temperature operation.
Donning the Facepiece
Before donning the facepiece, examine it to verify that it is complete and in serviceable condition.
For more information, see “Inspecting the Facepiece” on page 13.
Periodic fit testing (at least yearly) is required to identify any physical changes of the user which could affect the fit of
the facepiece. Refer to the appropriate steps in “Appendix A: Facepiece Fitting” on page 29.
To don the facepiece
You must be familiar with and practice the prescribed donning and termination of use procedures for the facepiece
prior to using the respirator.

DONNING
16 P/N 595390-01 Rev D 202009
1 Adjust the head straps to the full outward position. See Figure 3-1.
Figure 3-1 Adjusting the head straps to the fill
outward position
2Hold the facepiece in one hand. Fold the head harness over the lens
(see Figure 3-2), or hold the head harness up and out of the way
with the other hand.
Figure 3-2 Folding the head harness over the lens
3Place the facepiece centered on the face with the chin properly
positioned in the chin cup. See Figure 3-3.
Figure 3-3 Positioning the chin
4Using the hand hold at the bottom of the netting, pull the head
harness over the crown of the head and down the back of the head.
Pull forcefully enough that the facepiece moves up to position your
chin snugly within the chin cup and forms a close fit to your face.
See Figure 3-3.
Figure 3-4 Placing the facepiece on the face
5Verify that no hair or clothing interferes with the face-to-facepiece seal. Verify that the head harness forms a
close fit to your head.

DONNING THE FACEPIECE
P/N 595390-01 Rev D 202009 17
TIP
Ensure that the chin is properly located in the chin cup of the facepiece throughout the donning process.
6Smooth the head harness over the head and ensure that straps are
lying smooth and flat against the head and neck with no twists. See
Figure 3-5.
7Verify the head harness is centered and properly located at the
back and base of the head. Maintain the head harness in this
position.
Figure 3-5 Smoothing the head harness
TIP
Verify that the top center portion of the head harness is positioned over the crown of the head.
8While holding the facepiece in place with one hand, tighten the
neck straps evenly one at a time by pulling each neck strap end
toward the rear of the head. Alternate hands to maintain the
facepiece position on the face. See Figure 3-6.
Figure 3-6 Tightening the neck straps
9Verify the proper location of the face in the facepiece and the chin
in the chin cup. While still holding the facepiece in place with one
hand, tighten the temple straps evenly one at a time by pulling each
temple strap end toward the rear of the head. Alternate hands to
maintain the facepiece position on the face. See Figure 3-7.
Figure 3-7 Tightening the temple straps

DONNING
18 P/N 595390-01 Rev D 202009
10 Smooth the head harness down the back of the head and make sure
the net is flat against the head. If necessary, adjust the bottom of
the head harness to sit below the crown of the head. See
Figure 3-8.
11 Verify that the head harness is centered on the crown of the head
and lying flat against the back of the head.
12 Again, use the hand hold at the bottom of the netting to pull the
head harness down the back of the head. Pull forcefully enough that
the facepiece moves up to position your chin snugly within the chin
cup and forms a close fit to your face. Figure 3-8 Adjusting the head harness
13 Once again, verify the proper location of the face in the facepiece
and the chin in the chin cup.
14 Re-tighten the straps. All straps must be snug and the facepiece
should feel secure. See Figure 3-9.
Figure 3-9 Verifying facepiece positioning
15 Perform a personal check of the facepiece and head harness and address any donning problems. If possible,
have a partner verify that you have donned your facepiece properly or use a mirror to check.
Possible facepiece donning problems include the following (see Figure 3-10):
•Head harness strap is twisted.
•Head harness is off-center or not flat against the head.
•Head harness is too high on the head.
•Hair or clothing is in the faceseal.
•Face seal is rolled over inside the facepiece rather than flat against the face.
•Facepiece sits too low on the face as evidenced by pressure on the forehead or the facepiece contacting
the throat area, permitting a break in the seal.
Similar conditions can occur with other facepieces as well. Verify that the facepiece is donned correctly regard-
less of the head harness style. If any donning problems are found, remove the facepiece and re-don the
facepiece correctly.
16 Perform a negative pressure User Seal Check by covering the facepiece docking port with your hand and
inhaling gently. If you feel the facepiece collapse slightly and pull closer to your face with no leaks between the
face and the facepiece, a proper seal has been obtained. If faceseal air leakage is detected, reposition the
facepiece on your face and/or readjust the tension of the straps to eliminate the leakage and recheck the seal.

DONNING THE FACEPIECE
P/N 595390-01 Rev D 202009 19
Figure 3-10 Donning problems
NOTE
Be careful not to disturb the facepiece seal by pressing too firmly during the negative pressure User Seal
Check.
TIP
The OSHA Respiratory Protection Standard requires teams of at least two people during interior structural
firefighting [29CFR1910.134(g)(4)(i)] when entering into and operating in an IDLH atmosphere. If necessary,
ask your partner to verify that you have donned the facepiece properly.
Twisted head harness strap Head harness not centered
Head harness too high Facepiece too low

DONNING
20 P/N 595390-01 Rev D 202009
Other manuals for SCOTT Vision C5
1
Table of contents
Other 3M Respiratory Product manuals