manuals.online logo
Brands
  1. Home
  2. •
  3. Brands
  4. •
  5. ABB
  6. •
  7. Control Unit
  8. •
  9. ABB A3 Series User manual

ABB A3 Series User manual

This manual suits for next models

5

Other ABB Control Unit manuals

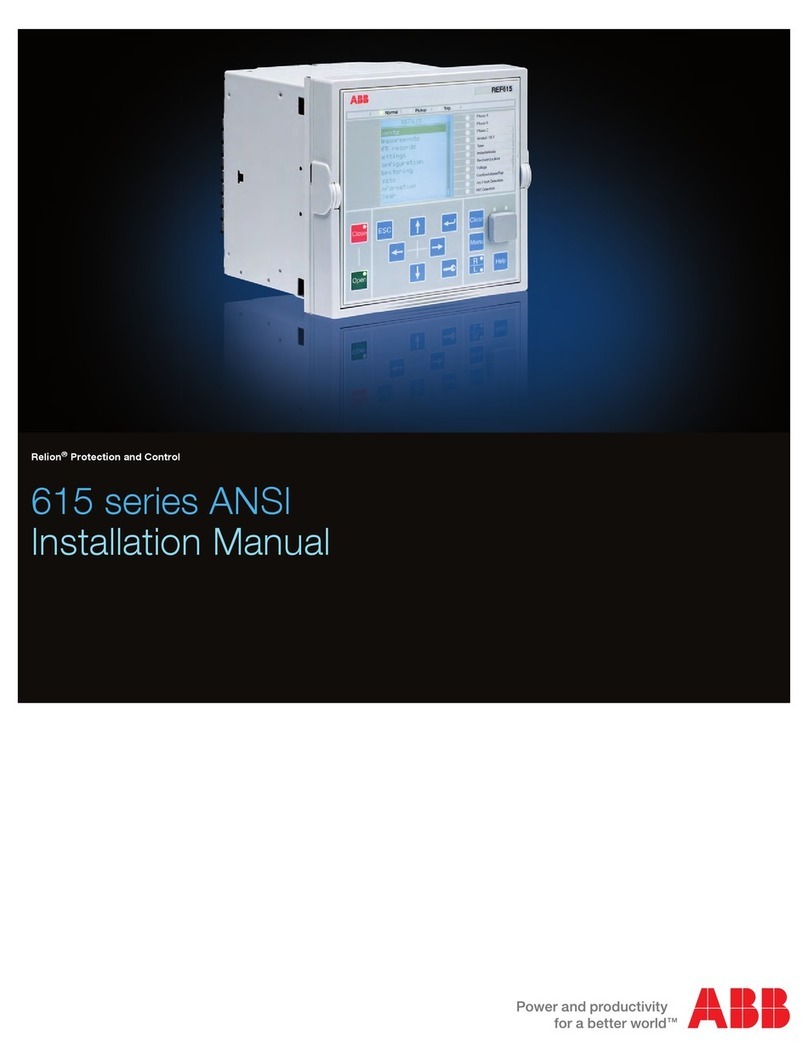
ABB RED615 ANSI Instructions for use

ABB

ABB RED615 ANSI Instructions for use
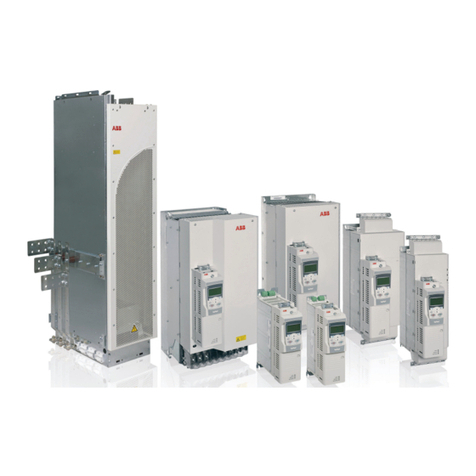
ABB REC650 ANSI Quick start guide

ABB

ABB REC650 ANSI Quick start guide

ABB jokab safety Smile Tina Series User manual

ABB

ABB jokab safety Smile Tina Series User manual

ABB Welcome M2306 User manual

ABB

ABB Welcome M2306 User manual

ABB FPBA-01 PROFIBUS DP Installation manual

ABB

ABB FPBA-01 PROFIBUS DP Installation manual

ABB Relion 670 series Quick start guide

ABB

ABB Relion 670 series Quick start guide

ABB FDNA-01 Installation manual

ABB

ABB FDNA-01 Installation manual

ABB RED615 ANSI User manual

ABB

ABB RED615 ANSI User manual

ABB FENA-21 Installation manual

ABB

ABB FENA-21 Installation manual

ABB 616016-T2 Use and care manual

ABB

ABB 616016-T2 Use and care manual

ABB ACS880-1604 User manual

ABB

ABB ACS880-1604 User manual

ABB FCAN-01 User manual

ABB

ABB FCAN-01 User manual

ABB FPTC-01 User manual

ABB

ABB FPTC-01 User manual

ABB Relion 615 series Installation and operation manual

ABB

ABB Relion 615 series Installation and operation manual

ABB SafeGear User guide

ABB

ABB SafeGear User guide

ABB Triguard SC300E User manual

ABB

ABB Triguard SC300E User manual

ABB COM600 series User manual

ABB

ABB COM600 series User manual

ABB OMD800 User guide

ABB

ABB OMD800 User guide

ABB CMS-700 User manual

ABB

ABB CMS-700 User manual

ABB RER 133 Parts list manual

ABB

ABB RER 133 Parts list manual

ABB SAS-W1.1E User guide

ABB

ABB SAS-W1.1E User guide

ABB ACS880-04F User manual

ABB

ABB ACS880-04F User manual

ABB MTQ22-FBP.0 User manual

ABB

ABB MTQ22-FBP.0 User manual

ABB EAN823 User manual

ABB

ABB EAN823 User manual

Popular Control Unit manuals by other brands

Seitz 14A80 user manual

Seitz

Seitz 14A80 user manual

Wilo RS485 Installation and operating instructions

Wilo

Wilo RS485 Installation and operating instructions

Becker CentralControl CC41 Commissioning Instruction

Becker

Becker CentralControl CC41 Commissioning Instruction

SICK CDB650 operating instructions

SICK

SICK CDB650 operating instructions

Panduit NetKey NKP5E88M Series installation instructions

Panduit

Panduit NetKey NKP5E88M Series installation instructions

MX Options Concentric Petite Fitting instructions

MX

MX Options Concentric Petite Fitting instructions

Clean Water Systems Fleck 2510 Installation & start?up guide

Clean Water Systems

Clean Water Systems Fleck 2510 Installation & start?up guide

Fairchild FSB44104A user guide

Fairchild

Fairchild FSB44104A user guide

LEGRAND Wattstopper LMIN-104 installation instructions

LEGRAND

LEGRAND Wattstopper LMIN-104 installation instructions

PMK ATT10BNCS instruction manual

PMK

PMK ATT10BNCS instruction manual

Tektronix TDS3FFT user manual

Tektronix

Tektronix TDS3FFT user manual

Woodward easYgen Technical manual

Woodward

Woodward easYgen Technical manual

Balluff BNI EIP-502-105-R015 user guide

Balluff

Balluff BNI EIP-502-105-R015 user guide

NXP Semiconductors TWR-LS1021A Getting started

NXP Semiconductors

NXP Semiconductors TWR-LS1021A Getting started

Advantech PCM-3117 Startup manual

Advantech

Advantech PCM-3117 Startup manual

Danfoss MCO 101 manual

Danfoss

Danfoss MCO 101 manual

Moons' Lin Engineering R701P user manual

Moons'

Moons' Lin Engineering R701P user manual

Aventics RV1 operating instructions

Aventics

Aventics RV1 operating instructions

manuals.online logo
manuals.online logoBrands
  • About & Mission
  • Contact us
  • Privacy Policy
  • Terms and Conditions

Copyright 2025 Manuals.Online. All Rights Reserved.

Mounting hole pattern
Typical spacing shown. Automotive name plate
requires 2.5" spacing. Some accessories also
require additional spacing.
—
INSTRUCTION SHEET
A3P oil-tight push-pull operator
These instructions do not purport to cover
all details or variations in equipment nor
to provide for every possible contingency
to be met in connection with installation,
operation or maintenance. Should further
information be desired or should
particular problems arise that are not
covered sufficiently for the purchaser’s
purpose, the matter should be referred to
ABB Inc.
The contents of this instruction manual
shall not become part of or modify any
prior or existing agreement, commitment
or relationship. The sales contract
contains the entire obligation of ABB. The
warranty contained in the contract
between the parties is the sole warranty
of ABB. Any statements contained herein
do not create new warranties or modify
the existing warranty.
Cat. no.
A3PP4_ _
A3PP6__
A3PPM__
A 3P T4R _ _
A3PB4__
A3PB6_ _
A3PBE__
A3PBF_ _
—
Step 3
Disassemble before installation
Large gaskets
Index locking ring
—
Step 1
1.25
[31.8]
1.25
[31.8]
2.25
[57.2]
0.672
[17.1]
0.190
[4.8]
Ø1.210
[Ø30.7]
2.25
[57.2]
Small gasket
—
Step 2
Name plate (optional)
2"
2 3⁄8"
Large
—
Name plates
115⁄16"
4⁄5"
2"
Standard
4⁄5"
27⁄16"
27⁄16"
Automotive
For replacement parts information or
an application guide, visit our website
at abb.com/low-voltage or contact
your ABB representative.
For more information on optional
mounting kits, name plates and
other accessories, visit
abb.com/low-voltage.
WARNING
Hazardous voltage. Can cause
death, serious personal injury
or property damage.
To avoid electrical shock, turn
off electrical power to controls
before performing installation
or maintenance.
1
Panel thickness range
(inches)
Gaskets
required
16 ga – 14 ga 3
(0.060 – 0.075)
13 ga – 10 ga 2
(0.090 – 0.135)
9 ga – 7 ga 1
(0.150 – 0.188)
—
Step 4
—
Step 5
—
Step 6a
—
Step 6b
Locknut wrench
Cat. no. A3XGLW
Assemble parts
shown. Leave the
lens and small
gasket off until
step #6.
—
Replacement bulb chart
Volts
Incandescent
bulb
LED lamp – single bulb
Red Green Yellow White Blue
6#755* A3XBL6R A3XBL6G A3XBL6Y A3XBL6W A3XBL6L
24 #757 A3XBL2R A3XBL2G A3XBL2Y A3XBL2Y A3XBL2L
120 N/A A3XBL4R A3XBL4G A3XBL4Y A3XBL4Y A3XBL4L
*Also flashing lamp #267
Tighten locking nut to 40 ± 2 in-lb [4.5 Nm] recommended torque.
Contact operation:
Torque contact block retaining screws to 8 – 10 in-lb [0.9 – 1.1 Nm]
Torque light module retaining screws to 4 – 5 in-lb [0.5 – 0.6 Nm]
Maintained push-pull
Normally open contacts — use A3XC10 contact block
Normally closed contacts — use A3XC01 contact block
Momentary push-pull (factory assembled)
Normally open contacts — use A3XC01 contact block (becomes normally open when assembled)
Normally closed contacts — use special A3XC1EL contact block which must be mounted last
Plastic lens
1. Place small gasket inside nut.
2. Insert mushroom head/pushbutton
into switch body.
3. Tighten securely by hand.
2
1SQC910006M0201, A5E50558178, April 2021
—
We reserve the right to make technical
changes or modify the contents of this
document without prior notice. With regard
to purchase orders, the agreed particulars
shall prevail. ABB Inc. does not accept any
responsibility whatsoever for potential
errors or possible lack of information in
this document.
We reserve all rights in this document
and in the subject matter and illustrations
contained therein. Any reproduction or
utilization of its contents – in whole or in
parts – is forbidden without prior written
consent of ABB Inc. Copyright© 2021 ABB.
All rights reserved.
—
USA
ABB Inc.
305 Gregson Drive
Cary, NC 27511
abb.com/low-voltage