Installation instructions
1. Remove the unit from the packing box and inspect it for damage or imperfections. If any damage is found, do not
install the unit, but replace it carefully into the packing box and notify the ABB product support hotline in Australia on
1300 666 595.
2. If all looks okay, installation can proceed.
3. Remove the top cover from the gear tray by unscrewing a screw on each side.
4. Work out the mains entry then hold the gear tray in position and mark the centre of 2 fixing holes.
5. Drill holes and secure the gear tray in place by using appropriate M4 screws (due to the wide variety of building
construction materials, fasteners are not supplied). Make sure the mounting screws are fixed into solid material that is
strong enough to support the weight of the unit which is approximately 3.5kg.
6. Terminate mains wires to the terminal block. Be careful with multi-strand conductors that all the strands are twisted
together before insertion into the terminal block. Any stray strands that inadvertently come into contact with their
neighbouring terminal will cause undesirable results when fitting is powered.
7. This step is for Nexus LX product only; terminate the data cable to the small terminal block make sure the same colour
wire from each data cables connects to the terminal marked +. The other colour wire from each of the data cables
connects to the terminal marked -. No mains or mains carrying cables are to be connected to the data terminals or
cables.
8. This step is for Nexus RF product only; fit the antenna connector through the vacant hole on the cover and connect
the antenna to it. Collect the MAC address, by removing the peel off sticker section and locating it on your floor plan or
spreadsheet.
9. Connect the battery cable and lamp head cable to the control pack.
10. Install the cover to the gear tray and secure it in place by 2 screws provided.
11. Check operation of the unit to ensure that the installation was successful. Once powered up, allow a few minutes to
give the battery a small charge, then press the test button located at the Spitfire lamp head. Hold the test button in
for a few seconds and observe the operation of the lamp switching from mains to the emergency mode. If the lamp
on emergency mode works momentarily, that’s okay. Try again in a few more minutes in case battery is completely
discharged, it may take a little time to charge up enough to operate even momentarily. After this time, press the test
button again and if the lamp does not work at all, check the supply, the connections and follow the instruction given in
the trouble shooting guide at the end of this document.
12. This step is for Nexus LX or Nexus RF unit only. Once manually checked, it is ready for the commissioning into the
Nexus network. Keep the information details of this unit including exact location description, DB (distribution board)
and CB (circuit breaker) numbering, channel and router numbering, plan number and cross referencing information
as all of this will be required for entry into the database during commissioning. Refer to the Nexus user and technical
guide for full details. As the installer, it is your responsibility to conduct the initial discharge testing of the installed unit.
Refer to AS/NZS 2293.
Important note: 24 hours is required to allow the fitting battery to reach full capacity, ie: prior to a discharge
test. As the installer, it is your responsibility to conduct the initial discharge testing of the installed fitting.
Refer to AS/NZS2293.
Removal instructions
1. Before removing the installed fitting, de-energise and lock off the supply circuit.
2. Remove the cover, disconnect the mains and data (for Nexus only) cable connection from the terminal block.
3. Disconnect the battery connection from the power pack, for RF version remove the antenna cable from the top cover.
4. Undo the mounting screws and remove the unit from wall or ceiling.
Testing instructions
Once the fitting is permanently connected to the mains supply, a commissioning discharge test as required in
AS/NZS2293.2 must be carried out. You will need to allow 24 hours for the battery to fully charge prior to conducting
this test, presently (at the time of writing), the standard requires that fittings operate in emergency mode for a period not
less than 2 hours for their commissioning test and for not less than 90 minutes thereafter (it is required that 6 monthly
discharge tests be carried out). You will need to keep the records for the commissioning test and enter them into the
building emergency services logbook or via other recording methods as allowed by AS/NZ2293.2.
Construction sites
Continuously switching of the mains power supply that is connected to emergency light fittings during the construction
phase of an installation will cause these fittings to discharge and charge their batteries many times over a short period;
this can shorten the life of the battery and will also result in shortened emergency lamp life. ABB does not recommend
such practices and may not honour the warranty on batteries when they are subjected to such harsh operating
conditions. Emergency light fittings are designed to be discharge tested once every 6 months as per AS/NZS2293.2,
subjecting the product to repeated discharge or charge cycles is regarded as an abuse of the fittings.
Trouble shooting guide
If you have installed and connected the unit as per the instructions listed earlier and it does not function correctly, use the
following table as a guide to fixing the problem. Look up the type of fault in the left column and check the possible causes
from the right column.
If the unit still does not work after checking these possible causes, contact ABB service in Australia on 1300 666 595,
Monday to Friday, 7.00am to 5.00pm (AEST) and ask for help. Our trained service personnel will usually be able to
take your call immediately and assist you in resolving your difficulty. ABB is committed to providing valuable through-life
support for its products.
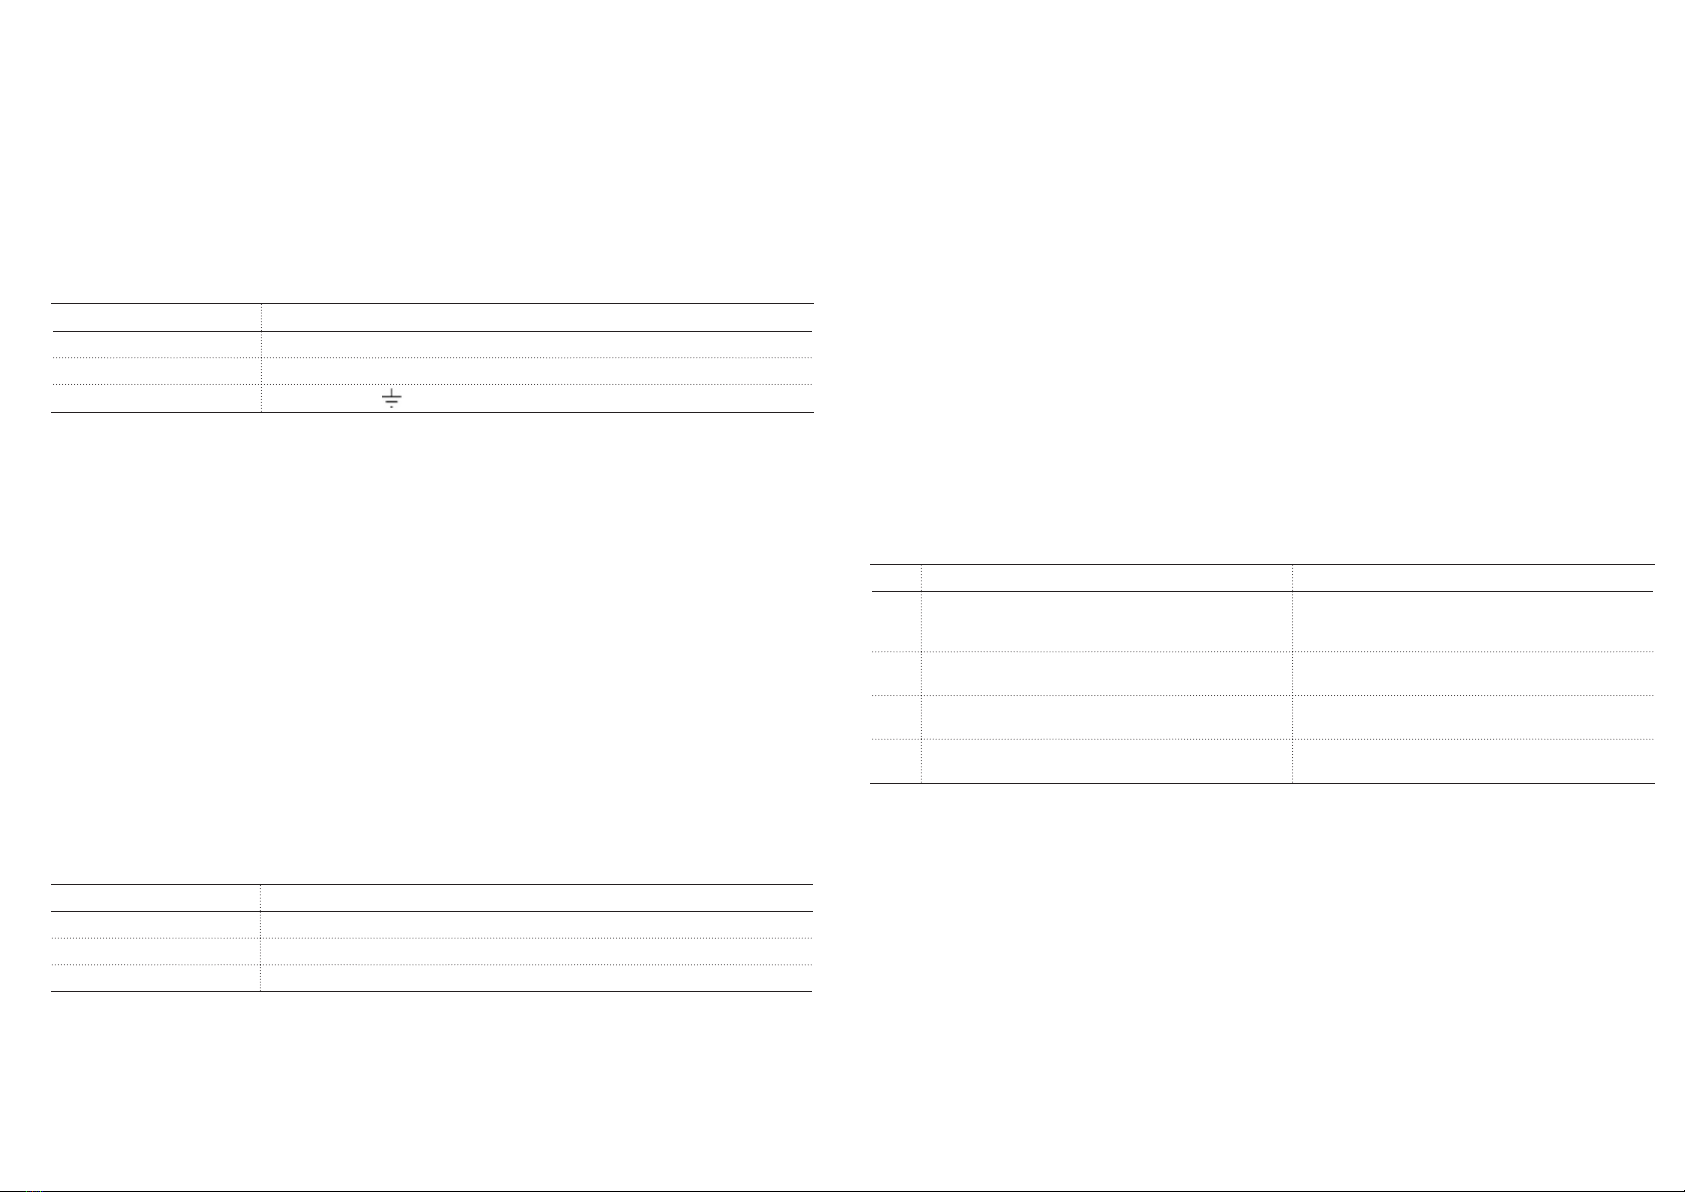
Wire/fitting type
Unswitched active Wire to terminal A
Neutral Wire to terminal N
Earth Wire to terminal E or
No. Fault Possible causes
1 LED light source and indicating LED not lit AC supply not connected; or
AC supply turned off; or
Test switch damaged
2 LED light source is lit but indicating LED not lit Test switch damaged; or
Battery not connected or faulty
3 LED light source does not switch to emergency mode when the
test button is pressed
Test switch damaged; or
Battery not connected or faulty
4 LED light source works momentarily on emergency when the test
button is pressed
Battery not yet charged (allow up to 24 hours)
Fitting type Indicator LED state - on initial powering - no fitting faults
Non-monitored Solid red
Nexus LX Flashing green
Nexus RF Green flash with 2 red blinks, green flash with 3 red blinks


