INTRODUCTION
5
ants of the EVSE5X1 and 5X3 series should be installed and taken into operation by a
qualified electrical contractor. Your local distributor will be happy to arrange specialist
installation for you at your desired location.
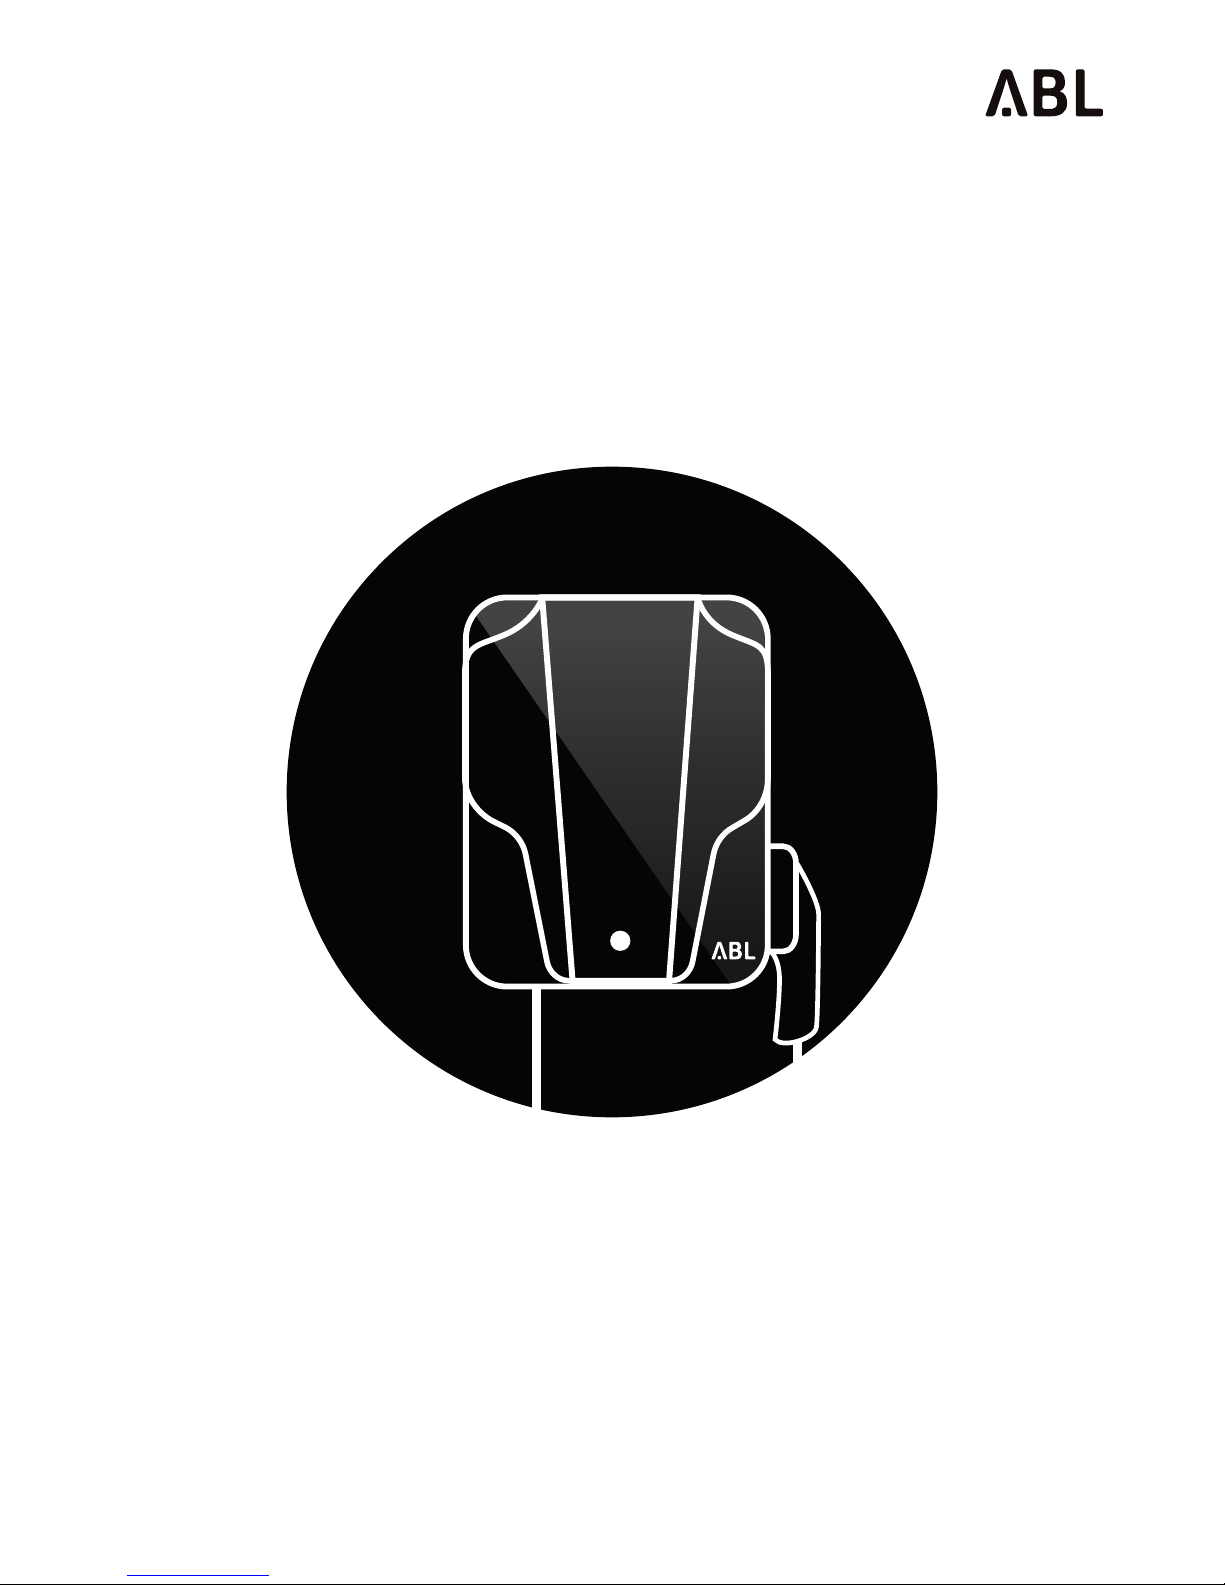
Identifying your product variant
The eMH1 series comprises several model variants, which are mechanically and/or
electrically adapted to different usage profiles. For identification, a product compliance
plate is located at the back of the lockable housing cover shield near the hinge. Please
open the cover shield before taking the device into operation and check the compli-
ance plate to ensure that the model variant you have installed is the one described in
this manual.
For identification, the model code
(EVSE 5XX) as well as the power sup-
ply ratings (voltage, frequency, cur-
rent) indicated below it are especially
relevant.
The following Wallboxes are described in this manual:
MODEL POWER SUPPLY MODEL VARIANT
EVSE 501 230 V / 50 Hz / 16 A
Fixed charging cable with type 1 connector, inter-
nal residual current circuit breaker and DC fault
current detector, integrated counter, charging
output 3.6 kW
EVSE 511 230 V / 50 Hz / 16 A
Fixed charging cable with type 1 connector, in-
ternal residual current circuit breaker, authorized
by NISSAN EUROPE, S.A.S., charging output 3.6
kW
EVSE 531 230 V / 50 Hz / 30 A
Fixed charging cable with type 1 connector, inter-
nal residual current circuit breaker, authorized by
NISSAN EUROPE, S.A.S., charging output how-
ever is 6.9 kW
EVSE 551 230 V / 50 Hz / 16 A
Fixed charging cable with type 1 connector, in-
ternal residual current circuit breaker, integrated
counter, charging output 3,6 kW
EVSE 561 230 V / 50 Hz / 16 A Fixed charging cable with type 1 connector,
charging output 3.6 kW
E5010001
15-11-23
EVSE501
230V 50Hz 16A
IP54
IEC 61851-1
IEC 61439-7 ACSEV
MADE IN GERMANY
ABL SURSUM Bayrische Elektrozubehör GmbH & Co. KG