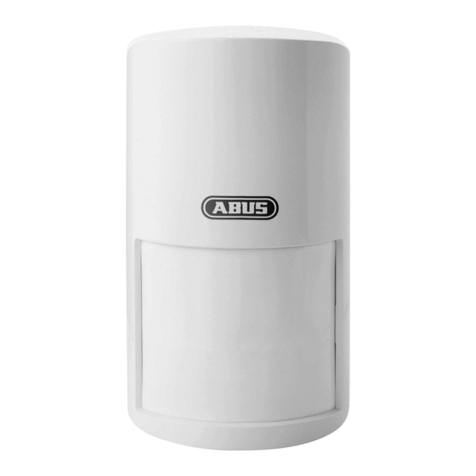
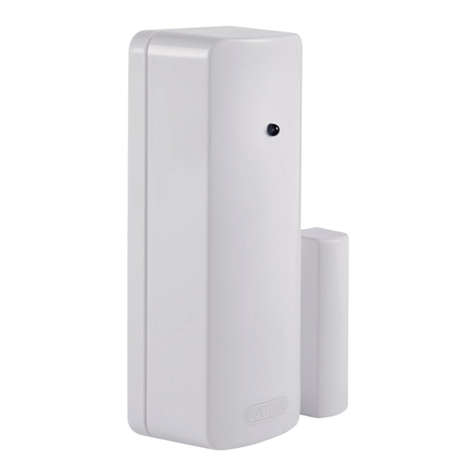
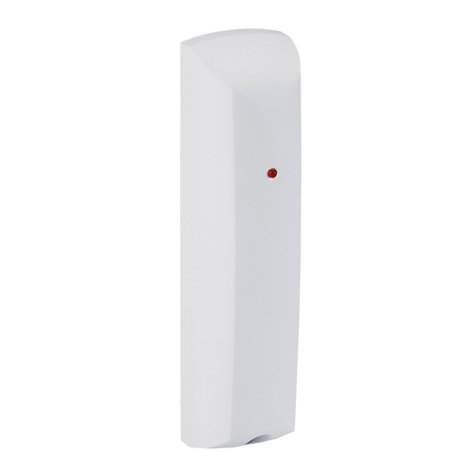
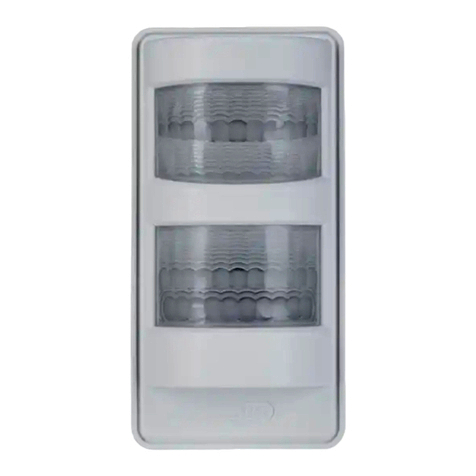
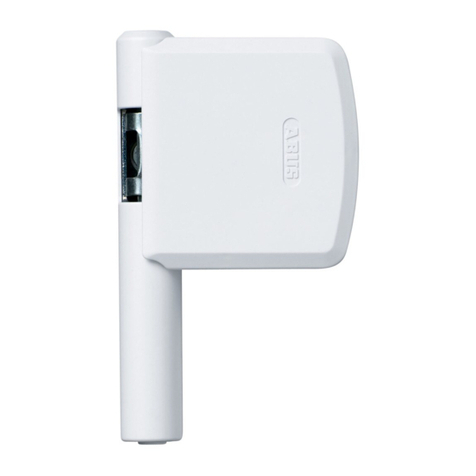
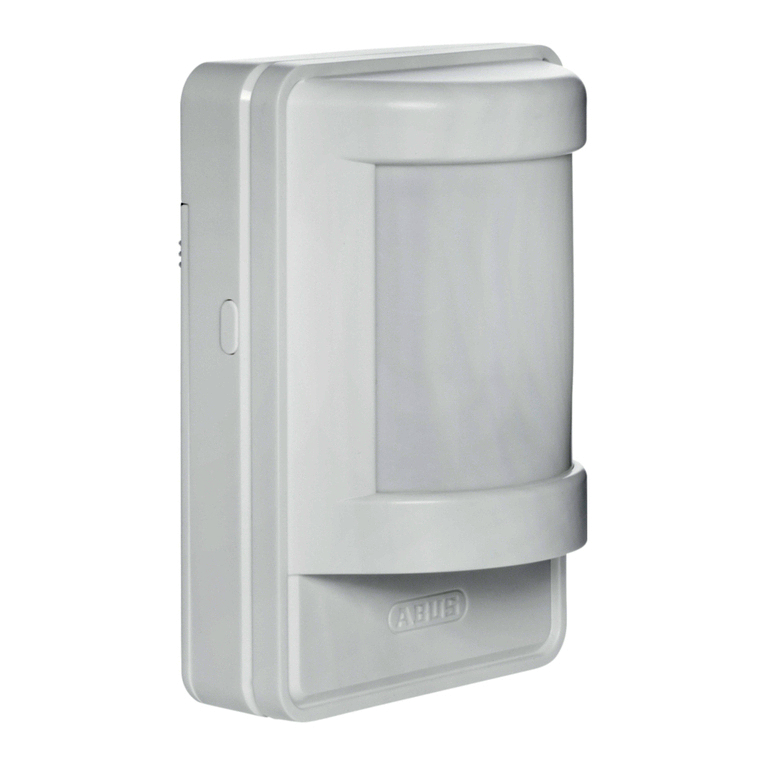
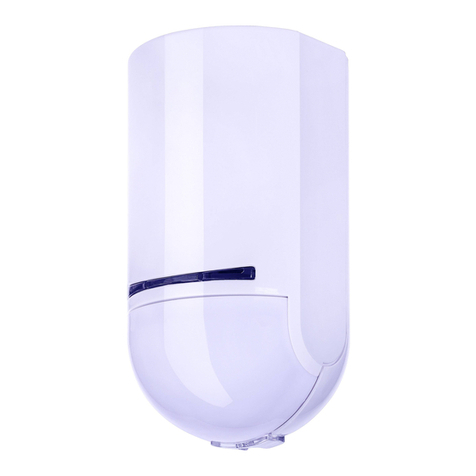
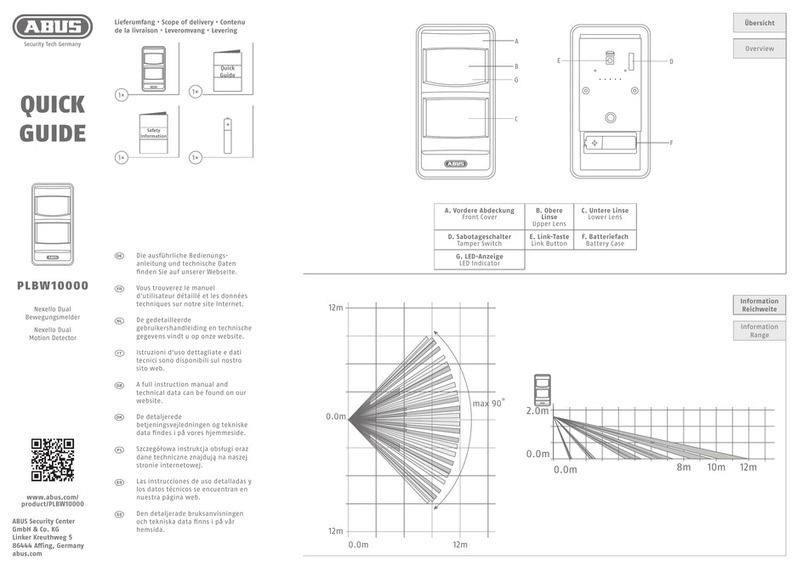
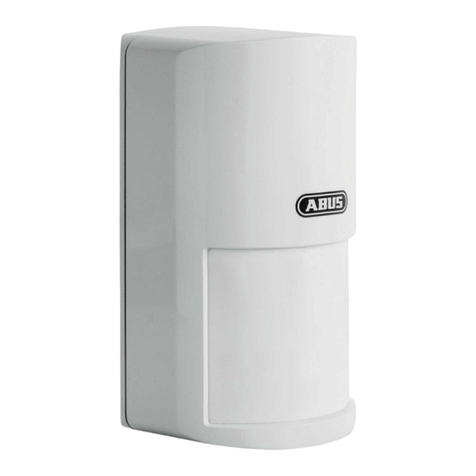
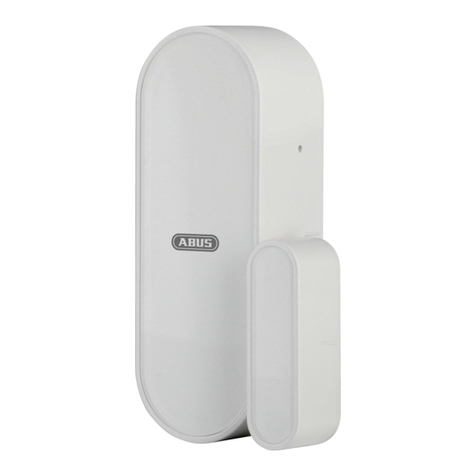
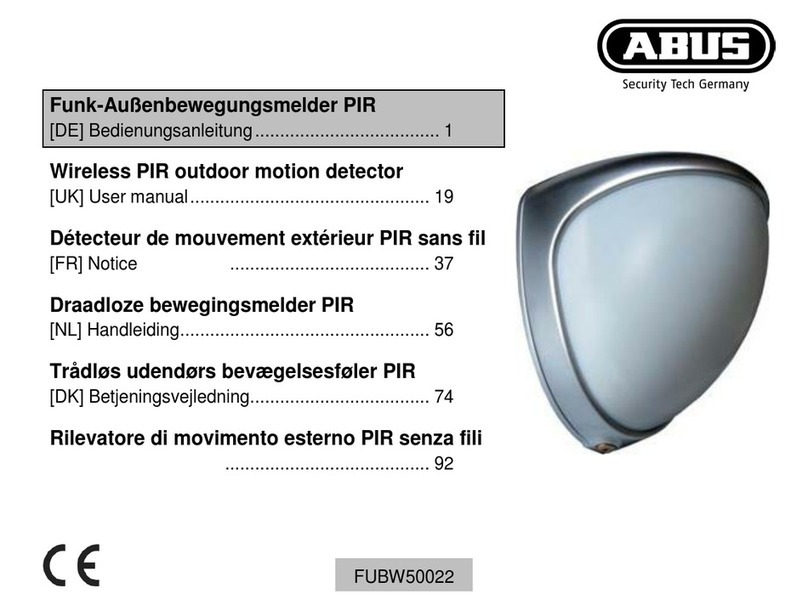
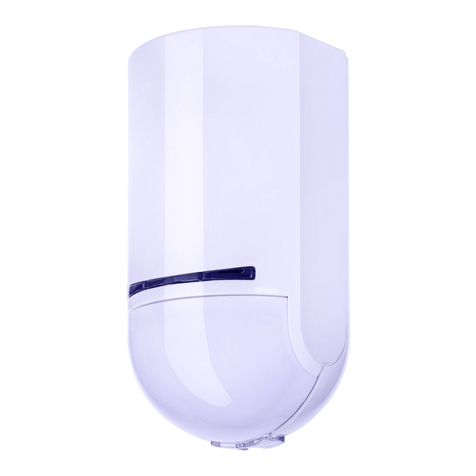
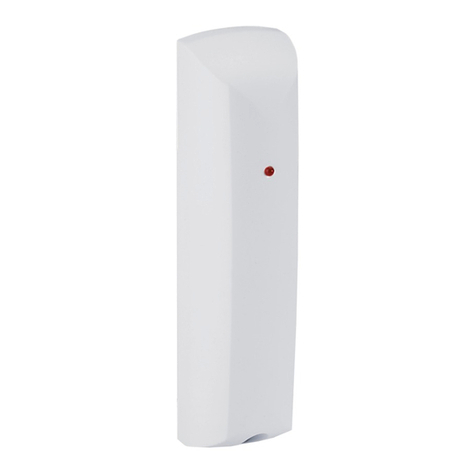
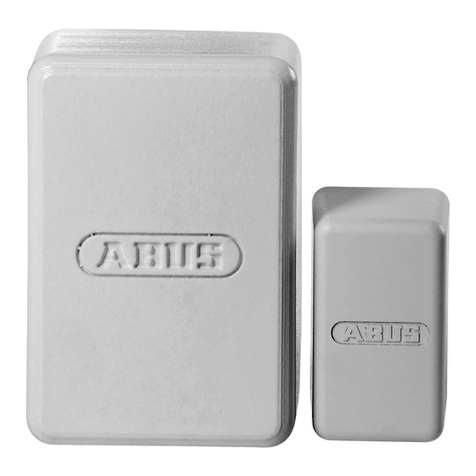
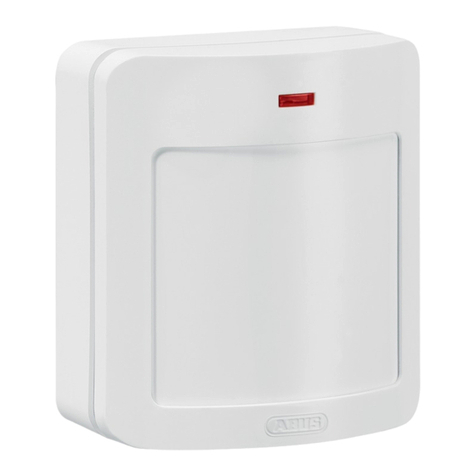
Abus FU8320W User manual

BOM - No. 11821482
Funköffnungsmelder
Installationsanleitung
Radio-controlled opening detector
Installation Guide
Détecteur d’ouverture sans fil
Instructions d’installation
Draadloze openingsmelder
Installatie-instructies
Radiorilevatore di apertura
Guida di installazione
Trådløs åbningsmelder
Installationsvejledning
FU8320W/B
FU8321W/B

Achtung !
Vorwort
Sehr geehrte Kundin, sehr geehrter Kunde,
wir bedanken uns für den Kauf dieses Funk-Öffnungsmelders. Dieses Gerät ist nach dem heutigen Stand
der Technik gebaut. Es erfüllt die Anforderungen der geltenden europäischen und nationalen Richtlinien.
Die Konformität wurde nachgewiesen, die entsprechenden Erklärungen und Unterlagen sind beim
Hersteller (www.abus-sc.eu) hinterlegt. Um einen gefahrlosen Betrieb sicherzustellen, müssen Sie als
Anwender diese Montageanleitung beachten! Bei Fragen wenden Sie sich bitte an Ihren Fachhändler.
Dieser Funk-Öffnungsmelder dient zur Überwachung von Türen und Fenstern. Er überwacht
berührungslos den Zustand (offen/geschlossen) einer Tür oder eines Fensters und meldet diesen an eine
Funk-Alarmzentrale.
Dieses Gerät erfüllt die Anforderungen der EU-Richtlinie: 1999/5/EG
Richtlinie über Funkanlagen und Telekommunikationsendeinrichtungen und
die gegenseitige Anerkennung ihrer Konformität.
!
Beachten Sie die Anweisungen und Hinweise in dieser Anleitung! Sollten Sie sich nicht an diese
Anleitung halten, erlischt Ihr Garantieanspruch! Für Folgeschäden wird keine Haftung übernommen!
Das Produkt darf nicht geändert bzw. umgebaut werden.
D

!
Batteriewarnhinweise
Das Gerät wird über eine 3V Lithium Batterie mit Gleichspannung versorgt. Um eine
lange Lebensdauer zu garantieren und Brände und Verletzungen zu vermeiden beachten
Sie bitte die folgenden Hinweise:
•Entsorgen Sie die Batterie nicht über den Hausmüll
•Die Batterie darf keiner Wärmequelle oder Sonneneinstrahlung direkt ausgesetzt werden
•und an keinem Ort mit sehr hoher Temperatur aufbewahrt werden
•Die Batterie darf nicht verbrannt werden
•Die Batterie darf nicht mit Wasser in Berührung kommen
•Die Batterie darf nicht zerlegt, angestochen oder beschädigt werden
•Die Batteriekontakte dürfen nicht kurzgeschlossen werden
•Die Batterie darf nicht in die Hände von Kleinkindern gelangen
•Die Batterie ist nicht wieder aufladbar
D

1. Lieferumfang:
1 x Installationsanleitung
1 x Magnet
1 x Batterie CR2 3V Lithium
1 x Magnethalter
1 x Öffnungsmelder
2 x Senkkopfschrauben (Magnethalter)
2 x Linsenkopfschrauben (Melder)
4 x Magnet Abstandsplatten
2 x Melder Abstandsplatten
4 x Steckbrücken (Jumper) auf der Elektronik
3. Inbetriebnahme:
Öffnen Sie das Gehäuse, indem Sie die Schraube
lösen und anschließend den Deckel entfernen.
2. Technische Daten:
Spannungsversorgung:
Batterietyp:
Stromaufnahme:
Frequenz:
Gewicht:
Abmaße BxHxT mm:
Batterielaufzeit:
Umweltklasse:
Sicherheitsgrad:
INCERT-Nr.:
Gehäusematerial.:
3V Li/MnO2
CR2
0,03A
868,6625 MHz / FM
ca. 53g
33x89x29
bis 36 Monate
I (-10-+55°C)
II
C0160194
ABS
!
Setzen Sie die Batterie in den Funköffnungsmelder
e
in.
Achtung !
Beachten Sie die Polung!
D

4. Signal LED
Betriebszustand Signal
Betriebsmodus Kein Signal
Senden / Programmier Modus IR 4 x Blinken
Programmier Modus Melder intern Kontinuierliches Blinken
5. LED aktivieren
Stecken Sie einen Jumper auf LK1und LK3.
Schließen Sie LK4 mit einem Jumper kurz, bis die
LED kontinuierlich blinkt. Danach entfernen Sie
diesen wieder, die LED ist jetzt aktiviert. Stellen Sie
die ursprüngliche Position der Jumper wieder her.
6. LED deaktivieren
Stecken Sie einen Jumper auf LK1. Schließen Sie
LK4 mit einem Jumper kurz, bis die LED
kontinuierlich blinkt. Danach entfernen Sie diesen
wieder, die LED ist jetzt deaktiviert. Stellen Sie die
ursprüngliche Position der Jumper wieder her.
Signal LED
D

9. Einlernen der Zone 2
(wenn erforderlich)
Schließen Sie den Anschluss „TAMP“ mit
einer Drahtbrücke an
der Anschlussklemme
Kontakt 4und 5.
Öffnen und schließen Sie
die Verbindung „TAMP“,
bis der Empfänger den
Empfang bestätigt.
Auf den letzten Seiten befinden sich die
möglichen Konfigurationen der einzelnen
Zonen. Sie können diesen Funkmagnetkontakt
auch als Funkmodul nutzen.
7. Einlernen der Zonen:
Stellen Sie sicher, dass sich die Secvest (Empfänger)
jeweils im Einlernmodus befindet. Verwenden Sie ein
Funk - Universalmodul (Funkerweiterung), dann halten
Sie die Signal LED „SL“ des Melders max. 50mm über
den IR Empfänger und lernen Sie wie unten beschrieben
die Zonen ein.
8. Einlernen der Zone1
Halten Sie den Wandabrisskontakt
„TS2“, im ausgebauten Zustand
auch den Deckelkontakt „TS1“
gedrückt.
Öffnen Sie einen dieser Kontakte,
bis der Empfänger den Empfang
bestätigt.
D

Achtung!
10. Montieren Sie den Melder:
•nicht auf oder in der nähe von Metallflächen!
•nicht unter 1m zu Gas-, Wasser- und Stromleitungen!
•nicht in der Nähe von elektrischen Geräten z.B.,
Computer, Kopierer oder anderen Sendern!
11. Reichweite:
Die Reichweite ist abhängig von den Umgebungsbedingungen. Befestigen
Sie deshalb den Melder probeweise mit doppelseitigem Klebeband und lösen
Sie zum Test einen Alarm aus. Wurde dieses Signal von der Secvest nicht
empfangen, testen Sie den Melder an einer anderen Stelle. Die Signalstärke
sollte den Wert 3 nicht unterschreiten. Überprüfung mit der Secvest:
Gehen Sie in den Errichtermodus ÆTest ÆMeldersignal
12. Montageort:
Optimaler Montageort für den Funköffnungsmelder ist die obere Ecke Ihres
Fenster-/Tür-Rahmens. Achten Sie darauf, dass Sie den Melder auf einer
ebenen Fläche installieren, damit der Wandabrisskontakt TS2
(siehe Einlernen Zone 1) schaltet.
Anzeige: Secvest
!
D

13. Montage:
Entfernen Sie die Platine aus dem Gehäuse. Schraube
„MS“ lösen, die Platine herausheben.
Befestigen Sie den Melder und den
Magnethalter mittig zur Markierung „3“ mit
max.10 mm Abstand.
Danach verwenden Sie die Bodenplatte des Melders und
des Magnethalters um die Befestigungslöcher 1, 4 und 6, 7
zu markieren
Verwenden Sie die Linsenkopfschrauben „ A“ für den
Melder und
die Senkkopfschrauben “B“ für den Magnethalter.
Achten Sie darauf, dass sich der Wandabrisskontakt „2“
nach innen bewegt.
Kabelöffnung „5“ für externe Melder,
max. 10 Meter Anschlusskabel.
MS
Leiterplatte
A
B
D

Verwenden Sie nur die Zone 2 des Melders, so sind die
Internen Sabotagekontakte TS1-2 deaktiviert.
14. Konfigurationen :
(Werkseinstellung)
Fig.1
Abkürzungen Beschreibung Abkürzungen Beschreibung
CB Anschlussklemme .TS1 - 2 Interne Sabotagekontakte .
RS Reed Schalter eTS3 Externer Sabotagekontakt
NC Normal geschlossen eS1 - 2 Externe Schaltkontakte
NO Normal offen
X
D

Important!
Preface
Dear customers,
Many thanks for your purchase of this wireless opening detector. This device is built according to state-of-
the-art technology. It complies with current domestic and European regulations. Conformity has been
proven, and all related certifications are available from the manufacturer on request (www.abus-sc.eu).
To ensure proper and safe operation, it is your obligation to observe these installation instructions! In the
event of questions, please contact your local specialist dealer.
This wireless opening detector is used for monitoring doors and windows. It monitors the state
(open/closed) of a door or window without contact and reports this to a wireless alarm centre.
This product complies with the requirements of the EU directive: 1999/5/EC
“Directive on radio and telecommunications terminal equipment and
the mutual recognition of their conformity”.
!
Pay attention to the notes and instructions in these operating instructions! If you do not follow these
instructions, your guarantee claim becomes invalid! No liability can be accepted for resulting
damages!
The product may not be changed or modified in any way.
GB

!
Battery warning!
The device is supplied with direct current from a 3 V lithium battery. To guarantee a long working
life and avoid fire and injury, please note the following:
•Do not dispose of the battery in domestic waste.
•Do not expose the battery to direct sunlight or sources of heat.
•Do not store the battery under high temperatures.
•The battery must not be burned.
•The battery must not come into contact with water.
•The battery must not be dismantled, pierced or otherwise damaged.
•The battery contacts must not be short-circuited.
•The battery must be kept away from small children.
•The battery cannot be recharged.
GB

1. Scope of delivery
1 x installation instructions
1 x magnet
1 x CR2 3 V lithium battery
1 x magnet holder
1 x opening detector
2 x countersunk screws (magnet holder)
2 x rounded head screws (detector)
4 x magnet spacers
2 x detector spacers
4 x jumpers
3. Putting into operation
Open the housing by loosening the screw and then
removing the cover.
2. Technical data
Power supply:
Battery type:
Power consumption:
Frequency:
Weight:
Dimensions (WxHxD in mm):
Battery life:
Environment class:
Security level:
INCERT no.:
Housing material:
3 V Li/MnO2
CR2
0.03 A
868.6625 MHz / FM
ca. 53 g
33x89x29
Up to 36 months
I (-10 to +55 °C)
II
C0160194
ABS
!
Insert the battery into the wireless opening detector.
Important!
Check for correct polarity!
GB

4. Signal LEDs
Operating state Signal
Operating mode No signal
Transmit / IR programming mode 4 x flash
Programming mode for internal
detectors
Continuous
flashing
5. Activating the LED
Attach a jumper to contacts LK1 and LK3. Short-
circuit the LK4 contact with a jumper until the LED
flashes continuously. Remove this again. The LED
is now activated. Restore the original position of
the jumper.
6. Deactivating the LED
Attach a jumper to contact LK1. Short-circuit the
LK4 contact with a jumper until the LED flashes
continuously. Remove this again. The LED is now
deactivated. Restore the original position of the
jumper.
Signal LED
GB

9. Training zone 2
(if necessary)
Connect the “TAMP”
contact with a jumper on
the terminal connector
strip of contacts 4and 5.
Open and close the
“TAMP” connection until
successful reception is
confirmed.
The possible configurations of the individual
zones can be found on the previous pages. You
can also use this wireless magnet contact as a
wireless module.
7. Training the zones
Ensure that the Secvest (receiver) is in learning mode.
Using a wireless accessory module (wireless
extension), hold the “SL” signal LED of the detector at a
maximum of 50 mm above the IR receiver. Train the
zones as described below.
8. Training zone 1
Keep the “TS2” anti-removal wall
contact pressed. When deinstalled,
also keep the “TS1” cover contact
pressed.
Open one of these contacts until
successful reception is confirmed.
GB

Important!
10. Attaching the detector
•Do not attach on or near metal surfaces!
•Do not attach within 1 metre of gas, water or power lines!
•Do not attach near electronic devices (e.g. computers,
photocopiers or other detectors
)
!
11. Range
The range is dependent on the surrounding conditions. Therefore, use
double-sided adhesive tape to fix the detector temporarily in different
locations and test it by triggering an alarm. If this signal is not detected by the
Secvest, move the detector to a new position. The signal strength should not
fall below 3. Testing using the Secvest: Installer menu ÆTest ÆDetector
signal
12. Installation location
The best place to install the wireless opening detector is the upper corner of
the window/door frame. Ensure that the detector is installed on a flat surface
so the TS2 contact switches correctly (see “Training zone 1”).
Displays: Secvest
!
GB

13. Installation
Remove the PCB from the housing. Loosen the “MS” screw
and lift out the PCB.
Fasten the detector and magnet holder
centrally to the “3” marking with a maximum
spacing of 10 mm.
Use the base plate of the detector and the magnet holder to
mark the fastening holes 1, 4, 6 and 7.
Use the rounded head screw “A” for the detector and the
countersunk screw “B” for the magnet holder.
Ensure that the anti-removal wall contact “2” can be moved
inwards.
Cable opening “5” for external detectors with a connection
cable of max. 10 metres.
MS
PCB
A
B
GB

Only use zone 2 of the detector, as the internal tamper
contacts TS1-2 are deactivated in this way.
14. Configuration
(factory default setting)
Fig. 1
Abbreviations Description Abbreviations Description
CB Terminal connector strip TS1 - 2 Internal tamper contacts
RS Reed switch eTS3 External tamper contact
NC Normal closed contact eS1 - 2 External switch contacts
NO Normal open contact
X
GB

Attention !
Préface
Chère cliente, cher client,
Nous vous remercions d’avoir porté votre choix sur ce détecteur d’ouverture sans fil. Le présent produit
fait appel à une technologie de pointe. Il est conforme aux exigences des directives européennes et
nationales en vigueur. La conformité de ce produit a été prouvée. Les déclarations et documents
correspondants ont été déposés chez le fabricant (www.abus-sc.eu). Pour qu’un fonctionnement en toute
sécurité puisse être assuré, lire attentivement le présent document. Pour de plus amples renseignements,
veuillez vous adresser à votre vendeur spécialiste sur site.
Le présent détecteur d’ouverture sert à la surveillance de portes et de fenêtres. Il surveille sans contact
l’état (ouvert/fermé) d’une porte ou d’une fenêtre et signale cet état à une centrale d’alarme sans fil.
Ce produit est conforme aux exigences de la directive européenne : 1999/5/CE
Directive R&TTE (Radio and Telecommunications Terminal Equipment) et
la reconnaissance de leur conformité mutuelle.
!
Tenir compte des instructions et des consignes de la présente notice ! Le non-respect des
présentes instructions entraîne la déchéance de la garantie ! La société ne saurait être tenue
responsable des dommages indirects !
Une modification ou une transformation de la structure d’une quelconque partie de ce produit n’est
pas autorisée.
F

!
Avertissements concernant la pile
L’appareil est alimenté en tension continue par une pile au lithium de 3 V. Pour assurer
une vie longue durée à la pile et éviter les incendies et les préjudices corporels, veuillez
tenir compte des consignes ci-après :
•Ne pas jeter la pile dans les ordures ménagères.
•La pile ne doit être ni directement exposée à une source de chaleur ou un rayonnement
solaire ni conservée dans un lieu à très haute température.
•Ne pas faire brûler la pile.
•La pile ne doit pas entrer en contact avec de l’eau.
•Elle ne doit être ni démontée, ni percée, ni endommagée.
•Les contacts de la pile ne doivent pas être court-circuités.
•Mettre la pile hors de portée des enfants en bas-âge.
•La pile n’est pas rechargeable.
F

1. Contenu de la livraison :
1 x instructions d’installation
1 aimant
1 x pile CR2 3 V au lithium
1 support magnétique
1 détecteur d’ouverture
2 vis à tête noyée (support magnétique)
2 vis à tête cylindrique (détecteur)
4 plaques de calage de l’aimant
2 plaques de calage du détecteur
4 straps enfichables (cavaliers) sur l’électronique
3. Mise en service :
Ouvrir le boîtier en desserrant la vis, puis en
retirant le couvercle.
2. Fiche technique :
Alimentation :
Type de pile :
Consommation :
Fréquence :
Poids :
Dimensions LxHxP mm :
Durée de service de la pile :
Classe environnementale :
Niveau de sécurité :
N° INCERT :
Boîtier :
3V Li/MnO2
CR2
0,03 A
868,6625 MHz/FM
env. 53 g
33x89x29
36 mois maxi.
I (-10-+55 °C)
II
C0160194
ABS
!
Introduisez la pile dans le détecteur d’ouverture
sans fil.
Attention !
Faire attention à la polarité !
F
This manual suits for next models
3
Table of contents
Other Abus Security Sensor manuals
Popular Security Sensor manuals by other brands

Brandson Equipment
Brandson Equipment 302601 user manual

Sensor Electronics
Sensor Electronics SEC 3000 Instruction and operation manual

Azbil
Azbil Leak Detector II Operation manual

ITALIANA SENSORI
ITALIANA SENSORI 8028-ISR020 manual

Greenlee
Greenlee GT-16 instruction manual

Hitachi
Hitachi PRIMAIDE 1440 instruction manual