ix UNO-3483G User Manual
Chapter 1 Overview...............................................1
1.1 Introduction ............................................................................................... 2
1.2 Hardware Specifications ........................................................................... 2
1.2.1 General ......................................................................................... 2
1.3 System Hardware...................................................................................... 3
1.3.1 I/O Interfaces ................................................................................ 3
1.3.2 Environment.................................................................................. 3
1.3.3 Expansion Board (Optional).......................................................... 3
1.4 Safety Precautions .................................................................................... 4
1.5 Chassis Dimensions.................................................................................. 4
Figure 1.1 UNO-3483G Dimensions............................................ 4
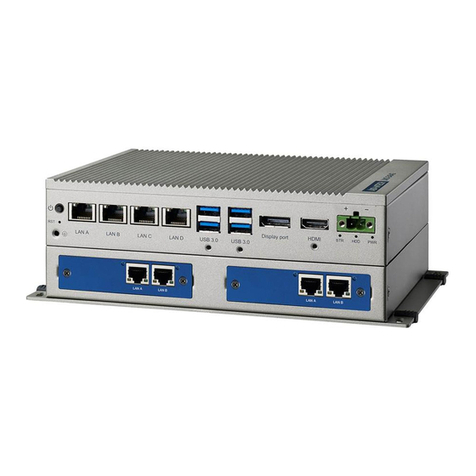
Figure 1.2 I/O View ..................................................................... 5
1.6 Accessories............................................................................................... 5
Chapter 2 Hardware Functionality.......................7
2.1 Introduction ............................................................................................... 8
Figure 2.1 UNO-3483G Dimensions............................................ 8
Figure 2.2 Top view of UNO-3483G ............................................ 8
2.2 Serial Interface (COM1/COM2)................................................................. 9
Figure 2.3 Pin header of COM1/COM2 ....................................... 9
2.2.1 RS-232 Interface (COM1) ............................................................. 9
2.2.2 RS-422/485 (COM2) detection ..................................................... 9
2.2.3 Automatic Data Flow Control Function for RS-485 ....................... 9
2.2.4 To switch the internal SW8 according to the placement ............. 10
Figure 2.4 SW8 Location ........................................................... 10
Figure 2.5 With termination (default) ......................................... 10
Figure 2.6 Without termination................................................... 10
Figure 2.7 With termination (default) ......................................... 11
Figure 2.8 Without termination................................................... 11
2.3 LAN: Ethernet Connector ........................................................................ 11
2.4 Power Connector .................................................................................... 11
2.5 USB Connector ....................................................................................... 11
2.6 HDMI Connector ..................................................................................... 12
2.7 RTC Battery ............................................................................................ 12
2.8 Power Button/Power Management ......................................................... 12
2.8.1 Power mode switch..................................................................... 12
Figure 2.9 AT/ATX adjustment .................................................. 12
2.9 Reset Button ........................................................................................... 12
2.10 PCI Express Mini Card Socket................................................................ 13
Figure 2.10PCIE mini card sockets placement........................... 13
2.10.1 Expansion type switch ................................................................ 13
Figure 2.11Mini card/MSATA switch........................................... 13
2.10.2 iDoor Expansion Slot .................................................................. 13
2.11 PCIe Slot ................................................................................................. 14
2.12 Dual Power Input and Remote Power Control ........................................ 14
2.13 SATA HDD Drive..................................................................................... 14
Figure 2.12SATA Mode Selection .............................................. 14
Figure 2.13Detecting RAID configuration ................................... 15
Figure 2.14Create RAID Volume ................................................ 15
2.14 Audio Jack............................................................................................... 15
2.15 LED Indicators......................................................................................... 16
2.16 Remote Power Button (SW3).................................................................. 16
Figure 2.15SW3 Location ........................................................... 16
Chapter 3 Initial Setup ........................................17

