manuals.online logo
Brands
  1. Home
  2. •
  3. Brands
  4. •
  5. aFe Power
  6. •
  7. Automobile Accessories
  8. •
  9. aFe Power Scorpion 79-21002L User manual

aFe Power Scorpion 79-21002L User manual

advanced FLOW engineering
Instruction Manual P/N: 79-21002L
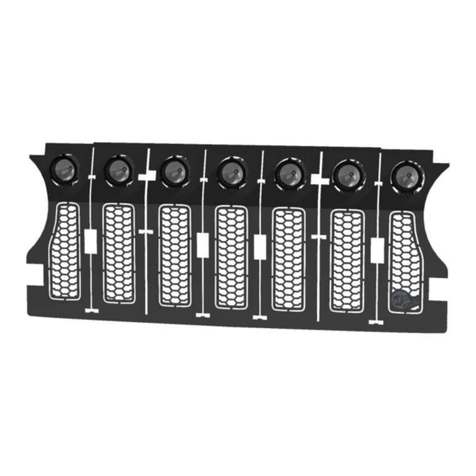
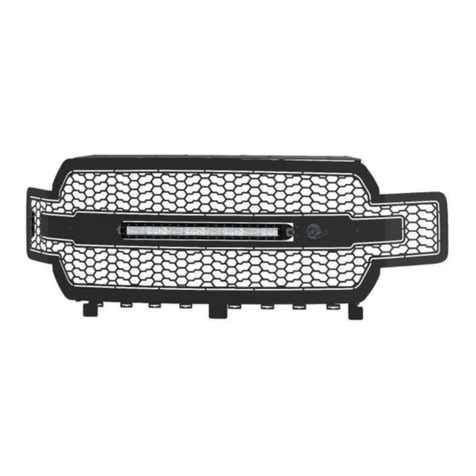
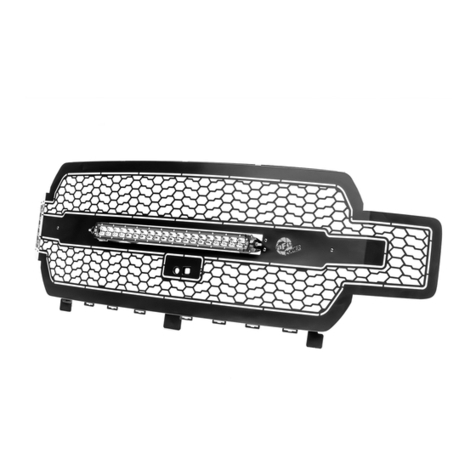
Scorpion Grille with Camera Provision
Make: Ford Model: F-150 Raptor Year: 17-19 Engine: V6 –3.5L (tt)
1
•Please read the entire instruction before proceeding.
•Ensure all components listed are present.
•Ensure you have all necessary tools before proceeding.
•Disconnect the negative battery terminal before proceeding.
•If you are missing any of the components, call customer support 951 493 7100
•Applications models vary. We recommend verifying fitment before beginning installation
process.
•Images featured in the instruction documents may not always exactly match your grille.
Label
Qty.
Description
A
1
aFe Scorpion Grille
B
4
Raw Aluminum Trim Ring
C
16
Screw, 10-32 x 5/8"
D
4
6" single row LED
E
1
Back plate aFe logo + stud
F
2
Screw, 10-32 x 1/2" button head (black)
G
1
Power Harness
H
2
Y-adapter
I
8
Bracket, #5 LED bar
J
8
Washer, 1/4" (black)
K
8
Locknut, 1/4" Nylon (black)
L
4
Cable Clamp
M
24
Nut, 10-32 Flange
N
12
Locknut, 6-32 Nylon
O
8
Screw, 1/4”- 20 X3/4"
P
8
Washer, 1/4"
Q
8
Locknut, 1/4" Nylon
R
4
Panel Retainer Clip
S
2
Washer, #10 SS
T
2
Locknut, 10-32 Nylon
U
17
Cable tie 8"
2
3
Note: Before you begin, use “Painters Tape” to apply a protective guard around the work
areas (fender and bumper valance). This will help protect the paint and finish of your vehicle.
1. Disconnect the negative battery terminal.
2. Locate ten (10) plastic clips on top of plastic shroud and one (1) additional on each side
located at the top of the headlight body panel cover. Carefully pry off to remove and then
set aside for reinstallation later.
3. Remove plastic shroud and then set aside for reinstallation later.
4
4. The headlight body panel needs to be removed. You will need to gently pull the panel out of
the clips on the lower grille and the headlight. After the clips are out, continue to pull
carefully until the headlight body panel is out from behind the headlight. Pull the headlight
body panel straight out of the clips on the fender.
5
5. Remove the one (1) bolt located on each side of the grille. Save for reinstallation.
6. Located near the hood latch, disconnect the two (2) electrical connectors and the camera
washer hose connection.
6
7. Remove the four (4) bolts across the top of the grille. Save for reinstallation.
8. Remove three (3) push pins on each side of the grille. Save for reinstallation.
7
9. Remove the grille from the truck.
8
10. Remove the lower trim body panel from the factory grille by pulling gently. Save for
reinstallation.
9
11. Remove the seven (7) nuts that line the outside edge and the one (1) 8mm bolt that secures
the active shutter assembly.
12. Remove the four (4) plastic clips located on the top lip.
13. Remove the air temperature sensor from the active shutter assembly.
14. Separate the active shutter assembly from the factory grille.
15. Set the active shutter assembly to the side. Save for reinstallation.
10
16. Remove the wire loom from the grille that connects the running lights and the forward-
facing camera.
17. Mark the three (3) running lights before removing them so you know the location (Left,
Center, Right). Remove the three (3) running lights from the grille.
18. Remove the forward-facing camera from the grille.
19. Remove the camera washer hose from the grille.
20. Set factory grille aside.
Note: Save all the parts that are removed for reinstallation.
11
Note: To prevent scratching the aFe Scorpion Grille while preforming assembly, use a
protective covering between the grille and a flat surface.
21. Remove the supplied aFe Scorpion Grille from the box and place it on a flat surface for
assembly.
12
22. Install the main lower grille bracket using four (4) of the supplied 10-32 flange nuts and
tighten.
13
23. Install six (6) of the supplied 6-32 nylon locknuts 3/8” (.375) from the grille. This will act as a
stop for the light when it is installed. Make sure that the outside flat edges of the nuts are
facing towards each other.
14
24. Install the factory running lights (removed in Step 17) onto the studs. Use the six (6)
remaining 6-32 nylon locknuts to secure the running lights to the aFe Scorpion Grille.
Tighten the nuts.
15
25. Install the supplied back plate aFe logo + stud using the two (2) supplied 10-32 x 1/2" button
head screws (black) and two (2) supplied 10-32 flange nuts. Tighten the back plate aFe logo
+ stud to the aFe Scorpion Grille.
16
Middle Studs Back plate Stud
26. On the two middle studs on the grille, install two (2) 10-32 flange nuts 15/16” from the
backside face of the grille. Make sure to install them with the flange facing away from the
grille.
27. Install one (1) 10-32 flange nut 5/8” from the backside face of the back plate aFe logo + stud
attached in Step 25. Make sure to install it with the flange facing away from the grille.
17
28. Install the forward-facing camera, removed in Step 18, and tighten using three (3) 10-32
flange nuts.
18
29. Route the camera washer hose around the outside edge of the grille (on the right side). Do
not attach the hose to anything yet.
30. Attach the factory wiring harness to the running lights and connect the harness to the
forward-facing camera.
19
31. Remove and discard the two (2) nuts from each of the supplied 6” single row LED lights.

Other aFe Power Automobile Accessories manuals

aFe Power 46-39102 User manual

aFe Power

aFe Power 46-39102 User manual

aFe Power 46-70270 User manual

aFe Power

aFe Power 46-70270 User manual

aFe Power takeda 56-70005D User manual

aFe Power

aFe Power takeda 56-70005D User manual

aFe Power F1-03003 User manual

aFe Power

aFe Power F1-03003 User manual

aFe Power 77-47001 User manual

aFe Power

aFe Power 77-47001 User manual
aFe Power 54-82039 User manual

aFe Power

aFe Power 54-82039 User manual

aFe Power 56-70058D User manual

aFe Power

aFe Power 56-70058D User manual

aFe Power SCORPION 79-21003L User manual

aFe Power

aFe Power SCORPION 79-21003L User manual

aFe Power 440-401006-N User manual

aFe Power

aFe Power 440-401006-N User manual

aFe Power 54-13053D User manual

aFe Power

aFe Power 54-13053D User manual

aFe Power advanced FLOW engineering User manual
aFe Power

aFe Power advanced FLOW engineering User manual

aFe Power dfs780 User manual

aFe Power

aFe Power dfs780 User manual
aFe Power 52-10002D User manual

aFe Power

aFe Power 52-10002D User manual
aFe Power SCORPION 79-21008L User manual

aFe Power

aFe Power SCORPION 79-21008L User manual

aFe Power Quantum 2500 User manual

aFe Power

aFe Power Quantum 2500 User manual

aFe Power MOMENTUM GT 50-70034S User manual

aFe Power

aFe Power MOMENTUM GT 50-70034S User manual

aFe Power 50-70007D User manual

aFe Power

aFe Power 50-70007D User manual

aFe Power 46-71180A User manual

aFe Power

aFe Power 46-71180A User manual

aFe Power Momentum hd User manual

aFe Power

aFe Power Momentum hd User manual

aFe Power 50-70009S User manual

aFe Power

aFe Power 50-70009S User manual

aFe Power 46-71110A User manual

aFe Power

aFe Power 46-71110A User manual

aFe Power Magnum FORCE User manual

aFe Power

aFe Power Magnum FORCE User manual

aFe Power 46-70049 User manual

aFe Power

aFe Power 46-70049 User manual

aFe Power 57-10018D User manual

aFe Power

aFe Power 57-10018D User manual

Popular Automobile Accessories manuals by other brands

A-Tach Mounts 50320 instructions

A-Tach Mounts

A-Tach Mounts 50320 instructions

ensto One Home EVH161B-HC000 installation manual

ensto

ensto One Home EVH161B-HC000 installation manual

Rydeen BL-422P owner's manual

Rydeen

Rydeen BL-422P owner's manual

Dakota Digital Retrotech RLC-51C Installation

Dakota Digital

Dakota Digital Retrotech RLC-51C Installation

Thule 218 manual

Thule

Thule 218 manual

Cruz Evo Rack Alu A28-140 Assembly instructions

Cruz

Cruz Evo Rack Alu A28-140 Assembly instructions

Advent TOYBTSW3 owner's manual

Advent

Advent TOYBTSW3 owner's manual

Dunlop FILL&GO operating manual

Dunlop

Dunlop FILL&GO operating manual

PNEUMATIC KU-TY-HX08-00 Installation instruction

PNEUMATIC

PNEUMATIC KU-TY-HX08-00 Installation instruction

Paravan Lancia Voyager user manual

Paravan

Paravan Lancia Voyager user manual

POOL-LINE EVO-FIX II ESPECIFIC IRON Assembly instructions

POOL-LINE

POOL-LINE EVO-FIX II ESPECIFIC IRON Assembly instructions

Polaris 2882857 quick start guide

Polaris

Polaris 2882857 quick start guide

travall TDG 1536 Fitting instructions

travall

travall TDG 1536 Fitting instructions

ARMORDILLO 8702635 manual

ARMORDILLO

ARMORDILLO 8702635 manual

Thule 123 Mounting & installation

Thule

Thule 123 Mounting & installation

Discount Car Stereo A2D-SRX manual

Discount Car Stereo

Discount Car Stereo A2D-SRX manual

Thule 1091 instructions

Thule

Thule 1091 instructions

Parrot CK3100 Series installation manual

Parrot

Parrot CK3100 Series installation manual

manuals.online logo
manuals.online logoBrands
  • About & Mission
  • Contact us
  • Privacy Policy
  • Terms and Conditions

Copyright 2025 Manuals.Online. All Rights Reserved.