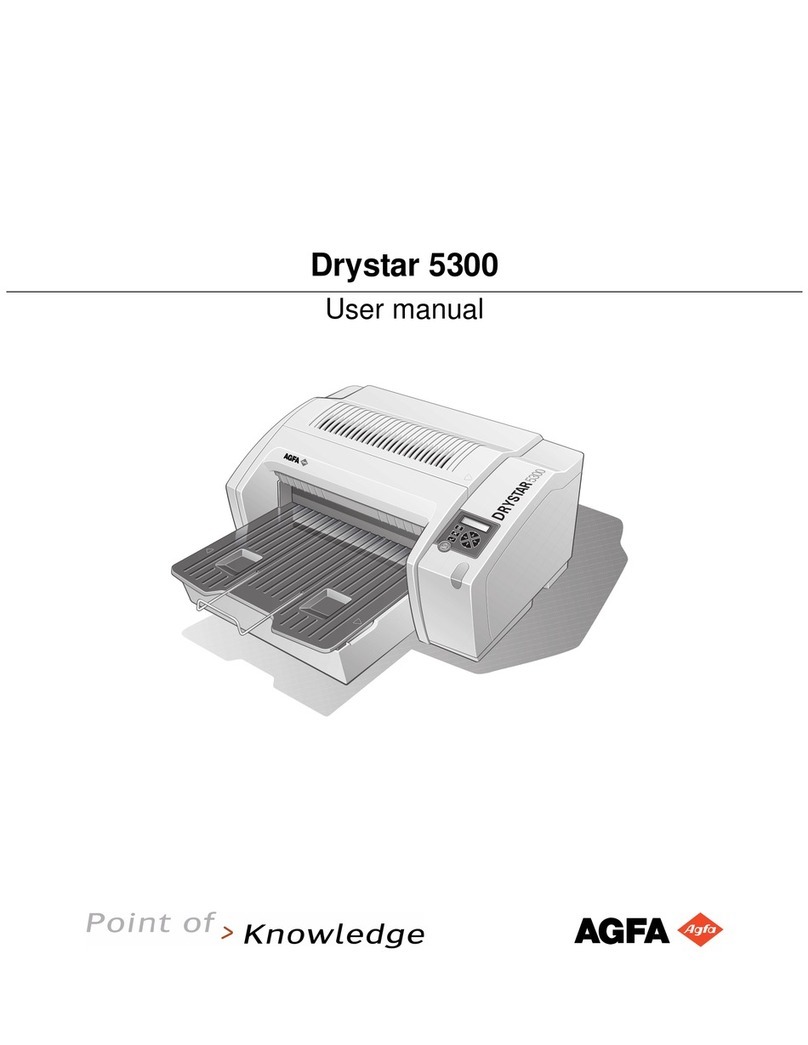
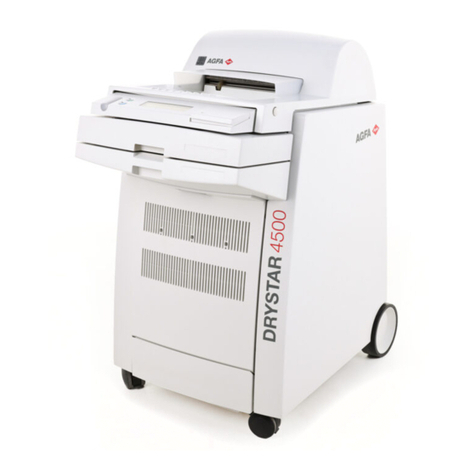
AGFA DRYSTAR AXYS User manual

54 2852 A EN 20070205
DRYSTAR AXYS
Down key
•To move the cursor to the next entry
field.
•To scroll downwards.
•To decrement the number in a(n)
(alpha) numerical entry field.
Left key
•To scroll backwards through multiple
choices within a field.
•To move the entry position in a(n)
(alpha) numerical entry field from right
to left.
•To toggle between values in a field.
Right key
•To scroll forwards through multiple
choices within a field.
•To move the entry position in a(n)
(alpha) numerical entry field from left
to right.
•To toggle between values in a field.
Note: All keys (except the key-operator key) have an LED that is on when
the key is valid in a certain situation.
Note: You can press and hold down an arrow key to scroll quickly through a
list or a menu.
Table 6: Keypad keys

55
2852 A EN 20070205
DRYSTAR AXYS
The display
The Drystar AXYS control panel has a backlit LCD display. We distinguish two
panel types depending on the selected language:
Qa backlit LCD display with 4 lines for Western languages (e.g. Dutch, French,
Portuguese, Swedish,...).
Qa backlit LCD display with 2 lines for all other languages (e.g. Greek, Chinese,
Korean, Polish,...).
Whether a display is translated or not depends on the operating mode.

56 2852 A EN 20070205
DRYSTAR AXYS
General display features
The figure below shows how the display is illustrated in this manual:
The visible display lines are indicated in the upper zone. The other possible
lines are shown in the lower zone and can be reached by scrolling using the Up/
Down arrow keys on the Keypad.
In the upper right corner, the current printer status is displayed:
QIn Operator mode, two characters display the print queue status. Refer to “Man-
aging the print queue” on page 67.
QIn Key-operator mode, two characters are displayed in reverse video to indicate
the current menu- or submenu level (e.g. ‘KO’ for Key-operator main level).
QA warning, an error or a maintenance request is displayed respectively with the
character W, E and M.
5 Restore config.
6 Calibration
7 Service Actions
8 Quality Control
9 Installation
Reachable with Up/Down arrow keys
Visible

57
2852 A EN 20070205
DRYSTAR AXYS
Operator mode
In operator mode, appropriate information is displayed in accordance with the
status of the printer.
The operator basic screen looks as follows, indicating that the Drystar AXYS is
ready for operation and that no job is currently being executed.
When the printer is busy with at least one print job, the print queue screen is
displayed:
The progress indicator keeps the user informed of the progress of a process
(e.g., calculation of a bitmap, printing of a film). The line is gradually filled
from left to right, from 0% to 100% as the process proceeds.
Refer to “Managing the print queue” on page 67
Note: On the print queue screen the modality name defined during
installation will be used to refer to the corresponding modality. In case a
nickname (daily used name) has been defined during installation, this
nickname will be used.
Mod.name PR
1 2

58 2852 A EN 20070205
DRYSTAR AXYS
Key-operator mode
In key-operator mode, operation is menu driven. The menu displays the key-
operator functions.
The display shows only four lines. In the above figure, they are indicated in the
upper zone. The other possible lines are shown in the lower area and can be
reached by scrolling using the Up/Down arrow keys on the Keypad.
The active keys are indicated by their respective LEDs.
Data entry
When entering numerical or alphanumerical data, always adhere to the follow-
ing principles:
QOnly (alpha) numerical data can be entered.
QDuring data entry, the field is displayed in reverse mode.
QIncrement the number in a(n) (alpha) numerical entry field by pressing the Up
key. Transition from 9 to 0 of one figure will also increment the next figure to
the left, respecting the valid limits of the range.
QDecrement the number in a(n) (alpha) numerical entry field by pressing the
Down key. Transition from 0 to 9 of one figure will also decrement the next fig-
ure to the left, respecting the valid limits of the range.
QMove the entry position in a(n) (alpha) numerical entry field from right to left
by pressing the Left key.
QMove the entry position in a(n) (alpha) numerical entry field from left to right
by pressing the Right key.
QPress and hold down a key to repeat arrow key actions.
QTo accept an entry in a menu, press the Confirm key.
5 Restore config.
6 Calibration
7 Service Actions
8 Quality Control
9 Installation
Reachable with Up/Down arrow keys
Visible

59
2852 A EN 20070205
DRYSTAR AXYS
QA short beep acknowledges and terminates the entry.
QThe Drystar AXYS will sound a long beep if you press a key that is not to be used
at that moment.
Audio signals
The Drystar AXYS gives status information via beeps. The length of the beep
indicates the response of the system to a key command.
QA short beep means that Drystar AXYS has accepted the key command and is
starting the operation.
QA long beep means that you have pressed a non-active key or that the
Drystar AXYS has rejected the key command.
Note: Certain conditions can cause an interval beep. An interval beep
accompanies an error or warning message. Refer to “Troubleshooting
checklist” on page 127.

60 2852 A EN 20070205
DRYSTAR AXYS
Working with Compact flash cards
(CF-card)
The Drystar AXYS is equipped with an external CF-card slot, which is located at
the rear side.
To insert a CF-card in the Drystar AXYS:
1Hold the CF-card vertically with the connector holes in front of the slot and with
the flat surface pointing to the left. In that case the cut-away (a) and the rim (b)
are pointing to the right.
2Insert the CF-card gently into the slot and push it until the unlocking lever
underneath the slot comes out.
Note: If you cannot push the CF-card completely into its position, this
means that you have to turn it 180 degrees (while keeping the connector
holes faced to the slot).
1
2
A
B

61
2852 A EN 20070205
DRYSTAR AXYS
To remove a CF-card from the Drystar AXYS slot:
1Push the unlocking lever underneath the CF-card slot.
The CF-card is pushed slightly outward.
2Remove the CF-card gently from the slot.
1
2

62 2852 A EN 20070205
DRYSTAR AXYS
Cooling down the Drystar AXYS
If owing to certain circumstances (e.g. extensive printing), the temperature
rises too much, the Drystar AXYS will cool down automatically. The cooling
down message will appaear on the display during the cooling down process.

63
2852 A EN 20070205
DRYSTAR AXYS
Switching off the Drystar AXYS
When you want to switch off the printer, the printer will first finish his current
print job. Queued print jobs will be stored on the hard disk and will be resumed
next time the printer is switched on.
Procedure:
1Press the Power/Reset button to switch off the Drystar AXYS.
If the printer is printing, it will finish that print job:
When the printer is ready, it shuts down immediately:

64 2852 A EN 20070205
DRYSTAR AXYS

3 Basic operation
(Operator mode)
This chapter will inform on how to manage the print queue, how to print films
with priority and how to load new films.
❑Overview of operator functions
❑Managing the print queue
❑Pausing the print queue
❑Viewing the film count info
❑Viewing the printer status
❑Deleting print jobs
❑About Drystar AXYS consumables
❑Loading films

66 2852 A EN 20070205
DRYSTAR AXYS
Overview of operator functions
This section focuses on the basic operating principles of the Drystar AXYS. After
reading this chapter, the operator should be able to produce diagnostic usable
hardcopies. No special technical skills are required.
All basic operator functions can be activated directly by pressing a single key on
the keypad.
Function / Task Description
“Managing the print queue” on page 67
Jobs that have been received are
put in a print queue, waiting to be
printed.
“Pausing the print queue” on page 69
To pause the print queue. The
printer will finish the current print
job, but will not start the next print
job.
“Viewing the film count info” on page 70 To view the number of films left in
the trays.
“Viewing the printer status” on page 71 To view the current events.
“Deleting print jobs” on page 72 To remove a print job from the
print queue.
“Loading films” on page 76 Instructions for loading new films
on the printer.

67
2852 A EN 20070205
DRYSTAR AXYS
Managing the print queue
Checking the print queue
You can always check the status of the print jobs on a connected remote access
PC via the operator menu.
If jobs have been transmitted from the network to the Drystar AXYS, they are
put in the print queue on a first in, first out schedule. New jobs that are added to
the queue get the ‘waiting’ status.
As soon as the last film of a job is ejected in the output tray, the next job that has
been calculated will be put in printing status.
Note: Keep in mind that one print job can hold several films to be printed. In
accordance with the acquisition modality used and with the actual settings,
films can be grouped in a folder to be submitted as one print job for the
Drystar AXYS. Refer to the User manual of the acquisition modality for more
information.

68 2852 A EN 20070205
DRYSTAR AXYS
The local print queue screen
When the Drystar AXYS is printing, the local display shows the ‘print’ screen:
QThe screen shows information on the job that is currently being printed: the
modality name, the time of receipt of the job and the job status (refer to the
table below).
QThe progress indicator keeps the user informed of the progress of a process
(e.g., calculation of a bitmap, printing of a film). The line is gradually filled
from left to right, from 0% to 100% as the process proceeds.
QThe last line gives access to the operator menu to pause the print queue, to view
the film count info or to view the printer status. Refer to “Pausing the print
queue” on page 69 to “Viewing the film count info” on page 70 or to “Viewing
the printer status” on page 71.
A description of the possible status of the jobs is listed in the table below:
Status Description
PR Printing Printing of this job is in progress.
CA Calculating The necessary calculations are already being
made before printing of the job can be started.
WA Waiting Jobs are queued in the printer memory.
Note: On the print screen the modality name defined during installation will be
used to refer to the corresponding modality. If there is also a nickname (daily used
name) defined during installation, the nickname is used.
Mod.name PR
1 2

69
2852 A EN 20070205
DRYSTAR AXYS
Pausing the print queue
When the Drystar AXYS is printing, you can always pause the print queue by
entering the operator menu.
During a print job, the ‘print’ screen is displayed:
To pause the print queue, proceed as follows:
1Press the Escape key to enter the operator menu.
The ‘Operator menu’ screen appears:
2On the Operator menu press the Confirm key to select ‘Pause print queue’.
3If the printer is printing, it will first finish its current print job.
4When the printer is ready, the print queue is paused.
5To resume printing, press the Confirm key.
Mod.name PR
1 2

70 2852 A EN 20070205
DRYSTAR AXYS
Viewing the film count info
When the Drystar AXYS is printing, you can always view the number of films
left in the trays by entering the operator menu.
During a print job, the ‘print’ screen is displayed:
To view the number of loaded films in the trays, proceed as follows:
1Press the Escape key to enter the operator menu.
The ‘Operator menu’ screen appears:
2Press the Down key once, followed by the Confirm key to select ‘Film count
info’.
The following screen appears:
The progress bar indicates the evolutions of the film usage in an input tray. The bar is
divided into 10 parts, each part represents approximately 10% of the total films of a
film pack. The last part of the bar will disappear when more than 80% of a film pack
has been printed.
3Press the Confirm key to return to the print screen.
WARNING: Do not open the input trays to view the number of loaded
films while the Drystar AXYS is printing, but follow the procedure below:
Note: When a film job cannot be done because the tray to which the job is assigned
is empty, then the printer will check if the films in the other tray can be used for
this and other print jobs in the print queue. The printer will skip the print jobs that
cannot be done and will resume them later.
Mod.name PR
1 2

71
2852 A EN 20070205
DRYSTAR AXYS
Viewing the printer status
When the Drystar AXYS is printing, you can always view the printer status by
entering the operator menu.
During a print job, the ‘print’ screen is displayed:
To view the printer status, proceed as follows:
1Press the Escape key to enter the operator menu.
The ‘Operator menu’ screen appears:
2Press the Down key twice, followed by the Confirm key to select ‘Printer status’.
The following screen appears:
The screen informs you, by means of short event descriptions, about current events.
There is only one event per line. An event could be e.g. a current film jams, an empty
tray,...
3Press the Confirm key to return to the print screen.
Mod.name PR
1 2

72 2852 A EN 20070205
DRYSTAR AXYS
Deleting print jobs
When the Drystar AXYS is printing, you can always delete print jobs by entering
the operator menu.
During a print job, the ‘print’ screen is displayed:
To delete a print job, proceed as follows:
1Press the Escape key to enter the operator menu.
The ‘Operator menu’ screen appears:
2Press the Down key three times, followed by the Confirm key to select ‘Delete
jobs’.
A screen appears where you can choose between the option ‘All jobs’ or one of the jobs
in the print queue:
3Do one of the following:
•If you want to delete all jobs at once, press the up/down arrow keys to select ‘All jobs’,
followed by the Confirm key. Proceed with the next step.
•If you only want to delete a specific job in the print queue, press the up/down arrow
keys to select the desired print job, followed by the Confirm key. Proceed with the next
step.
4A screen appears in which you need to confirm your delete request.
Press the Confirm key (YES) to confirm your choice, or the Escape key (NO) to quit
the procedure without any changes.
Note: Only the print queue jobs with a status different from printing (PR) or
calculating (CA) will be shown.
Mod.name PR
1 2
4 Delete jobs

73
2852 A EN 20070205
DRYSTAR AXYS
About Drystar AXYS consumables
The Drystar AXYS can handle blue-transparent DT 2 B, clear-transparent DT 2 C
(both for general radiography) and optionally the blue-transparent DT 2
Mammo (for the mammography application) films.
Available film formats for general radiography applications are 8x10”, 10x12”,
11x14”, 14x14”, and 14x17”. Available film formats for the mammography
application are 8x10”, 10x12” and 11x14”.
Both input trays can use all film formats.
When a new film pack is loaded, the Film Identification tag is read and the
printer settings are automatically adjusted.
Other manuals for DRYSTAR AXYS
6
Table of contents
Other AGFA Medical Equipment manuals

AGFA
AGFA DR 100s User manual

AGFA
AGFA DX-D 10C User manual
AGFA
AGFA DR 10e User manual

AGFA
AGFA DRY 3.4 User manual

AGFA
AGFA CR 30-X User manual

AGFA
AGFA Drystar 5302 Technical manual

AGFA
AGFA WS-Motorized-T-001 User manual

AGFA
AGFA Classic E.O.S. Technical manual

AGFA
AGFA CR 30-X User manual

AGFA
AGFA DR 800 User manual
Popular Medical Equipment manuals by other brands

Easylife
Easylife EL6012 instruction manual

Endosense
Endosense TactiCath Instructions for use

Boehringer Ingelheim
Boehringer Ingelheim HandiHaler Instructions for use

Gima
Gima JOTARAP manual

Amico
Amico Mira LED Exam Light Operating and maintenance instructions

Stryker
Stryker Bertec FL13E Series User and maintenance guide