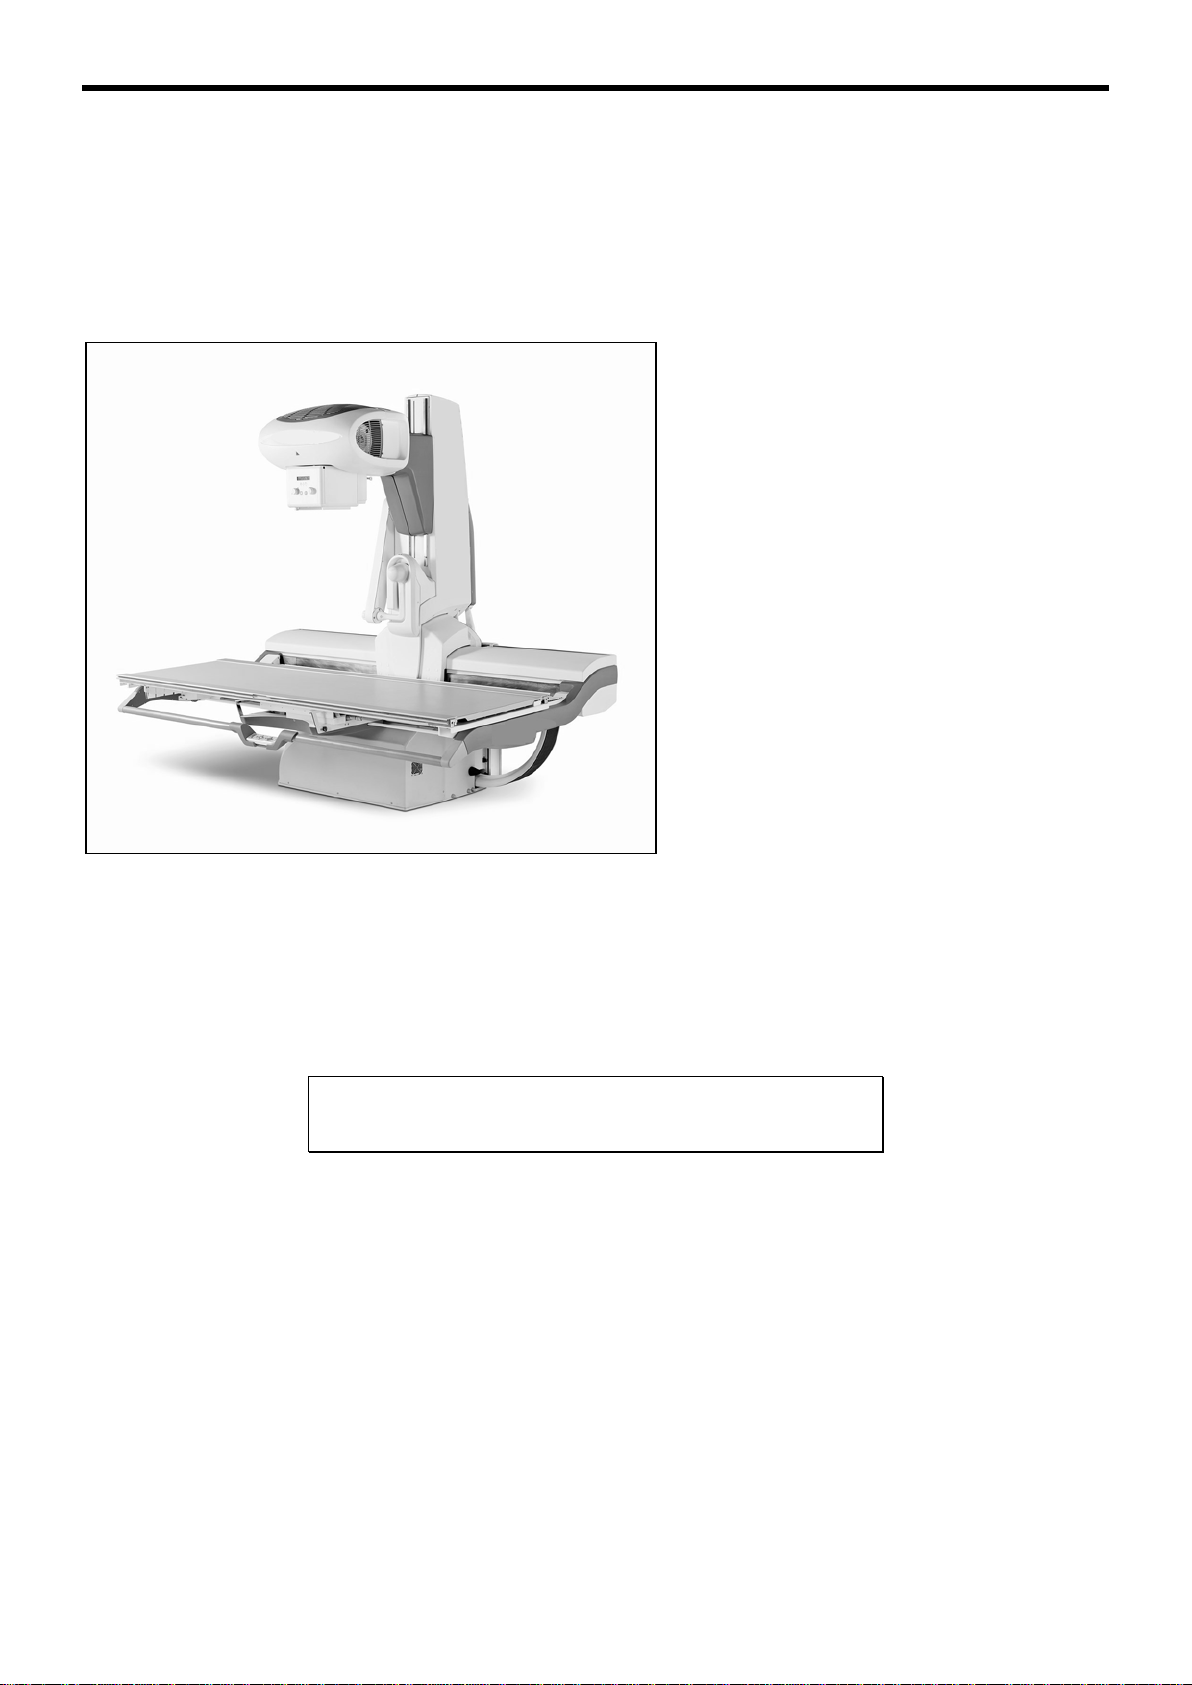
Digital Remote Controlled Table with dynamic flat panel detector
User’s Manual
7
GUARANTEE CONDITIONS
It is the responsibility of the user to ensure that the government regulations respecting installation and operation of
the equipment are observed.
Incorrect operation or failure of the user to maintain the equipment in accordance with the schedule of maintenance
relieves the manufacturer or his agent from all responsibility for consequent non-compliance, damage, injury,
defects and/or other malfunction.
In normal use, the table must be fixed to floor by eight screws M8x120. Refer to Service manual, in « Mounting »
chapter in paragraph « Implementation to floor ». No specific foot exists for the control console: it must be layed on
the shelf behind the shield but it is not necessary to fix it.
Refer to Service manual for any question related to the installation of the remote controlled table.
In any case of trouble, please contact the authorized company in charge with the equipment.
Refer to Service Manual to obtain pieces of information retated to:
- functioning, transport, and to storage of the equipment,
- the conditions necessary for installation of the equipment,
- the preparation for use of the equipment,
- the replacement of fuses, power supply cords and other parts,
- the circuits diagrams, and to the list of components,
- mains isolation.
The installation and equipment must not be used if any mechanical, electrical or radiation-emitting component is
defective, or if the procedures described in the schedule of maintenance have not been carried out.
Changes and additions to the equipment may only be carried out by the manufacturer or by third parties expressly
authorized by the manufacturer to do so. Such changes must comply with local regulations and accepted standards
of good practice.
In case the power lines do not meet the specifications given in section A "Preinstallation" of the Service Manual, the
table cannot reach its maximum performance and the standard use cannot be guaranteed.
Technical files (diagrams, parts list, measurement procedure and so on...) are available on request to the
manufacturer.