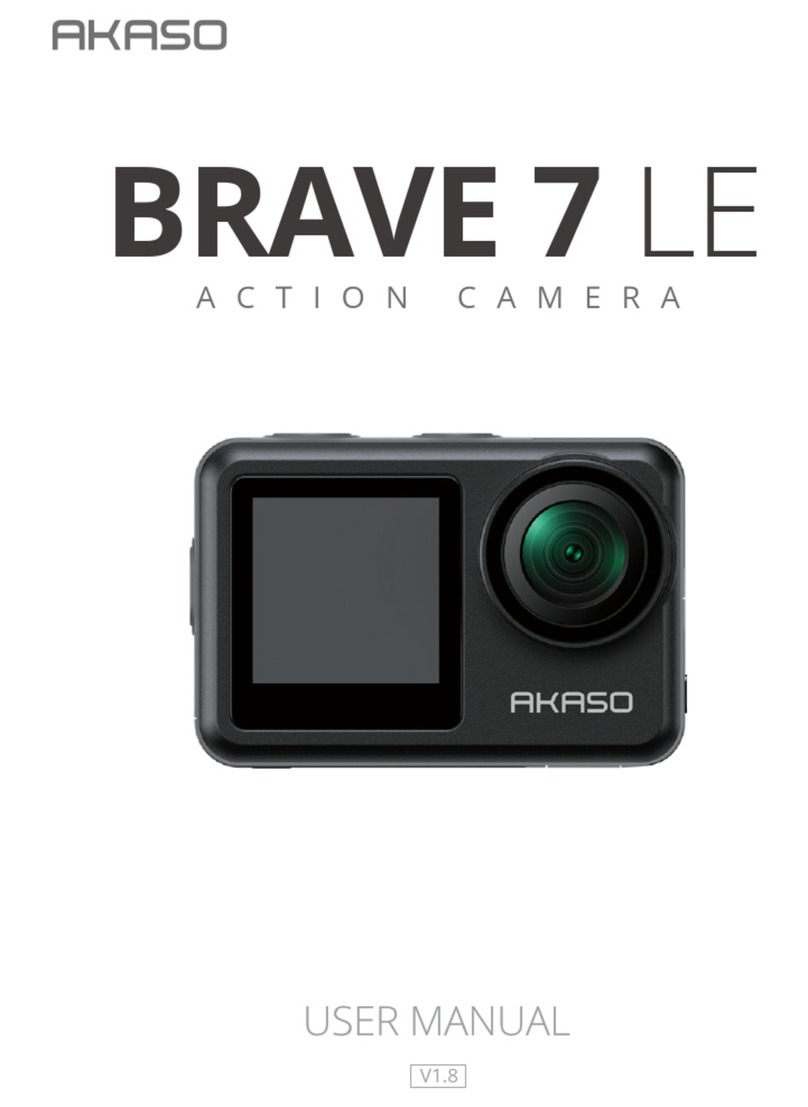
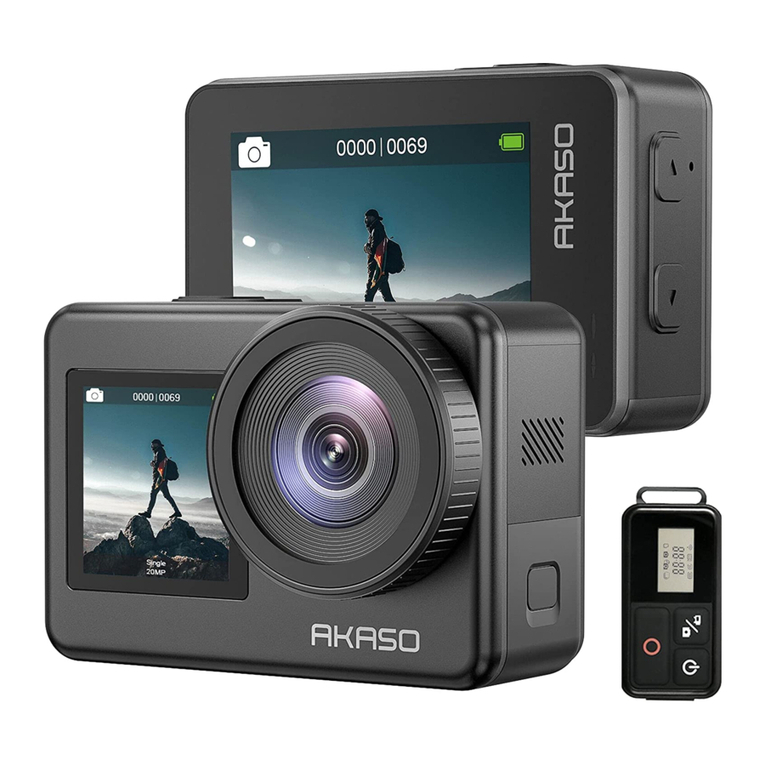
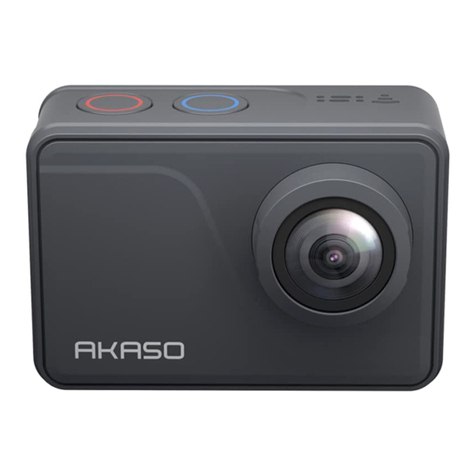
Akaso Brave 7 User manual

BRAVE 7
V1.8
ACTION CAMERA

Contents
What's in the Box 02
Your Brave 7 03
Getting Started 07
Overview of Modes 08
Customizing Your Brave 7 09
Connecting to the AKASO GO App 17
Playing Back Your Content 19
DeletingYour Content 19
Ooading Your Content 20
Maintaining Your Camera 20
Maximizing Battery Life 21
Battery Storage and Operation 21
Remote Control 22
Mounting Your Camera 25
Contact Us 26
01
EN

Brave 7
x 1
Camera Frame
x 1
Battery Charger
x 1
Battery
x 2
USB Cable
x 1
Remote Control
x 1
C Mount
x 1
Remote Control
Strap x 1
Helmet Mount 1
x 1
Spanner
x 1
Bandage
x 4
Helmet Mount 2
x 1
Buckle Mount
x 1
J-Hook Mount
x 1
E Mount
x 1
Lens Cloth
x 1
A Mount
x 1
H Mount
x 1
Tether
x 5
F Mount
x 1
Double Sided
AdhesiveTape x2
Quick Start
Guide x 1
D Mount
x 1
What's in the Box
02
EN

Note: The camera does not record sound when it is in the waterproof case.
9
10
11
12
13
15
14
Touch Screen
Battery Cover
Up / Wi Button
Voice Control Mic
Down Button
Charging Indicator
9
12
Working Indicator
11
10
15
14
13
04
EN

Video
4K30
01:19:42
1
2
4
5
8
6
7
Mode
Recording Time/Photos Remaining
Audio Recording
Album
1
2
3
4
Current Shooting Mode
Battery Status
Memory Card
5
6
7
Settings
8
Swipe down to access the quick menu
You can quickly lock the screen or power off your camera via the quick menu.
Tip: Press the Shutter button to unlock your screen.
Lock PowerO
3
05
EN

Setting Resolution
Swipe up from the preview screen to enter the resolution settings screen, and
swipe left or right to choose a desired resolution. On this screen, you can also
quickly configure the settings of meter and image stabilization.
Switching Modes
On the preview screen, tap the Mode icon at the bottom to access the mode
menu, choose “Video” or "Photo" to select a desire shooting mode from the
available options.
Switching Screens
Press and hold the Down button for 3 seconds to toggle between front and touch
screens.
Note: The touchscreen can’t be operated when using the front screen.
Time Lapse Long Exposure Wifi
Burst PhotoSelf TimerPhoto
Video Photo
Resolution
4K30
Center Spot
Meter
Average
2.7K30
Still Photo Driving Mode Wifi
Time LapseSlow MotionVideo
Video Photo
06
EN

Welcome to your AKASO Brave 7 action camera. To capture videos and photos, you
need a memory card to start recording (sold separately).
Memory Cards
Please use brand name memory cards that meet these requirements:
• U3
• Capacity up to 512GB (FAT32)
Note:
1. Please format the memory card first in this camera before using. To keep your
memory card in good condition, reformat it on a regular basis. Reformatting
erases all of your content, so be sure to offload your photos and videos first
2. Memory cards larger than the specified maximum capacity can cause issues like
non-recognition or even camera malfunctions like unresponsiveness or
firmware failure.
3. With FAT32, the card will stop recording and create a new file if the file size of a
recording reaches 4GB.
Powering On and Off
To Power On:
While the camera is off, press and hold the Power button for 3 seconds to turn it on.
Once the display screen shows camera information and the working indicator turns
on, you'll know that your camera is powered on.
To Power Off:
While the camera is on, press and hold the Power button for 3 seconds to turn it off
The camera beeps and the working indicator will also turn off.
Quick Start Guide
When using the camera for the first time or after resetting it, set the system
language, date & time, and follow the on-camera guide to begin using the camera. If
you prefer not to use the guide, simply tap "Skip" to bypass it.
Switching Modes
On the preview screen, tap the mode icon at the bottom to enter the mode menu,
and tap "Video" or "Photo" to select a desired shooting mode from the available
option.
Getting Started
07
EN
The Brave 7 action camera offers 10 modes for you to choose from.
Video Mode
The camera is in Video mode by default when turned on.
In this mode, press the Shutter button to record normal video at the preset
resolution and frame rate.
Tip: You can also press the Up or Down button to adjust the zoom level before
recording videos.
Slow Motion Video Mode
In this mode, the camera captures footage at your chosen resolution and slow
motion speed, but it saves the video at a playback rate of 30 fps. This ensures that
on playback, the video displays in a captivating slow-motion effect.
Time Lapse Video Mode
In this mode, press the Shutter button to record videos from frames captured at
specific intervals. This allows the action to progress much faster than in reality.
Note: Time Lapse Video is captured without audio.
Still Photo Mode
In Still Photo mode, press the Shutter button, the camera takes still photos at specifi
intervals during video recording.
Driving Mode
In this mode, the camera will automatically turn on and record video if you connect
it to a car cigarette lighter. It will automatically save the video file and turn off if you
stop your car.
Turning Wifi on or off
To turn on:
On the preview screen, press and hold the Up / Wifi button or tap the Wifi icon in
the mode menu to turn on Wifi
To turn off:
On the Wifi screen, press the Up / Wifi to turn off Wifi
Overview of Modes
08
EN

Photo Mode
In this mode, press Shutter button to take a photo at the preset photo resolution.
Self-Timer Mode
In this mode, the camera automatically captures a photo after the set countdown
time.
Burst Photo Mode
In this mode, press the Shutter button to continuously take photos at the set shot.
Time Lapse Photo Mode
In this mode, press the Shutter button to capture a series of photos at specifie
intervals. Use this mode to capture photos of any activity, then choose the best ones
later.
Long Exposure Mode
Long Exposure uses a longer shutter speed to allow more light to enter the camera
sensor, making it ideal for use in dark, light, and water scenes. Note: Ensure camera
stability throughout the entire long exposure duration.
Video Settings
1. Resolution
4K30/2.7K30/1080P60/1080P30/720P120/720P60/720P30 (Default setting: 4K30)
Configure the resolution settings before recording videos. The camera records up to
4K 30fps videos.
Note: Capturing videos in warm environments in high resolutions and frame rates will
consume more power.
2. Image Stabilization
Off/On (Default setting: Off)
Image Stabilization can efficiently smooth out the lens shakes, resulting in smooth
and pristine videos. This feature is ideal for capturing scenes involving activities like
riding, skating, and handheld use.
Customizing Your Brave 7
09
EN

3. Video Encode
H.264 / H.265 (Default setting: H.264)
Video encode is basically a process of converting a given video input into a digital
format that is compatible with most types of Web players and mobile devices.
4. Loop Recording Time
Off / 3 Min / 5 Min / 6 Min (Default setting: Off)
Set the time of videos recorded in Loop Recording mode. For example, if the "Loop
Recording time" is set to “3 Min”, then the camera will create video clips of 3 minutes
in length, and a 3-minute clip will be deleted when the camera needs more memory.
5. Slow Motion
1080P90 / 1080P60 / 720P120 / 720P60 (Default setting: 1080P90)
Configure the resolution of the video captured in Slow Motion Video mode.
6. Time Lapse Interval
0.2 Sec / 0.3 Sec / 0.5 Sec / 1 Sec / 2 Sec / 5 Sec / 10 Sec / 30 Sec / 1 Min (Default
setting: 0.5 Sec)
Set the frequency for capturing video frames in Time Lapse Video mode.
7. Time Lapse Duration
Off / 5 Min / 10 Min / 15 Min / 20 Min / 30 Min / 60 Min (Default setting: Off)
Choose how long your camera captures videos before automatically stopping.
8. Still Photo
4K30
The camera allows you to snap stills during video recording. Only 4K30 is available in
Still Photo mode.
9. Still Photo Time
3 Sec / 5 Sec / 10 Sec / 30 Sec (Default setting: 3 Sec)
Set the interval at which the camera takes photos during video recording.
10. Audio Record
On / Off (Default setting: On)
Choose to turn Audio Record on or off. With Audio Record disabled, the camera
captures videos without sound.
10
EN

11. Exposure Value
-2/-1/0/+1/+2 (Default setting: 0)
EV (Exposure Value) lets you adjust the brightness of your photos and videos. A
higher EV value creates a brighter image, while a lower value results in a darker
image.
12. White Balance
Auto / Tungsten / Fluorescent / Daylight / Cloudy / Dawn (Default setting: Auto)
White Balance fine-tunes the color temperature of your videos and photos, ensuring
optimal color accuracy in both warm and cool lighting conditions.
13. Meter
Center / Average / Spot (Default setting: Auto)
Choose a desired meter mode to optimize your shot based on different scenes.
14. Scene
Auto / Riding / Snow View / Night Scene (Default setting: Auto)
15. Filter
Natural / Black&White / Sepia / Retro / Gorgeous / Warm / Code / Red/ Green / Blue
(Default setting: Natural)
Choose the tonal quality for your photos or videos to enhance their appeal.
Photo Settings
1. Resolution
20M / 16M / 12M / 10M / 8M / 5M (Default setting: 20M)
This camera is capable of capturing 20MP photos. While higher resolutions yield
clearer and more detailed photos owing to the increased pixel count, they also
produce larger file sizes.
2. Self-Timer
1 Sec / 3 Sec/5 Sec/10 Sec/30 Sec (Default setting: 3 Sec)
Set the countdown time before the camera takes a photo in Self-timer mode.
3. Time Lapse Interval
3 Sec / 5 Sec / 10 Sec / 30 Sec / 1 Min (Default setting: 3 Sec)
Choose how frequently photos are taken in Time-lapse Photo mode.
11
EN

4. Time Lapse Duration:
Off / 5 Min / 10 Min /15 Min / 20 Min / 30 Min / 60 Min (Default setting: Off)
Choose how long your camera captures photos before automatically stopping.
5. Burst Photo
12M / 10M / 8M / 5M / 3M (Default setting: 12M)
Set the resolution for photos to be taken in Burst Photo mode.
6. Burst Photo Type
3 shots / 5 shots / 10 shots / 15 shots (Default setting: 3 shots)
Adjust the number of photos taken in Burst mode with a single shutter press.
7. Scene
Auto / Light Painting (Default setting: Auto)
8. Output Format
JPEG / JPEG+DNG (Default setting: JPEG)
Choose an output format for a photo.
9. Exposure Value
-2/-1/0/+1/+2 (Default setting: 0)
EV (Exposure Value) lets you adjust the brightness of your photos and videos. A
higher EV value creates a brighter image, while a lower value results in a darker
image.
10. Exposure Time
Off / 2 Sec / 5 Sec /10 Sec / 30 Sec / 60 Sec (Default setting: Off)
Set the duration for which the camera's shutter remains open to allow light to
reach the camera's image sensor.
11. White Balance
Auto / Tungsten / Fluorescent / Daylight / Cloudy / Dawn (Default setting: Auto)
White Balance fine-tunes the color temperature of your videos and photos,
ensuring optimal color accuracy in both warm and cool lighting conditions.
12
EN

12. Meter
Center / Average / Spot (Default setting: Average)
Choose a desired meter mode to optimize your shot based on different scenes.
13. Sharpness
Strong / Normal / Soft (Default setting: Normal)
Sharpness adjusts the sharpness of your scene’s elements to capture fine details,
thereby enhancing the overall image or video quality.
14. Filter
Natural / Black&White / Sepia / Retro / Gorgeous / Warm / Code / Red/ Green / Blue
(Default setting: Natural)
Choose the tonal quality for your photos or videos to enhance their appeal.
15. Photo Quality
Fine / Normal / Economy (Default setting: Normal)
Determines the image quality of your photos.
System Settings
1. Voice Control
Off / On (Default setting: Off)
Choose to turn the voice control feature on or off. With Voice Control enabled, you
can issue any supported voice command to the camera for hands-free capture. The
supported voice commands are as below.
Voice Commands Descriptions
AKASO Power Off
AKASO Video Start
AKASO Stop Video
AKASO Take Photo
AKASO Wifi On
AKASO Turn Off Wifi Turn off Wifi
Turn on Wifi
The camera takes a single photo.
The camera stops recording video.
The camera starts recording video.
The camera shuts down
13
EN

Note:
1. This camera supports only Chinese, English, German, Spanish, Italian, French, and
Japanese voice commands.
2. Stop video recording before giving a new command.
3. Speak clearly and naturally at a normal speed. There is no need to slow down.
4. Emphasize the end of the command.
5. Performance might vary with distance, environmental noise, and wind. Ensure the
device is kept clean and clear of debris.
6. Voice commands are most effective within 3 meters.
2. Sounds
Volume/Key Tone/Touch Tone/Boot Tone
You can turn on or off these sound effects and adjust the volume of the camera in
this setting.
3. Distortion Calibration
On/Off (Default setting: Off)
Correct the fisheye effect that can occur in wide-angle captures, providing images
without distortion.
4. Angle
170°/140°/110°/70° (Default setting: 170°)
The angle refers to how much of the scene (measured in degrees) can be captured
through the camera lens. 170° angle captures the largest amount of the scene,
while 70° angle captures the least.
5. Diving Mode
On / Off (Default setting: Off)
Turn Diving Mode on or off. Diving Mode compensates for the blue or green color
cast caused by water, ensuring more accurate and natural colors in your underwater
footage.
6. Remote Control
On / Off (Default setting: Off)
Turn Remote Control on or off. With Remote Control enabled, you can connect the
included remote to your camera for remote control.
14
EN

7. Wind Noise Reduction
On / Off (Default setting: Off)
Wind Noise Reduction efficiently reduces noise produced during video recording,
allowing for better audio quality.
8. Auto Low Light
On / Off (Default setting: Off)
Auto Low Light mode will automatically adjust settings according to lighting
conditions to achieve the best low light performance. Even if you move back and
forth between bright and dark environments, you do not need to manually adjust
the camera settings.
9. ISO
Auto / 200 / 400 / 800 / 1600 / 3200 (Default setting: Auto)
ISO controls the image sensor’s sensitivity to light. A higher ISO increases sensitivity,
making it valuable in dimly lit conditions, though it may introduce graininess. A lower
ISO is ideal for bright conditions, producing clearer images with reduced noise.
10. WDR
On / Off (Default setting: Off)
WDR (Wide Dynamic Range) is deal for use in high-contrast scenes.
11. Language
English/Deutsch/Français/Español/Italiano/日本語/简体中文/繁體中文
(Default setting: English)
12. Date Format
Set the date format for your Brave 7 action camera.
13. Set Date
Set the date for your Brave 7 action camera.
14. Set Time
Set the time for your Brave 7 action camera.
15. Date Stamp
Off / Date & Time / Date (Default setting: Date & Time)
With Date Stamp turned on, this camera adds a time and date watermark to your
videos or photos.
EN
15
EN

16. Screen Saver
Off / 3 Min / 5 Min / 10 Min (Default setting: 1 Min)
Screen saver helps to turn off the display after a period of inactivity to save battery
life. To turn on the display again, press any button or tap the screen on the camera.
17. Auto Power Off
1 Min / 3 Min / 5 Min / 10 Min (Default setting: 3 Min)
The camera will power off after a period of inactivity to save battery life.
18. Power Frequency
50Hz / 60Hz (Default setting: 60Hz)
19. Format Card
Cancel / Confirm (Default setting: Cancel)
To keep your memory card in good condition, reformat it on a regular basis.
Reformatting erases all of your content, so be sure to offload your photos
and videos first.
20. Reset
Cancel / Confirm (Default setting: Cancel)
This option resets all settings to their default values.
21. SD Card Capacity
Check the card capacity and remaining space of your memory card.
22. About
Check the model and software version of your camera.
Note: Some functions cannot be used at the same time. Please refer to the
information below.
2
1
3
Video frame rate >60fps
Auto Low Light
Diving Mode
Image stabilization
Image stabilization
Filter and White Balance
EN
16
EN

To connect your camera to the AKASO GO app, please download this app from the
App Store or Google Play to your smartphone first. When your camera is connected
to the AKASO GO app, you can control it to capture, or change its settings using
your phone. You can also live preview, playback, download, edit, and share videos via
this app. Please follow the instructions below to connect your camera to the AKASO
GO app.
Option 1:
1. Turn on the camera, press and hold the Up button to turn on Wifi. The camera
will enter Wifi mode and display the Wifi information in 3 seconds.
2. Enter your phone’s Wifi settings page, find the Wifi SSID in the list and tap on it,
then enter the password 1234567890 for connection.
Warm tip: Once the camera Wifi is connected, a “No Internet Connection” or
“Weak Security” notification will appear since the phone’s data is paused. You can
ignore it and continue the app connection.
3. Open the AKASO GO app, tap “Device”→“ Add Device”, then select “Brave 7” from
the list for connection.
4. Tick "The above operation has been confirmed", and tap "Live Preview". Your
camera will be connected to the AKASO GO app in seconds.
Option 2:
1. Turn on the camera, press and hold the Up button to turn on Wifi. TThe camera
will enter Wifi mode and display the Wifi information in 3 seconds.
2. Open the AKASO GO app, tap the “+” icon in the upper right corner to add “Brave
7” , and then tap “Live Preview”
3. Enter the Wifi SSID and tap ”Connect camera”.
4. Allow your smartphone to “Join” the Wifi network of the camera.
5. Your camera will be connected to the AKASO GO app in seconds.
Connecting to the AKASO GO App
EN
17
EN

EN
18
EN
Other manuals for Brave 7
5
Table of contents
Languages:
Other Akaso Action Camera manuals

Akaso
Akaso Brave 6 Plus User manual

Akaso
Akaso Brave 8 User manual

Akaso
Akaso EK7000 User manual

Akaso
Akaso EK7000 Pro User manual

Akaso
Akaso EK7000 Pro User manual

Akaso
Akaso EK7000 User manual

Akaso
Akaso V50X User manual

Akaso
Akaso Brave 4 User manual

Akaso
Akaso Brave 6 Plus User manual

Akaso
Akaso V50X User manual

Akaso
Akaso Brave 7 User manual

Akaso
Akaso BRAVE 4 PRO User manual

Akaso
Akaso EK7000 User manual

Akaso
Akaso Brave 4 User manual

Akaso
Akaso Brave 7 User manual

Akaso
Akaso Brave 6 Plus User manual

Akaso
Akaso Brave 7 User manual

Akaso
Akaso Brave 8 User manual

Akaso
Akaso EK7000 User manual

Akaso
Akaso V50 Pro SE User manual