manuals.online logo
Brands
  1. Home
  2. •
  3. Brands
  4. •
  5. Akuvox
  6. •
  7. Intercom System
  8. •
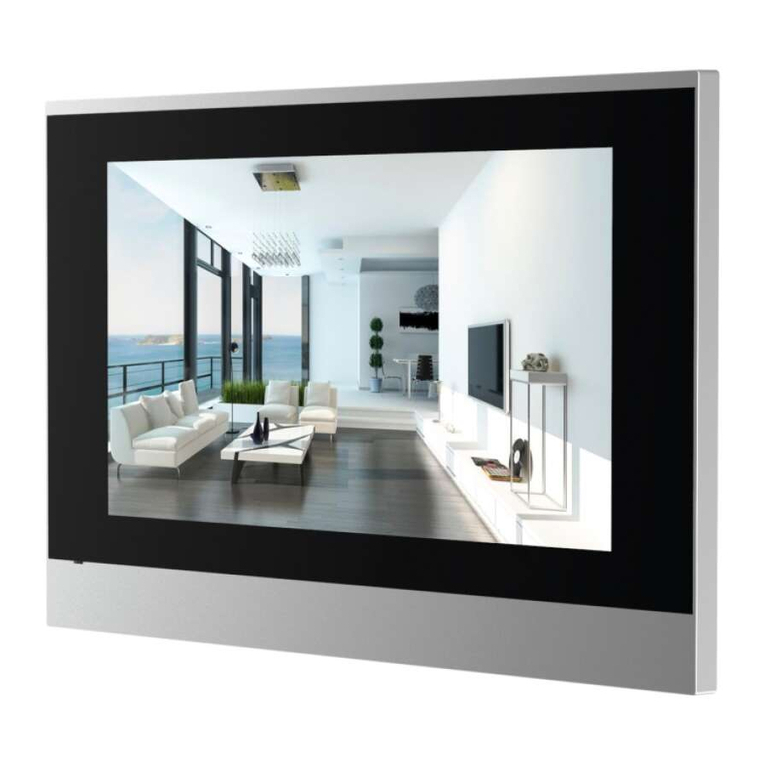
  9. Akuvox C312X User manual

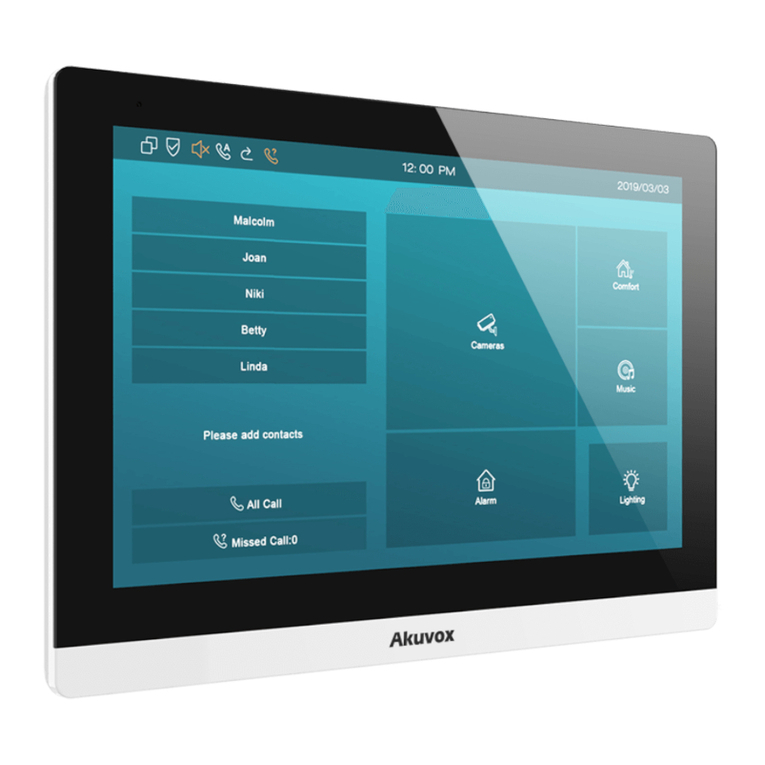
Akuvox C312X User manual

C312X
C312 x 1
Integrated Wall bracket x 1
M2.5x6 screw x 1
C312A Front Panel C312S Front Panel
LCD Screen
Wifi &Bluetooth LED
Call Touch Key
Unlock Touch Key
Mic
Hangup Touch Key
Speaker
Numeric Keypad
Volume Touch Key
DND Touch Key
Mute Touch Key
Call Touch Key
Unlock Touch Key
Mic
Hangup Touch Key
Speaker
Numeric Keypad
Volume Touch Key
DND Touch Key
Mute Touch Key
C312X Bottom C312X Rear Panel
Reset Button
Back Slot
Pogo Pin Signal Interface
Embedded Magnet
6 Pin Port
10 Pin Port
Network Interface
(POE)
Pogo Pin
Front Bracket Rear Bracket
Screw fixing seat x 2 ST4x20 screw x 2 M4x30 screw x 2
6 Pin cable x1
10 Pin cable x1
165.00 mm
115.00 mm
14.50 mm
102.14 mm
102.00 mm 26.85
With embedded one-gang juncon box (86x86mm or 2x3 inches in size) in
the wall.
Connect the cables in
embedded box to
corresponding ports of
integrated wall bracket.
With 86x86mm junction box
Fix the integrated wall bracket
to the junction box with two
M4x30 screws.
With 2x3 inches junction box
Fix the integrated wall bracket to
the junction box with two M4x20
screws. Finish the bracket installation.
or
Installaon
Without embedded juncon box in the wall.
Step 1: Integrated Wall Bracket Installaon
According to the position of the cable,
cut a circular hole in the wall of the
diameter of 68 mm and depth of 50
mm that can accommodate and
through out all necessary cables.
Place the integrated wall bracket in the
cut hole and adjust to the horizontal
position. Mark the upper and lower
screw holes as the pic shown above.
Remove the integrated wall bracket
and use the 5 mm drill to drill 2 screw
holes with a depth of 25 mm at the
marked position, then insert the 2
screw fixing seats provided.
Fix the integrated wall bracket on
the wall with two ST4x20 screws.
Connect the cables to corresponding
ports of integrated wall bracket.
Finish the bracket installation.
Step 2: Device Installaon
Check the back slots of the
device and bracket holder
before you start.
Place the device carefully
from top to bottom with its
bottom part slightly away
(up to 3 cm) from the wall.
When the device fits to the
bracket holder supports,
push the device bottom part
onto the bracket. Make sure
the device was safety
attracted to the magnets.
Finish the device
installation. Tighten the M2.5x6 screw on the
bottom of the device with allen
wrench.
Device Wiring
AKUVOX (XIAMEN) NETWORKS CO., LTD.
ADD: 10/F, NO.56 GUANRI ROAD, SOFTWARE PARK II, XIAMEN 361009, CHINA
www.akuvox.com
Notice Information
Akuvox C312X firmware contains third-party open source software under the terms of the GNU General Public
License(GPL). Akuvox is committed to meeting the requirements of the GNU General Public License (GPL) and will
make all required source code available.
The source code of software under the terms of GNU GPL can be downloaded online: http://www.akuvox.com/gpl.
Information contained in this document is believed to be accurate and reliable at the time of printing. This document is
subject to change without notice, any update to this document can be viewed on Akuvox’ s website:
http://www.akuvox.com © Copyright 2019 Akuvox Ltd. All rights reserved.
C312X
Configuraon
1.Access IP address: After setting up network and power, hold the Hangup Touch Key
about 5 s, it will announce IP address automatically, press again to stop.
2.Access the Website: Launch a browser and type in the IP address then enter the username
and password to login.(username/password: admin /admin by default)
3.Account Registration: On web UI, go to the path: Account -> Basic page to fill in the
account information, click Submit to confirm.(Please refer to user manual for more information)
(Note: The short/long press number need to be setup in the web in advance.)
Receive a call:
Press flashing Call Touch Key to pickup the incoming call.
Unlock:
Press Unlock Touch Key to unlock the local door.
DND And Mute:
Press DND Touch Key to reject the call. And press mute Touch Key to mute the mic.
Operaon
Make a call:
Enter the callee’s number, then press Call Touch Key to call. Or directly press the Call
Touch Key to call out the predefined Short Press Number. Or hold the Call Touch Key
about 2 s to call out the predefined Long Press Number. Press Hangup Touch Key
to hang up.

Other Akuvox Intercom System manuals

Akuvox R20A Manual

Akuvox

Akuvox R20A Manual

Akuvox R27A User manual

Akuvox

Akuvox R27A User manual

Akuvox R26B User manual

Akuvox

Akuvox R26B User manual
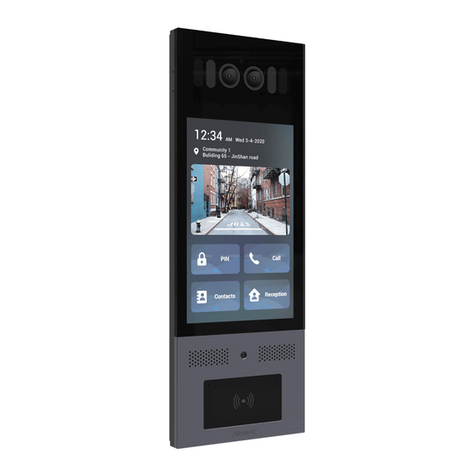
Akuvox C315X User manual

Akuvox

Akuvox C315X User manual

Akuvox C312 Series User manual

Akuvox

Akuvox C312 Series User manual

Akuvox R20B Series Manual

Akuvox

Akuvox R20B Series Manual

Akuvox R20A User manual

Akuvox

Akuvox R20A User manual

Akuvox IT88 Series Manual

Akuvox

Akuvox IT88 Series Manual

Akuvox IT82 Series Manual

Akuvox

Akuvox IT82 Series Manual

Akuvox R29C Assembly instructions

Akuvox

Akuvox R29C Assembly instructions

Akuvox R20K User manual

Akuvox

Akuvox R20K User manual

Akuvox E21 Series Manual

Akuvox

Akuvox E21 Series Manual

Akuvox X912 User manual

Akuvox

Akuvox X912 User manual

Akuvox R28 Series User manual

Akuvox

Akuvox R28 Series User manual

Akuvox E10S User manual

Akuvox

Akuvox E10S User manual
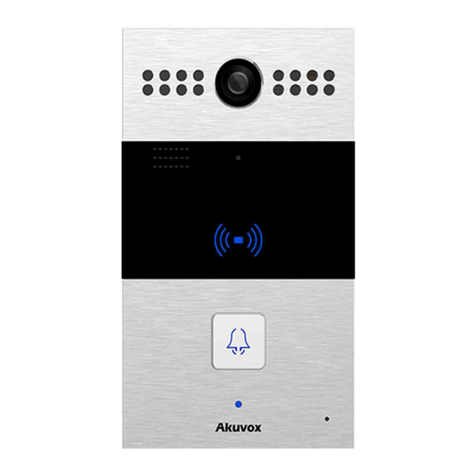
Akuvox C319 Series User manual

Akuvox

Akuvox C319 Series User manual

Akuvox R20AS User manual

Akuvox

Akuvox R20AS User manual

Akuvox R20A-2 Series User manual

Akuvox

Akuvox R20A-2 Series User manual

Akuvox E16 Series Service manual

Akuvox

Akuvox E16 Series Service manual
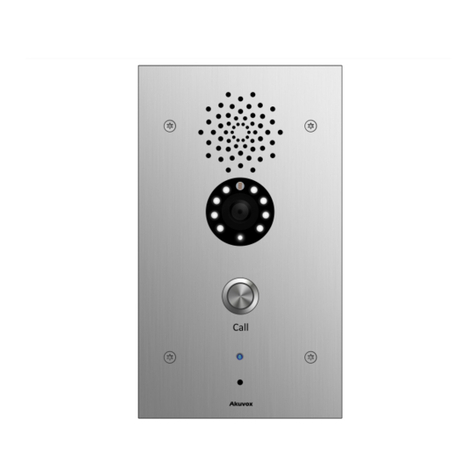
Akuvox R26P Manual

Akuvox

Akuvox R26P Manual

Akuvox IT81 User manual

Akuvox

Akuvox IT81 User manual

Akuvox E21A User manual

Akuvox

Akuvox E21A User manual

Akuvox R20K Manual

Akuvox

Akuvox R20K Manual

Akuvox E12 User manual

Akuvox

Akuvox E12 User manual

Popular Intercom System manuals by other brands

Dnake A416 user manual

Dnake

Dnake A416 user manual

Comelit Mini 6721W Technical manual

Comelit

Comelit Mini 6721W Technical manual

Commax CMV-70S user manual

Commax

Commax CMV-70S user manual

Aiphone JP-DVF-RP10 instructions

Aiphone

Aiphone JP-DVF-RP10 instructions

Fanvil i10 user manual

Fanvil

Fanvil i10 user manual

2easy DK1721 quick guide

2easy

2easy DK1721 quick guide

ACT ACTPRO 1000 datasheet

ACT

ACT ACTPRO 1000 datasheet

System Q Door Knox VDP304 instruction manual

System Q

System Q Door Knox VDP304 instruction manual

SSS Siedle MO 950-01/10 C Product information

SSS Siedle

SSS Siedle MO 950-01/10 C Product information

Tynetec Touch 2 instructions

Tynetec

Tynetec Touch 2 instructions

Commax WI-3SN user manual

Commax

Commax WI-3SN user manual

Passotel Telpass STD user guide

Passotel

Passotel Telpass STD user guide

Jupiter Avionics wiJAC-T Series operating manual

Jupiter Avionics

Jupiter Avionics wiJAC-T Series operating manual

Fermax MDS Digital Guard Unit manual

Fermax

Fermax MDS Digital Guard Unit manual

Aiphone DB-1SD Operation manual

Aiphone

Aiphone DB-1SD Operation manual

Smartwares DIC-221 series instruction manual

Smartwares

Smartwares DIC-221 series instruction manual

Bpt HAVC/200 installation guide

Bpt

Bpt HAVC/200 installation guide

AES global CellCOM Prime 7 4G manual

AES global

AES global CellCOM Prime 7 4G manual

manuals.online logo
manuals.online logoBrands
  • About & Mission
  • Contact us
  • Privacy Policy
  • Terms and Conditions

Copyright 2025 Manuals.Online. All Rights Reserved.