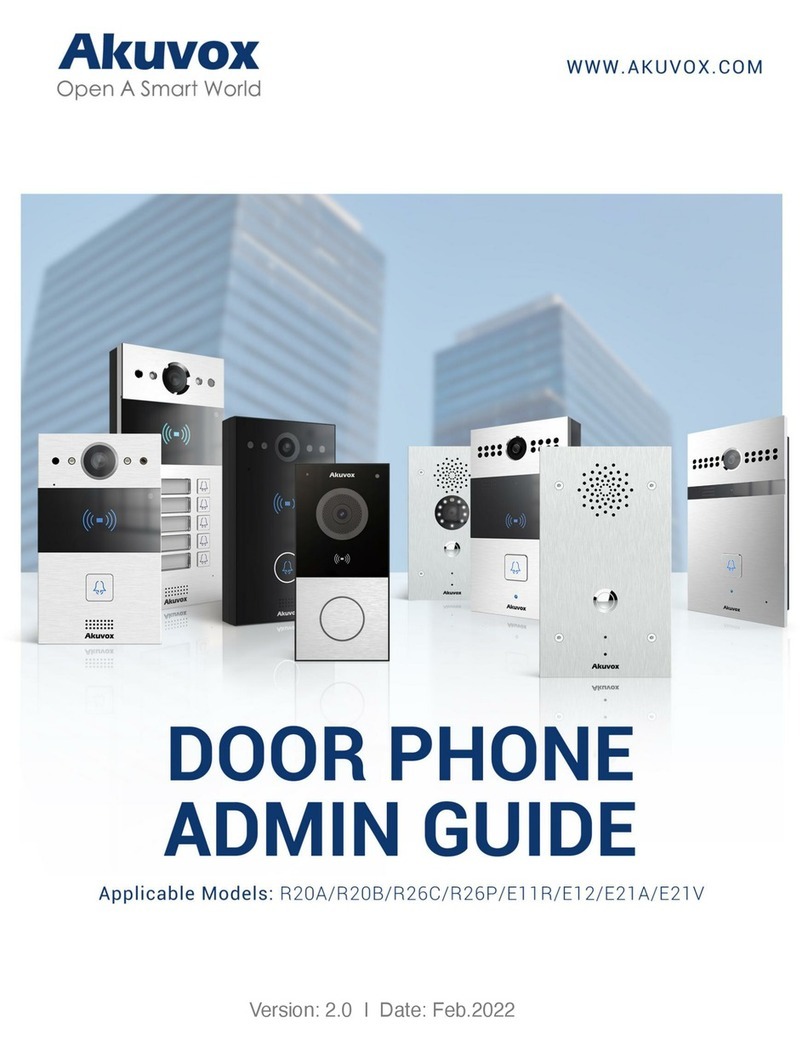
Akuvox R20B Series Manual

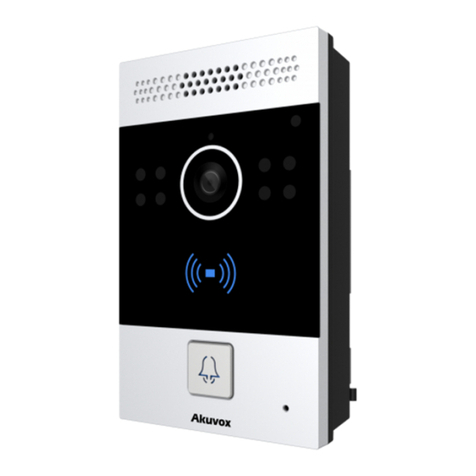
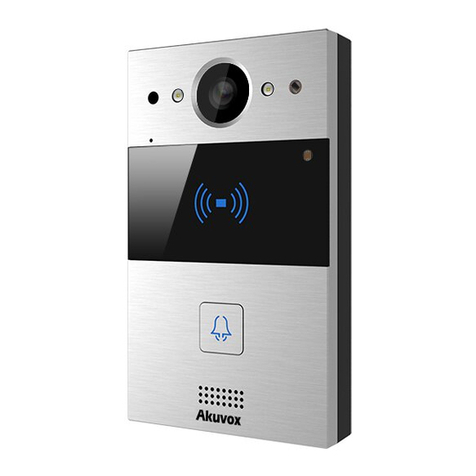
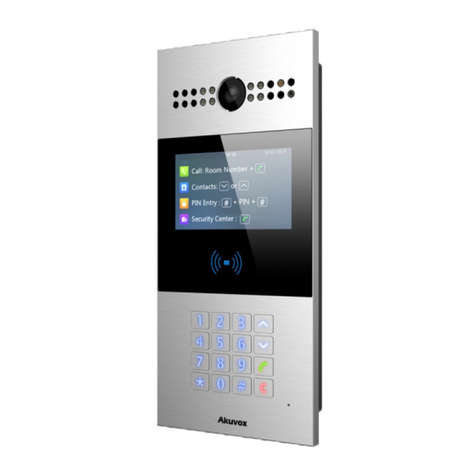
Akuvox R20B Series Door Phone
Admin Guide
Version:V 1.0
Date:202009

About This Manual
Thank you for choosing Akuvox’s R20B series (this series includes R20BX5,
R20BX4, R20BX3 and R20BX2) door phone. This manual is intended for the
administrators who need to properly configure the door phone. This manual
applies to hardware 220.0 and firmware 220.30.1.105 version, and it provides
all the configurations for the functions and features of R20B series door phone.
Please note that for a better understanding, our software does not distinguish
between models, and they are displayed as R20B. Please visit Akuvox official
website or consult Akuvox technical team for any new information or latest
firmware.

Content
1. Product Overview................................................................................................. 1
2. Version.....................................................................................................................2
3. Model Difference................................................................................................... 2
4. Introduction to Configuration Menu................................................................ 5
4.1. Feature Overview......................................................................................... 5
4.2. Mode Selection............................................................................................. 6
4.3. Tool Selection................................................................................................ 6
5. Phone Configurations..........................................................................................7
5.1. Device Login..................................................................................................7
5.1.1. Access the Device Web Interface Setting...................................... 7
5.1.2. Login Permission................................................................................8
5.1.3. Login Time Out................................................................................... 9
5.2. Phone Customization.................................................................................10
5.2.1. Time&Language Settings................................................................10
5.2.2. Infrared LED Setting........................................................................ 11
5.2.3. LED Display Status.......................................................................... 12
5.2.4. LED Setting on Card Reader Area................................................ 14
5.2.5. LED Setting on Keypad Area......................................................... 15
5.2.6. Voice Configuration..........................................................................15
5.3. Network........................................................................................................ 18
5.3.1. Device Network Connection Setting............................................. 18
5.3.2. Device Local RTP configuration.................................................... 20
5.3.3. Device SNMP Configuration...........................................................21
5.3.4. Device VLAN Configuration............................................................22
5.3.5. Device TR069 Configuration.......................................................... 23

5.3.6. Device Web HTTP Configuration...................................................24
5.3.7. Device Deployment in Network......................................................24
5.4. Intercom Call Configuration...................................................................... 26
5.4.1. IP call & IP Call Configuration........................................................ 26
5.4.2. SIP Call.............................................................................................. 27
5.4.3. Auto Answer...................................................................................... 31
5.4.4. DND....................................................................................................32
5.4.5. SIP Call Related............................................................................... 33
5.4.6. Push Button Call...............................................................................34
5.4.7. Robin Call.......................................................................................... 35
5.4.8. Web Call............................................................................................ 36
5.4.9. Multicast.............................................................................................36
5.4.10. Push to Hang Up............................................................................37
5.4.11. Hang Up After Open Door.............................................................38
5.4.12. Maximum Call Duration.................................................................38
5.4.13. Maximum Dial Duration Setting................................................... 39
5.4.14. Call Session Timer.........................................................................40
5.5. Codecs......................................................................................................... 41
5.5.1. Audio Codec Configuration.............................................................41
5.5.2. Video Codec Configuration.............................................................43
5.6. Access Whitelist Configuration.................................................................44
5.6.1. Group Settings..................................................................................44
5.6.2. Contact Settings............................................................................... 45
5.6.3. Contact Management...................................................................... 46
5.7. Door Access................................................................................................ 47
5.7.1. Unlock by DTMF...............................................................................47
5.7.2. Unlock by RF Card...........................................................................49
5.7.3. Schedule Setting.............................................................................. 52
5.7.4. RF Card Code Format Selection................................................... 54
5.7.5. Unlock by HTTP Command............................................................55

5.7.6. Unlock via Exit Button..................................................................... 56
5.7.7. ChimeBell Setting.............................................................................58
5.8. Security........................................................................................................ 58
5.8.1. Action................................................................................................. 58
5.8.2. Motion................................................................................................ 62
5.8.3. Tamper alarm.................................................................................... 64
5.8.4. Certification....................................................................................... 64
5.9. Monitor and Image..................................................................................... 65
5.9.1. Live Stream....................................................................................... 65
5.9.2. RTSP..................................................................................................66
5.9.3. RTSP Stream Setting...................................................................... 68
5.9.4. ONVIF................................................................................................ 70
5.10. Log..............................................................................................................71
5.10.1. Call Log........................................................................................... 71
5.10.2. Door Log..........................................................................................72
5.11. Debug......................................................................................................... 74
5.11.1. System Log for Debugging........................................................... 74
5.11.2. PCAP for Debugging..................................................................... 75
5.12. Integration..................................................................................................76
5.12.1. Integration via HTTP API.............................................................. 76
5.13. Password Modification............................................................................ 78
5.13.1. Modify Device’s Web Interface Password..................................78
5.14. Firmware Upgrade................................................................................... 79
5.14.1. Web Upgrade..................................................................................79
5.15. Phone Provisioning.................................................................................. 80
5.15.1. Provision Principle......................................................................... 80
5.15.2. PNP for Autop.................................................................................82
5.15.3. Autop via User-Specified Server................................................. 84
5.16. Backup....................................................................................................... 86
5.17. Integration..................................................................................................87
5.17.1. Integration via HTTP API.............................................................. 87
5.18. System reboot/reset.................................................................................89
5.18.1. Reboot............................................................................................. 89
5.18.2. Reset................................................................................................89
6. Abbreviations.......................................................................................................91
7. FAQ.........................................................................................................................92

1
R20B
Admin Guide
1. Product Overview
The security that comes with being able to control who comes into your building
along with the ability to verbally and visually confirm their identity is
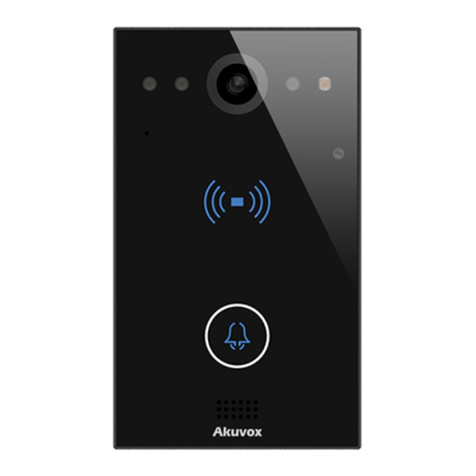
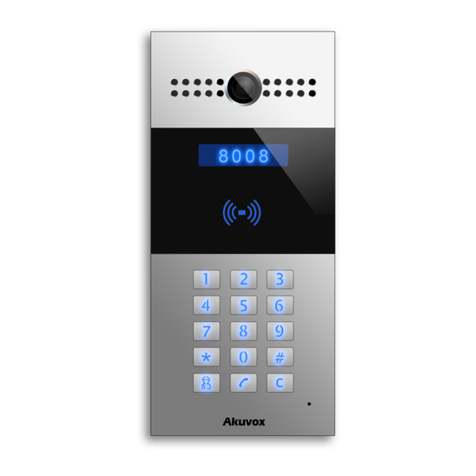
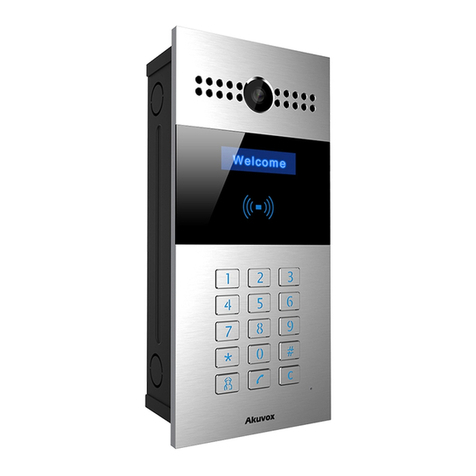
immeasurable. Akuvox R20B is a SIP-compliant, hands-free and video door
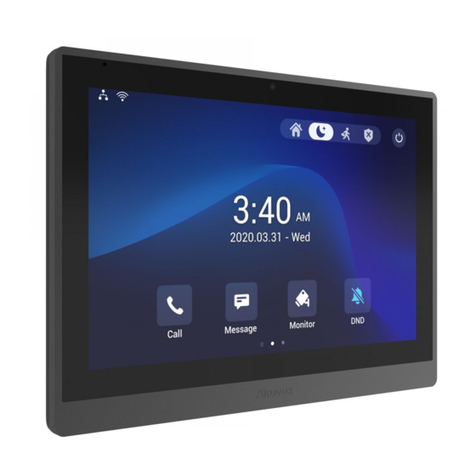
phone. It can be connected with Akuvox indoor monitors for remote access
controlling and monitoring. Users can communicate with visitors via audio and
video calls, and unlock the door if they need. Akuvox's Video Doorphone
R20B enables you to easily monitor an entrance door or gate and gives you the
peace of mind knowing that your facility is more secure.

2
R20B
Admin Guide
2. Version
This manual applies to hardware 2.0 and firmware 220.30.1.105 version. Please
check the firmware version in website Status - Basic.
Please check the hardware version in website Status - Basic or the label in the
back cover.
3. Model Difference
Feature
/Model
R20BX2
R20BX3
R20BX4
R20BX5
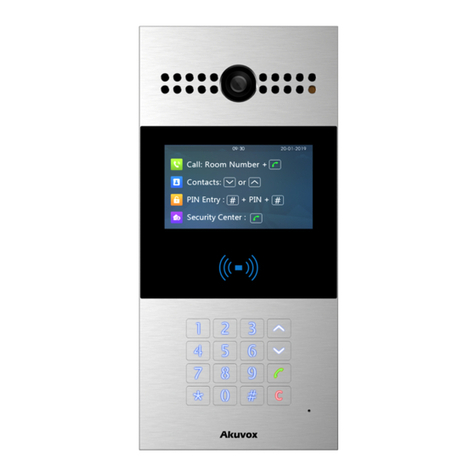
Picture
Display
X
X
X
X
Touch
Screen
X
X
X
X
Button
2 Physical
button
3 Physical
buttons
4 Physical
buttons
5 Physical
button

3
R20B
Admin Guide
Housin
g
Materia
l
Aluminum
alloy
Aluminum alloy
Aluminum
alloy
Aluminum alloy
Relay
In
2
2
2
2
Relay
Out
2
2
2
2
Alarm
In
X
X
X
X
RS485
√
√
√
√
POE
√
√
√
√
Wiegan
d
optional
optional
optional
optional
Reset
button
X
X
X
X
SIP
√
√
√
√
Operati
ng
System
Linux
Linux
Linux
Linux
RAM
128MB
128MB
128MB
128MB
ROM
16MB
16MB
16MB
16MB
Card
Reader
13.56MHZ &
125KHZ
13.56MHZ &
125KHZ
13.56MHZ &
125KHZ
13.56MHZ &
125KHZ
Camer
a
3 Mega
pixels,
automatic
lighting
3 Mega pixels,
automatic
lighting
3 Mega pixels,
automatic
lighting
3 Mega pixels,
automatic
lighting
ONVIF
√
√
√
√
Wi-Fi
X
X
X
X
Blueto
oth
X
X
X
X
PIN /
Card
Entry
Card Entry
Card Entry
Card Entry
Card Entry
QR
code
Entry
X
X
X
X
NFC
√
√
√
√
IP
Rating
IP65
IP65
IP65
IP65
Temper
X
X
X
X

4
R20B
Admin Guide
ature
detecti
on
Face
recogni
tion
X
X
X
X
LTE
X
X
X
X
HDMI
X
X
X
X
USB
X
X
X
X
Extren
al SD
card
X
X
X
X
Wall
Mounti
ng
√
√
√
√
Flush
Mounti
ng
√
√
√
√
Desk
Mounti
ng
X
X
x
X
Wall
Mounti
ng DIM
185x85x24m
m
185x85x24mm
185x85x24mm
185x85x24mm
Flush
Mounti
ng DIM
226x108x52
mm
226x108x52mm
226x108x52m
m
226x108x52mm
POE
standy
power
2.3W
2.3W
2.3W
2.3W
POE
full
load
consu
mption
6.425W
6.425W
6.425W
6.425W
Power
adapter
standb
y powe
1.9W
1.9W
1.9W
1.9W
Power
adapter
full
load
5.58W
5.58W
5.58W
5.58W

5
R20B
Admin Guide
consu
mption
4. Introduction to Configuration Menu
4.1. Feature Overview
Status: This section gives you basic information such as product
information, Network Information, and account information etc.
Intercom: Intercom call, LED setting, Relay, input control, Live stream,
RTSP, ONVIF, motion detection, card setting, etc.
Account: SIP account, SIP server, proxy server, transport protocol type,
audio&video codec, DTMF, session timer etc.,
Network: DHCP&Static IP setting, RTP port setting, and device
deployment etc.,
Phone: Time&language, call feature, dial management, log etc.
Access Whitelist: Phone book management

6
R20B
Admin Guide
Upgrade: Firmware upgrade, device reset&reboot, configuration file
auto-provisioning, PCAP.
Security: Password modification and certifications
4.2. Mode Selection
Discovery mode: It is a plug and play configuration mode. Akuvox
devices will configure themselves automatically when users power on the
devices and connect them to network. It is super time-saving mode and it
will greatly bring users convenience by reducing manual operations. This
mode requires no configurations previously by the administrator.
Cloud mode: Akuvox Cloud is an all-in-one management system. Akuvox
Cloud is the mobile service that allows audio, video, remote access control
between smart phones and Akuvox intercoms. All configurations in the
device will be issued automatically from cloud. If users decide to use
Akuvox cloud, please contact Akuvox technical support, and they will
help you configure the related settings before using.
SDMC mode: SDMC (SIP Device Management Controller) is a simple and
comprehensive software for building management. It provides a visuable
topograph for a community while offering you a graphical configuration
interface for the door access, intercom, monitoring, alarm etc.,. It is a
convenient tool for property manager to manage , operate and maintain
the community.
4.3. Tool Selection
Akuvox has many configuration tools for you to set up devices more
conveniently. Here we list the common tools, please contact Akuvox technical

7
R20B
Admin Guide
team to get the tool if you need it.
SDMC: SDMC is short for SIP Device Management center, which is
suitable to manage Akuvox devices in a large community, including access
control,resident information, remote device control and information
expression.
Akuvox Upgrade Tool: Upgrade Akuvox devices in batch in the LAN.
Akuvox PC Manager: Distribute all configuration items in batch in the
LAN.
IP scanner: it is used to searching Akuvox device IP addresses in the LAN
5. Phone Configurations
5.1. Device Login
5.1.1. Access the Device Web Interface Setting
You can enter the device IP address on the web browser in order to log in the
device web interface where you can configure and adjust parameter etc., if
needed.
To do so, you can do as follows:
1. Check the Device IP address by holding the push button 5s or searching by
IP scanner.
2. Enter the IP address on the web browser.
3. Enter the User Name and Password,the default user name and password
is admin/admin.

8
R20B
Admin Guide
4. Press Login tab to log in the web interface.
Note:
Google Chrome browser is strongly recommended.
User name and password are case sensitive.
Tip:
You can obtain the device IP address using the Akuvox IP scanner to access
the device web interface. Please refer to URL below for the IP scanner
application.
http://wiki.akuvox.com/doku.php?id=tool:ip_scanner&s[]=ip&s[]=scanner
5.1.2. Login Permission
This feature is used to give a login permission for admin or user. Admin
authentication is enabled by default and it can not be changed. If you enable
user authentication, you can login with username and password as user/user.
To do so, you can do as follows:
1. Click Security -Basic to find Account Status.
2. Enable or Disable the login permission.
3. Click Submit tab to save.

9
R20B
Admin Guide
Parameters Set-up:
Admin:This item can only be enabled by default that means you can login
with username and password as admin/admin.
User: This item is disabled by default that means you can login with
username and password as user/user.
Note:
The username and password mentioned below is default value
5.1.3. Login Time Out
It is a protection design. When there is no operation on the website and the
Session Time Out Value time is reached, the website will automatically log out.
To do so , you can do as follows:
1. Click Security -Basic to find Session Time Out.
2. Setup the time value.
3. Click Submit tab to save.
Parameters Set-up:
Session Time Out Value: The range from 60 to 14400 sec. If there is no
operation over the time, you need to login the website again.

10
R20B
Admin Guide
5.2. Phone Customization
5.2.1. Time&Language Settings
When you first set up the device, you might need to set both the time and
language to your need or you can do it later as needed. And the time and
language can be either be set up directly on the device web interface.
5.2.1.1. Language Setting
To do so, you can follow the following process
1. Click Phone - Time/Lang to find Web Language.
2. Select the language you preferred and press Submit button to validate the
setting.
Parameters Set-up:
Type: R20B only supports English web display.
5.2.1.2. Time Settings
The set-up on the the device web interface is identical with the setting on the
device, it however allows you to set up the NTP server address that you
obtained to automatically synchronize your time and date. And when your time
zone is selected, the device will automatically notify the NPT server of its time
zone in order that the NTP server can synchronize the time zone set-up in your
device.
To do so, you can do as follows:
1. Click Phone - Time/Lang to find NTP.

11
R20B
Admin Guide
2. Enter the NPT server you obtained in the field of the NPT sever.
3. Press the Submit button to save the setting and press the Cancel button
to cancel the setting.
Parameters Set-up:
NTP Server: Enter the NPT server you obtained in the NPT server field.
5.2.2. Infrared LED Setting
Infrared LED is applied in the dark environment in which a resident might not
be able to see a visitor clearly via the video from the door phone. If the infrared
LED is turned off, the door phone will turn to night mode so that you can have a
clear view of the visitor.
To do the set-up on the device web interface, you can start with the following
process:
1. Click Intercom -Advanced to find Photoresistor.
2. Adjust the parameters and press the Submit tab to validate the setting.
3. Click Read to confirm the photoresistor value under the current ambient
brightness.
Parameters Set-up:

12
R20B
Admin Guide
Photoresistor Settings: Set the minimum and maximum photo-resistor
value based on the current actual photo-resistor value detected to control
the on-off of the LED light. You set the maximum photo-resistor value for
the IR LED to be turned on and the minimum value for it to be turned off.
While the default Min/Max photo-resistor value is 1500 and 1600
respectively.
Threshold: Refers to the current light intensity indicated by the
photo-resistor value. The higher photo-resistor values correspond
conversely to the lower light intensity and vice versa ( darker). The default
photo-resistor value (Threshhold) is 1132, however you can click Read
several times in order to obtain the actual photo-resistor value in a specific
environment ( the value fluctuation is about 5), and the value is what you
based on to configure the minimum and maximum photo-resistor values.
5.2.3. LED Display Status
LED display adjustment is used to display the light changes of the device in six
states - normal(idle), offline, calling, talking and receiving a call. and the user
can also judge the current mode of the device through the state of the led.
5.2.3.1. Setup LED Display from Website
To do so, you can follow the following process.
1. Click Intercom - LED Setting.
2. Adjust the Color on and blink mode as you need.
3. Click Submit tab to save.

13
R20B
Admin Guide
The default LED Display Status
LED Status
Description
Blue
Always on
Normal status
Flashing
Calling
Red
Flashing
Network is unavailable
Green
Always on
Talking on a call
Flashing
Receiving a call
Pink
Flashing
Upgrading
Parameters set-up:
State: There is five states: Normal, Offline, Calling, Talking and
Receiving.
Color Off: The default status is OFF.
Color On: It can support three color: Red, Green, Blue.
Blink Mode: To setup the different blink frequency.
5.2.3.2. Setup LED display from HTTP URL
Use HTTP URL to remote control the LED display status.
To do so, you can follow the following process:
1. Click Intercom -LED Setting to find LED Control.
2. Enable/disable LED Control.

14
R20B
Admin Guide
3. Click Submit tab to save.
Parameters set-up:
HTTP URL format:
http://PhoneIP/fcgi/do?action=LedAction&State=1&Color=1&Mode=2500
Status: 1=Idle; 2=OffLine; 3=Calling; 4=Talking; 5=Receiving; Color:
1=Green; 2=Blue; 3=Red; Mode: 0=Always On; 1=Always Off;
500/1000/1500/2000/25000/3000
Note:
1.The Status and Color off item can not be changed.
2.The LED of upgrading mode can not be adjusted.
5.2.4. LED Setting on Card Reader Area
You can enable or disable the LED lighting on the card reader area as needed
on the web interface. Meanwhile, If you prefer not to have the LED light on the
card reader area stay on, you can also set the timing for the exact time span
during which the LED light can be enabled in order to reduce the electrical
power consumption etc.,
To do so , you can follow the following process.
1. Click Intercom -LED Setting to find LED Control.
2. Set the parameter and press Submit button to validate the setting.
Parameters Set-up:
This manual suits for next models
4
Table of contents
Other Akuvox Intercom System manuals

Akuvox
Akuvox E18 User manual

Akuvox
Akuvox R23C User manual

Akuvox
Akuvox R20AS User manual

Akuvox
Akuvox X915 Series Service manual

Akuvox
Akuvox R20K User manual

Akuvox
Akuvox R27 series User manual

Akuvox
Akuvox R20A User manual

Akuvox
Akuvox R29C Assembly instructions

Akuvox
Akuvox R26B Manual

Akuvox
Akuvox R29 Series Service manual

Akuvox
Akuvox R29 Series User manual

Akuvox
Akuvox R29 Series User manual

Akuvox
Akuvox X916S Assembly instructions

Akuvox
Akuvox E21V User manual

Akuvox
Akuvox R20A User manual

Akuvox
Akuvox R27 series User manual

Akuvox
Akuvox R27A User manual

Akuvox
Akuvox C312 Series User manual

Akuvox
Akuvox X915 Series Service manual

Akuvox
Akuvox E21A User manual