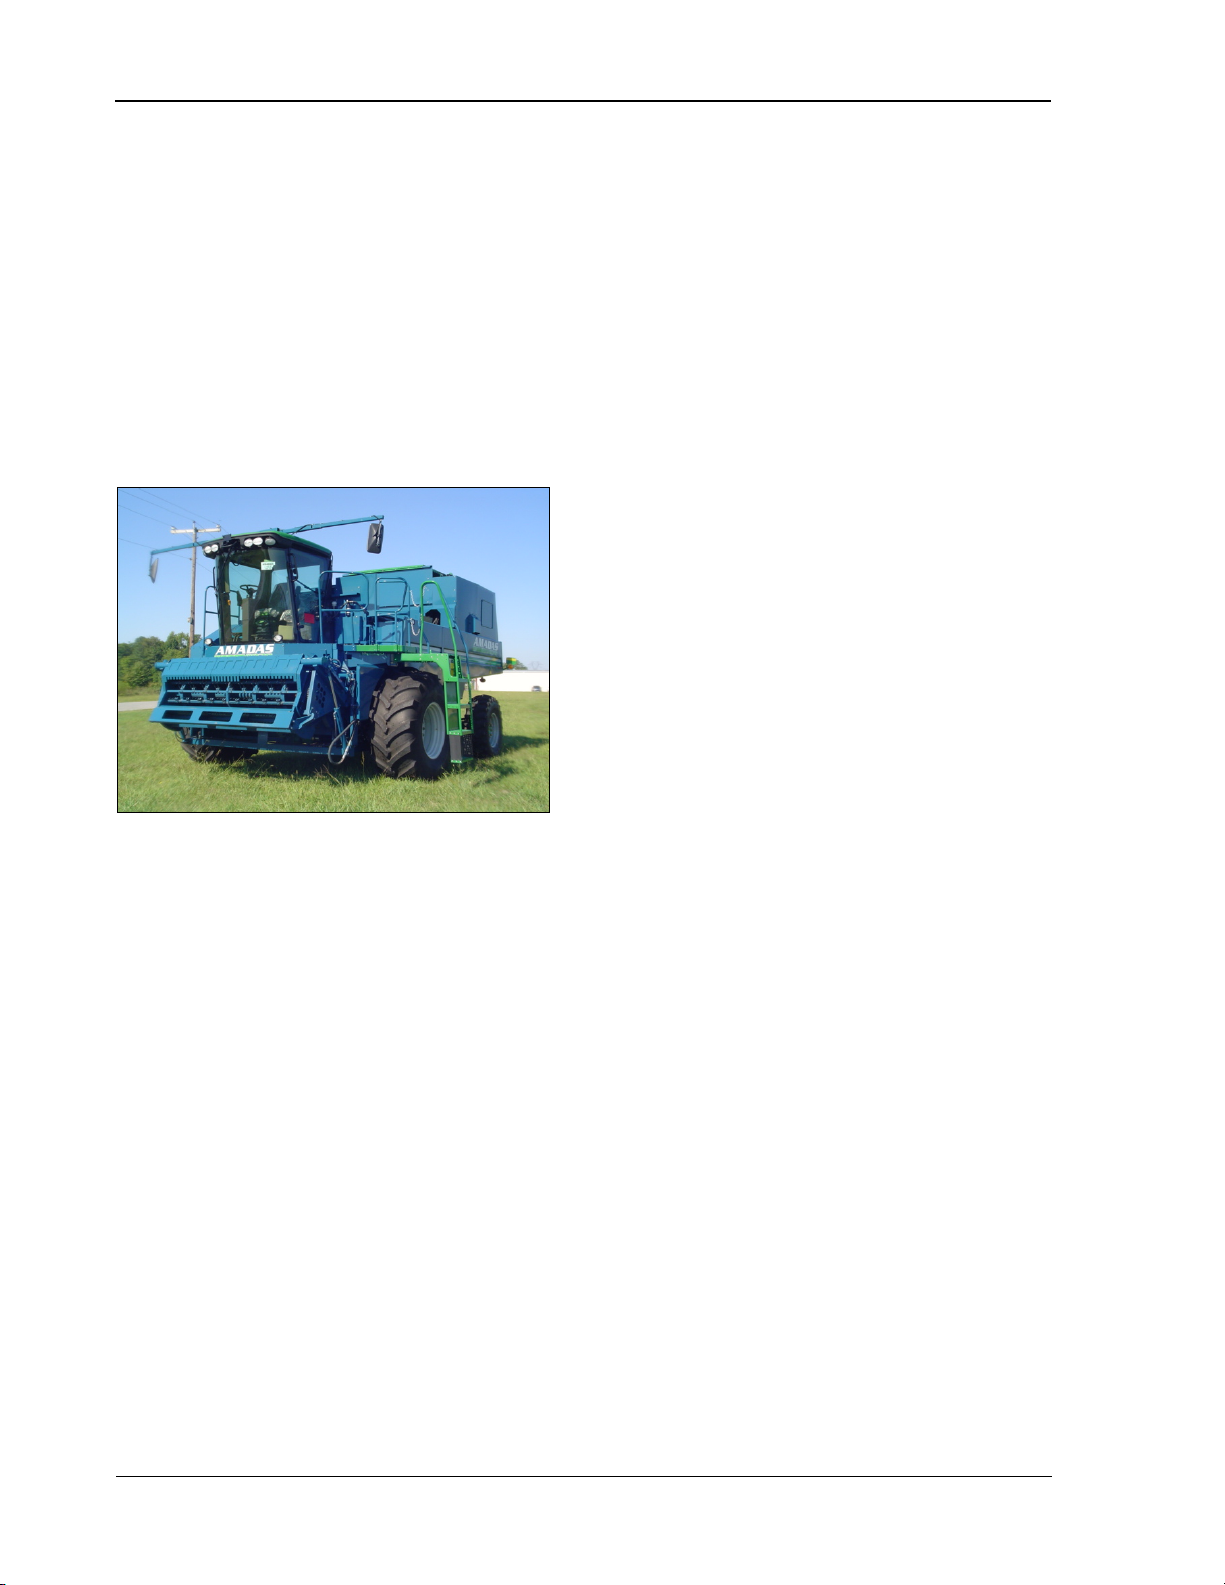
Introduction 9980 Self-Propelled Peanut Combine
iv 08/05/16 MAN141.rev1
Cleaning Engine Compartment..... 213
Fuel System..................................... 214
Engine Oil..................................... 215
Fuel Tank..................................... 216
Breather................................... 216
Filling....................................... 217
Draining................................... 217
Electric Fuel Pump....................... 218
Filters...........................................219
Primary Fuel/Water Separator
Filter ..................................... 219
Secondary Fuel/Water Separator
Filter ...................................... 219
Replacing Filters...................... 220
Fuel System Bleeding................... 222
Cooling System................................ 223
Important Information................... 223
Radiator ....................................... 224
Surge Tank................................... 225
Draining........................................ 226
Filling............................................ 227
Winterizing ................................... 228
Belts ................................................ 229
Shields ......................................... 229
Engine Belt................................... 230
Replace Engine Accessory/Fan
Belt....................................... 231
Replace Rotary Screen Drive
Belt....................................... 233
Rotary Screen.................................. 234
Door............................................. 234
Maintenance................................. 235
Brush............................................ 236
Air Cleaners Filters .......................... 237
16. Electrical System Service.............. 239
Electrical Safety................................ 241
Basic Electrical Component
Handling .................................. 241
General Electrical Information ...... 242
Electrical Connectors............... 242
Battery Safety................................... 243
Battery Cables.............................. 245
Battery Charging .......................... 246
Specific Gravity Check ................. 247
Connecting Booster...................... 248
Removing and Installing............... 249
Battery Disconnect Switch............ 250
Starter.......................................... 251
Alternator and Voltage Regulator . 251
Fuse Center...................................... 252
Controller and Power Module
Locations .................................254
System Wakeup Power Fuse........255
Glow Plug Fuse............................255
Glow Plug Diagnostic System Fuse256
Halogen Lights..................................257
Replacing Bulbs............................257
Replacing Cab Headlights ............258
Adjusting Cab Headlights .............259
Replacing Bulbs................................260
Cab Interior Light..........................260
Side Finder Lights.........................260
Stubble, Rear Residue, and Work
Lights.......................................261
Tail and Stop Lights......................262
Turn Signal Indicator Lights..........263
Warning Lights..............................263
Xenon (High Intensity Discharge)
Lights............................................264
Replacing Xenon Lights................265
Adjusting Xenon Lights.................266
Radio Installation...............................267
FM Radio......................................267
17. Hydraulic System Service .............269
General Information...........................270
Components.................................270
System Cleanliness...........................271
Accumulator......................................272
Valve for Raising/Lowering Header272
Hydraulic Valve Assembly.................273
18. Ground Drive and Rear Axle Service275
Tires and Wheels..............................276
Care and Service of Tires.............276
Inflation Pressure..........................277
Changing Tire Radius...................277
Using Liquid Weight......................278
Tire Loading Decal .......................279
Transporting .................................279
Drive Wheel Starter Stud..............279
Rear Wheel Bolt Torque ...............280
Drive Wheel Bolt Torque...............280
Dual Wheel Bolt Torque................281
Front Wheel Drive Offset..............282
Preparing Dual Wheels for Service283
Remove Front Wheels-Dual Wheels283
Install Front Wheels-Dual Wheels.285
Single Attach Wide-Spaced Dual
Wheels.....................................288
Multifunction Control Handle Linkage