1
ENGLISH
Contents
IMPORTANT SAFEGUARDS
When using electrical products, especially if children
are present, the following basic safety precautions
should always be maintained.
READ ALL INSTRUCTIONS
BEFORE USING
Danger: To reduce the risk of electrocution:
•Alwaysunplugelectricaldevicesimmediately
after use.
•Donotusewhilebathing,showeringorswimming.
•Donotplaceorstorewhereproductcanfallorbe
pulled into bathtub, sink or pool.
•Donotplaceordropproductintowaterorotherliquid.
•Donotreachforelectricalproductthathasfalleninto
water. Unplug from wall outlet immediately.
Warning: To reduce the risk of burns,
electrocution, fire, or injury to persons:
•Neverleaveproductunattendedwhenpluggedinto
electrical outlet.
•Closesupervisionisnecessarywhenproductisused
nearchildrenorinvalids.
•Useproductonlyforintendeduseasdescribed
in this manual.
•Donotuseattachmentsotherthanthose
recommended by manufacturer.
•Neveroperateifproducthasdamagedcordorplug,
is not working properly, or has been dropped,
damaged, or becomes wet.
•OperatePurelyYoursBreastPumpfrombatteries
or car adapter (may be included; also sold separately)
if reliability of electrical outlet is in doubt.
•Keepcordandallattachmentsawayfromheated
surfaces.
•Neverusewhilesleepingordrowsy.
•Donotuseoutdoorswithcord.
•Donotoperatewhereaerosolsprayproductsare
being used or oxygen is being administered.
•Batteriesshouldberemovedfrompumpwhenusing
theACorcaradapter.
SAVE THESE INSTRUCTIONS
For Your Health and Safety
TheAmedaPurelyYoursBreastPumpisapersonal
careitemandshouldneverbesharedbetweenmothers
orresoldorgivenfromonemothertoanother.
Intended Use
TheAmedaPurelyYoursBreastPumpisintendedto
facilitate the expression and collection of breast milk
from a lactating woman for the purpose of feeding the
collected milk to a child.
Before Every Use
Alwayswashhandswellwithsoapandwater
beforehandlingthePurelyYours,One-Hand
ManualBreastPump,HygieniKitMilkCollection
System,orotherAmedaproducts.Donotusesolvents
orabrasives.
Important Safeguards 1
Intended Use 1
BeforeEveryUse 1
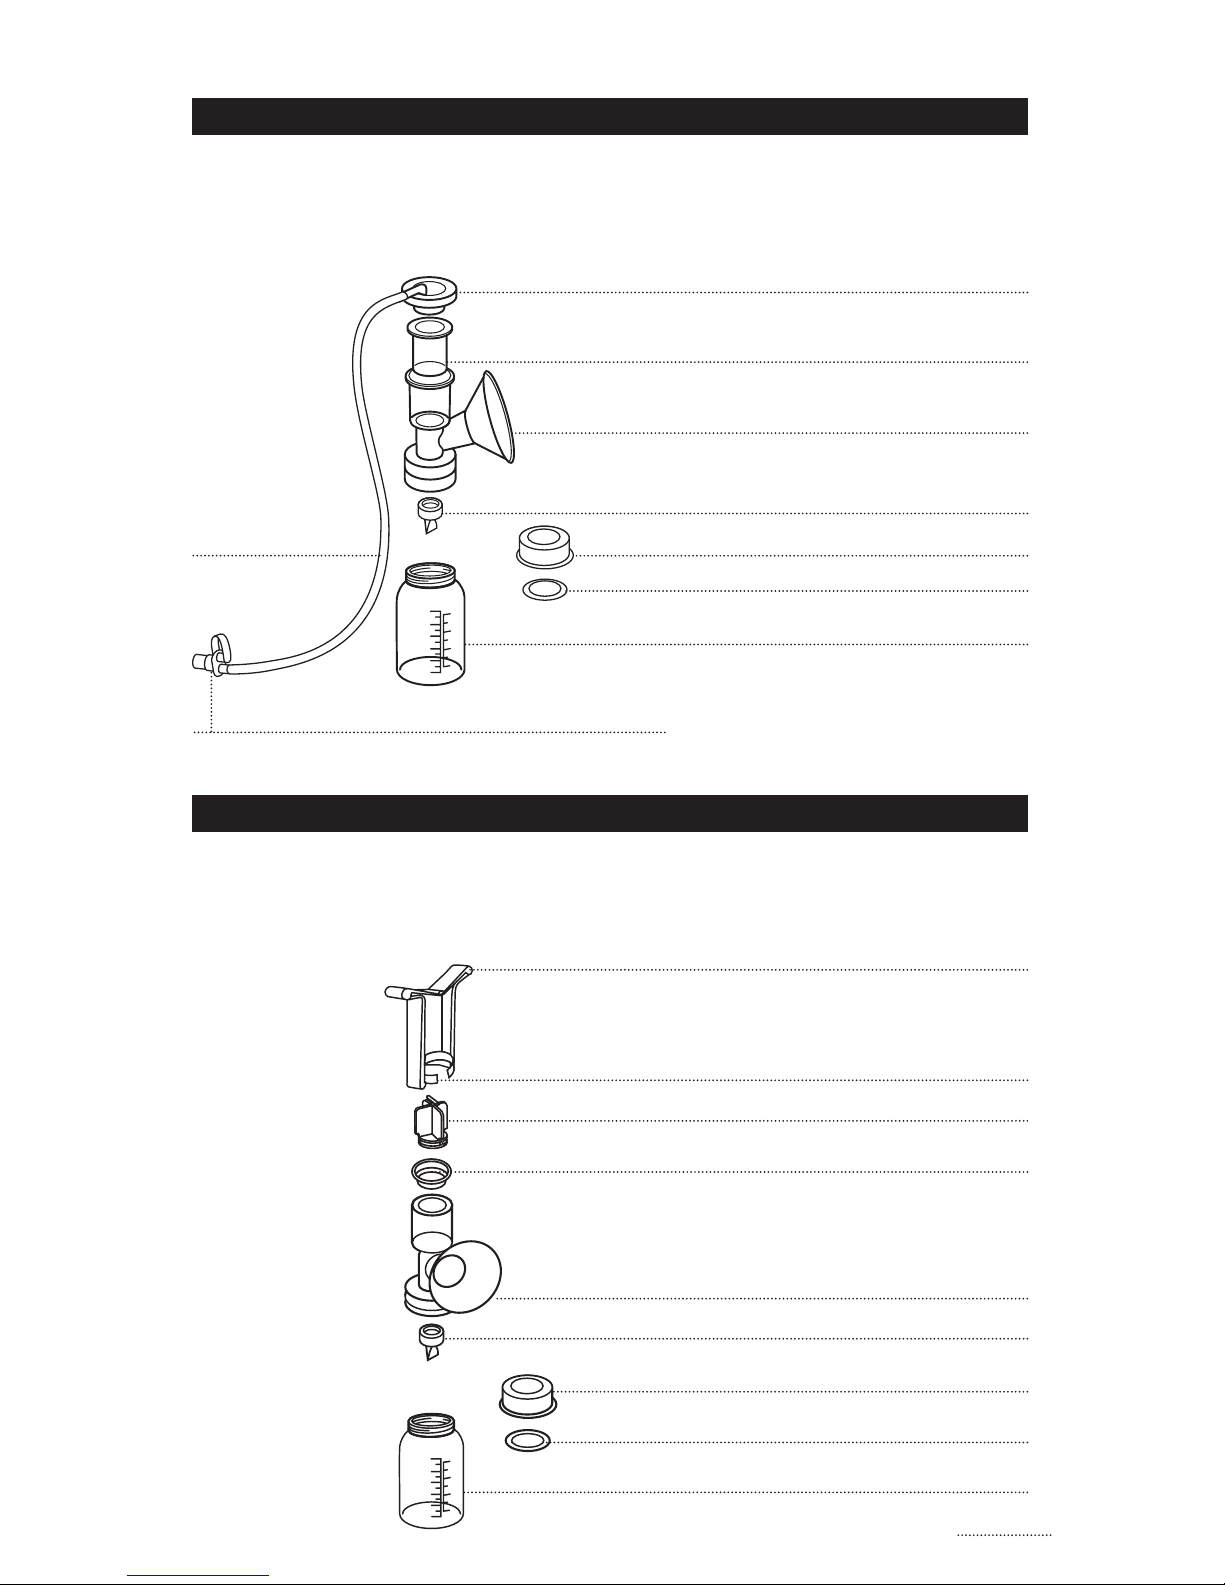
Purely Yours Breast Pump Diagram 2
Ameda HygieniKit®Milk Collection System 3
Diagram
Ameda®One-Hand Manual Breast Pump 3
Diagram
Replacement Parts and Accessories 4
Purely Yours Breast Pump 5
Set Up 5
Pump 5
Power Options 5
Before First Use 6
After Every Use 6
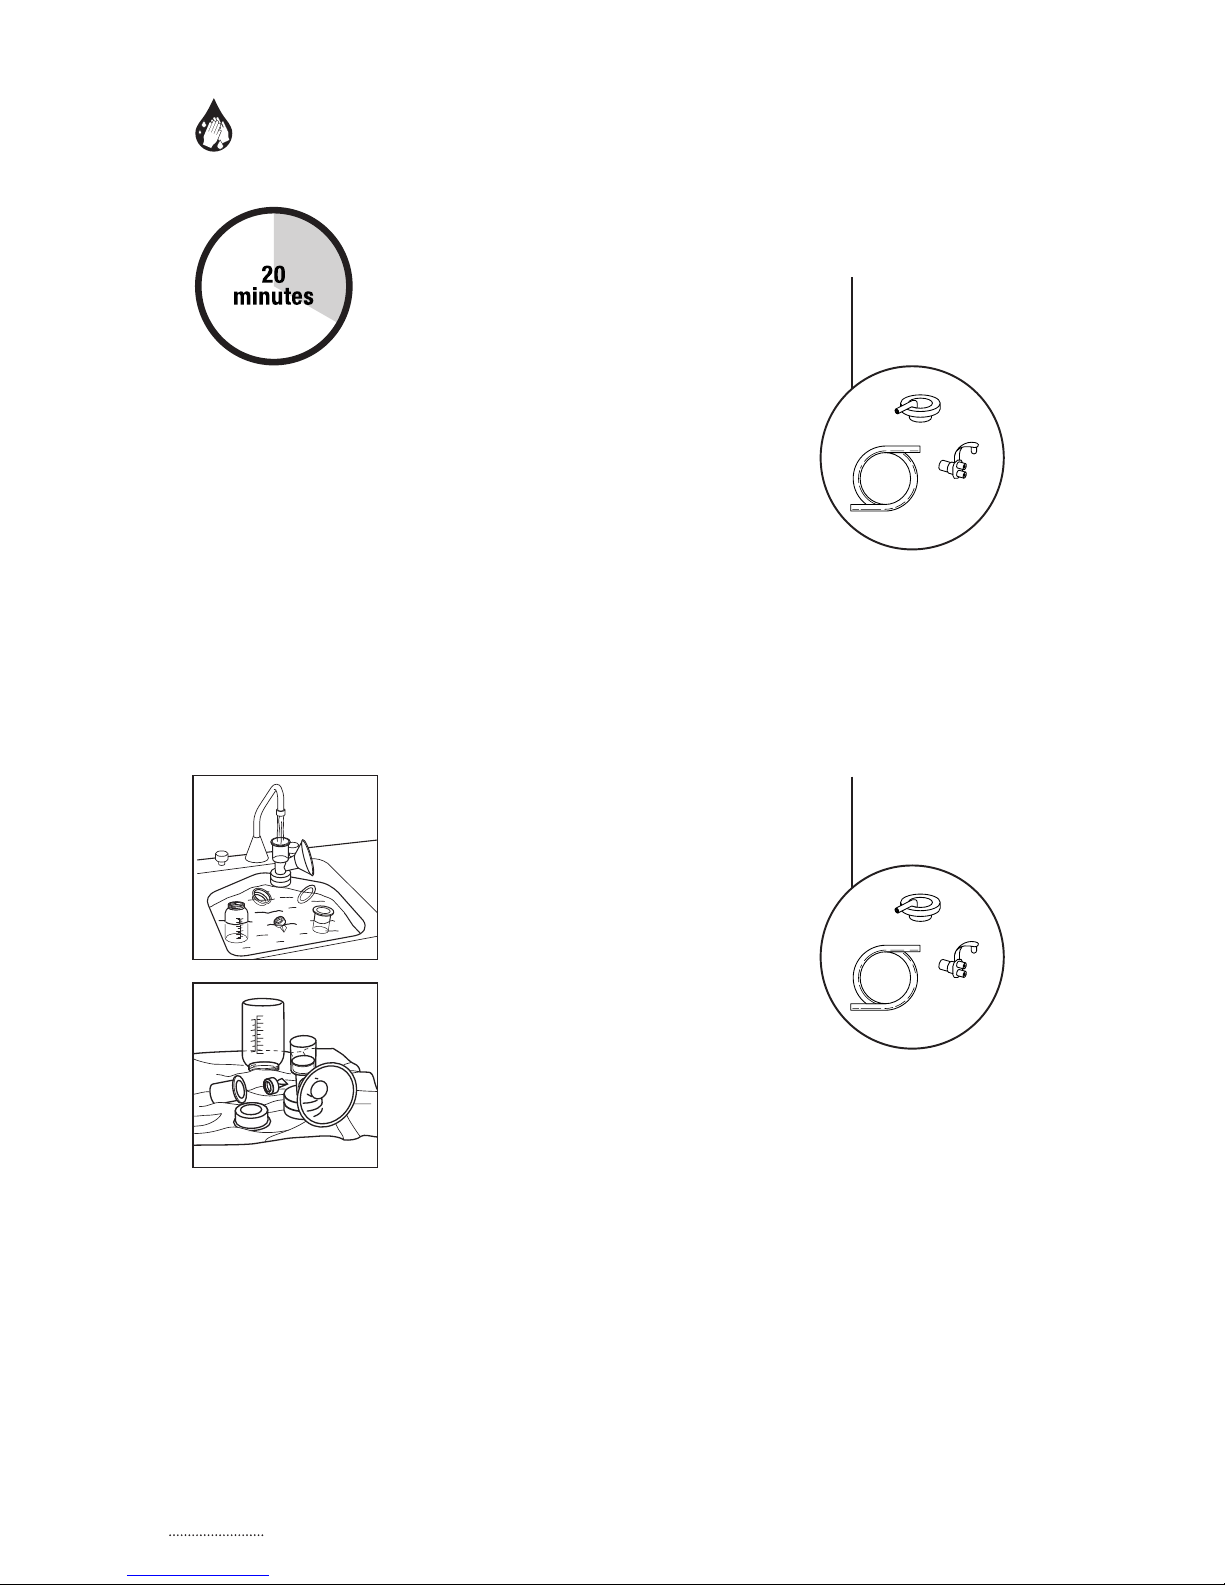
Cleaning Pump 6
Cleaning HygieniKit 6
Assembly 7
Single and Dual Pumping 7
ToBeginPumping 7
Starting Pump 7
Setting Suction 8
Setting Speed 8
Turning Pump Off 8
PumpingTips 8
Pumping Time 8
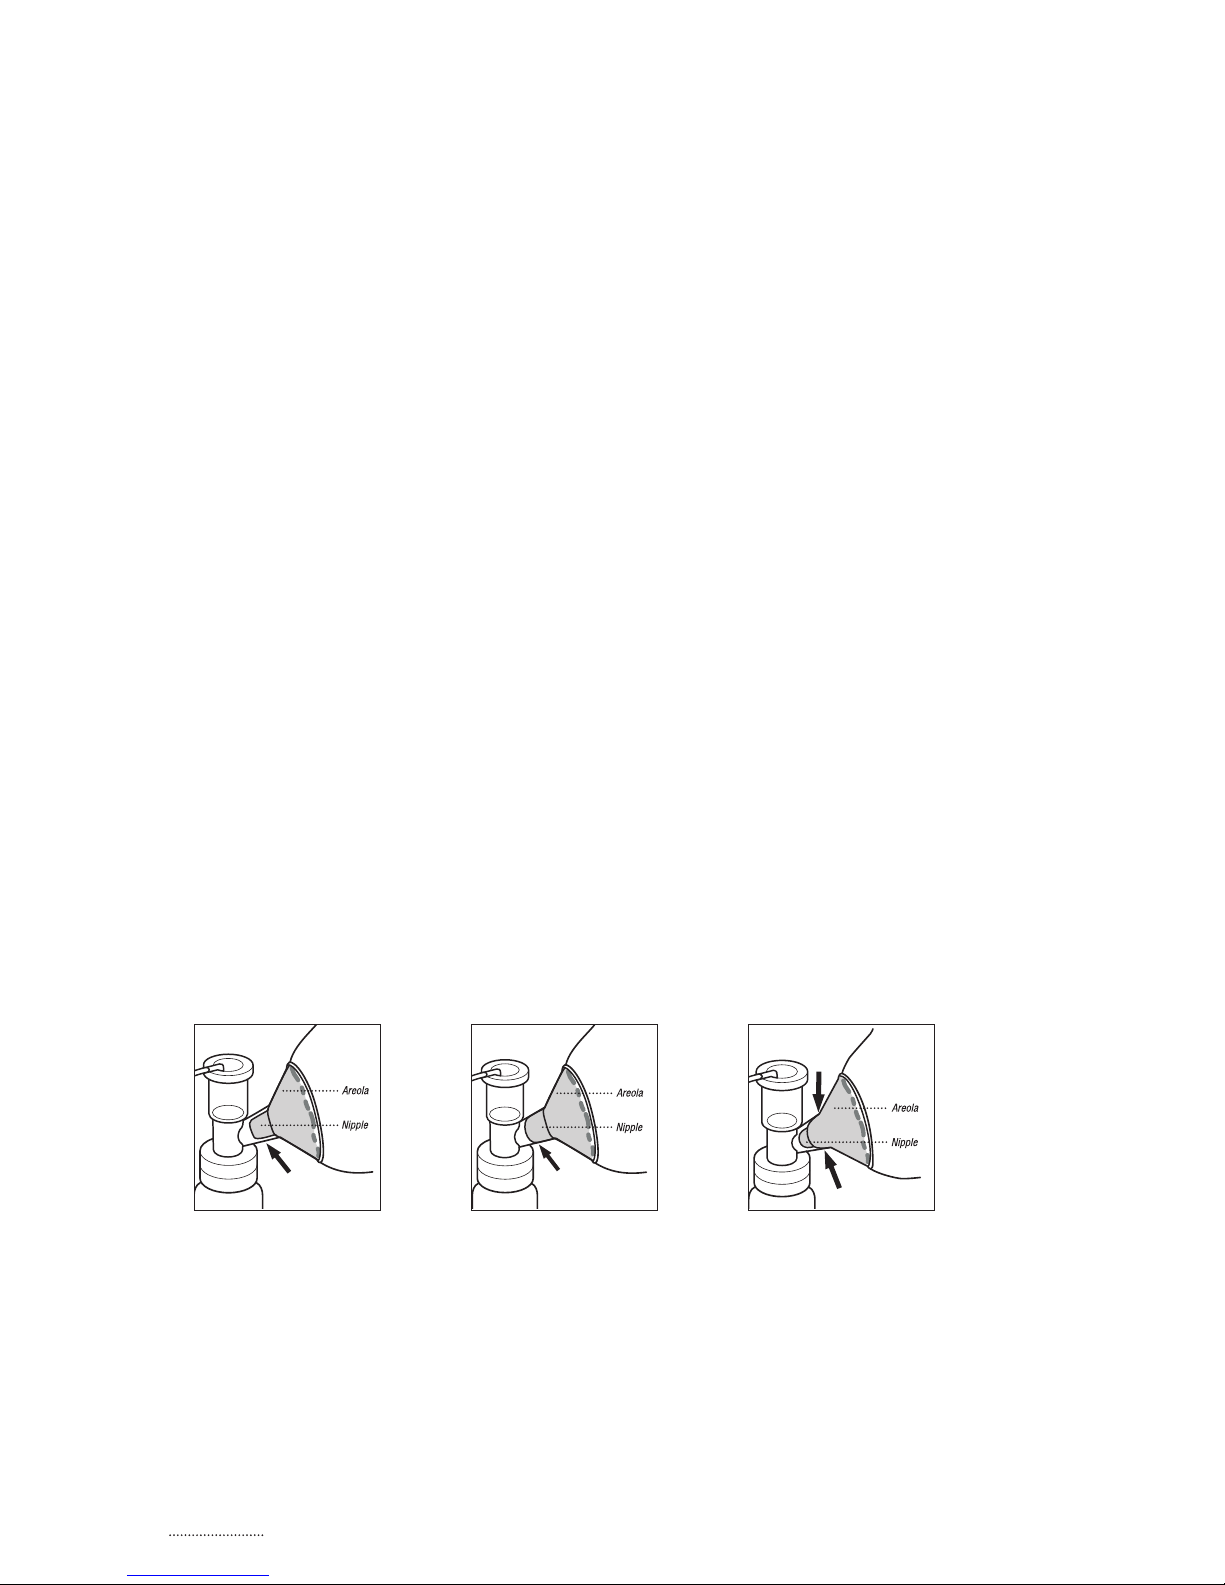
Checking Breast Flange Fit 8
TroubleshootingthePurelyYoursBreastPump 9
TroubleshootingtheHygieniKit 9
MilkCollectionSystem
Ameda One-Hand Manual Breast Pump 10
Set Up 10
Before First Use 10
After Every Use 10
Assembly 11
Converting from Electric Pumping to 11
Manual Pumping
ToBeginPumping 12
Converting from Manual Pumping to 12
Electric Pumping
PumpingTips 13
Pumping Time 13
Checking Breast Flange Fit 13
TroubleshootingtheOne-HandManual 13
BreastPump
Technical Data 14
PowerRequirements 14
RegulatoryCompliance 14
Product Disposal 14
Warranty 15