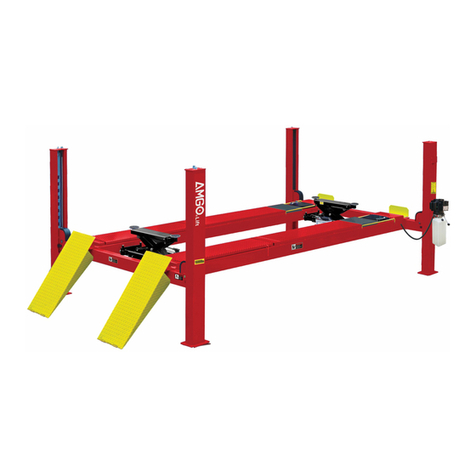
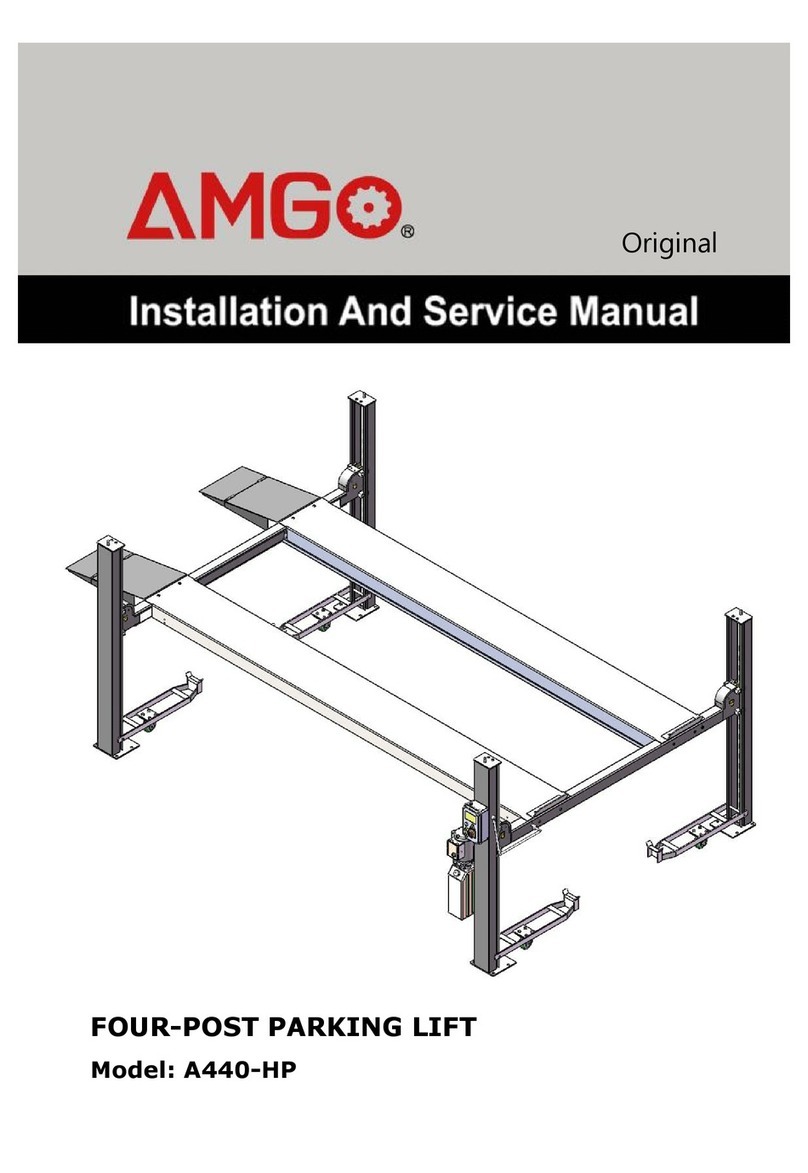
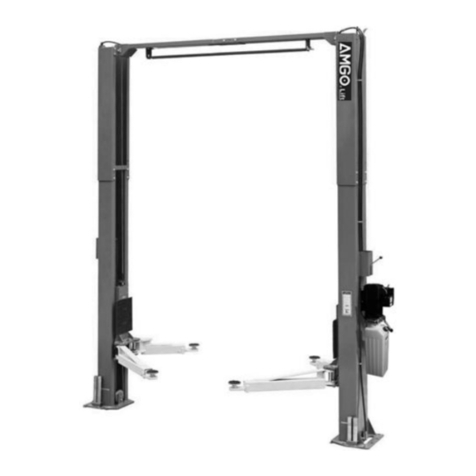
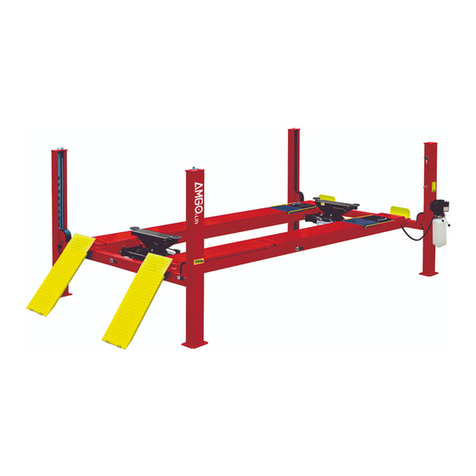
AMGO A435-P Manual

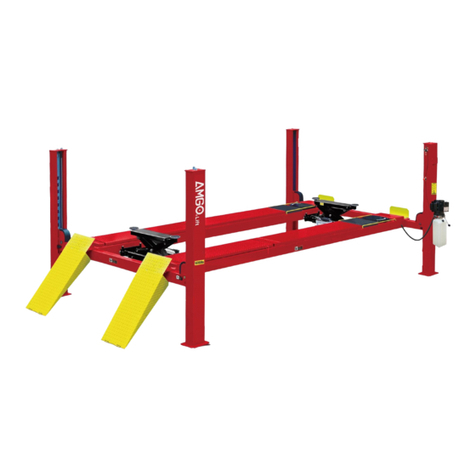
Model: A435-P
Fig. 1
FOUR-POST PARKING LIFT

CONTENTS
I. Product Features and Specifications………….………………………... ………… 1
II. Installation Requirement ……….……….……….…………………. ………………. 2
III. Steps of Installation……………………….…………................ ... ….………….3
IV. Exploded View………………………….………………….. …….. ….. …….. ….. …30
V. Test Run………………………...……………………………………………………………35
VI. Operation Instruction……………………….……..……………………………………36
VII. Maintenance…………………….…………..……………………..…………………….37
VIII. Trouble Shooting………………….………………..………..…………..………..…37
IX. Parts List……….…………….………………..………..…….. …..………..…….. …..38

1
I. PRODUCT FEATURES AND SPECIFICATIONS
4-POST MODEL A435-P FEATURES
●Single point manual safety release.
●Four mechanical locking devices, each equipped with both primary
and secondly safety locks.
●Powerside column can be installed at both side, front or rear.
●Non-skid diamond platforms and adjustable safety lock ladders.
●Optional kits:Sliding jack with hand pump, caster kits,Jack tray, Plastic oil tray.
MODEL A435-P SPECIFICATIONS
Model
Lifting
Capacity
Lifting
Height
Lifting
Time
Overall
Length (Inc.
Ramps)
Overall Width
Width
Between
Columns
Gross
Weight
Motor
A435-P
3.5T
1864mm
(73 3/8”)
83S/
40S
5257mm
(207”)
2784mm
(109 1/2”)
2438mm
(96”)
820kg
110V:
1.5HP/220V:
2.0HP
Fig.1

2
II. INSTALLATION REQUIREMENT
A. TOOLS REQUIRED
PTape Measure(7.5m)PCarpenter’s Chalk
PHammer PScrew Sets
PLevel Bar PPliers
PEnglish Spanner (12") PLock Wrench
PWrench set:(12#、13#、14#、15#、17#、19#
24#、30#)
B. SPECIFICATIONS OF CONCRETE (See Fig. 3)
Specifications of concrete must be adhered to the specification as following.
Failure to do so may result in lift and/or vehicle falling.
1. Concrete must be thickness 100mm minimum and without reinforcing steel bars, and
must be dried completely before the installation.
PSocket Head Wrench:(3#、5#、6#、8#)
Fig.2

3
2. Concrete must be in good condition and must be of test strength 3,000psi (210kg/cm²)
minimum.
3. Floors must be level and no cracks.
C. POWER SUPPLY
The electrical source must be 2.2KW minimum. The source cable size must be 2.5mm²
and in good condition of contacting with floor.
III. STEPS OF INSTALLATION
A. Check the parts before assembly
1. Packaged lift and Hydraulic Power Unit (See Fig. 4).
2. Open the outer packing carefully, check the parts according to the shipment list. (See Fig.
5).
Fig.4
Fig.3
Concrete must be of test strength
210kg/ cm²minimum.
Optional Plastic oil tray

4
3. Take off the drive-in ramps and columns (See Fig.6).
4. Loosen the screws of the upper package stand, take off the offside platform, take out the
parts inside the powerside platform, then remove the package stand.
5. Move aside the parts and check the parts according to the shipment parts list
(See Fig. 7).
Shipment Parts List
Drive-in
Ramp
Offside
Platform
板
Column
Cross
Beam
Parts
box
Powerside
Platform
Fig.5
Fig.6
Fig.7
62

5
6. Open the carton of parts and check the parts according to the parts box list
(See Fig. 8).
7. Check the parts of the parts bag according to the parts bag list (See Fig. 9).
Fig.8
Fig.9

6
B. Use a carpenter’s chalk line to establish installation layout as per Table 1
Make sure the size is right and base is flat (see Fig. 10).
Note: Reserve appropriate space in front and behind the installation site.
MODEL
A
B
C
A435-P
4400mm
173 1/4”
2784mm
109 5/8”
5207mm
205”
B
A
C
Use a carpenter’s chalk line to establish
installation layout
Fig.10
1
2

7
C. Install cross beams (See Fig.11, Fig.12).
Note: Pay attention that the cross beam's slot should be positioned towards inward and
the safety locks connecting assy. should be adjacent to the power unit column.
Hole towards inside
Fig.11
Fig.12
3
6
The powerside column need to be installed
according to the installed position of the
safety lock release handle.

8
D. Install the Safety Ladders.
1. Take off the pulley safety cover and unscrew the four upper nuts of the safety ladders, and
adjust the four lower nuts so they are at the same position. Then insert the safety ladder
(See Fig. 13).
Safety ladder
Limited Pin
Limited Pin
Fig.13
Safety Ladder is inserted between
Limited Pins of the cross-beam
Insert the safety
ladder from up to
the bottom between
the Limited Pins
Take off the pulley safety cover
Pulley safety cover
Unscrew the upper nut of the safety ladders

9
2. Install Safety Ladders (See Fig. 14)
E. Raise the cross beams at the same height and lock them on the safety ladders
(See Fig. 15).
This height for four threaded
rod of safety ladders should
be the same.
Fig.14
Fig.15
Lift both cross beams to the
same height.
The safety device
on the cross
beam should be
engaged in the
safety ladders at
the same height.
Safety ladder pass through the hole of the
top plate, then tighten the two nuts
18
17
The lifting cross beam height
should be fitted for installing
the platform and its parts .
1m height is recommended.

10
F. Install power side platform.
1. Raise the powerside platform above the cross beam by a forklift or crane. Then move the
cross beam outwards until the pulleys of both platforms can be rested into the cross beams’
slots ( see Fig.16 ). Tighten the Powerside Platform to the Cross beams by using bolts.
Illustration for rear pulley in
powerside platform
Offset the cross beam lean
outward when putting the
powerside platform on the
cross beams
Offset the cross beam lean
outward when putting the
powerside platform on the
cross beams
Fig.16
Illustration for front pulley in
powerside platform

11
2. Install the tire stop plate and connecting bolts: Tighten the platform and the cross
beam B with bolts. Tighten the tire stop plate , platform and cross beam Awith bolt.
Note: Install the tire stop plate on the drive- in position . And the bolts for connecting with tire
stop plate is longer, pay attention when choosing the bolts. (See Fig.17)
Instruction : 1)This lift is designed to be driven in at any position according to the space.
Below is the instruction for the drive -in position on cross beam B. If it is chosen to be driven
in from cross beam A, install the tire stop plate to the other side only.
2) Powerside column can be installed at any position accordingly. But the power unit must
always be installed adjacent to the safety lock release handle. Pay attention to direction
when installed the safety lock release handle, power unit and hydraulic system.
Fig.17
24
26
25
27
Drive- in direction
28
5
Cross beam B
Cross beam A
Interchange the column
installed position according
to demand
Tighten the platform
with bolts M16*30
Tighten the bolts
M16*35 with washer

12
G. Install the offside platform and limit slide block, and platform strengthen bolts.
Check the verticality of columns with level bar and adjust with shims. (See Fig. 18)
Fig.18
4
Level bar
Note: DO NOT completely tighten
the limit slide blocks. Loosen 1/4 lap
after tightening.
33
9
10
32
29
30
31
Install the platform
strengthen bolts.
34
Slip the limit slide block with groove
into the clearance along the bent edge of
column. Connect the limit slide blocks to
the cross beam with bolts.

13
H. Illustration for cable installation
1. Route the cable from the powerside platform via the pulleys according to the number
below and then connect them to the columns.
(See Fig. 19)
NO.
Cable
○
1
○
2
○
3
○
4
Length
(inc. connecting fitting)
2940mm
(115 7/8”)
8535mm
(336”)
4350mm
(171 1/4”)
7120mm
(280”)
A
B
C
D
A
C
D
B
Cable installation Instruction
Fig.19
35
36
37
38
Install the cylinder connecting
plate as shown and pay
attention to the direction of
unfilled corner on the plate.

14
2. The cable goes through the cross beam to column top plates and tightened with cable nuts
(See Fig. 20)
Fig.20
Cable goes through top plate
and tightened with cable nuts.
Cable goes through the cross
beam pulley and tension pulley
17

15
3. Illustration for cables under platform . (See Fig. 21)
39
Cable○
4
Cable ○
2
Cable ○
2
Cable ○
1
Cable○
4
Cable○
3
Cable ○
1
Cable ○
2
Cable ○
4
Cable ○
2
Cable ○
3
Cable ○
4
Hex Bolt M10*120
Cable ○
4
Cable ○
2
Fig.21
limit block

16
I. Install release handle assy. (See Fig. 22)
Noted: Power unit must be installed near the safety release handle.
View B
Cross beam B
Cross beam A
View A
Fig. 22
44
22
45
43
45
45A
43A
Pass through the connecting bar
from the safety lock rotated device
assy. of cross beam A/B
According to the above diagram, fix lock release
handle and the safety lock connecting assy. with
M8*35 bolts and washers on cross beam A.
Install extend lock release handle and
plastic ball
View B
According to the above diagram, fix safety lock
connecting bar and safety lock connecting assy. by
M8*35 bolts and washers on cross beam B.
Safety lock
connecting assy.
Safety lock
connecting assy.
Safety lock rotated
device assy.
Safety lock
connecting bar

17
J. Install power unit and connecting tube (See Fig. 23).
Noted: Power unit must be installed near the safety release handle.
1.Install Power unit on the cross beam A
Cross beam B
Cross beam A
View A
Fixing plate
Fig. 23
10
46
9
47
201
Drive- in
direction
40
41
40
42
Fix the connecting tube and the connecting
bar for safety device by M8*25 socket bolts
Connecting tube pass
through the fixing plate

18
2.Install Power unit on the cross beam B (See Fig. 24).
K. Install Hydraulic System
1. For power unit attached to the powerside column for cross beam A(See Fig. 25)
Note: Oil hoses connected to oil cylinder must be passed above the cable and oil inlet port
should be inclined upwards to avoid the oil hose scratched by cable.
Drive- in
direction
40
41
40
Cross beam B
Fig. 24
42
Fixing plate
Connecting tube pass
through the fixing plate
Fix the connecting tube and the connecting
bar for safety device by M8*25 socket bolts
Table of contents
Other AMGO Lifting System manuals
Popular Lifting System manuals by other brands

HiGH-LiFT
HiGH-LiFT OPK-ME500 Manual instruction

Telpro
Telpro PaneL Lift 439 Operator's manual

Fantek
Fantek FT-6860 operating instructions

Milltronics
Milltronics MWL instruction manual

Lift Tech Marine
Lift Tech Marine DC REMOTE GEN 2 owner's manual

BraunAbility
BraunAbility Century 2 NCL10000 Series Service manual