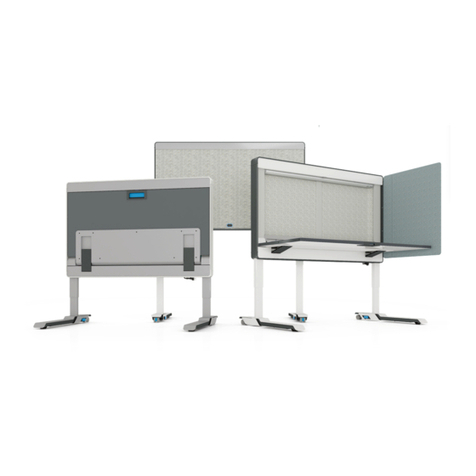
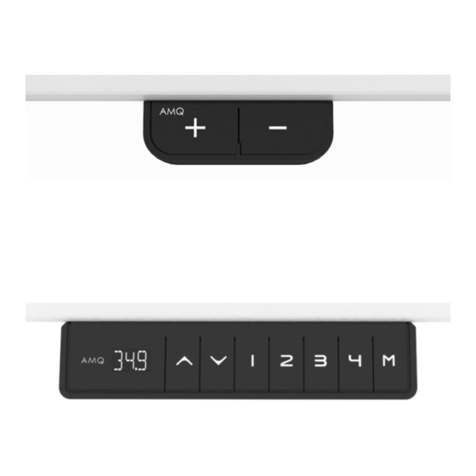
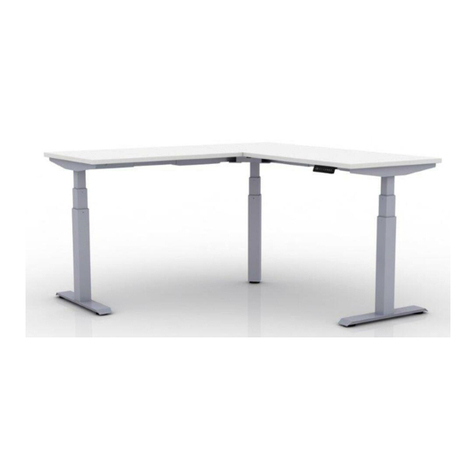
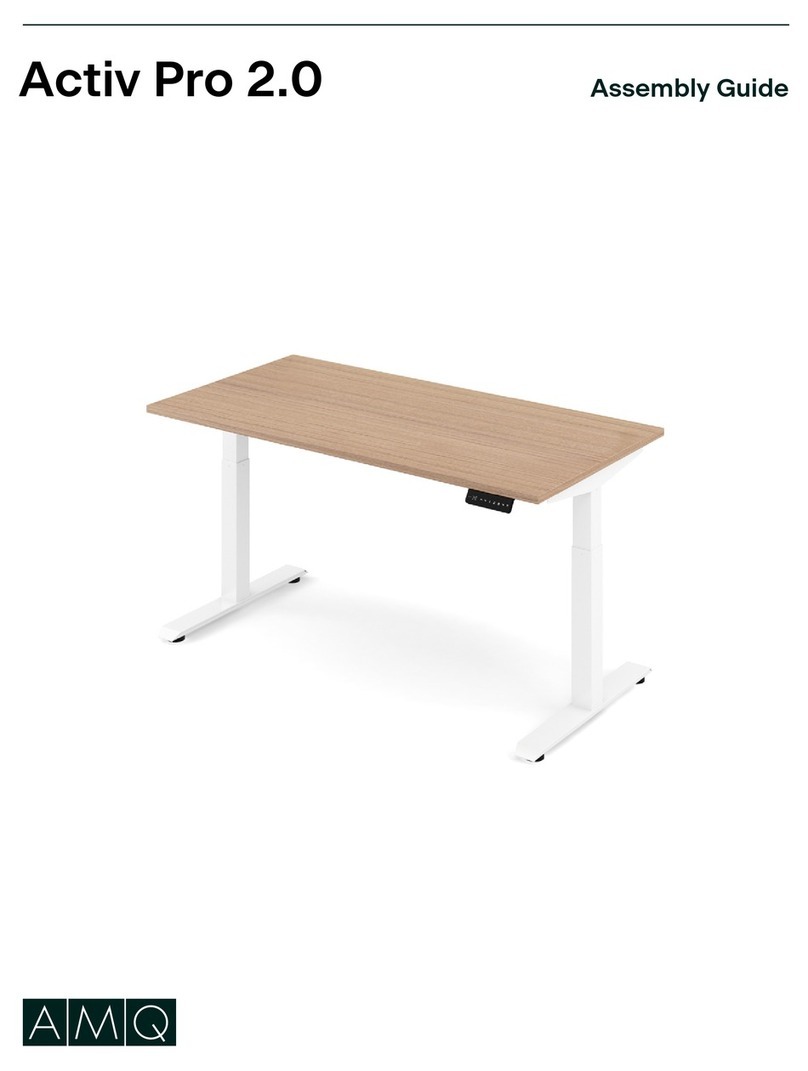
AMQ Cluvo User manual

Cluvo User / Troubleshooting Guide
For Commercial use only

Contents
Safety Statement .............................................3-5
7-12User Guide . . . . ........ . . . ...................................
Cluvo Deluxe Handset Troubleshooting Guide... . . . .............. .13
FCC Statement .................................................6
amqsolutions.comCluvo User / Troubleshooting Guide | 2

Safety Statement
When using an electrical furnishing, basic precautions should always be followed,
including the following:
DANGER - To reduce the risk of electric shock: Always unplug this furnishing from the electrical
outlet before cleaning or servicing.
WARNING – To reduce the risk of burns, fire, electric shock or injury to persons:
1.
2.
3.
4.
5.
6.
7.
8.
9.
10.
11.
12.
13.
14.
The desk or table shall be positioned near power socket and the plug shall be easily accessible.
WARNING: Risk of Electric Shock – Connect this furnishing to a properly grounded
outlet only. See Grounding Instructions.
Cluvo height adjustable base model CLS2B and CLS3B doesn't include a worksurface.
WARNING
GROUNDED
OUTLET
GROUNDED
OUTLET BOX
GROUNDING PIN
Figure 1
Grounding methods
Products with Grounded Plugs
For products sold in North America and other 120V regions: the product
is for use on a nominal 120-V circuit.
These products use a grounded plug that look like the plug illustrated below.
Make sure that the product is connected to an outlet having the same
configuration as the plug.
No adapter should be used with this product.
•
•
•
•
The base is not complete until assembled with a worksurface.
Read instructions to determine the appropriate size, shape, and weight of the worksurface to be used.
The worksurface to be installed must have a flame spread< 200 and a smoke developed index < 450 when
evaluated by UL723 or ASTM E162.
This base is not designed to stand on its own. Failure to follow the installation procedures of attaching
stretcher frame, cantilever and column (components of the base) first onto the worksurface may result
in TIP OVER resulting in death or serious injury.
•
•
•
•
IMPORTANT SAFETY INSTRUCTIONS
READ ALL INSTRUCTIONS BEFORE USING THIS FURNISHING. READ AND SAVE INSTRUCTIONS AND
CONFIRM CRITICAL COMPONENTS ARE IN PLACE BEFORE USE. This furnishing is intended for
commercial use only.
PLEASE SAVE THESE INSTRUCTIONS IN AN OBVIOUS PLACE FOR THE END USER AFTER
ASSEMBLY.
Unplug from outlet before putting on or taking off parts.
DO NOT OPERATE THIS EQUIPMENT UNLESS PROPERLY TRAINED. Read this guide first.
Use this furnishing only for its intended use as described in these instructions. Do not use
attachments not recommended by the manufacturer.
DO NOT ALLOW USE BY CHILDREN or people unable to understand the risks and to safely adjust
the desk.
Never operate this furnishing if it has a damaged cord or plug, if it is not working properly, if it has
been dropped or damaged, or dropped into water. Return the furnishing to a service center for
examination and repair.
Keep the cord away from heated surfaces.
Remove and secure power cord when not in use to prevent children from operating the desk unsupervised.
Never drop or insert any object into any opening.
Do not use outdoors.
Do not operate where aerosol (spray) products are being used or where oxygen is being administered.
To disconnect, turn all controls to the off position, then remove plug from outlet.
Use only SJT, minimum 18/3 AWG, 105 degree C cord.
Maximum load 250 lbs including worksurface and accessories assembled onto worksurface for Cluvo 2
stage height adjustable desk and base.
Maximum load 300 lbs including worksurface and accessories assembled onto worksurface for Cluvo 3
stage height adjustable desk and base.
amqsolutions.comCluvo User / Troubleshooting Guide | 3

Safety Statement
RISK OF SERIOUS INJURY DUE TO PINCH POINTS, TIPOVER, OR POTENTIAL COLLAPSE.
This powered, adjustable height desk appliance is not intended for use by persons (including children) with
reduced physical, sensory or mental capabilities, or lack of experience and knowledge, unless they have
been given supervision or instruction concerning use of the appliance by a person responsible for their
safety. Children should be supervised to ensure that they do not play with the appliance.
•RISK OF DEATH OR SERIOUS
INJURY. Raising or lowering desk
can trap, pinch or crush body parts or
property.
•CRUSH HAZARD - DO NOT PLACE
FEET, LEGS OR OTHER BODY
PARTS ON OBJECTS PLACED
UNDER TABLE TOP OR BELOW
MODESTY PANEL.
•DO NOT OPERATE THIS EQUIPMENT
unless properly trained.
•DO NOT ALLOW USE BY CHILDREN
or people unable to understand the
risks and to safely adjust the desk
height.
•INSPECT REGULARLY. Stop using if
product is damaged or has loose parts.
Only repair with AMQ authorized parts
and methods.
Max.
Min.
>1"
(25mm)
>1"
(25mm)
>1"
(25mm)
X
X
X
NOTE: Desk image
is for reference only.
1/(877)801.0307
www.amqsolutions.com
FOR REFERENCE ONLY
FOR REFERENCE ONLY
FOR REFERENCE ONLY
?
Safety Statement
WARNING
CAUTION
Do not stand on this product. Use only as intended.
Regularly inspect for damage or broken parts and loose fasteners (screws, etc.). If any of
these conditions exist, remove from service immediately. Repairs are to be made using only
factory authorized parts and methods. For information on furniture maintenance, or to report
furniture which requires service, call AMQ toll-free at (877) 801-0370
FAILURE TO FOLLOW THESE INSTRUCTIONS COULD RESULT IN PROPERTY DAMAGE OR
PERSONAL INJURY.
•MAINTAIN >1” (25 mm) GAP ABOVE OBJECTS
ON DESK AT MAX HEIGHT AND BETWEEN
THE DESK & ADJACENT OBJECTS. Locate
desk, accessories, and nearby objects to
allow movement of desktop through full range without pulling cords, trapping body parts, or colliding with
anything (shelves, electrical plugs and cords, door knobs, window sills, storage cabinets, etc.)
• Always lock castors during use to keep adequate clearance between desk and other objects.
Risk of Tip-Over Injury. Before moving on castors:
1. Adjust desk to lowest height.
2. Verify path is clear of obstructions.
3. Remove objects not attached to desk.
4. Restrict monitor arms from moving outside desk perimeter.
amqsolutions.comCluvo User / Troubleshooting Guide | 4

RISK OF SERIOUS INJURY:
POTENTIAL FOR INJURY:
The use of worksurfaces that do not comply with the AMQ defined criteria and limitations
could cause personal injury or property damage due to pinch points, instability, or other problems.
.
POTENTIAL FOR NON-COMPLIANCE:
The use of worksurfaces that do not comply with AMQ criteria VOIDS any
AMQ claims of compliance with ANSI/BIFMA, UL, LEED, or other applicable requirements. The use of non-AMQ
worksurfaces on AMQ adjustable-height bases may NOT be accepted as compliant to municipal electrical codes or
OSHA federal workplace standards, because this use does not create an NRTL (UL, ETL, etc.) listed product. AMQ is
not responsible for the ultimate determinations of compliance for height-adjustable bases with non-AMQ worksurfaces.
AMQ assumes NO liability for lack of standards compliance in these instances.
WARRANTY RESTRICTIONS:
The use of non-AMQ supplied worksurfaces VOIDS all AMQ warranties, expressed or
implied.
DISCLAIMER:
The use of non-AMQ worksurfaces is NOT recommended. Any use of a non-AMQ worksurface
requires additional investigation by the customer regarding the appropriate use. It is the sole responsibility of
the customer to determine the suitability and safety of the selected worksurface construction and attachment means.
The following information is provided as a guideline, but does not address all potential issues. Customers should seek
professional guidance as to the appropriateness of their chosen worksurface.
MANDATORY REQUIREMENTS REGARDLESS OF WORKSURFACE MATERIAL OR CONSTRUCTION:
FASTENERS:
Adjustable-height bases include fasteners intended for use with AMQ worksurfaces.
These fasteners may potentially also be suitable for worksurfaces meeting the following criteria:
•Medium-density or higher particleboard or fiberboard cores with High-pressure laminate (HPL), Low-pressure
laminate (LPL) or veneer & backers
•Thickness of .984” (25 mm) or greater
•Fasteners locateda minimum distance of .984” (25 mm) from anyedge
Any other worksurface construction will require different and/or additional fastening means and these means must
be determined by the project’s designer, architect, or engineer. For example, solid-surface materials should use
appropriate threaded inserts and corresponding
fasteners or similar attachment means.
In all cases, all fastener locations provided in the base
attachment features MUST be used (e.g. if attachment
plate has 6 screw holes, all 6 holes must be used for attachment).
FLAMMABILITY:
Any worksurface or similar large
part> 10ft” 2 must have a flame spread< 200
and a smoke developed index < 450 when tested
per UL 723.
SHARP EDGES:
All accessible edges of the worksurface
must meet UL 1439 test for sharp edges.
DIMENSIONAL LIMITATIONS:
•Worksurface depth must be equal to or greater than
24" (610 mm) and should not exceed 30" (762 mm).
•The distance from the cantilever to the rear edge of the
worksurface must be 6.5" (165 mm).
•Worksurface overhang (distance from side of support
cantilever to edge of worksurface) must be zero for
worksurface with width less than or equal to 72" (1829 mm).
For worksurface with width larger than 72" (1829 mm) and
smaller than or equal to 84" (2134 mm), worksurface must be
positioned centered on the base, with equal overhang on both ends.
•Worksurface width must be equal to or greater than 46" (1168 mm)
and should not exceed 84" (2134 mm).
FOLLOW ALL WARNINGS PROVIDED FOR BASE AND WORKSURFACE.
Safety Statement
WARNING
amqsolutions.com
WORKSURFACE
OVERHANG
+
WORKSURFACE
WIDTH
6.5’’
WORKSURFACE
DEPTH
C
L
Cluvo User / Troubleshooting Guide | 5

This device complies with part 15 of the FCC rules. Operation is subject to the following two conditions: (1) This device may not cause
harmful interference, and (2) this device must accept any interference received, including interference that may cause undesired
operation.
Note: This equipment has been tested and found to comply with the limits for a Class A digital device, pursuant to part 15 of the FCC
Rules. These limits are designed to provide reasonable protection against harmful interference when the equipment is operated in a
commercial environment. This equipment generates, uses, and can radiate radio frequency energy and, if not installed and used in
accordance with the instruction manual, may cause harmful interference to radio communications. Operation of this equipment in a
residential area is likely to cause harmful interference in which case the user will be required to correct the interference at his own
expense.
Important: Changes or modifications to this product not authorized by AMQ could void your authority to operate the product.
FCC Statement
amqsolutions.comCluvo User / Troubleshooting Guide | 6

Up/Down Button Control
1. Press and hold the Up button to raise the base. When the Up button is released, the base will
stop moving.
2. Press and hold the Down button to lower the base. When the Down button is released, the base
will stop moving.
Button Backlight Indication
1. The handset button backlight is on when handset is functioning normally.
2. If handset is not operating normally or overheated, the backlight will flash 4 times per second.
3. When resetting the base, the backlight will flash once per second.
4. If there is no operating on handset for 10 seconds, the backlight will turn off.
Locking Handset
1. Press and hold handset lock button for 1 second until the handset button backlight flashes twice,
indicating the handset is locked.
Unlocking Handset
1. When handset is locked, press and hold the handset lock button for 3 seconds, until the handset
button backlight flashes twice, indicating the handset is unlocked.
2. If the power is turned off for the base and handset, the handset will be unlocked.
Resetting the Base
1. Press and hold the Down button for 5 seconds, when the base is at lowest height.
2. Release the button then press the Down button until reset is complete.
A. Height Adjustment Buttons
B. Lock Button
A B
Standard Handset User Guide
amqsolutions.comCluvo User / Troubleshooting Guide | 7

Handset Start Up
1. When the power of base is turned on, the handset LED display shows AMQ logo for 3 seconds,
then changes to standard display.
Handset Standard Display
1. The LED display includes custom sitting and standing height information in inches per chosen
user, user information, handset lock status, date and time information.
2. When turning the knob, or pressing down the memory buttons, the current time display changes
to height information.
3. When the base stops movement for 3 seconds, the LED display shows the current time information.
Power Saving Mode
1. If there is no operation of handset for 30 seconds, the handset changes to power saving mode,
with button backlight and LED display turned off.
2. Press any button to wake up the handset.
3. Turn the knob to wake up the handset and enable base movement.
Handset Button Functions
1. Press down the 2 memory buttons located on the left of handset to activate the user customized
sitting and standing height.
2. The handset lock located on the right side of handset locks and unlocks the handset.
3. Turn the knob clockwise to raise the base.
4. Turn the knob counterclockwise to lower the base.
5. Press the knob to enter the handset setting interface.
Deluxe Handset User Guide
amqsolutions.comCluvo User / Troubleshooting Guide | 8
A. Memory Position Buttons
B. LED Display
C. Memory Setting Knob
D. Lock Button
A
C
D
B

amqsolutions.comCluvo User / Troubleshooting Guide | 9
User Selection Interface
1. Under normal handset display, press the knob to enter the handset setting interface.
2. Select Profile to enter user selection interface.
3. SHARED is the default user setting, which can’t be deleted.
4. User can turn the knob to select user, create user or delete user.
5. Press the knob to confirm the user selection. With User **** SELECTED shown on LED display,
the user selection is confirmed, then LED display will show the selected user name, customized
height, and sit/stand time reminder.
6. To create a new user, select NEW USER, and press the knob. Turn the knob to select the letter
for new user name, press “√” to confirm the user selection. With User **** CREATED shown on
LED display, the new user is created, and the created user will show on LED display.
7. Select the DELETE USER to delete selected user, press “√” to confirm deletion. With User ****
DELETED shown on LED display, the user selection is deleted.
Memory Setting
1. Under LED standard display, turn the knob to enter multiple selection interface. Select SAVE
HEIGHT to enter the menu.
2. Select SET STANDING HEIGHT or SET SITTING HEIGHT to enter height setting menu.
3. Turn the knob to different height selection, select the desired height, press knob to confirm the
selected height. STANDING HEIGHT SET or SITTING HEIGHT SET will show on LED display for
1 second, then return to normal LED display.
Sitting/Standing Reminder Settings
1. Under LED standard display mode, enter the multiple selection interface.
2. Select REMINDER menu to set recommended standing or sitting time.
3. Standing or sitting time can be set up to maximum 1 hour, minimum 0 minute, with 5 minutes
as interval. Turn the knob clockwise to add the time, or turn the knob counterclockwise to
reduce the time.
4. Press the knob to confirm the selected interval.
5. If 0min is selected, there is no sitting or standing reminder.
6. The default standing time is 15min, with default sitting time at 45min.
7. If base height is less than 35 inches, and in sitting mode, the standing time will reset.
8. If base height is more than 35 inches and in standing mode, the standing time will reset.
9. When reaching the preset sitting reminding time, the handset will vibrate for 5 seconds, button
and display backlight will flash for 30 seconds, and LED display will show TIME TO MOVE. Press
any key to stop the reminder. If there is no operating, the reminder timer will start the next cycle,
and remind when reaching the end of the second cycle.
Date Setting
1. Under LED standard display mode, enter the multiple selection interface.
2. Select Date/Time menu, then select Date by pressing the knob.
3. Turn the knob to adjust and select year, month and date.
4. Press the knob to confirm the selection. The user selected year, month and date will flash on
LED display. Press “√” to confirm the selection.
Time Setting
1. Under LED standard display mode, enter the multiple selection interface.
2. Select Date/Time menu, then select Time by pressing the knob.
3. Turn the knob to adjust hour, minute, AM/PM. Press the knob to confirm the selection. The user
selected hour, minute and AM/PM will flash on LED display. Press “√” to confirm the selection.

amqsolutions.comCluvo User / Troubleshooting Guide | 10
Changing LED Display Height between inches and centimeters
1. Under LED standard display mode, enter the multiple selection interface.
2. Select INCH/CM menu.
3. Turn the knob to select the desired unit, then press the knob to confirm the selection and return
to the normal LED display.
Setting a Custom Maximum Height
1. Under LED standard display mode, enter the multiple selection interface.
2. Select Max/Min menu, then select Back, MAX HEIGHT, MIN HEIGHT, or RESET.
3. When MAX HEIGHT or MIN HEIGHT is selected, turn the knob to select height, and press the
knob to confirm the selection.
4. During the setting process, SETTING might display on LED. Most of the time, as the setting will
take effect immediately, the SETTING display might not be noticed by user.
5. If the maximum height or minimum height setting is successful, LED display will show MAX
HEIGHT SET TO ****, or MIN HEIGHT SET TO ****.
6. If the height setting is unsuccessful, MAX HEIGHT SET FAILED or MIN HEIGHT SET FAILED will
display on LED for 1 second, then return to the normal LED display interface.
Main Interface Display
1. Under standard display interface, press the knob to enter multiple selection interface.
2. Select DISPLAY INFO menu.
3. Select SAVED HEIGHT, REMINDER TIME or MAX/MIN HEIGHT to display customized height,
sitting/standing timer, or customized maximum/minimum height to be displayed on the left of
normal LED display.
4. Under height display interface, press sitting and standing memory buttons to active the standard
display on LED.
Setting the Minimum Height
1. The desk has caster or glide version with different lowest height display.
2. Under standard display interface, press the knob to enter multiple selection interface.
3. Select CASTER menu. Then depending on desk configuration of whether coming with casters
or without casters, turn the knob to select WITH CASTER or WITHOUT CASTER. The height
difference between these 2 setting is around 1.3 inch. Press the knob to confirm the selection.
Anti-Collision Setting
1. Under standard display interface, press the knob to enter multiple selection interface.
2. Select OBSTRUCTION SETTING on the menu.
3. Press the knob to show the sub-menu of OBSTURCION SETTING. Select the sensitivity (height
to lowest from top to bottom selection) and press the knob to confirm the selection. The
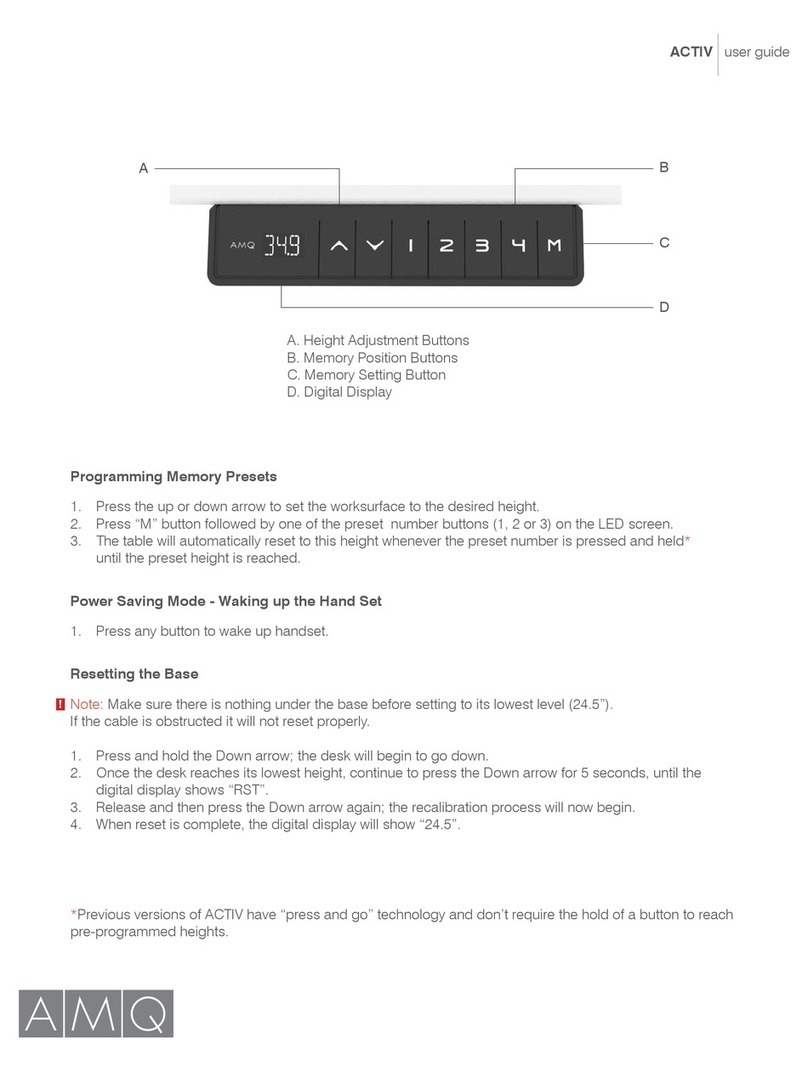
chosen sensitivity will show on LED display for 1 second, then return to standard display.
Barcode Display
1. Under standard display interface, press the knob to enter multiple selection interface.
2. Press WELCOME/USER GUIDE menu to display barcode. Scan the barcode to direct users to
AMQ website. Press knob to return to the previous menu.

amqsolutions.comCluvo User / Troubleshooting Guide | 11
Resetting the Base
1. Turn the knob counterclockwise to lower the base until lowest height, then release the knob.
Then turn the knob counterclockwise for 5 seconds, until LET GO OF KNOB BASE IS READY
FOR RESET is shown on LED display.
2. Release the knob. TURN KNOB & HOLD UNTIL TABLE REACHES LOWEST HEIGHT AND
RESETS will show on LED display.
3. Continue to turn the knob counterclockwise until SUCCESSFUL is shown on LED display. Then
return to the normal LED display.
Hard Reset for E01/E02
1. If COLUMN OVERLOAD E01/E02 ERROR CODE PRESS KNOB TO CONTINUE shows on LED display,
press the knob until COLUMN OVERLOAD (STEP 1) PLEASE CHECK TABLELOAD PRESS KNOB
TO CONTINUE shows on LED display.
2. Press the knob again until COLUMN OVERLOAD (STEP 2) RESET REQUIRED TURN KNOB
ANTI-CLOCKWISE AND HOLD FOR 5 SECONDS shows on LED display.
3. Confirm load is lower than maximum load capacity, and turn the knob counterclockwise for 5
seconds, until COLUMN OVERLOAD (STEP 3) LET GO OF THE KNOB BASE IS READY FOR RESET
shows on LED display.
4. Release the button. COLUMN OVERLOAD (STEP 3) TURN KNOB & HOLD UNTIL TABLE REACHES
LOWEST HEIGHT AND RESETS shows on LED display.
5. Turn the knob counterclockwise until reset is complete.
6. If the reset is unsuccessful, UNSUCCESSFUL will display on LED for 1 second, then COLUMN
7. If STEP 4 is displayed on LED, try turn the knob counterclockwise for 5 seconds until STEP 3
displays on LED, then retry the resetting process.
Hard Reset for E07/E08
1. If COLUMN SIGNAL ERROR E07/E08 ERROR CODE PRESS KNOB TO CONTINUE displays on LED,
press the knob until COLUMN SIGNAL ERROR (STEP 1) PLEASE CHECK CABLE CONNECTION
PRESS KNOB TO CONTINUE display on LED.
2. Press the knob until COLUMN SIGNAL ERROR (STEP 2) RESET REQUIRED TURN KNOB
ANTI-CLOCKWISE AND HOLD FOR 5 SECONDS display on LED.
3. Confirm the cable connection is correct, then hold the knob for 5 seconds until COLUMN SIGNAL
ERROR LET GO OF KNOB BASE IS READY FOR RESET displays on LED.
4. Release the knob. COLUMN SIGNAL ERROR (STEP 3) TURN KNOB & HOLD UNITL TABLE REACHES
LOWEST HEIGHT AND RESETS displays on LED.
5. Turn the knob counterclockwise until reset is complete.
6. If the reset is unsuccessful, UNSUCCESSFUL will display on LED for 1 second, then COLUMN
on LED.
7. If STEP 4 is displayed on LED, try turn the knob counterclockwise for 5 seconds until STEP 3
displays on LED, then retry the resetting process.
Hard Reset for H01
1. If CONTROLLER OVERHEAT H01 ERROR CODE LET HANDSET COOL DOWN-TRY LATER displays
on LED, wait for a while before operating the handset. The LED display will work normally and
exit the protection mode.

Cable Management
When installing equipment, either on the worksurface or below, be sure that the connecting cables are free
from obstruction. This product offers a cable riser, cable brackets or a cable basket to help manage excess
cables/wires on the underside of the worksurface.
Workstation Design Tips
• Ensure that power cords for all accessory items – computer, lights, monitors, etc. - ar
to reach outlets throughout the range of worksurface height adjustment is taking place.
• Always check for proper operating clearance before placing any item on, above or below the worksurface.
Maintenance and Cleaning
Regularly clean dust and dirt from lifting columns. To ensure all surfaces are thoroughly cleaned, make sure the
lifting columns are fully extended to their maximum height. Also, be sure to inspect cables and lifting columns
for damage. Check all connections for both correct function and secure mounting.
Caution: Damp cloth is recommended. To protect the painted surfaces, use a cleanser that is not highly alkaline
or acidic. A pH-neutral product is ideal.
Note: Please do not move the desk without help. Refer to the guidelines at the end of the assembly instructions,
or contact your facilities group for assistance.
amqsolutions.comCluvo User / Troubleshooting Guide | 12

Cluvo Deluxe Handset Troubleshooting Guide
Issue Solution
No power/LED on control box is off The control box may be damaged – contact us for replacement.
E01/E02/ Error Code
(column overload protection,
mechanism abnormal stop)
1. Reset the base.
2. Check the tightness of the cables/connectors if resetting the base
does not work.
3. If the issue persists, please contact our AMQ Customer Care.
1. Reset the base.
2. Check the tightness of the cables/connectors if resetting the base
does not work.
3. If the issue persists, please contact our AMQ Customer Care.
E07/E08 Error Code
H01 Error Code (Controller Overheat) Disconnect the power for 1 minute and then reconnect the handset.
Most issues will be resolved by resetting the base
See reset instructions on the user guide.
Note: Please make sure there is nothing under the base before setting to its lowest level (2-
Stage with glides - 26.5”, 3-Stage with glides - 21.6”; 2-Stage with casters - 27.9”, 3-Stage
with casters - 23”). If the cable is obstructed it will not reset properly.
Please ensure that all connections are tight and in tact before further troubleshooting.
Part Number 1527152001 Rev.A - 07/06/2023
amqsolutions.comCluvo User / Troubleshooting Guide | 13
Other manuals for Cluvo
1
Table of contents
Other AMQ Indoor Furnishing manuals
Popular Indoor Furnishing manuals by other brands

Elmwood
Elmwood U-7200C Assembly instructions

OSP Home Furnishings
OSP Home Furnishings BATON ROUGE BTD2937 Assembly instructions

Trasman
Trasman 1126A Bo1 Assembly manual

Bensons for Beds
Bensons for Beds Alexis Assembly instructions

Riverside Furniture
Riverside Furniture Lilly King Panel Bed Assembly instructions

Costway
Costway HW62013 user manual

Ethnicraft
Ethnicraft Spindle Bed Assembly instructions

RIKTA
RIKTA WERKBANK KLAPPBAR manual

Next
Next Bellagio 689891 Assembly instructions

MELINERA
MELINERA MWBA 5 A1 operating instructions

Home Decorators Collection
Home Decorators Collection HMPM2030 Use and care guide

John Lewis
John Lewis 803/46203 Assembly manual